
Do you want to achieve a lush and healthy lawn? One key step in maintaining a beautiful lawn is aerating the soil. And if you're looking to start aerating your lawn with a TA18 Aerator, you've come to the right place. We researched this to guide you and here's what we found.
Here is a step-by-step guide to starting a TA18 aerator:
- Wear safety protection gear
- Clear the area
- Check the fuel level
- Inspect the aerator
- Prepare the engine
- Turn on the fuel valve
- Set the choke
- Turn on the ignition switch
- Pull the starter cord
- Adjust the throttle
- Engage the tines
- Aerate the soil
- Disengage the tines
- Shut off the engine
With this guide, you'll learn everything you need to know to get started, from the essential tools you'll need to the step-by-step process for operating your TA18 Aerator like a pro. So, get ready to revitalize your lawn and achieve that perfectly manicured look you've always wanted!
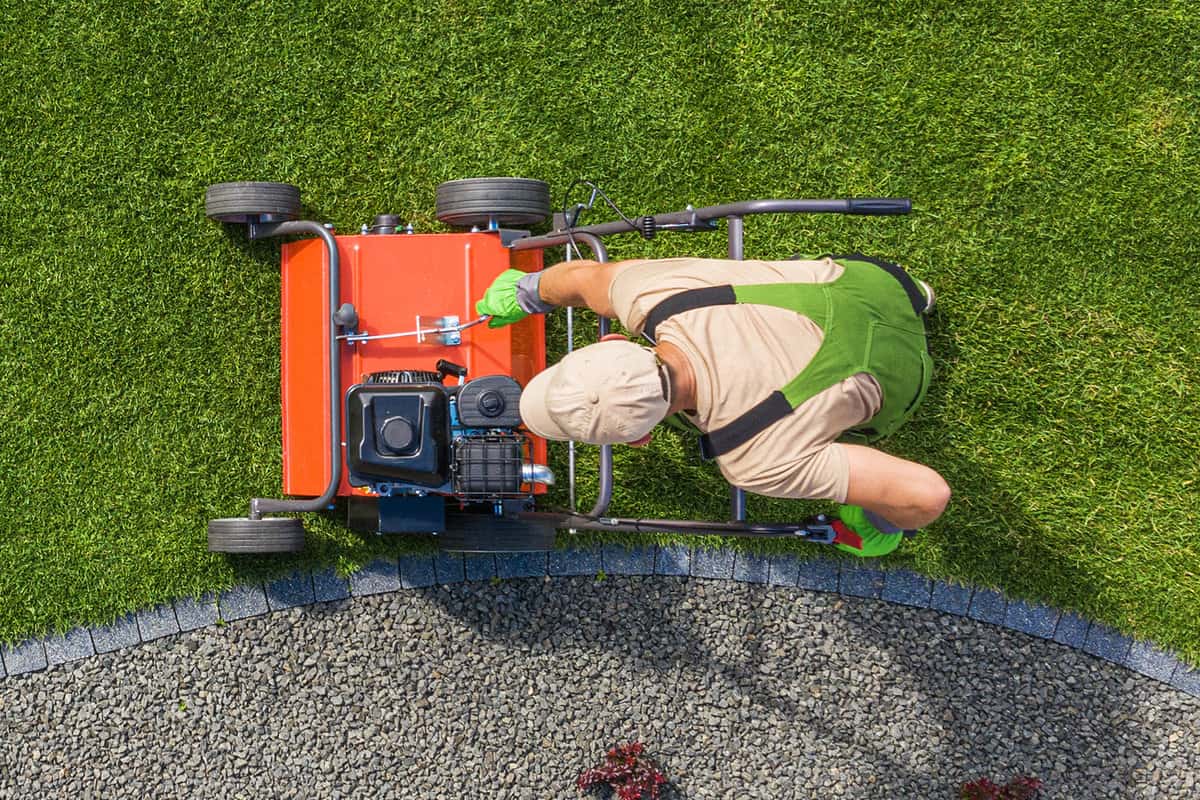
![Man using gas powered aerating machine to aerate residential grass yard, How To Start A TA18 Aerator [Step By Step Guide]](https://gardentabs.com/wp-content/uploads/2023/03/How-To-Start-A-TA18-Aerator-Step-By-Step-Guide.jpg)
How To Start A Ta18 Aerator?
The Ta18 Aerator is a machine used to aerate the soil by creating small holes in the ground, allowing air, water, and nutrients to penetrate deep into the soil. This process promotes root growth, improves soil structure, and increases overall plant health.
The TA18 aerator is a great choice for both landscapers and homeowners, thanks to its user-friendly and efficient design. It has a flexible tine bank that can be easily steered and a compact tine placement that produces a top-quality core. This makes it stand out from others in its category.
Starting a TA18 Aerator involves several steps that should be followed carefully to ensure safe and proper operation. Below is a detailed discussion of each step:
1. Wear Safety Protection Gear
Before operating any power equipment, be sure you are wearing safety glasses, hearing protection, and safety shoes. This is important for ensuring a safe working environment, reducing the risk of injuries, and promoting a culture of safety in the workplace.

Click here to see this pair of safety glasses on Amazon.

Click here to see this hearing protection on Amazon.
2. Clear The Area
It is also important to ensure the area is safe and clear of any debris that may pose a hazard before operating the equipment. In addition to clearing the area, mark any potential obstacles that could obstruct the operation of the equipment.
Furthermore, safety should always be a top priority when operating machinery, and it's crucial to keep pets and other people, particularly children, away from the area. This is because the equipment may have moving parts or emit loud noises that could frighten or harm them.
3. Check The Fuel Level
Before attempting to start the TA18 Aerator, it's crucial to check the fuel level and make sure there's enough fuel in the tank to power the machine. You can easily check the fuel level using the fuel gauge or by looking inside the tank.
If the fuel level is low or empty, it's recommended to fill up the tank with fresh, clean fuel to avoid any potential damage to the engine.
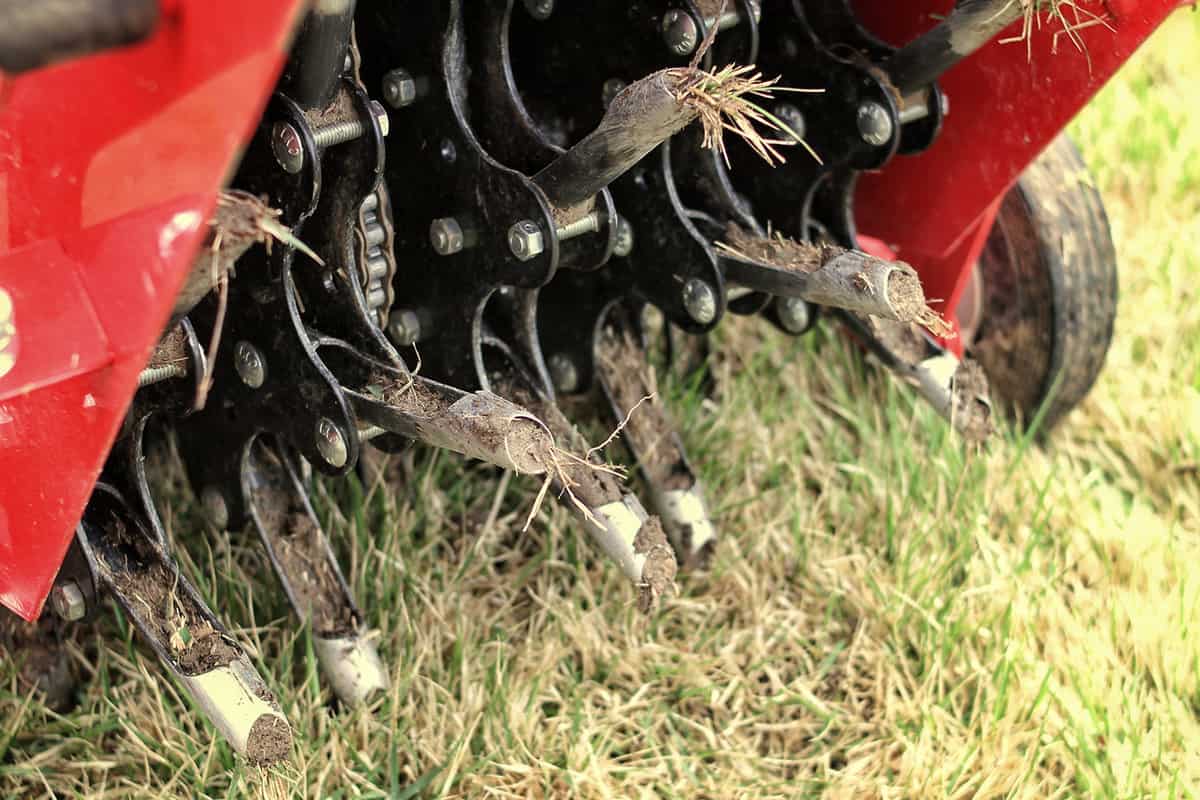
4. Inspect The Aerator
Inspect the TA18 Aerator to ensure that there are no visible signs of damage, such as cracks or missing parts. Check the aerator blades to make sure they are in good condition and are not bent or broken. Make sure the safety guards are in place and in good condition.
5. Prepare The Engine
Move the throttle control to the "low" or "idle" position. Engage the choke by pulling out the choke knob. This will help to create a rich fuel mixture for starting the engine. Ensure that the spark plug wire is appropriately attached to the spark plug.
6. Turn On The Fuel Valve
Locate the fuel valve and turn it to the "on" position. This will allow fuel to flow from the tank to the engine.
7. Set The Choke
Set the choke to the "closed" position. This restricts the amount of air that enters the engine and increases the amount of fuel, making it easier to start.
8. Turn On The Ignition Switch
Place the key into the ignition switch and rotate it to the "on" setting. This will activate the electrical system of the machine.
9. Pull The Starter Cord
Take hold of the starter cord and give it a firm and quick tug. Repeat this action until the engine starts. When the engine begins to warm up, gradually push the choke knob back to its "open" position.
10. Adjust The Throttle
Once the engine is running smoothly, adjust the throttle control to the desired speed. The recommended operating speed for the TA18 Aerator is between 2,800 and 3,200 RPM.
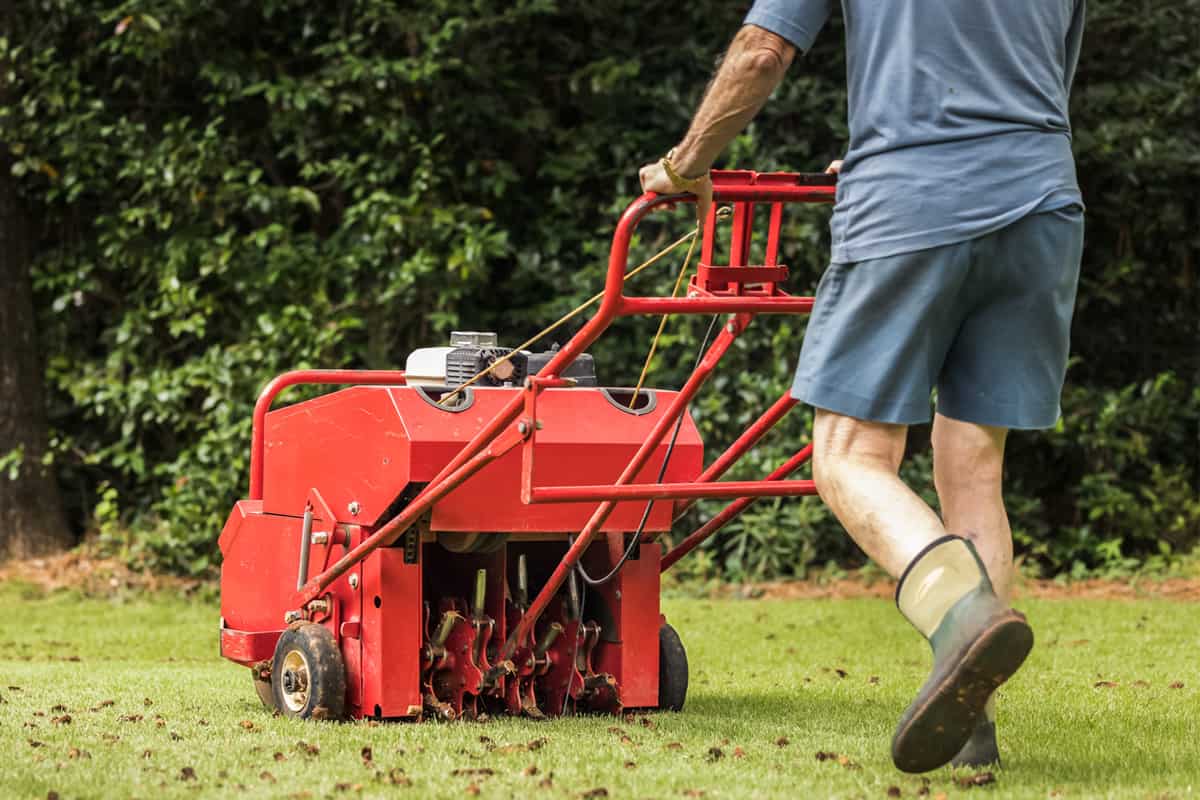
11. Engage The Tines
With the engine running and the throttle set to the correct speed, you can now begin aerating your lawn. Engage the tines by pulling the engagement lever located on the handlebar. The tines should start spinning and digging into the ground, aerating the soil.
12. Aerate The Soil
Slowly move the aerator forward, allowing the tines to penetrate the soil to the desired depth. The recommended depth for most applications is typically between 2 and 4 inches. Be sure to overlap each pass to ensure thorough aeration.
13. Disengage The Tines
Once you have finished aerating the soil, disengage the tines by releasing the engagement lever on the handlebar.
14. Shut Off The Engine
After completing the process of aerating, switch off the engine by first lowering the throttle control to the "low" or "idle" position and then turning off the ignition switch. It's also important to turn off the fuel valve to avoid any fuel leakage from the tank.
A video on YouTube shown below will provide you with a clear and comprehensive visualization of the aforementioned procedures.
How Do You Adjust The Depth Of The Tines On A Ta18 Aerator?
One of the important considerations when using the TA18 Aerator is the depth at which the tines penetrate the soil. Adjusting the depth of the tines is crucial to ensure that the soil is properly aerated, but not damaged in the process. Here are the steps to adjust the depth of the tines on a TA18 Aerator:
- Start by lowering the tines all the way to the ground. This is done by pulling the lever located on the handle of the machine.
- Locate the depth adjustment knob. This knob is typically located near the top of the machine, and it is used to adjust the depth of the tines.
- Turn the depth adjustment knob counterclockwise to loosen it. Once it is loose, you should be able to move it up and down.
- Adjust the depth of the tines to the desired level. This will depend on the type of soil you are working with, the health of the turf, and the amount of thatch present. As a general rule, the tines should penetrate the soil to a depth of 2-3 inches.
- Once you have adjusted the depth of the tines, tighten the depth adjustment knob by turning it clockwise. Make sure it is tight enough so that the tines remain at the desired depth.
- Finally, test the machine to ensure that the tines are working properly. Move the machine forward and observe the tines as they penetrate the soil. If they are too deep or too shallow, adjust the depth using the same process outlined above.
How Do You Operate A Ta18 Aerator On A Slope Or Uneven Terrain?
Operating a Ta18 Aerator on a slope or uneven terrain requires careful planning and execution to ensure safety and effectiveness. Here are some tips:
- Before starting, evaluate the slope or terrain for any potential hazards such as rocks, stumps, or holes. Clear any obstacles that may impede the machine's movement.
- Adjust the machine's weight distribution by adding or removing weights to ensure maximum stability on the slope or uneven terrain.
- Choose the appropriate speed and gear for the slope or terrain. Going too fast or too slow can cause the machine to lose traction or damage the surface.
- Use caution when turning or changing direction on a slope. Make gradual turns to avoid tipping over.
- Be mindful of the aerator's tines and make sure they do not penetrate too deeply into the ground. This can cause the machine to become stuck or damage the soil.
- If possible, avoid operating the aerator on steep slopes or extremely uneven terrain. In such cases, consider using alternative methods such as hand-operated tools or hiring a professional landscaping company.
What Type Of Fuel Should You Use In A Ta18 Aerator?

As you already know, the Ta18 Aerator won’t work without its fuel. The type of fuel that should be used in a Ta18 Aerator depends on the type of engine it has.
In case the Ta18 Aerator is equipped with a gasoline motor, it is recommended to utilize unleaded gasoline that has an octane level of 87 or greater. It is important to avoid using gasoline with ethanol, as this can cause damage to the engine over time.
If the Ta18 Aerator has a diesel engine, you should use diesel fuel with a cetane rating of 40 or higher. It is important to ensure that the diesel fuel you use meets the required specifications for the engine, as using the wrong type of diesel fuel can cause engine damage.
For detailed suggestions on the kind of fuel to use in your Ta18 Aerator, it is always advisable to refer to the manufacturer's instructions or the owner's manual.
Wrapping Things Up
By meticulously adhering to the aforementioned procedures, you can guarantee the secure and efficient functioning of the aerator. Nevertheless, it is advisable and preferable to abide by the manufacturer's guidelines for the appropriate utilization of your aerator.
We kindly suggest that you take a moment to peruse the captivating selection of articles we have provided below for your reading pleasure.
Classen Aerator Won’t Start – Why? What To Do?
Lawn Aerator Keeps Clogging – Causes & Fixes