
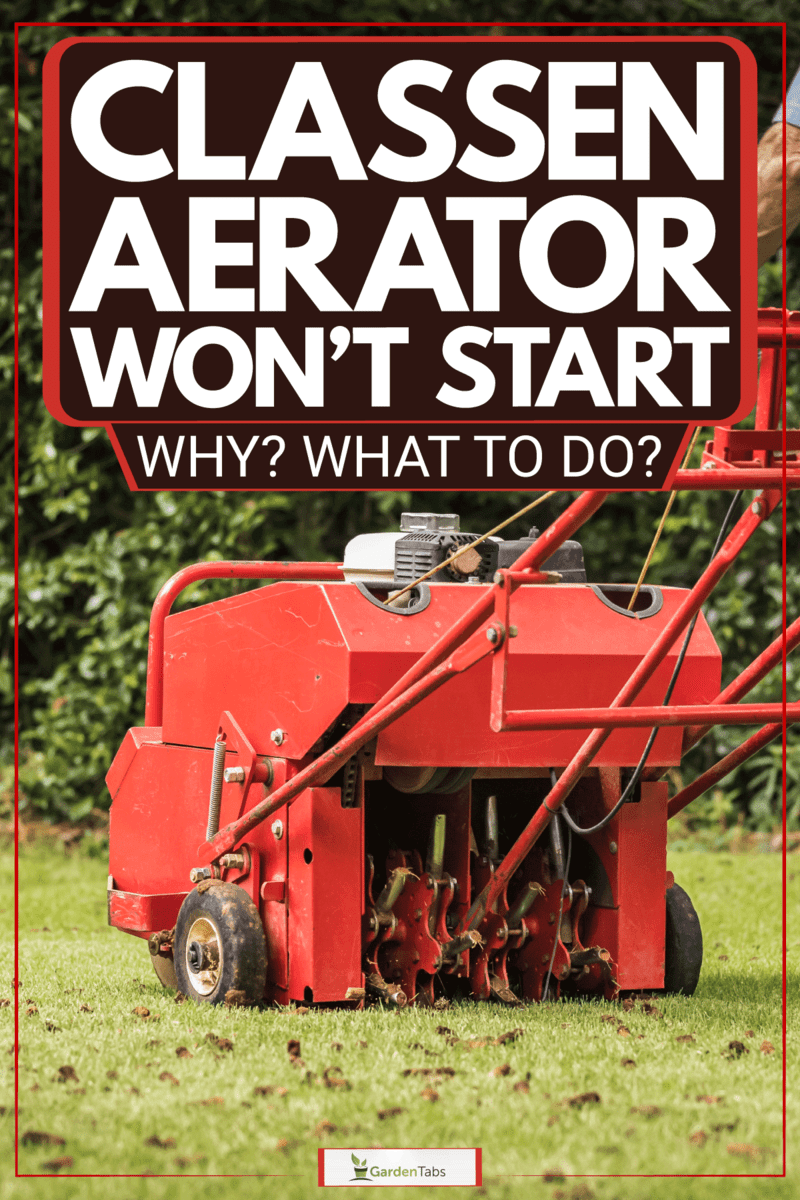
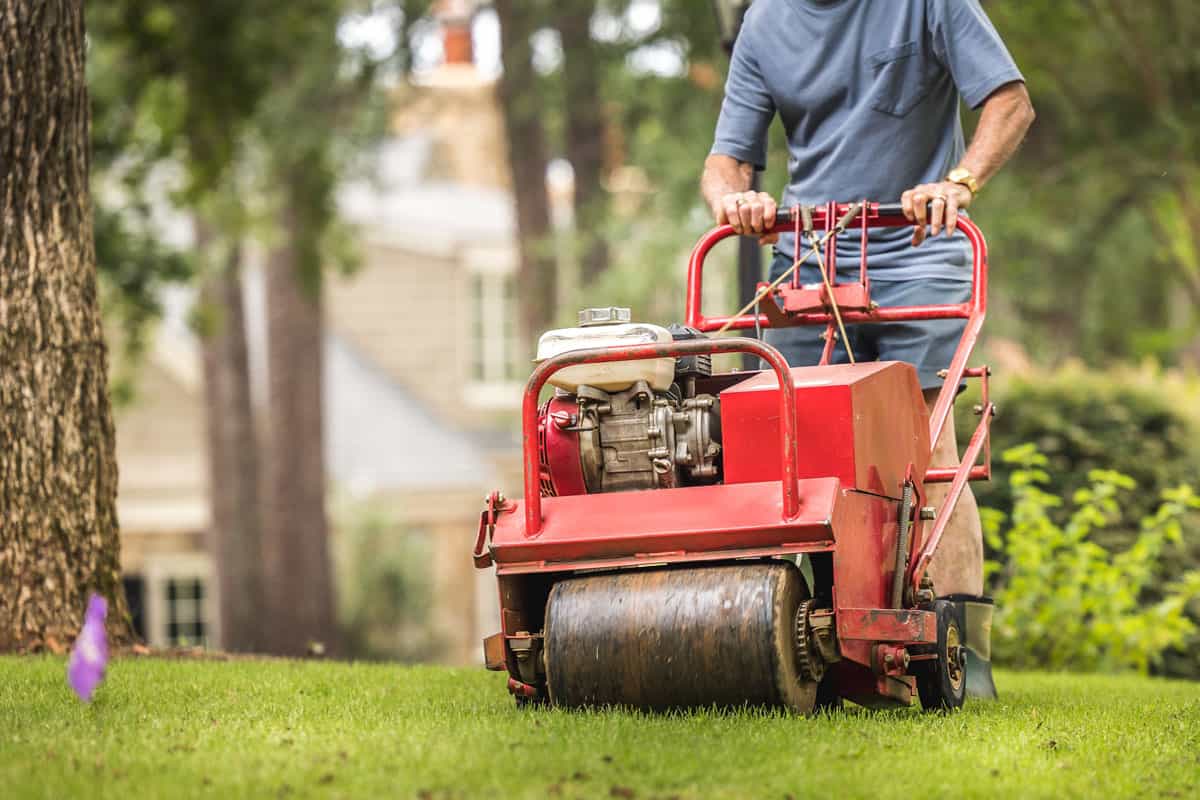
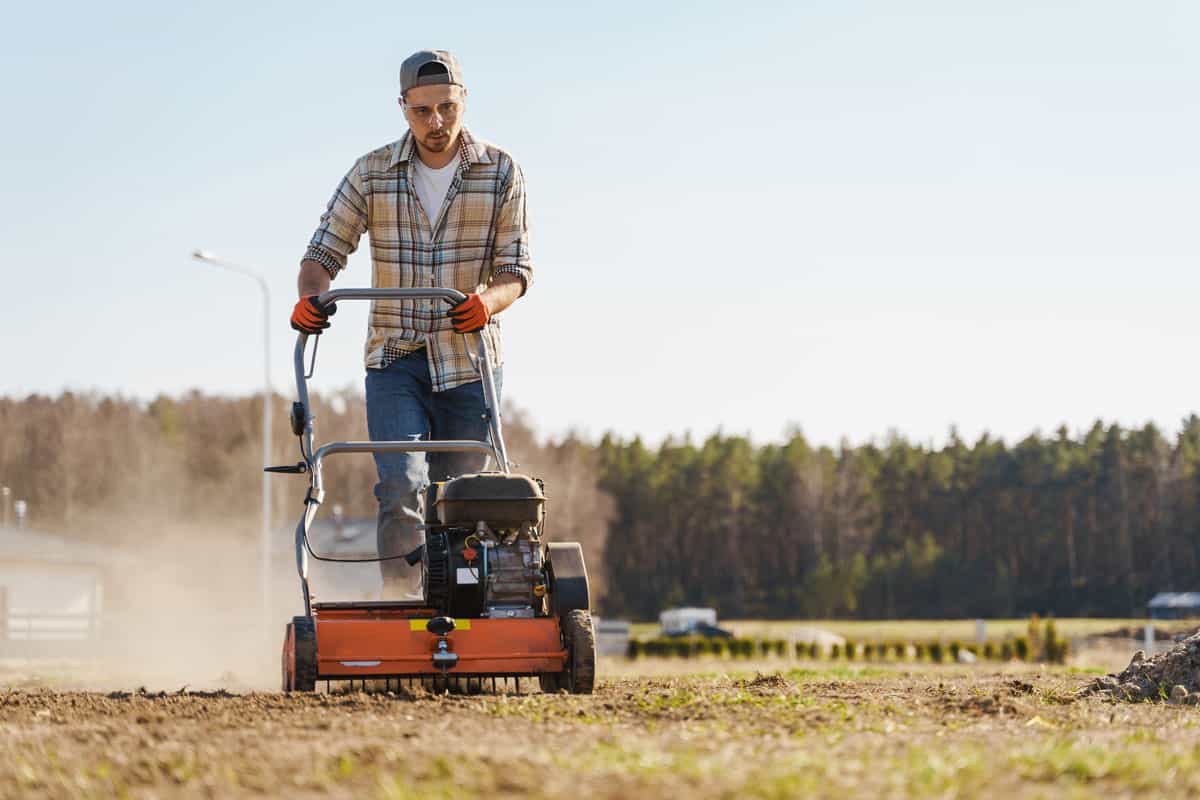
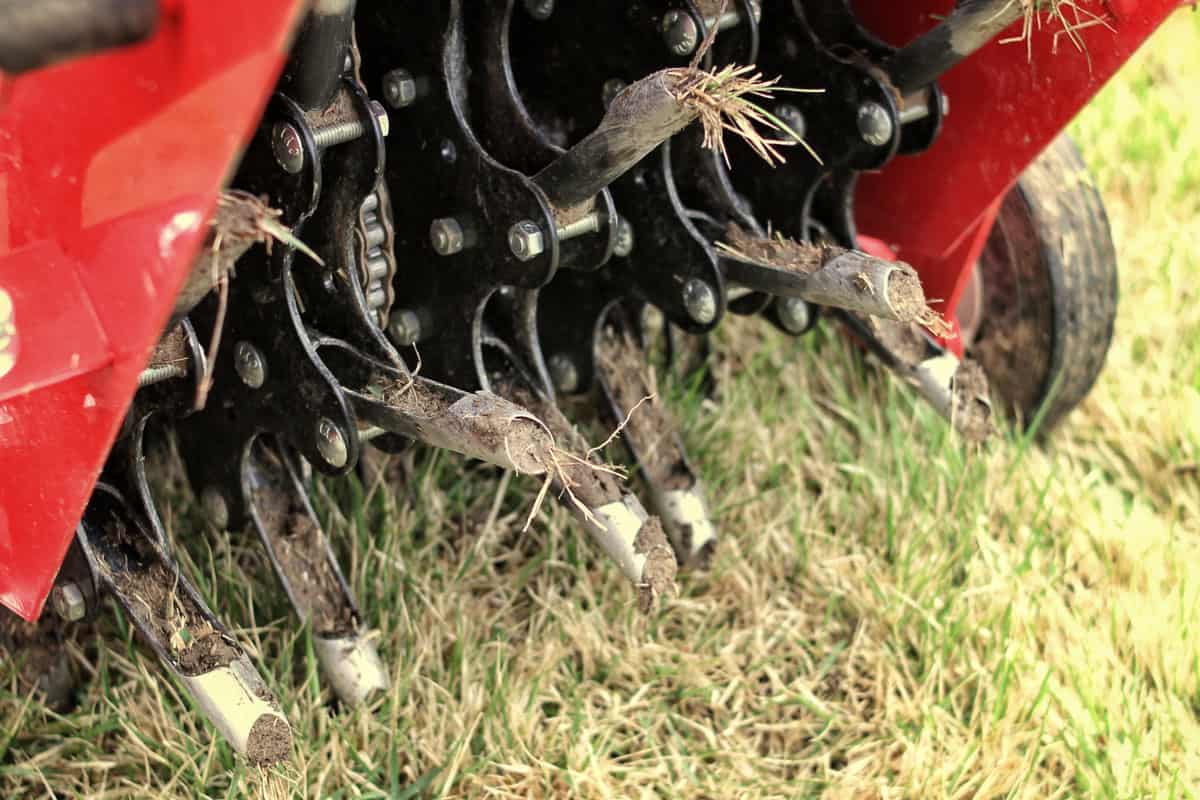
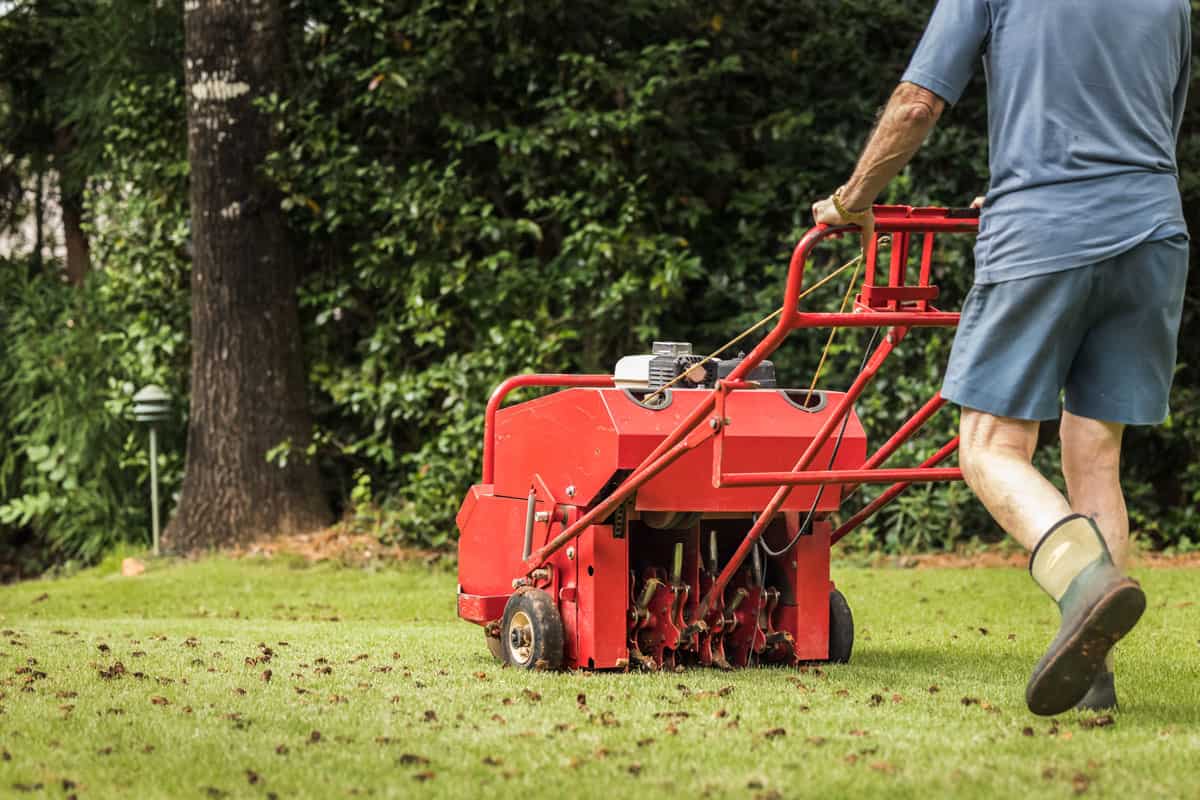
Maintaining a Classen Aerator is vital to ensure that it works efficiently. The aerator's engine has several parts that require routine maintenance. Disregarding them could lead to diminished performance, engine deterioration, and costly repairs. If your Classen Aerator won't start, keep reading. We researched the issue and found some of the causes of this problem.
Here are some possible reasons why your Classen Aerator won't start:
- Low Fuel Level
- Clogged Fuel Filter
- Dirty Air Filter
- Faulty Spark Plug
- Battery Issues
- Engine Problems
- Carburetor Issues
In this post, we'll discuss these issues and possible solutions. Continue reading as we address these and other issues and delve into the main topic.
Why Won't My Classen Aerator Start?
Like any other machine, the Classen Aerator can encounter problems that prevent it from starting. Troubleshooting is crucial to identify and solve the problem before buying replacement parts. Some reasons are listed below:
Low Fuel Level
Inspect the fuel tank. The engine may not have adequate fuel to start or run appropriately if the fuel level in the tank is low. Regularly check the fuel level and add fuel if needed.
Clogged Fuel Filter
Fuel may not be able to stream freely to the engine if the fuel filter is blocked. This can cause a power deficiency or keep the machine from starting. If the filter is dirty or clogged, you should replace it.
Dirty Air Filter
The engine will not get enough air to operate if the air filter is blocked, dirty, or clogged. This can also prevent the machine from starting. You should clean or replace the air filter as needed.
Faulty Spark Plug
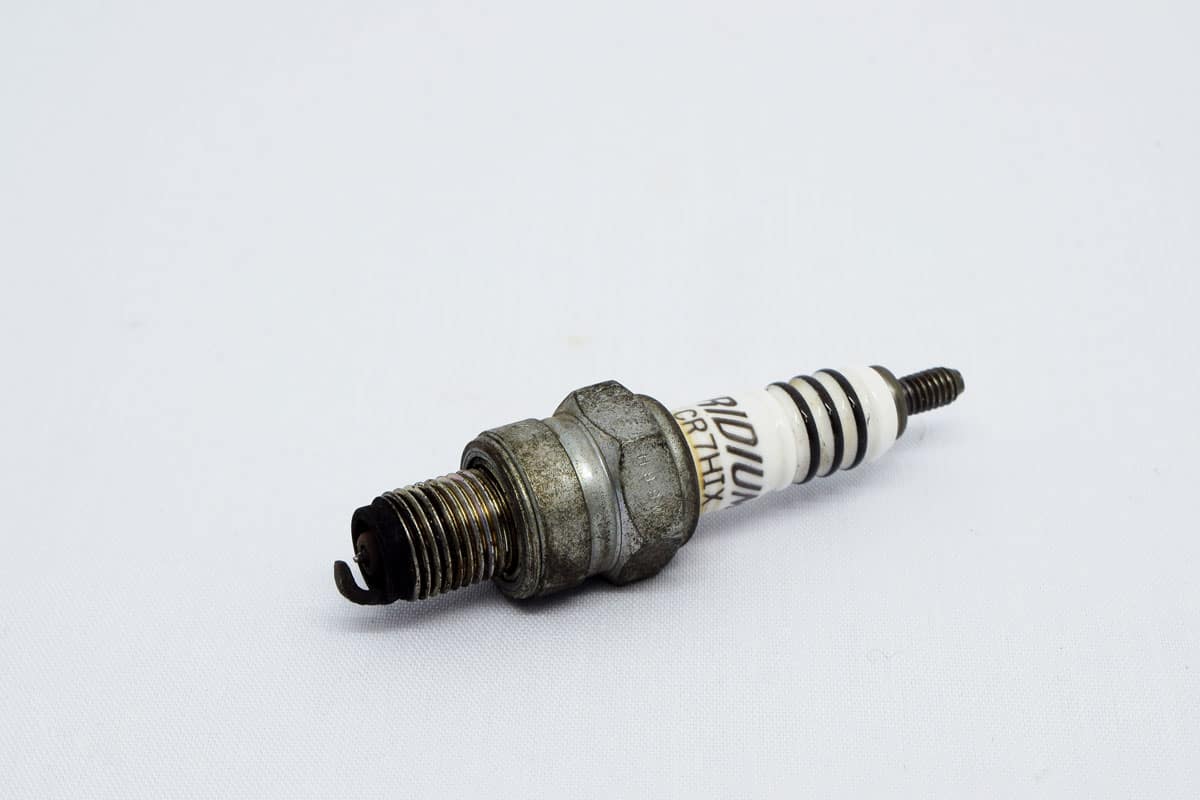
The engine may not ignite the fuel and air mixture if the spark plug is worn out or faulty. A faulty spark plug can lead to a lack of power and cause a misfire. You will need to replace the spark plug if it is worn out.

Click here to see this replacement spark plug on Amazon.
Battery Issues
If the Classen Aerator has electric starter issues, the problem could be a weak or dead battery. Check the battery condition and recharge or replace it as needed.
Engine Problems
The engine may not generate enough power to start if it's damaged or malfunctioning. If troubleshooting didn't resolve the problem, take the aerator to a professional for repair for further assistance.
Carburetor Issues
A faulty carburetor in any machine can affect engine performance and cause problems, including complications in starting the engine, irregular idling, and less power output.
A defective carburetor may have problems such as blocked fuel jets, worn gaskets, or a damaged float. These issues can lead to an unsuitable air/fuel mixture, which results in insufficient combustion, decreased power output, and low-grade engine performance.
How to Replace A Classen Aerator Battery
Here are the steps to replace the battery in a Classen Aerator:
- Turn the machine off and remove the key from the ignition.
- Find the battery on the machine. It is commonly located underneath the seat or in the engine's compartment.
- Detach the negative battery cable first. This is usually a black cable that attaches to the negative terminal on the battery.
- Unfasten the positive battery cable. This is usually a red cable that attaches to the (+) positive terminal on the battery.
- Pull the battery out from its mounting bracket. Note that some batteries are held in position with a clamp or strap while others are in bolted place.
- Put the new battery in the mounting bracket and clamp it in place.
- Attach the positive battery cable to the positive terminal on the battery.
- Secure the negative battery cable to the negative terminal on the battery.
- Turn the machine on and test the replacement battery to ensure it works properly.
The steps for replacing the battery on a Classen Aerator may differ depending on the machine model and year. You can refer to the owner's manual for information on charger compatibility or confer with a professional if you're unsure about the process.
How To Fix A Classen Aerator Carburetor
Here are the steps on how to fix the carburetor of a Classen Aerator:
- Pull out the air cleaner assembly, and disconnect the fuel line and throttle cable from the carburetor. Unscrew the bolts that connect the carburetor to the engine and carefully remove it.
- Disassemble the carburetor and keep track of all the small parts. Use a carburetor cleaner spray to cleanse the carburetor thoroughly. Follow the instructions on the cleaner spray can.
- Replace the carburetor gaskets if they are worn or damaged. Make sure to lodge the gaskets accurately and securely.
- Reassemble and reinstall the carburetor.
- Reconnect the fuel line and throttle cable, and reattach the air cleaner assembly.
- Adjust the carburetor once it's installed to ensure the engine runs smoothly. You'll need to adjust the idle speed, the air-fuel mixture, and the throttle linkage.
Reminder: Carburetor repair can be complex. You may need some mechanical expertise to do it. If you're doubtful about the procedure, consult a professional technician for advice.
Watch the video for more details about how to clean the carburetor.
How To Maintain Classen Aerator Engine Oil
Here are some steps to help you maintain the engine oil of your Classen Aerator:
- Check the oil level using the dipstick supplied before turning the engine on. The oil level should be between the "full" and "add" marks on the dipstick. If the oil level is low, add more until it reaches "full."
- Change the engine oil after every 50 hours of usage or at least once per year.
- Warm up the engine for a few minutes to make the oil drain more easily.
- Turn the engine off. Remove the drain plug and drain the oil into a container. Return the drain plug and add new engine oil.
- Use high-quality engine oil that is compatible with your aerator.
- Replace the oil filter each time you change the oil.
How To Maintain A Classen Aerator Spark Plug
Here are some steps to help you maintain the spark plug of your Classen Aerator CA-18:
- Check the spark plug for signs of wear or damage before each use. Replace the spark plug if the electrode has worn out or there's a crack in the insulator.
- If the plug has a gray or tan residue, this means it is in good condition.
- If the plug has a white, blistered layer, it could be a sign of overheating.
- A black coating implies an over-rich fuel mixture.
- These coatings could mean the machine has clogged air cleaners or improper carburetor adjustment.
- Replace the damaged plug with a new one for the best results.
- Set the proper gap between the center and side electrode as recommended by the manufacturer. Use a spark plug gap tool to adjust the space if necessary.

Click here to see this park plug gap tool on Amazon.
Take note: Use authentic Schiller Grounds Care, Inc. components or parts with comparable attributes, including type, strength, and material.
How To Clean A Classen Aerator
Here are the steps for cleaning your Classen Aerator:
- Turn the engine off and allow it to cool down before washing the machine.
- Do not use a pressure washer to clean the device. Clear debris, such as grass or leaves, from the machine exterior with a broom or compressed air.
- Use a moist cloth or sponge to wipe down the machine's exterior. Keep water away from the engine's interior and any electrical parts.
- Use a gentle detergent or degreaser to wash the machine. If the machine is greasy, you can dilute the detergent or use a degreaser according to the manufacturer's instructions. Use a soft-bristled brush to clean dirty spots.
- Rinse the machine thoroughly using a hose or pressure washer, and avoid getting the water inside the engine or near electrical parts.
- Dry the machine with a towel or let it air dry.
- Grease any moving components with light machine oil or spray lubricant.
You should keep your Classen Aerator clean to extend its lifespan. Regular cleaning can also make you aware of any possible damage or wear and tear on the machine.
Summing Up
In this post, we focused on possible reasons why a Classen Aerator won't start and provided solutions for those issues. We determined that a faulty carburetor, spark plug, engine problems, or battery issues may cause startup problems.
We also emphasized the importance of regular cleaning and maintaining the engine components to prevent future problems.
For more discussions about engines and other gardening tools, you may visit the following posts: