
Get ready for another inspiring Ikea hack!
Creator @entertainidea has brilliantly reimagined a simple product, presenting a DIY project.
This mesmerizing transformation where the unassuming Ikea Akerbar greenhouse metamorphoses into a work of art.
Watch the video below and by the end, you'll undoubtedly be eager to try out this DIY journey yourself!
@entertainidea Another day, another IKEA hack! 🥰 Turn the basic @IKEA AKERBAR product into a dreamy cottagecore stained glass greenhouse with today’s DIY tutorial! 🌿 Details up on the blog 🎨 #entertaintheidea #diyproject #ikeahack #diytok #crafts #cottagecore ♬ Little Bitty Pretty One - Thurston Harris
The Transformation
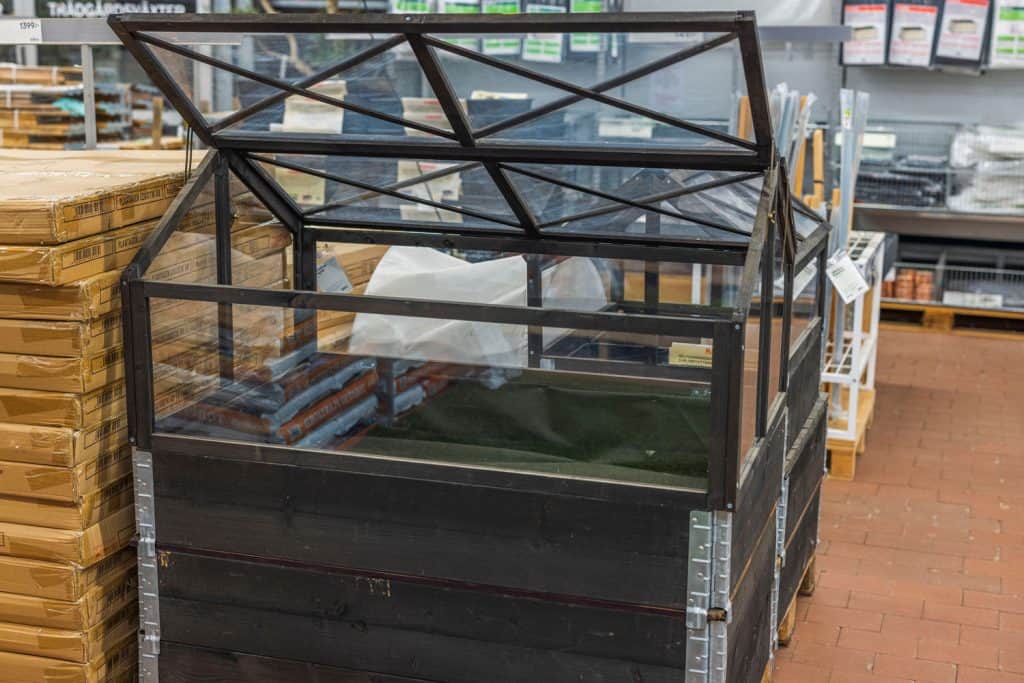
Ikea's Akerbar greenhouse has always been a popular pick for those looking to house their little greens.
The video by @entertainidea showcased a step-by-step process of turning the plain greenhouse into a stained glass masterpiece.
Here's how it's done:
1. Preparation
Start by setting up a clean workspace. Ensure there's adequate lighting so you can see all the details clearly.
2. Clean the Glass
Using a glass cleaner or just a damp cloth, clean the glass panels of the Ikea Akerbar greenhouse to ensure they're free from dust and fingerprints.
3. Plan Your Design
Before starting with the paint, sketch out your stained glass design. This will give you a roadmap to follow and make the painting process smoother.
If you have a stencil or template, place it inside the greenhouse, so it shows through the glass. This will guide you as you paint.
4. Painting
A highlight was definitely the use of Gallery Glass paints, which give the greenhouse a charming, dreamy cottagecore feel.

Check out this window acrylic paint set on Amazon.
The stained glass effect not only adds an aesthetic appeal but also filters the light in a beautiful way, perfect for those sun-loving plants.
Shake the Gallery Glass paint bottles well before use. Start by outlining your design on the glass using a fine paintbrush. Ensure the lines are smooth and even.
Once the outlines are dry, begin filling in the design with your chosen colors.
Depending on the desired effect, you might want to layer the paint for a richer color or mix shades for a unique touch.
Use different brushes for intricate details and broader areas to maintain precision.
5. Drying
Let the greenhouse sit in a safe place where it won't be disturbed, allowing the paint to dry completely.
Gallery Glass paints can take several hours to dry, so be patient.
6. Final Touches
Once dried, inspect your work. If needed, touch up any areas where the paint may be uneven or where the design needs refining.
Community Buzz
The TikTok community was abuzz with admiration.
User @capturingdustlight humorously commented, "You made the whole process look so easy and I almost threw this entire greenhouse out the window just trying to assemble it."
When @aaandreaaaaaaaaaa asked what the revamped item was meant to be used for, the creator, @entertainidea, chimed in: "Thank you!! It’s a little tabletop greenhouse for plants. Could make a cute little indoor herb garden!"
For cat owners, here's a pro tip courtesy of @JessicaVilchis222: "Genius!!! I need something for my plants so my cat doesn’t eat them. Thank you! Such a beautiful idea!"
A Stained Glass Dream
As we often find, the most basic items around us hold a world of potential.
@entertainidea's stained glass greenhouse is not just a DIY project; it's a testament to creativity, innovation, and the wonders of repurposing.
So, the next time you look at a basic piece of furniture or decor, remember - with a touch of creativity, the possibilities are endless!
For more gardening hacks, get inspiration here:
DIY Garden Decor: Creating Charming Concrete Mushrooms
The Dollar Tree Hanging Plant Ball Hack You Have To Try For Full Blooms
How can I purchase the kit ?