
Looking for a unique addition to your garden?
Making your own concrete mushrooms is an easy weekend project that adds a personal touch to your outdoor space.
With basic tools and a bit of creativity, you can create these charming garden decorations.
The steps are simple, check it out:
@dadadvicefrombo An easy weekend project my Dad loves so I’m sharing again. This time you should sew this video with your mushrooms so I can show Grandpa Einar. Love, Dad
Step-by-Step Guide
This DIY project, inspired by a TikTok video from dadadvicefrombo, is not only a great way to personalize your outdoor space, but it's also a fantastic activity to engage kids or grandkids in.
Here's an expanded step-by-step guide on creating these charming garden decorations over a weekend.
1. Prepare the Mold
Start by taking some dirt or sand and making an indent in it. This will serve as the mold for your mushroom cap.
The size and depth of the indent will determine the size of your mushroom cap, so feel free to experiment.
Cover the indent with plastic wrap to create a barrier between the concrete and the dirt or sand, ensuring easy removal of the hardened concrete.
2. Pour the Concrete
Next, pour your mixed concrete into the plastic-covered indent.

Click here to see this concrete on Amazon.
Make sure to flatten out the bottom to give your mushroom cap a nice, even shape. This will also ensure that your mushroom cap sits well on the stem.

Click here to see this kit of assorted-size screws on Amazon.
Before the concrete hardens, insert a screw into it. This will be used later to attach the mushroom cap to its stem, providing stability to your garden ornament.
3. Let it Harden
Allow the concrete to harden. This process can take a few hours to a full day, depending on the size of your mushroom cap and the type of concrete used.
Once it's set, you'll have the top of your mushroom ready to go.
The waiting period is a great time to plan the next steps or prepare for the decoration phase.
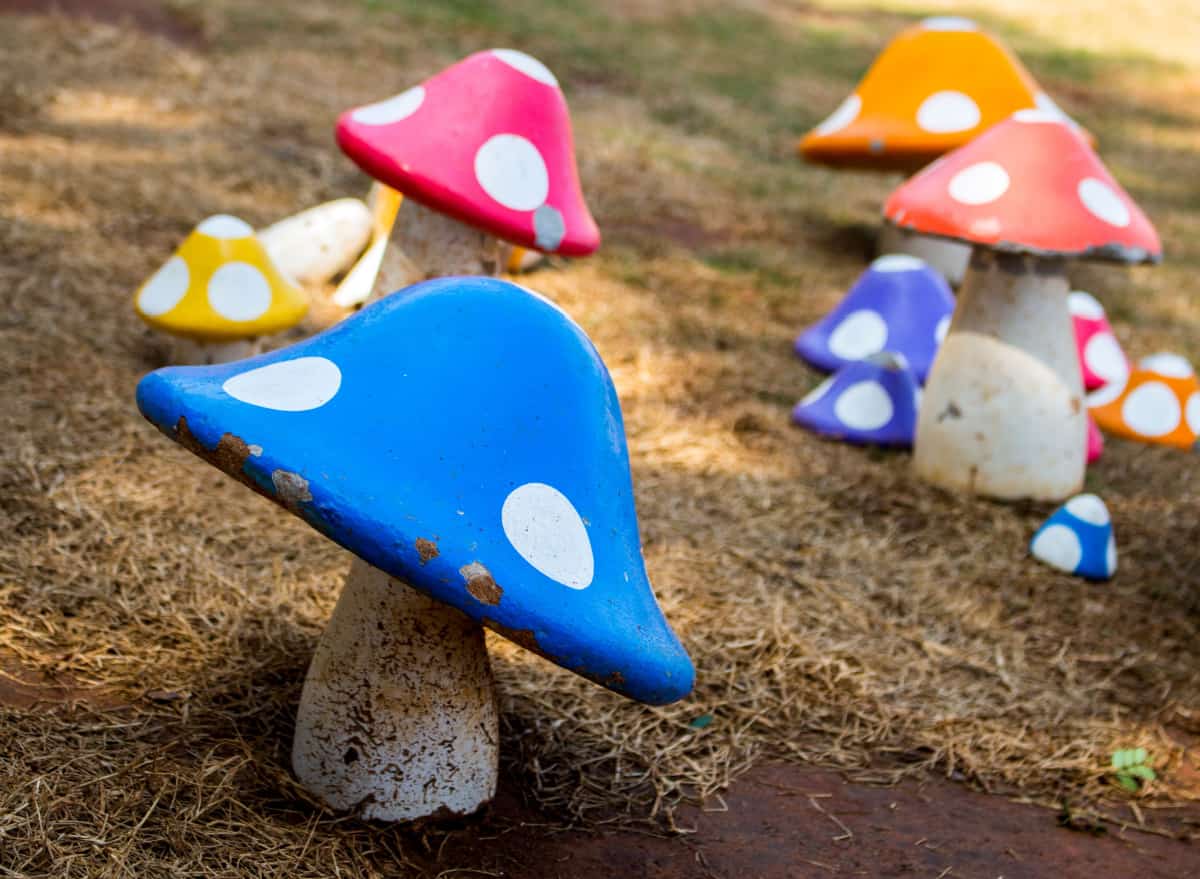
4. Get Creative
The beauty of this project is that every mushroom can come in different shapes, sizes, and colors.
Use your creativity to come up with various designs.
You can even paint the hardened concrete caps to add more color and character to your mushrooms.
Consider using weather-resistant paint to ensure your creations can withstand the elements.

Click here to see this weather-resistant paint on Amazon.
5. Prepare the Stems
While your mushroom caps are drying, it's time to prepare the stems. Find some thick sticks from your yard to use as the stems.
The length and thickness of the sticks can vary depending on your preference.
Drill a hole into the bottom of each stick. This hole should be large enough to accommodate the screw in your mushroom cap.
6. Assemble the Mushrooms
Now it's time to bring your mushrooms to life. Pound the drilled sticks into the ground where you want your mushrooms to be.
The location can be anywhere in your garden, perhaps near a garden path or around a tree.
Remember the screw in your mushroom cap? It should slide right into the hole you drilled in the stick, securing the cap to the stem.
DIY Project Wrap-Up
And there you have it! With a bit of creativity and a few simple steps, you've transformed your garden with these charming concrete mushrooms.
Remember, this project is all about personalization and fun. So, don't hesitate to experiment with different shapes, sizes, and colors.
Enjoy your crafting journey and the whimsical touch these mushrooms bring to your garden.
Read more DIY garden decors we have below:
How To Use Diapers In Hanging Baskets
The Pool Noodle Hack That Will Save You Money On Potting Soil