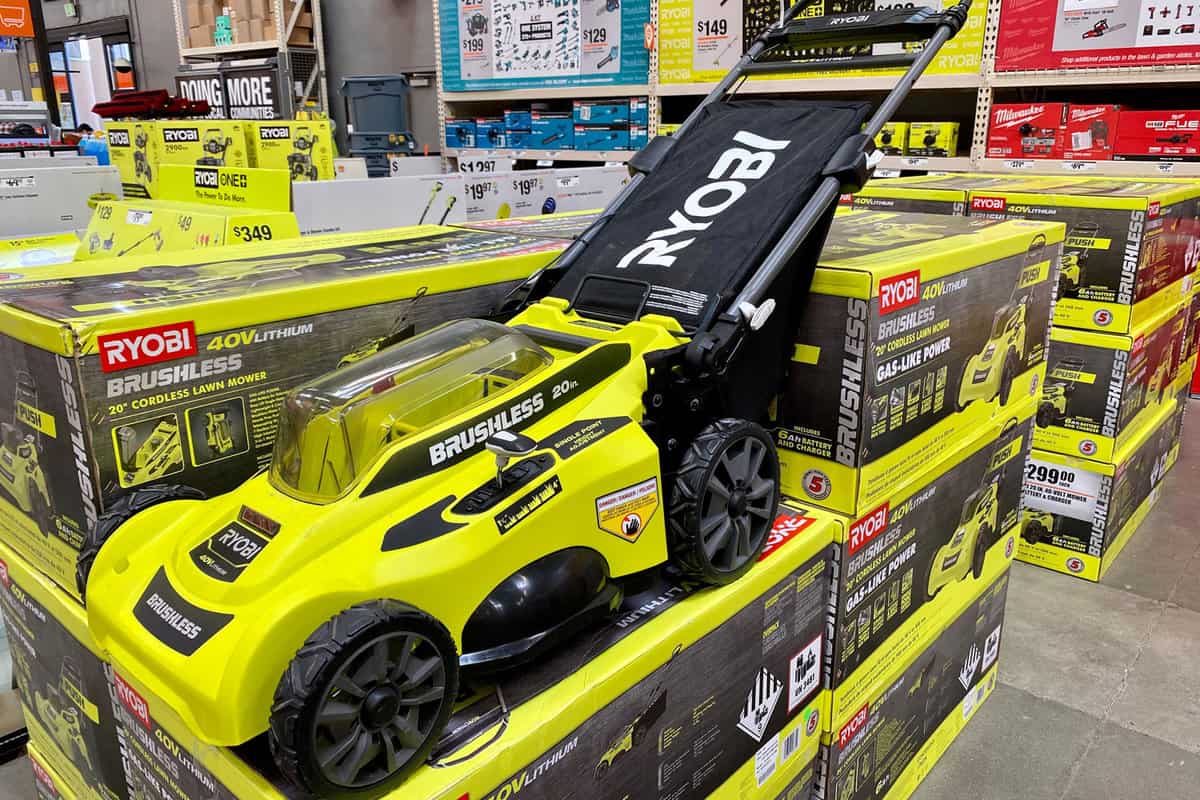
Attaching a Ryobi grass bag to your lawn mower is an efficient way to collect clippings while you mow your lawn, keeping it clean and well-groomed.
A grass bag helps you dispose of the waste in an environmentally friendly manner, as you can turn the clippings into compost or use them as mulch.
In this article, we'll guide you through the process of attaching a grass bag to your Ryobi lawn mower with ease.
Assembling the Grass Catcher
In this section, you'll learn how to attach a Ryobi grass bag to your lawn mower in just a few simple steps.
We browsed the Ryobi website's lawnmower manuals for information on how to assemble the grass catcher and here are the steps:
1. Set-up the Frame
Start by finding a flat and stable surface to work on.
Once you've chosen your spot, lay the grass catcher frame down with its handle facing the ground. This will act as your base for the upcoming steps.
2. Position the Bag
Next, prepare the grass catcher bag. You'll want to position it so that its vinyl floor is pointing upwards.
As you gently slide the bag over the frame, there are a couple of things to keep in mind.
Ensure that the frame's handle stays outside the bag, visible and not tucked within.
Additionally, it's important that the seams of the bag align neatly with the edges of the frame. This alignment guarantees a snug fit and optimal functionality.
Check out this Ryobi grass bag on Amazon.
3. Securing and Adjusting the Bag's Base
Now, it's time to secure the bag. Begin by taking the clip located on the bag and stretching it over the frame rail.
Once you've done this, it should click into place, holding the bag firmly against the frame.
Following that, lift the bag’s vinyl floor and adjust it so that it sits at the top of the frame rail. This adjustment further ensures the bag's security.
4. Final Attachments
To finish the assembly, take note of any remaining clips on both sides of the bag.
These clips should be attached to the frame rail in the same manner as the first, by stretching and securing them.
By the end of this step, the bag should be fully affixed to the frame.
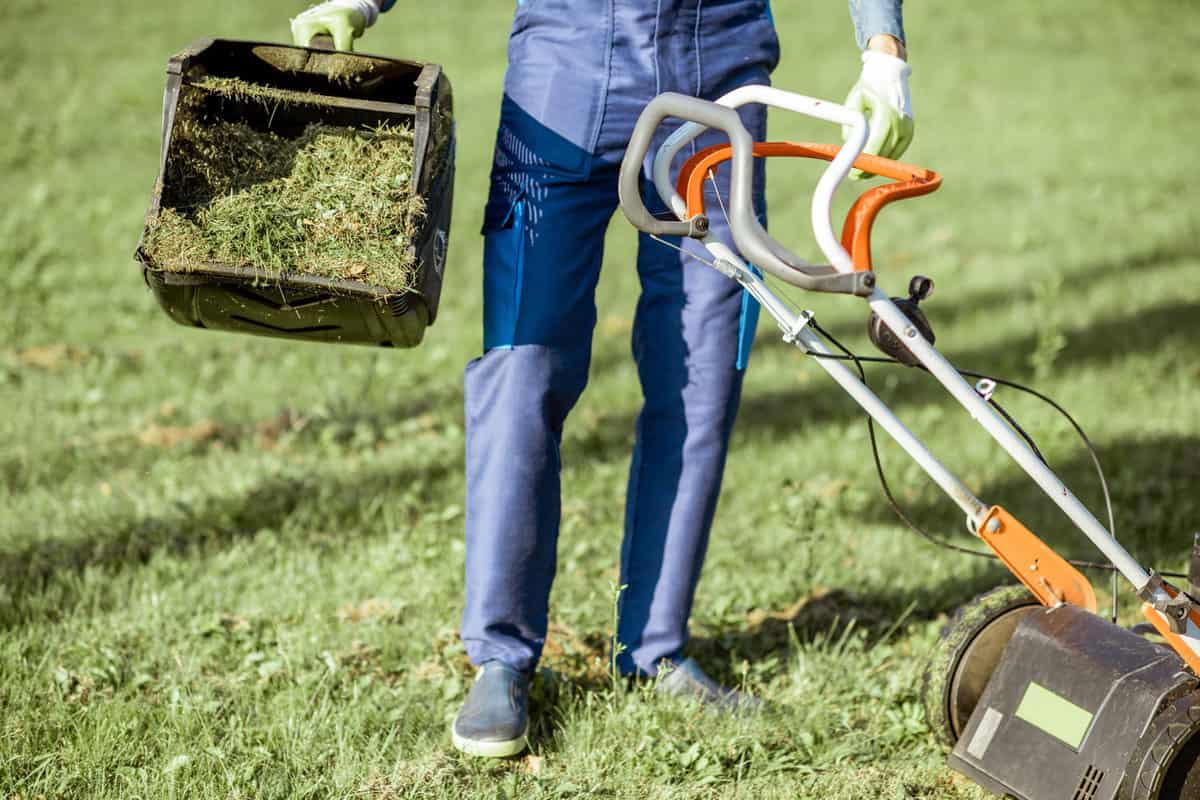
Installing the Grass Catcher for Rear Bagging Operation
Before embarking on the installation of the grass catcher, it's essential to remember one key point: if you're using the grass catcher, avoid installing the mulching plug.
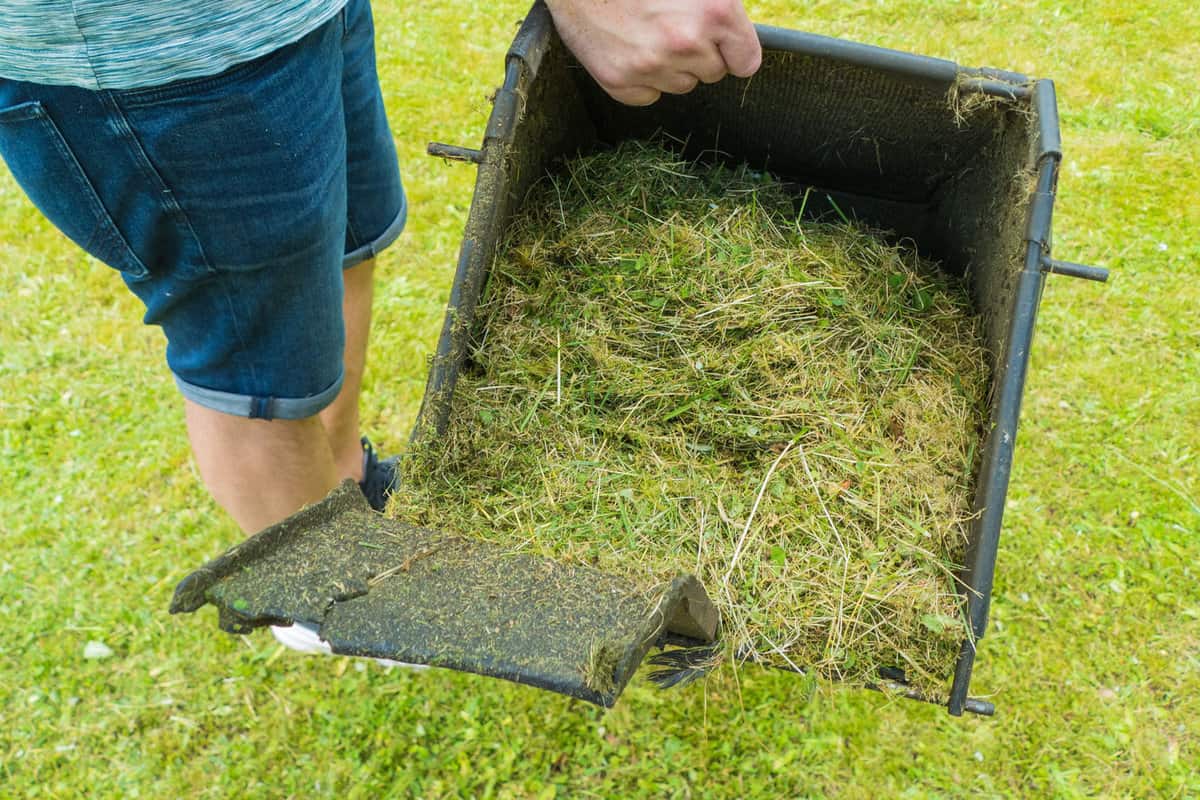
This ensures the mower functions correctly for the rear bagging operation.
1. Safety First
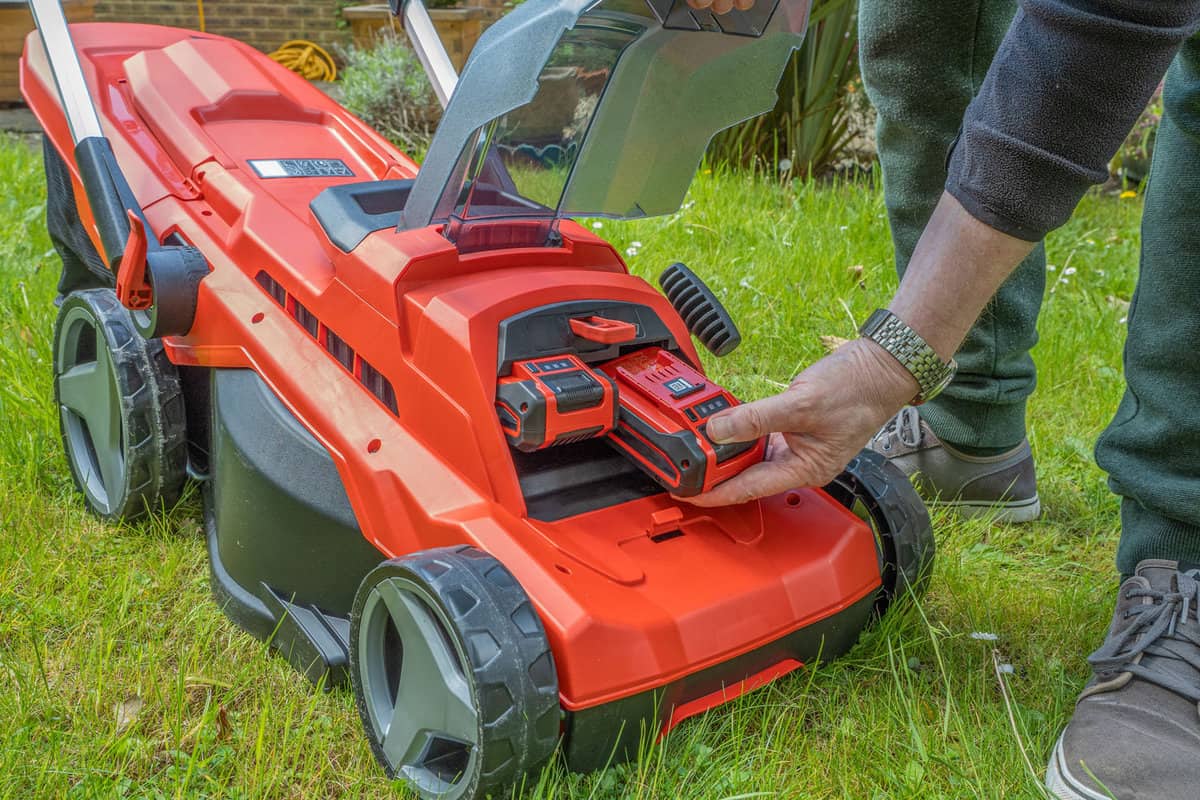
To safeguard against any accidental startups, start by powering down your Ryobi lawn mower. Remove the start key and then the battery packs.
2. Positioning the Rear Discharge Door
Lift the rear discharge door, typically located at the back, creating an outlet for the cut grass.
3. Installing the Grass Catcher
Holding the grass catcher by its handle, position it right under the rear discharge door.

As you're doing this, ensure the hooks on the grass catcher align and latch onto the slots on the mower's housing.
4. Securing the Installation
Once the grass catcher is correctly positioned and anchored, gently release the rear discharge door.
This action ensures the catcher is firmly in place, prepping your mower for efficient grass collection.
5. Power Up and Ready
When you're set to begin your mowing session, reinstall the start key followed by the battery packs.
Now, your Ryobi lawn mower is powered up, with its grass catcher installed and ready for an optimal rear bagging operation.
Below is a helpful video to help you visualize the process.
Tips for Efficient Use of the Grass Bag
Using your Ryobi grass catcher efficiently can help you keep your lawn neat and tidy. Here are some friendly tips on making the most of your grass bag:
Attach the Bag Securely
Ensure the bag is properly connected to the mower's rear chute and does not sway while you mow your lawn.
Remember, a loose grass bag can easily detach and spill the clippings all over your lawn.
Adjust Your Mower's Cutting Height
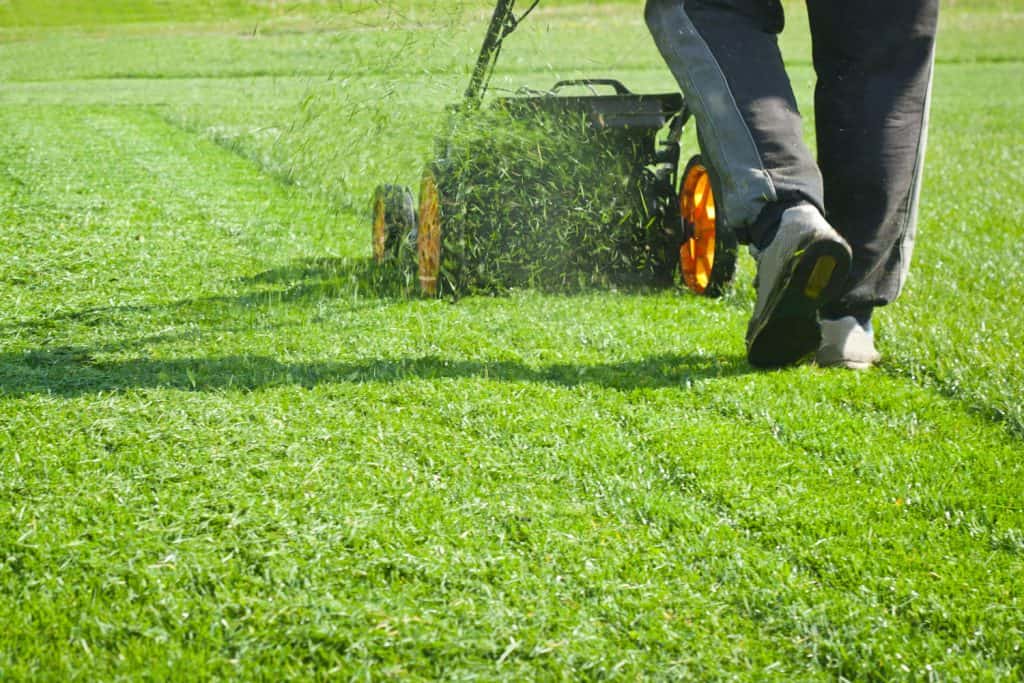
When mowing, adjust your mower's cutting height according to the type of grass and season.
Cutting at a suitable height allows the mower to collect a good amount of clippings without overloading the grass bag.
Mow Your Lawn When the Grass is Dry
To maximize the bag's capacity, mow your lawn when the grass is dry.
Wet grass tends to stick to the mower and the grass bag, reducing the bag's effective capacity and making it difficult to empty later.
Clean the Bag Regularly
It is also a good idea to clean the bag regularly. Over time, grass clippings and debris can accumulate in the bag, and affect its efficiency and compromise the bag's breathability.
After several uses, take a few minutes to shake the bag out or use a brush to remove any buildup.
Keep an Eye on the Grass Bag's Filling Level
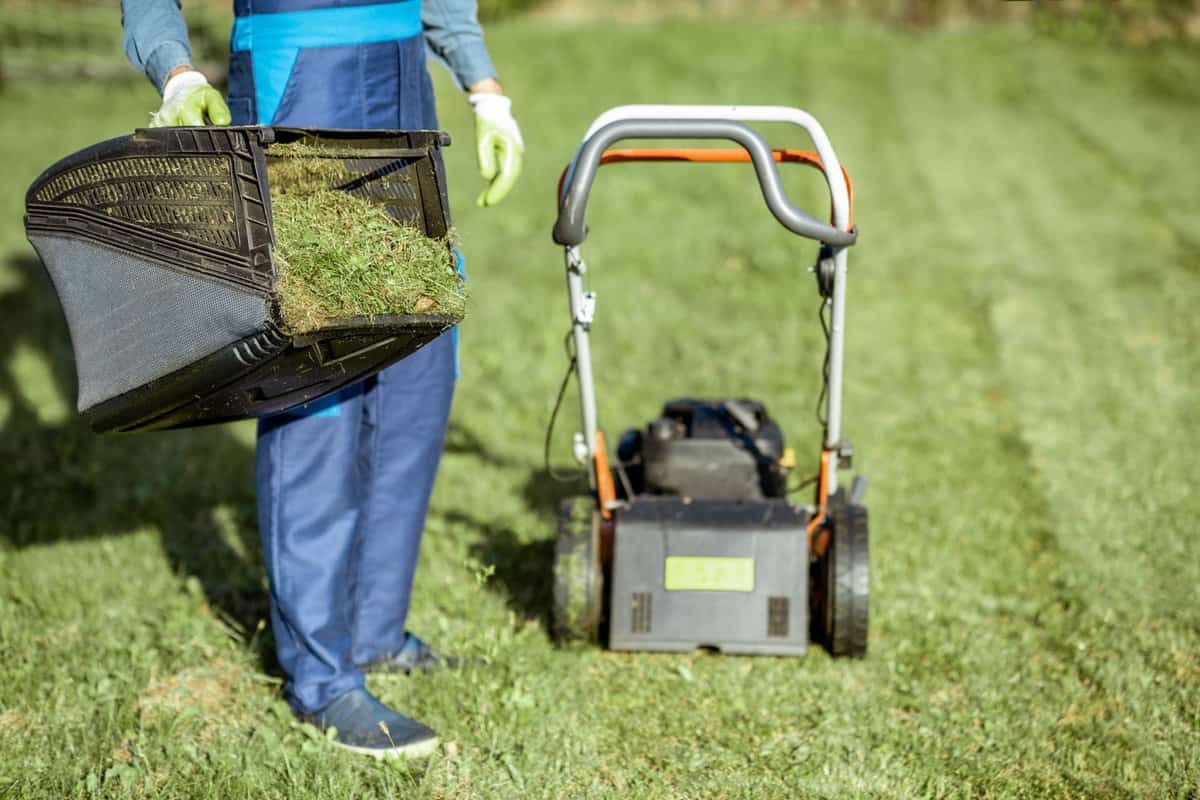
Lastly, keep an eye on the grass bag's filling level while you mow. Overfilling the bag can make it difficult to maneuver and empty.
If you find that the bag feels heavy or your mower starts to leave clippings on your lawn, it's time to empty the grass bag.
Troubleshooting Common Issues
In this section, we will be addressing common issues that you might encounter while attaching a Ryobi grass bag to your lawn mower.
Bag Not Filling
If you find that your grass bag is not filling up properly, there are several possible causes:
1. Airflow Issues
Firstly, ensure that there are no obstructions in the mower deck or chute leading to the bag.
Make sure to clean any dirt, debris, or grass clippings that could be impeding airflow.
2. Clogged bag
Examine the bag's fabric for any clogging or dirt buildup. A clogged bag will restrict airflow, making it difficult for the grass clippings to enter.
3. Incorrect Mowing Height
If you are mowing too low, the grass may not be cut effectively and may not enter the bag as easily.
Try adjusting your mower's cutting height and see if it resolves the problem.
Bag Falling Off
A grass bag that constantly falls off your lawn mower can be frustrating. Here are some steps you can take to resolve this issue:
1. Check Hooks and Attachment Points
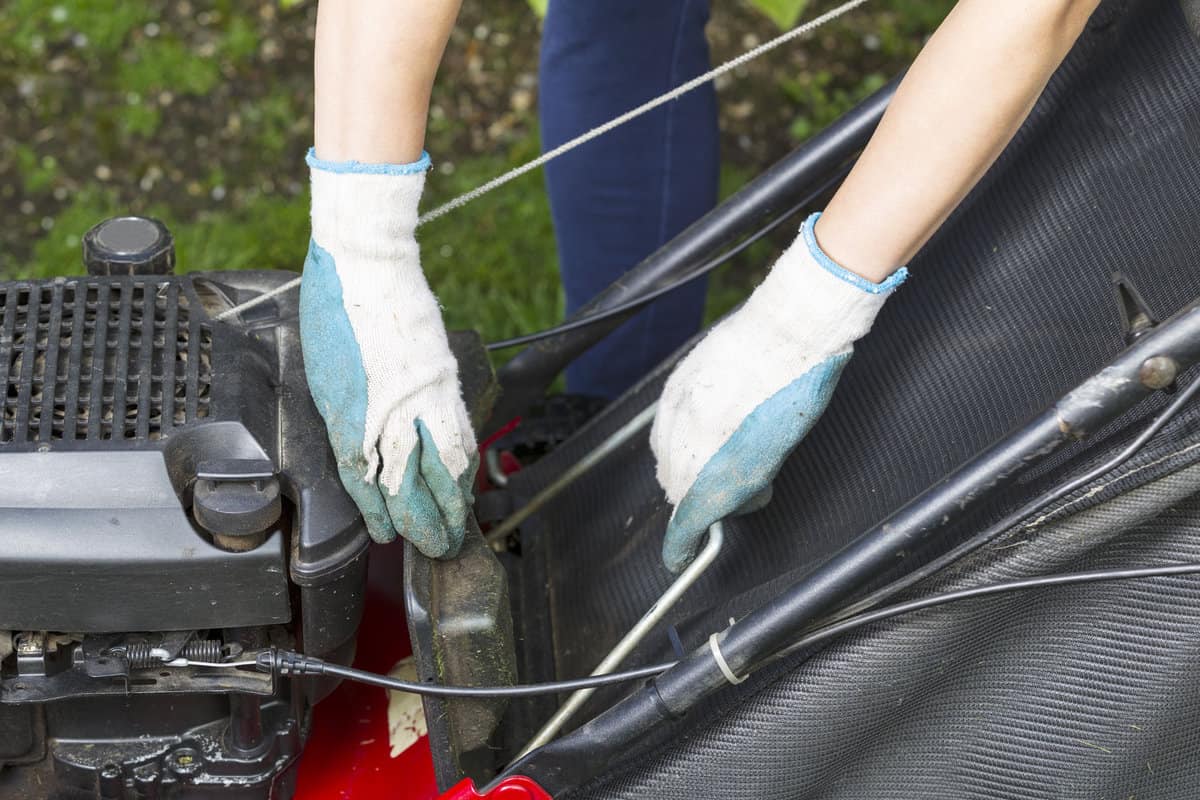
Inspect the bag's hooks, clips, and attachment points on the mower for damage or wear. Replace any damaged parts as needed.
2. Tighten Connections
Ensure that the bag is securely attached to the mower. You may need to tighten any loose connections, straps, or clips to ensure a snug fit.
3. Avoid Overfilling
An overfilled bag can become heavy, putting extra strain on the attachment points, leading to the bag falling off. Empty the bag more frequently to prevent overloading.
Bag Damage
A damaged grass bag can cause problems with its performance and may need repair or replacement. Look out for these common signs of damage:
1. Holes or Tears
Inspect the fabric of the bag for any visible holes or tears. These can impact the bag's ability to hold the clippings and may cause them to spill out while mowing.
Patch up any small holes or tears, or consider replacing the bag if the damage is extensive.
2. Worn Out Fabric
Check for any areas where the bag's fabric is thin or worn. Over time, the fabric can become weak and prone to tearing.
If the wear is significant, it might be time to replace your grass bag.
3. Broken Handles or Hooks
Damaged handles or hooks can prevent your bag from attaching securely to the mower.
Replace any damaged components as needed to ensure proper attachment and functionality.
Attaching a Ryobi Grass Bag is a Straightforward Process
Attaching a Ryobi grass bag to your lawn mower is a simple and efficient way to collect clippings while mowing.
For optimal use, regularly empty the bag to prevent it from becoming too heavy, which can lead to decreased mower efficiency.
A well-maintained grass bag will allow your Ryobi mower to perform at its best and keep your lawn clean and appealing.
You'll enjoy a cleaner lawn and a smoother mowing experience.
For more information on Ryobi products, check out these other articles:

