
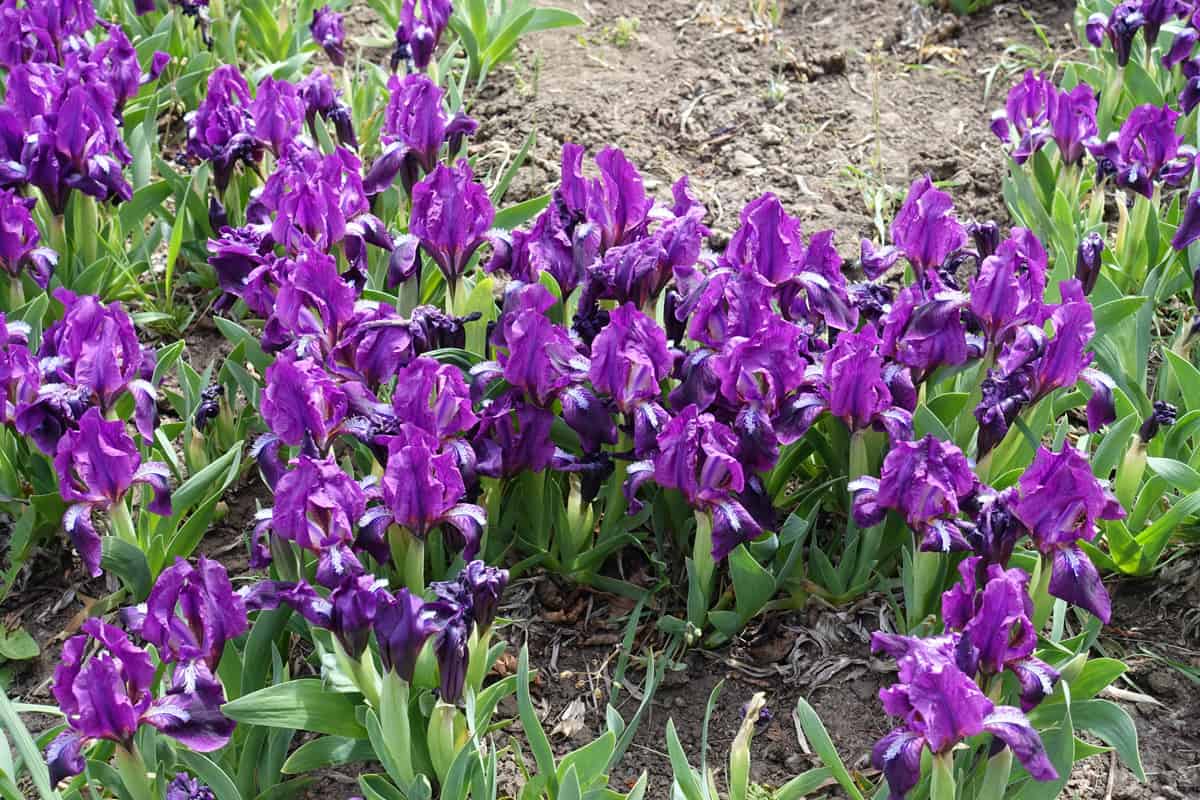
Irises are among the most exquisite cultivated flowers. Planning to prepare them for the next season of planting? Then, learning how to divide and store this plant is necessary. We’ve researched this matter and gathered ideas for these two processes. You’ll be happy to know that it is easy to do.
To divide and store iris rhizomes for the next planting season, the steps are:
Dividing:
- Dig out the clump of the plant.
- Clean the rhizomes and roots.
- Remove the parts without leaves and roots.
- Remove the unhealthy section(s) of the rhizomes.
- Divide the rhizomes into sections.
- Trim the leaves.
Storing:
- Dry the rhizomes.
- Clean up the remaining dirt.
- Cure the rhizomes.
- Coat the rhizomes with antifungal powder.
- Wrap and put the plant in the container.
- Store the container at a cool temperature.
- Do regular check-ups.
In this article, we will elaborate on the aforementioned steps. Also, we will share with you the planting procedures. So, let’s get ready to look at the easy steps of taking care of iris rhizomes.
![Close view of purple flowers of Iris germanica with rain drops in May, How To Divide And Store Iris Rhizomes [For Planting Next Season]?](https://gardentabs.com/wp-content/uploads/2022/09/15.-How-To-Divide-And-Store-Iris-Rhizomes-For-Planting-Next-Season.jpg)
How To Divide Iris Rhizomes?
More than 300 species of iris exist, and they are frequently divided into groups based on the various root structures they produce.
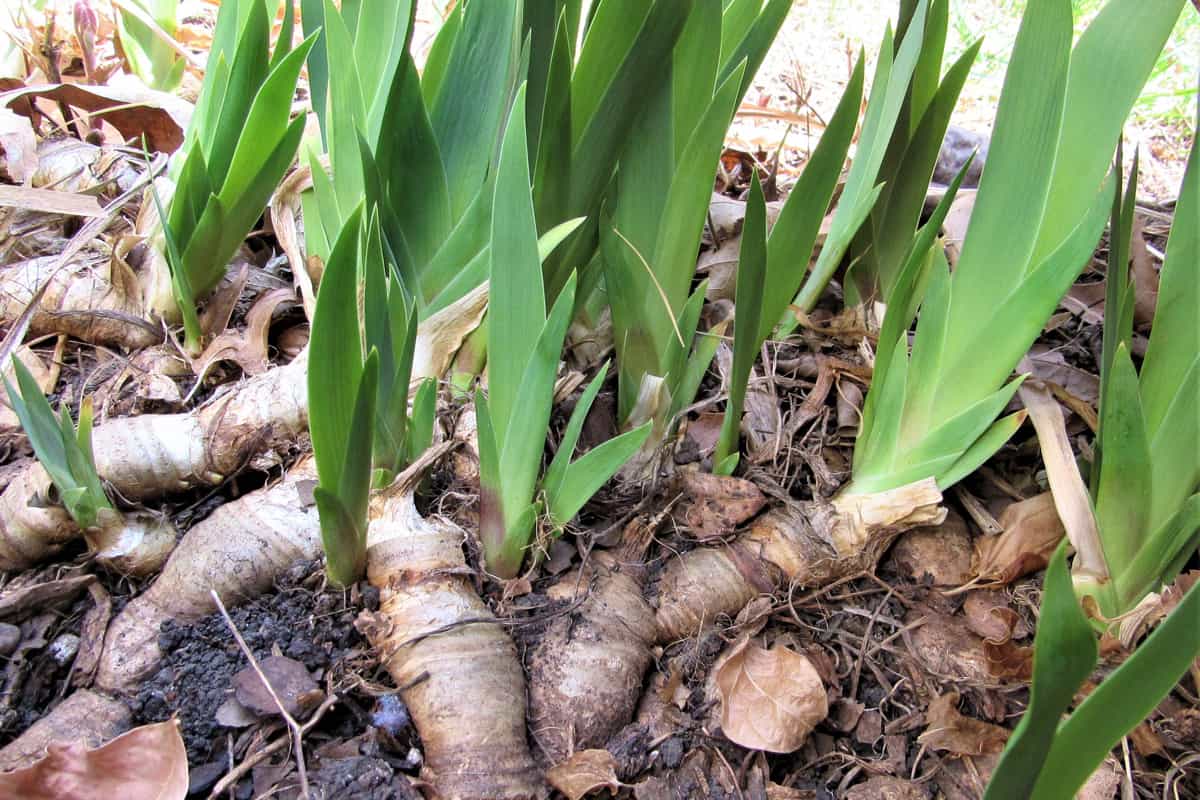
Some irises have fibrous root clumps whereas others have bulbous roots. But the bearded iris group—the largest and possibly the most significant—grows from fleshy, swollen subterranean structures called rhizomatous roots.
When a gardener buys a fresh iris, particularly from an online supplier, it frequently just comes as a rhizome segment that needs to be planted and frequently with a cut section of leaves still attached.
Plants may stay on top of any new disease issues by regularly dividing. Additionally, it keeps your iris plants productive and healthy. Following is the step-by-step guide on how to divide iris rhizomes.
1. Dig Out The Clump Of The Plant
Dig up the whole iris clump with a garden shovel. Making deep cuts all the way around the cluster and then removing it from the ground with a shovel is the simplest way to accomplish this.

Click here to see this shovel on Amazon.
Another tool to use is a garden fork. Place the fork 3” to 4” outside of the visible rhizomes or entirely into the soil along the drip line. Around the entire area, loosen the soil. If you can, remove the whole mass.

Click here to see this garden fork on Amazon.
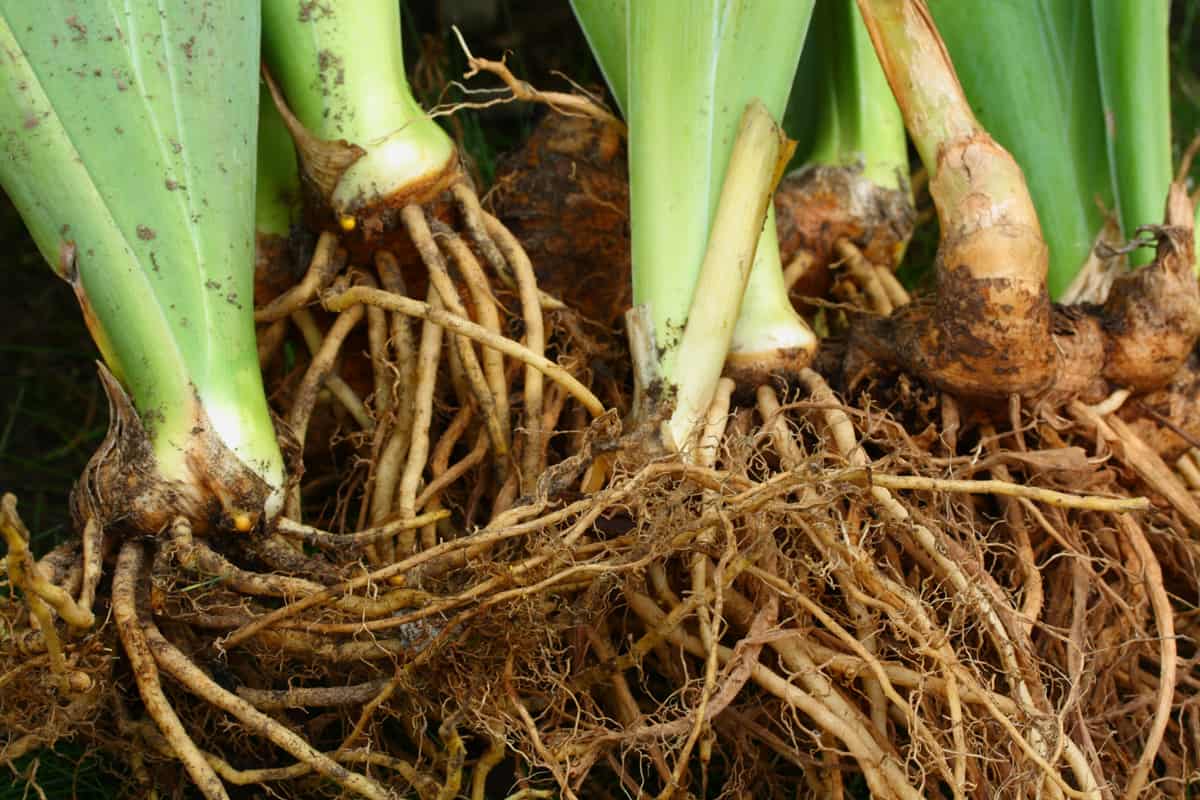
2. Clean The Rhizomes & Roots
While being careful to preserve the roots, brush the rhizomes and roots as thoroughly as you can using a soft bristle brush. Cleaning makes it simpler to divide and look for potential pests.
3. Remove The Parts Without Leaves & Roots
Trim and remove any large portions, especially the center of clumps, that don't have a connected leaf fan. Discard the older ends of rhizomes as well, which are the ends farthest from the leaf fan and no longer exhibiting active root growth.
4. Remove The Unhealthy Section(s) Of The Rhizomes
Carefully examine the remaining rhizomes. Throw away those that are dusty, powdery, soft, odorous, or show symptoms of borers. Borers are insects that bore holes the size of a pencil lead on the upper surface of the rhizomes of tall bearded types. If infected, leaf fans may also appear to be soggy.
5. Divide The Rhizomes Into Sections
Cut rhizomes into portions that are 4” to 8” long and have at least one complete fan using clean scissors or a knife. Keep the roots in place.

Click here to see this garden knife on Amazon.
As long as the part of the fleshy rhizome has at least some foliage and a few roots hanging from it, even very small sections can successfully grow and bloom. From a single clump of iris, you can grow dozens of distinct plants.
6. Trim The Leaves
Trim the leaves on each division to a length of 4” to 6” inches using a pair of sharp pruners. The typical procedure is to trim the leaves on each new section into an inverted V-shape fan.
This enables plants to direct their energy into developing strong roots rather than supporting a dense canopy of leaves. Trimming the fan prevents wind rock because a full fan can catch more wind and shift rhizomes before the roots have a chance to take hold.
How To Store Iris Rhizomes?
Storing the bulbs can be a challenging procedure, but with enough practice, you can easily pick it up. The key is to watch out for them so that they don't dry out or rot. If you strictly adhere to the stated below procedure, you can keep your bulbs indoors safely.
1. Dry The Rhizomes
Lay them out to dry for a few days or until they feel dry to the touch in a single layer in a protected, sunny area. For even drying, flip them over.
Before starting the curing process, the rhizomes must be totally dry. Contrary to what happens when artificial heating is used, drying them in the sun prevents significant harm. If it's not sunny when you're keeping them, you should put them near a window and let them dry there for three to four days.
2. Clean Up The Remaining Dirt
Once they're dry, use a soft-bristled brush to remove any remaining debris, but avoid washing them in water because doing so would require a longer curing period.
3. Cure The Rhizomes
Rhizomes must cure before going into storage after being dried and cleaned. Spread them out with at least an inch between each piece on a flat surface, such as a tray or a sizable piece of cardboard. If a second layer is required, place it on top of the first and cover it with newspaper or slightly crumpled paper bags.
Place in a room that is dark, dry, warm, and well-ventilated. The optimal temperature for curing is between 65°F and 70°F. To prevent illness, infection, and rot, cure for two weeks.
4. Coat The Rhizomes With Antifungal Powder
After the rhizomes have finished curing, you should dust them with sulfur or antifungal powder. They won't decay because of this. When handling chemical powders, keep in mind to wear gloves and to work in a well-ventilated space.

Click here to see this antifungal powder on Amazon.
5. Wrap & Put The Plant In The Container
In a single layer of newspaper, wrap each bulb separately. Put each plant in a box for storage after individually wrapping it in the newspaper. The box may be composed of cardboard, rattan, wicker, wire basket, or another breathable material.
Avoid plastic since it can promote rot and doesn't allow for enough airflow. Lay down some newspaper that has been lightly crumpled before adding more if a second layer is required.
6. Store The Container At A Cool Temperature
Put the container containing the iris bulbs in a cool, well-ventilated area. Place it in a place that is consistently between 40°F and 50°F. Rhizomes can die at temperatures below 35°F. Warmth above 50°F might lead to moisture loss and dehydration.
7. Do Regular Check-Ups
Establish a day on your calendar, such as the first of the month, for regular monthly checkups to ensure your iris plants remain healthy.
Throw right away any rhizomes that are soft, mushy, or stinky, together with the paper they were wrapped in, to prevent the spread of rot (but not in the compost). Give them a final health check once you are about to plant them.
How To Plant Iris Rhizomes?
When the planting season comes, you may plant the irises again after they have been stored. Below are the steps for planting them.
1. Pick A Location That Receives Direct Sunlight
Even though bearded irises can withstand some shade, plants will not bloom as profusely in the absence of direct sunlight. Consider their placement in the garden bed when planting shorter varieties of iris. Stay away from areas where they will be shaded by other plants.
2. Prepare the Soil
Iris thrives on fertile, well-draining, neutral to slightly acidic soil. Irises could decay if they spend the winter soaking in moist soil, so take additional care to ensure the soil is well-drained.
To aerate the soil, use a tiller or garden fork to a depth of about 12”. Composting the soil with 2” to 4” of soil is an optional procedure. This can help increase soil fertility while also assisting in improving the drainage of thick soils.
3. Dig Holes
Dig each hole separately to a depth of 4” and a width of 10” and make a small mound of soil in the bottom.
4. Plant The Rhizomes
It is ideal to plant the rhizome pieces in groups of three or five, with the leaf fans positioned so that they are all facing the same direction. For smaller types, provide at least 3” of space between each individual rhizome. For tall bearded types, leave up to 24” spacing.
Keeping in mind how quickly these plants develop, giving them plenty of space will give you several years before you need to dig up and divide them once more.
5. Backfill The Holes
Fill the hole with well-amended soil, and firmly compact it down around the rhizome and leaves. Do not mulch them because this can promote root rot.
6. Water The Plant Generously
Water the newly planted iris rhizomes. Also, water them for a few days until new growth becomes visible. After which they need weekly watering for the rest of the growing season. When it is evident that the new rhizome is well-established, start to reduce the watering because you don't want the root to become saturated in water.
Conclusion
When propagating iris plants, it is the rhizomes that are usually dug up, divided, stored, and planted. So if you want to cultivate this lovely plant for the next season, learning how to divide, store and plant iris rhizomes properly are essential. With the guides above, you will never go wrong.
Before leaving, check out more interesting topics below.
Best Knife For Dividing Plants
When To Cut Back And Divide Liriope?