
As the days grow shorter and temperatures begin to dip, it’s time for our beloved indoor plants that have been vacationing outside to make their grand re-entry.
While they've enjoyed the outdoor sunlight and fresh air, the transition back indoors can be a challenge for them.
So, let's ensure the return is smooth and stress-free. Here are eight brilliant ways to prepare your indoor plants for their transition.
Preparing Your Plants For an Indoor Environment
As a plant lover, knowing when to bring your indoor plants back inside after a summer vacation outdoors can be a bit tricky.
The key is to pay attention to the temperature and do some preparation for a smooth transition. Here's what you need to know:
1. Inspect for Pests
Before you consider bringing any plant inside, a meticulous inspection is crucial.
Start by examining the leaves from top to bottom and dig into the soil a little.

Signs of spider mites, aphids, or mealybugs can often be hidden in these areas.
Should you find these unwelcome guests, reach out for natural remedies, such as neem oil or insecticidal soap, to bid them goodbye.
Also, dead or yellowing leaves can be an open invitation for pests, so it's wise to remove them.
Washing your plants before bringing them inside is an effective way to remove pests.
A strong jet of water can dislodge pests like spider mites and aphids, making them less likely to hitch a ride inside.
More about handling pests here: Pesticides Vs. Insecticide – Which Is Best For Your Home Vegetable Garden?
2. Refresh the Soil
Over time, the soil loses its nutrients, especially if it's been outdoors for an extended period.
Rejuvenate your plants by removing the top inch of old soil and replacing it with a fresh potting mix. This simple act can give your plant's roots a healthier environment.
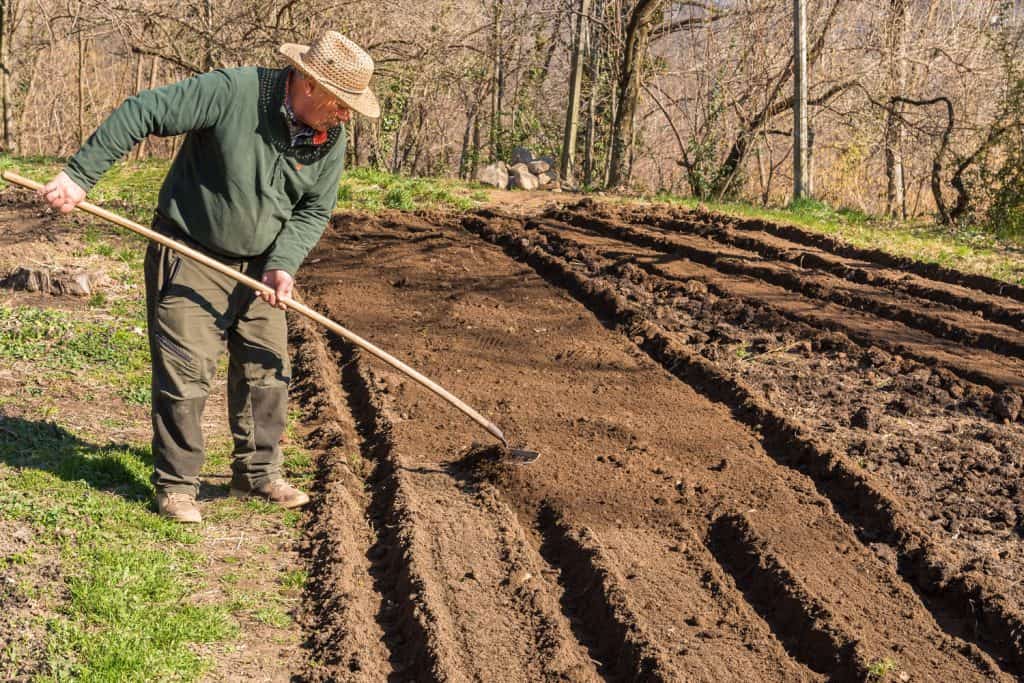
However, a word of caution: avoid a full repotting just before their indoor transition. It could be a shock they don’t need.
Learn more about soil health here: Why Soil pH Matters: Ensuring Your Garden’s Health and Success
3. Gradually Reduce Sunlight
Before moving your indoor plants back inside, it's essential to help them acclimate to their new environment.
Start by gradually reducing the amount of sunlight they receive outdoors.

Over a period of 1-2 weeks, move your plants to shadier locations, so their leaves can adapt to lower light levels.
Our indoor beauties are accustomed to the filtered sunlight of our homes. Before their return, it’s beneficial to get them acclimated to reduced light levels.
By relocating them to a shadier spot outdoors a week or two beforehand, you’re easing them into the environment they’ll soon be calling home.
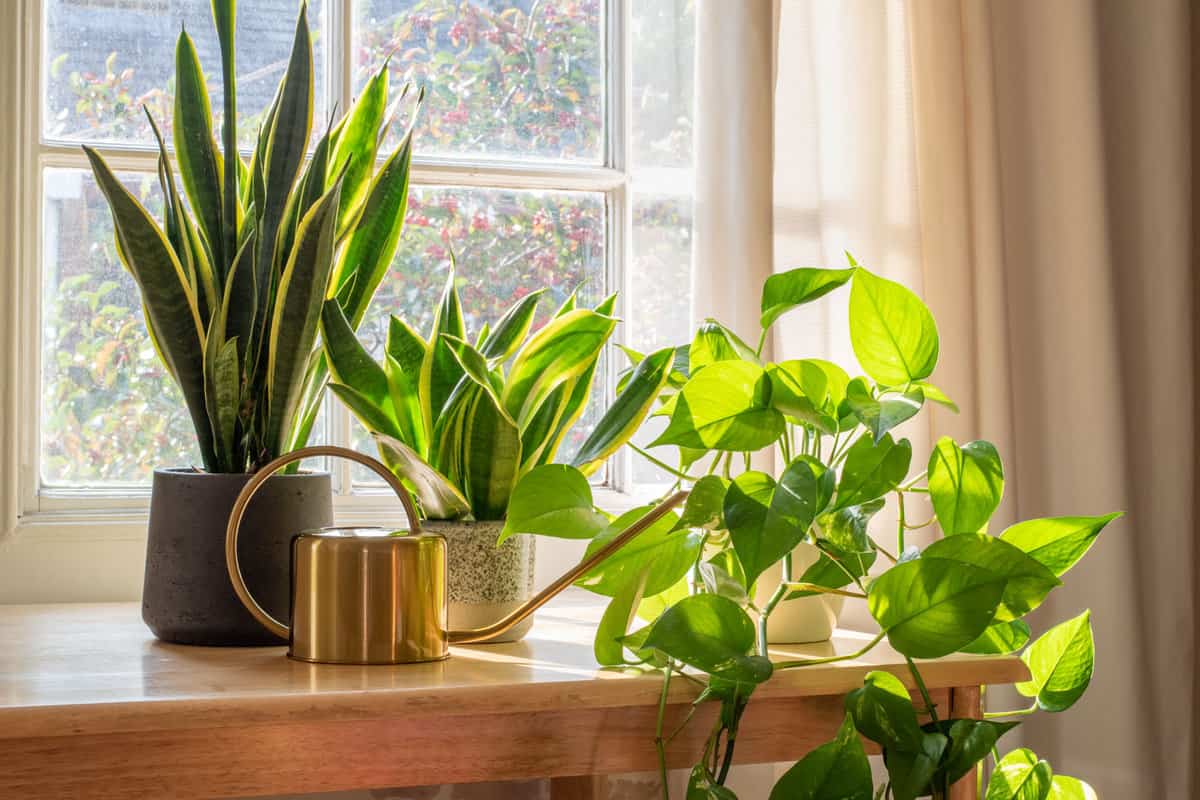
4. Water Appropriately
With the move, their water requirements will likely change.
Outdoor sunlight and warmth may have meant frequent watering, but indoors, it’s a different game.
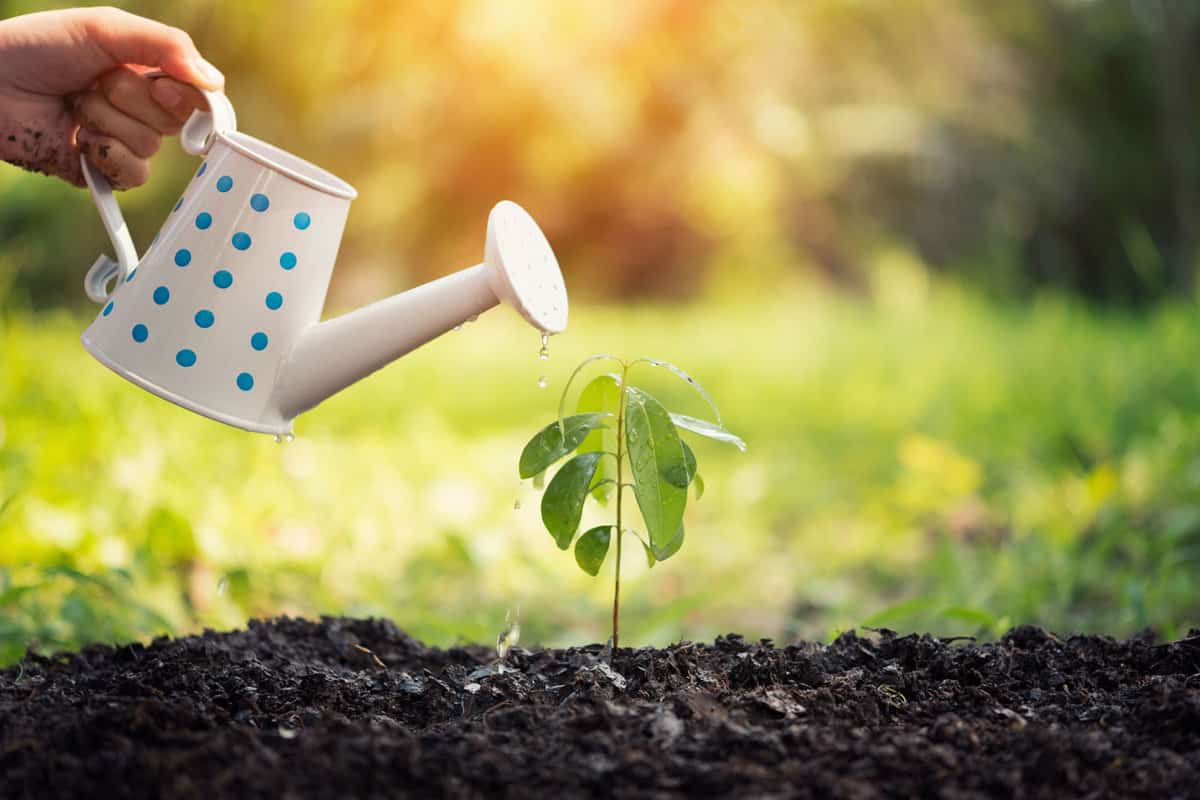
Let the soil dry out a bit before moving them, and once they're inside, ensure you're watering them just enough to keep the soil slightly damp.
Here's a great idea to transfer your plant from soil to water and bring them indoors: From Soil to Water: A Hack That Will Revolutionize Your Plant Game
5. Prune and Shape
Over the summer, your plants might have experienced a growth spurt. Trim any leggy or overgrown parts to promote more compact, healthier growth.
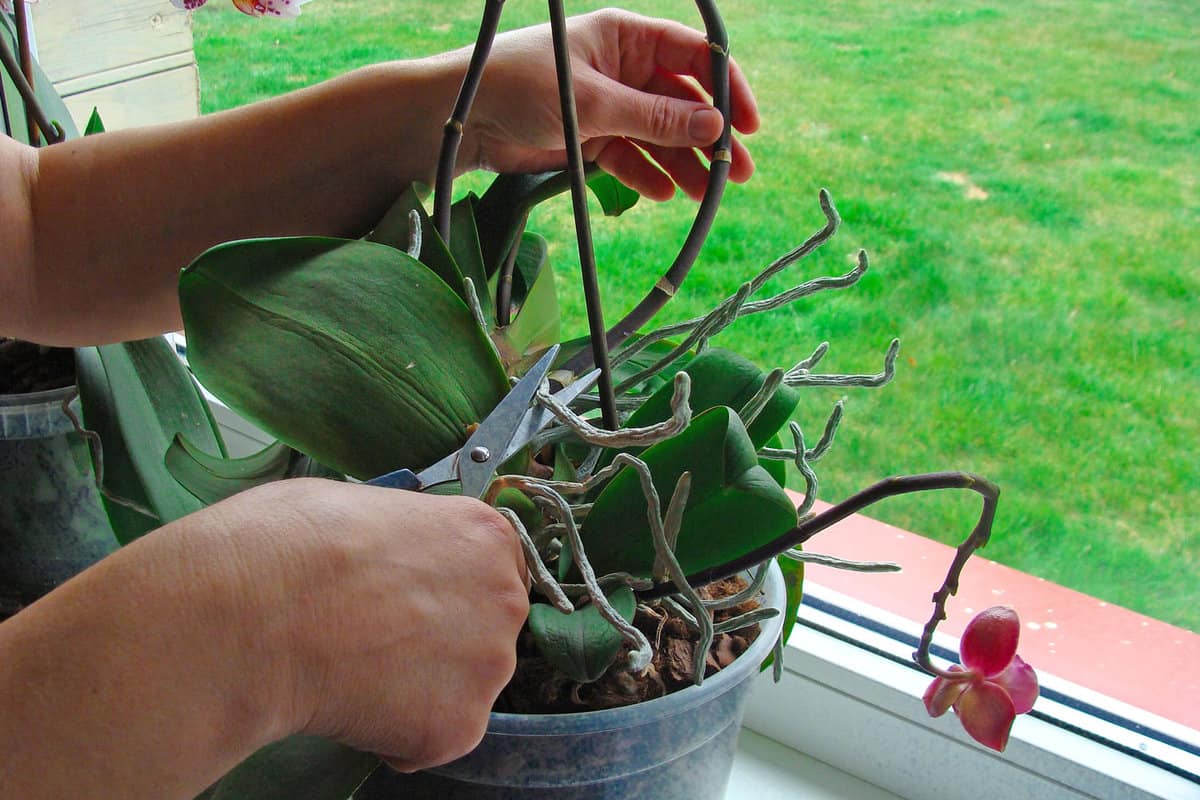
Check for any damaged, yellowing, or dead leaves and remove them gently.
This not only improves the plant's appearance but also allows it to focus its energy on new growth.
Apart from ensuring the health of the plant, a neat prune ensures they occupy their indoor space gracefully.
6. Clean the Leaves
A summer outside means your plant has probably accumulated dust and grime. This layer can hinder its ability to photosynthesize effectively.
For larger-leaved plants like Monstera or rubber plants, a gentle wipe with a damp cloth can prove very effective.
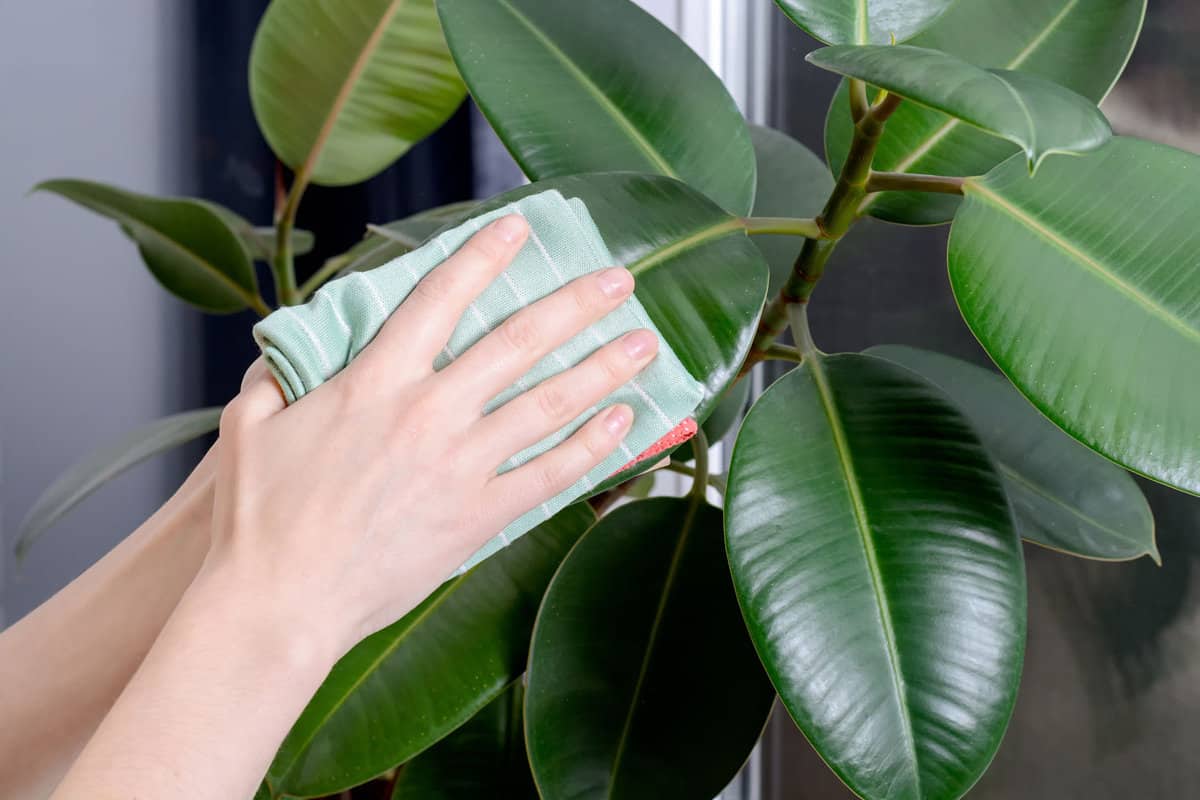
Ensure that the cloth is soft (like microfiber) to avoid causing scratches or damage to the leaf surface. Use lukewarm water, as cold or hot water might shock the plant.
For plants with more intricate leaf structures or those with numerous small leaves, such as ferns, a light shower can be beneficial.
You can either place them under a gentle stream in the shower or use a spray bottle to mist them, ensuring all the leaves are well-covered.
Additionally, consider using a soft brush, like a soft-bristled toothbrush, to reach into the crevices or undersides of leaves where dust might accumulate.
7. Regulate Temperature and Humidity
Indoor environments, especially during colder months, can be significantly drier due to heating systems.
This sudden drop in humidity can be particularly challenging for plants that thrive in humid conditions.
For tropical plants, which have evolved in moisture-rich environments, maintaining an optimum humidity level becomes crucial for their health.
Dry air can lead to problems like brown leaf tips, leaf drop, or a slowdown in growth.
To counteract this, consider investing in a humidifier, which can increase the moisture level in the air, benefiting not just your plants but potentially your own skin and respiratory health as well.
Another effective yet simple method to increase humidity is to place a tray filled with water and pebbles near your plants.
As the water evaporates, it increases the moisture content in the immediate vicinity of the plants.
The pebbles ensure that the plant pots don’t sit directly in the water, which could lead to root rot.
Furthermore, be vigilant about your plant's placement. Radiators, heaters, and air vents can produce dry air or extreme temperatures, both of which can stress plants.
Drafty windows or doors can introduce sudden cold blasts that are detrimental to tropical varieties.
8. Group Plants Together
There is indeed strength in numbers. When plants are grouped together, they naturally create a microclimate around them.
As each plant transpires (releases water vapor), the collective moisture from all the plants increases the humidity in their shared space.
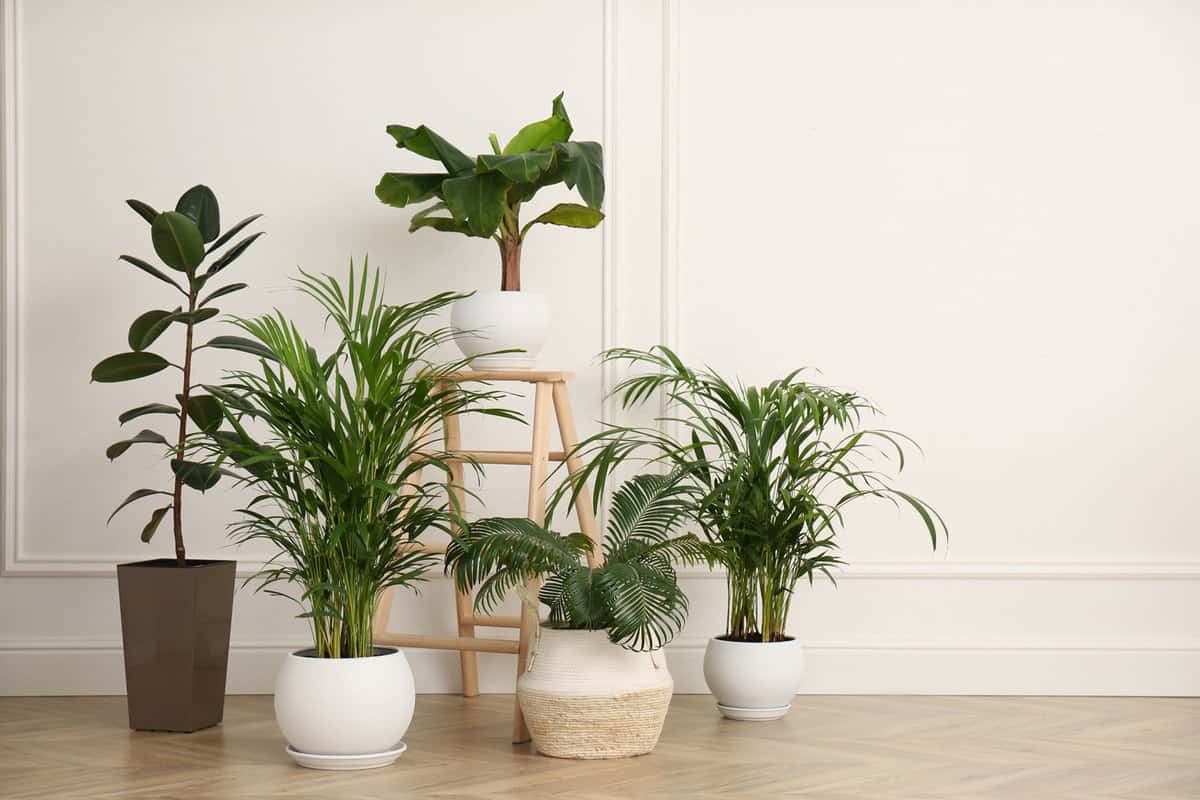
Grouping plants isn’t just about creating a humid environment; it’s also about fostering community.
Some plants can even benefit their neighbors by releasing beneficial compounds or by increasing humidity levels which aids in reducing pest infestations like spider mites that prefer drier conditions.
When grouping plants, consider their individual needs. While it's a good idea to group those with similar light and water requirements, be cautious not to overcrowd them.
Give each plant ample space for air circulation to prevent fungal issues or unwanted pests.
In essence, by understanding and mimicking nature’s way of sustaining plant communities, you can create a thriving indoor jungle.
Observe and Monitor
Remember, while it's crucial to prepare plants for their indoor journey, it's just as essential to monitor them during the initial weeks of their return.
Changes in leaf color, growth, or sudden leaf drop can be signs of stress.
By observing and adjusting care accordingly, you'll ensure your plant buddies thrive during their indoor stay.
For more tips on handling indoor plants, check out these other articles: