
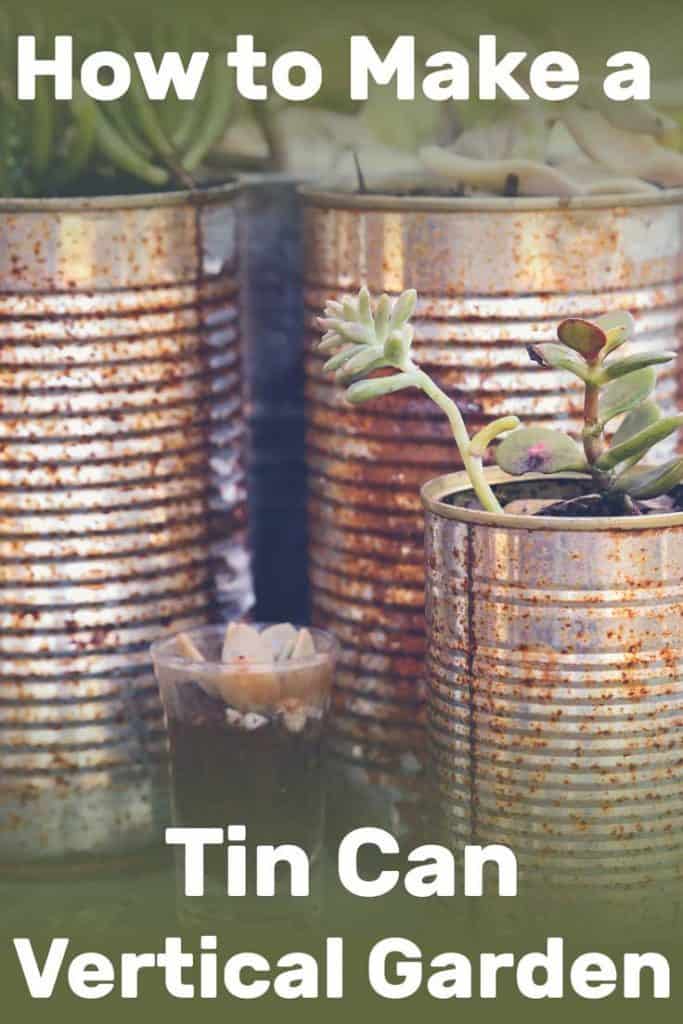
There are a million and one ways to create a beautiful vertical garden, including commercially available kits and do-it-yourself projects. If you are the do it yourself type, you might like to make your vertical garden out of recycled tin cans. But how is this done, you ask? I am happy to walk you through this super easy and economical gardening option!
 To build a tin can vertical garden, you will need to take the 10 following steps:
- Choose your design. Do you want a shelf style, hanging pots, or are you going to mount your cans on a wall, fence or post?
- Gather your cans. Clean food grade tin cans in whatever sizes and make sure that there are no ragged edges that could cut you or rust.
- Decorate your cans.
- Drill drainage holes
- Mount or hang your cans if needed.
- Choose your plants.
- Fill you cans with the potting soil mixture appropriate for your plants.
- Set up your watering system or plan
- Plant your plants
- Maintain your garden by properly fertilization and pest control.
Using tin cans for your vertical garden is so easy, cost effective, and environmentally friendly if you do it correctly. Keep reading for more details on the steps above, as well as a lot of great ideas to make your vertical garden amazing and successful.
Choose Your Design
There are a lot of ways that you can use tin cans to create a vertical garden that are artistic and utilitarianism. Consider your space and what you have to work with to determine which of te following designs will work best for you.
Shelf Mounted Planters
This design is the simplest. Place your tin can planters on a shelving unit, upcycled metal rack, or a wooden pallet that has been retrofitted to have shelves. If you are wanting to grow large or heavier plants, or want to build your vertical garden indoors, this might be one of the best options for you. Also, since the cans are not secured to their support system, it can make it easier to care for the plants, or move them around.
Wall, Fence, or Post Supported Cans
Installing your cans on fence or wall, or on poles or posts can really help maximize your gardening space. To secure your cans to wooden supports, you can either just nail your cans directly to the wood, or you can attach circular clamps to the support that can hold the cans in place.
Hanging Planters
Re-purpose bright tin cans for hanging pots and hang them from windows or on your balcony or from hooks from the ceilings. This can be such a cute way to grow the plants that you want and add a touch of quirkiness to your decor.
For a single can, drill tow hole along the rim of the can directly across from one another and suspend the can from a rope or chain. You can make a multi-can garden by connecting multiple cans using the same technique, then hanging them from a sturdy nail or hook. Just be sure that the rope or chain that you use is strong enough to support all of the planters.
Secure to a Trellis
You can also use clamps or zip ties to secure smaller cans to a trellis like you can see here. This can enable you to hang your cans in places or designs that you might otherwise might not be able to accomplish. Your trellis can be against another structure, or freestanding.
Gather Your Cans
You can use cans of all sizes to plant in, depending on the needs of your plants. You will want to use food-grade cans that you have recycled from your own use, especially if you are going to be growing edible plants. This way, you will know for sure that no dangerous or harmful substances have been stored in the cans.
Make sure that there are no sharp edges that can cut you. If your can has ragged edges sand them down if possible, if not dispose of the can. You don't want to risk cutting your self on a rusty tin can a few weeks down the road.
If this makes you uncomfortable with using recycled cans, you can actually purchase metal planters that will replicate this same look like these from Red Co.

Click here to purchase this Old fashion Metal Milk tin can on Amazon.
Decorate Your Tin Cans
This is where the artist in you can go crazy! Depending on your aesthetic, you can either leave your cans and shiny aluminum, paint them, or add other decorative elements that compliment your home or garden decor.
The cans below are the perfect example of added elements to give your tin cans personality. Rough spun burlap has been stamped with the initial of the plant that is growing inside of the can.
The next set of cans have simply been painted white, and have had the plant name added with sticker letters.
Drill Drainage Holes as Needed
Using a drill bit that will make a hole big enough to let water drain, but not all of your soil with it, carefully drill a few drainage holes in the bottom of your cans. If you don't have a drill, you can also just use a hammer and a long nail to punch holes in the cans as well. Drill from the outside of the can inwards so that the sharp edges are in the inside of the can.
Hang Or Mount Your Cans
If your cans are going to permanently secured in place, do this before you fill them with potting soil,
Choose Your Plants
Some plants are going to do better in tin cans than others. If you want to use smaller cans, bright annuals like marigolds and impatiens, succulents or herbs are a great choice. The larger the plant, the bigger the can so that the roots have the room that they need, as well as needing to provide support for the body of the plants themselves. Put vining plants, like cherry tomatoes or wave petunias in bigger cans.
A few plants that will do really well in this type of growing environment are herbs such as rosemary, thyme, oregano, lemon balm, parsley, and cilantro, or colorful annuals like marigolds, impatiens, nasturtiums, petunias, and succulents. If you want to grow fruits or vegetables, try cherry tomatoes, strawberries, and lettuce or other greens.
There are a wide variety of plants that work great in a vertical garden. For more plant ideas, check out these posts on the 17 Best Flowers for Your Vertical Garden.
Fill Your Cans With Potting Soil
Once you know what plants you want to grow, you can choose the right potting mix to plant them in. Some plants may prefer better-drained soil, like rosemary and lavender. For these add a handful of gravel to the bottom of the can which will keep the roots out of water puddled in the bottom of the can.
Set Up Your Watering System
Depending on how many plants you will have and your design, you may either choose to water by hand based on the individual plant needs or set up a drip watering system on a timer.
A drip system on a timer takes the work out, as the system connects to a standard water tap and you can set the timer to run the water at whatever intervals you need. Check out this watering system by Raindrip. It is specially designed for potted plants.
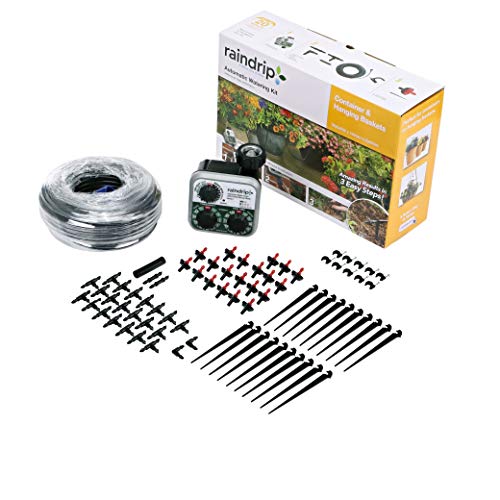
Click here to purchase this Watering System on Amazon.
Read more: How to set up the best watering system for your vertical garden
Plant Your Plants
You can start your plants from seeds according to the instructions on the seed packets, or transplant from other containers.
Maintain With Proper Fertilization and Pest Control
The final step is to maintain your plants. You need to make sure they have the proper nutrition to grow their best while keeping them healthy and free from pest and diseases.
Fertilization
Different Plants have different nutritional needs, and some will rarely need to be fertilized at all. But most flowers, fruits, and vegetables need to be fed once a month or so. Unless the plant requires something very specific, you can use a good organic fertilizer like Organic Plant Magic to provide nutrition to your plants.

Click here to buy this Organic Plant Magic on Amazon.
Pest and Disease Control
Planting in containers off the ground has many benefits, including a reduction in your plants' exposure to pests and disease. But they can still be susceptible, even if they are indoors. To keep them healthy, us a good organic pest control product like Trifecta Crop Control, which is a natural all-in-one product. Products with Neem Oil are natural and will help keep your plants free from pest and disease without harmful chemicals.
Enjoy Your Vertical Tin Can Garden
Following the steps above should result in a tin can garden where you can show off your creativity as well as your green thumb. Now that all the hard work is done, you can relax and enjoy the fruits of your labor!