
Think composting is just for the warm months? Think again!
Winter composting is a game-changer, turning those chilly days into a prime opportunity to boost your soil for spring.
In this quick read, we're sharing six top tips to jumpstart your composting routine this winter.
Let's make the most out of the cold and turn your garden waste into black gold!
Understanding Winter Compost Dynamics
As temperatures drop, you'll witness changes in your compost pile's behavior.
Learning about these shifts is critical for maintaining an active compost throughout the colder months.
The Cold Weather Effect on Decomposition
The decomposing power of your compost relies heavily on the activity of microorganisms such as bacteria and fungi, along with larger decomposers like worms.
In winter, these critters become less active, which slows down the breakdown process.
Yet, it's a misconception that composting halts entirely in cold weather.
The core of your pile can retain heat and continue decomposition, even when the outside thermometer dips.
To capitalize on this, you might want to situate your compost pile to receive maximum winter sunlight or insulate it to preserve heat.
Essential Tips for Winter Composting
Here are 6 tips to make your winter composting more successful:
1. Balance Green and Brown Materials
The key to successful composting, especially in winter, lies in the balance of 'green' nitrogen-rich materials and 'brown' carbon-rich materials in your compost.
Typically, the rule of thumb is to have a ratio of equal parts green to brown. However, this is not a set rule to follow because this would depend on the moisture content of the compost mix and temperature.
Your greens include kitchen scraps and coffee grounds, providing necessary nitrogen.
Browns are materials like dead leaves and straw, adding essential carbon to fuel microbes.
During winter, your brown materials can serve a dual purpose by also helping to insulate your pile, keeping the core warm enough to continue the decomposition of greens.
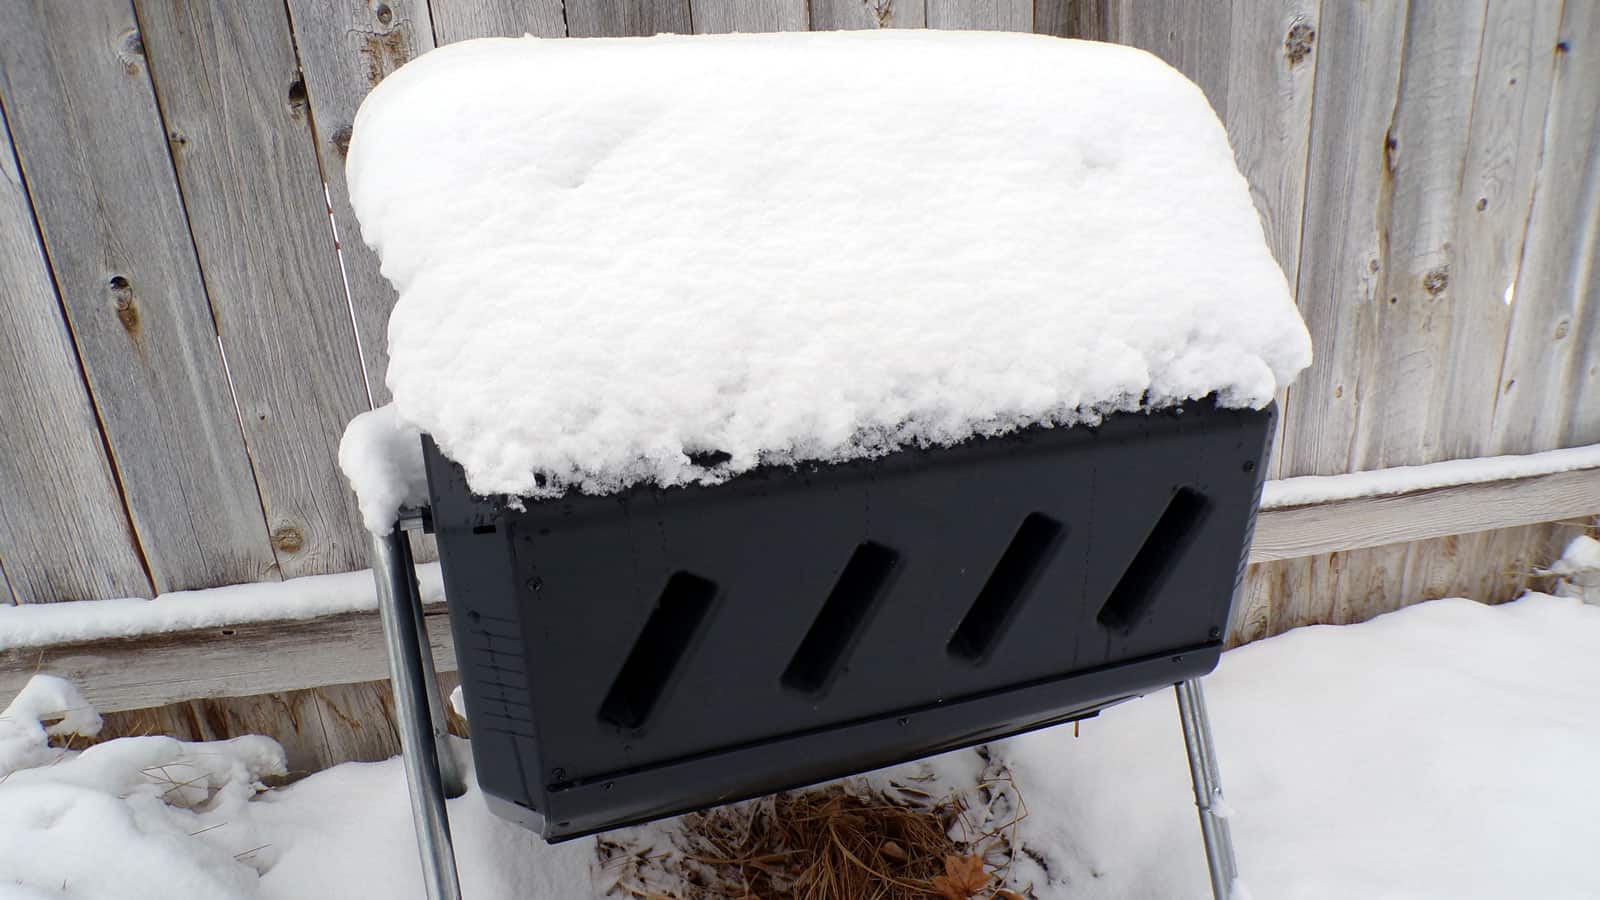
2. Choose the Right Compost Bin
When composting during colder months, your compost bin is the cornerstone of maintaining decomposition.
It's crucial to choose a bin that retains heat well and fits your available space.
Insulated Bins for Heat Retention
Insulated compost bins are highly beneficial for maintaining the composting process in winter, as they help retain heat and keep the microorganisms active.
They are designed with materials that help to trap the heat generated by decomposing organic matter.
Check out this one with a ventilation system on Amazon.

While not absolutely essential, they make winter composting more efficient.
Effective insulation can be the difference between a working pile and one that freezes solid.
If a pre-insulated bin is not available, various DIY methods can be used to insulate the compost pile effectively.
Here's what you can use as a starter for your bin: 6 Best Compost Starters For Your Tumbler
Size and Placement Considerations
Before selecting a compost bin, assess the amount of waste you typically generate and the space where you'll place the bin.
Your bin should be 3 to 5 feet wide for optimal heat retention and ease of management.
When positioning your bin, choose a spot that's protected from chilling winds but can still receive partial sunlight to aid in heating the pile.
It should also be conveniently located near your garden, making it easier to add kitchen scraps and yard waste, and to use the finished compost in your garden.
3. Maintain Your Compost Pile
Proper maintenance of your compost pile in winter ensures continued decomposition and prepares it for spring.
Let's focus on how you can keep your compost healthy during the colder months.
Aerating the Pile
Aeration is crucial for maintaining an active compost pile. During winter, turn your compost every couple of weeks to introduce oxygen, which is essential for the microbes breaking down the organic matter.
Use a garden fork or a compost aerator to fluff up the pile, careful not to let it become too compacted. Do this every 2-3 weeks.
Note: The process slows down in cooler temperatures, but aeration helps to sustain microbial activity.
Moisture Management
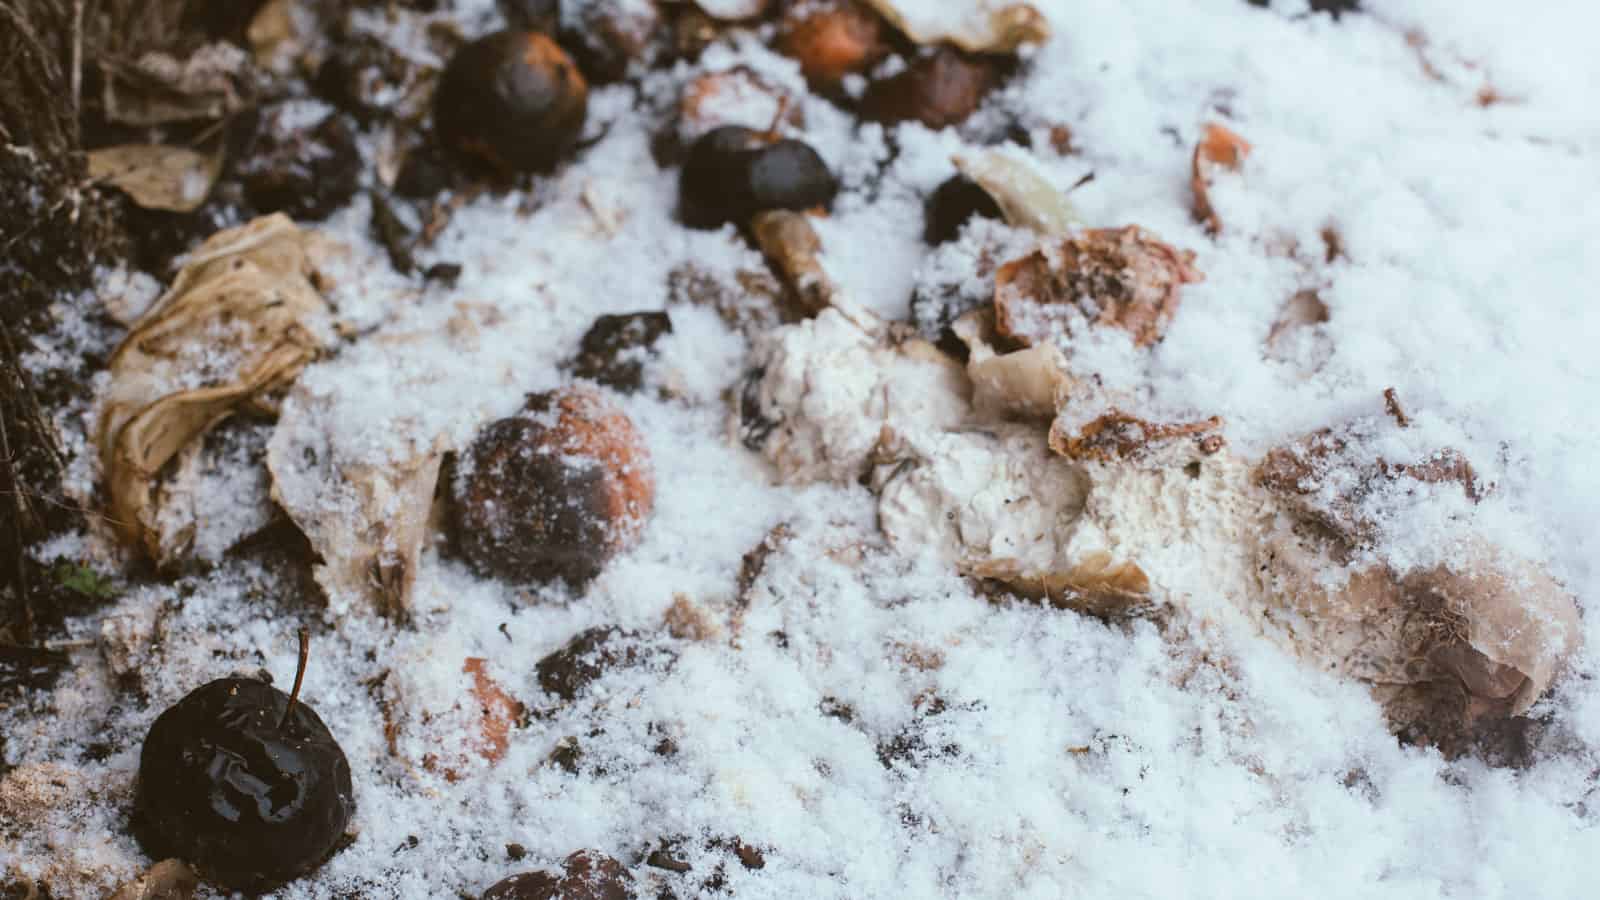
The right moisture level is vital for any compost pile, especially in winter when conditions can lead to excess wetness.
Your compost should be moist like a wrung-out sponge. If it's too wet, add browns like dry leaves or straw to absorb excess moisture.
However, if the pile is too dry, which can happen if it's covered or protected from snow, add greens or a little bit of water to reach the optimal moisture level.
4. Protect Your Compost from the Elements
When composting during colder months, keeping your pile cozy and dry is crucial to maintain the decomposition process.
Here's how you can shield your compost from cold winds and excessive moisture.
Covering Options to Retain Heat
Your compost pile needs a good cover to retain essential heat. Utilize materials like:
- Straw: A thick layer can trap heat and ward off the cold.
- Carpet remnants or tarp: Place over the pile to keep the heat in. The use of a tarp is particularly effective at retaining heat within your compost pile.
Windbreaks and Insulation Techniques
Sheltering your compost from chilling winds can be as simple as positioning it near a structure or using natural windbreaks. For added insulation:
- Bales of hay: Stack these around your compost bin to create a sturdy windbreak.
- Packed leaves or snow: These can be banked against the sides of your bin to provide extra insulation.
5. Monitor Compost Temperature
Monitoring the temperature of your compost pile is crucial during the winter; it's a direct measure of microbial activity and compost health.
Using a Compost Thermometer
To keep a close eye on your compost's progress, you should use a compost thermometer.
Make sure it's a long-stemmed thermometer, designed to reach the center of the pile, where temperatures are highest.
As compost can take longer to heat up in colder weather, a thermometer helps ensure the pile maintains the warmth needed for decomposition.
Interpreting Temperature Fluctuations
When checking the temperature, note that a well-functioning compost pile should display heat up to 40 or 50°C within the first few days.
If temperatures are lower, it might indicate a need for more nitrogen-rich materials or increased moisture.
Conversely, if the compost is too hot, it may be necessary to mix or turn it to distribute heat and oxygen more evenly.
You may want to know How Hot Does Compost Get? [And Can It Get Too Hot].
Keep track of these fluctuations as they provide insights into the health of your compost.
6. Utilize Finished Compost
Successfully composted material is a treasure for your garden, even in winter.
Knowing how to harvest and apply this black gold helps enrich your soil and support plant growth.
Harvesting Your Winter Compost
When you find that your compost has turned into a dark, crumbly substance that bears no resemblance to the original material, it's ready to harvest.
You'll typically find this more mature compost at the bottom of your pile or bin.
Carefully remove the upper, less decomposed layers and set them aside. What you want is the fully decomposed matter at the bottom.
This is the stuff full of microbes and nutrients essential for healthy soil.
Applications for Winter Compost
Once harvested, apply your winter compost to your garden beds to prepare them for spring planting:
Top-dressing
Spread a thin layer of compost over existing beds to provide nutrients.
Prepare New Beds
Mix compost into the soil to introduce beneficial organisms and improve soil structure.
Raised Beds
If you're filling new raised beds, mix compost with soil to give your plants a head start.
Winter Mulching
Protect your soil from the cold and erosion by mulching with compost.
Remember, even during cooler months, your compost can play a vital role in maintaining and improving your garden's health.
Why is My Compost Pile Smoking and How Can I Fix It?
If you've noticed your compost pile emitting smoke, don't be alarmed—this is often a natural part of the composting process, indicating that your pile is actively decomposing organic matter.
However, it’s important to differentiate between steam and smoke.
Steam implies your compost is doing just fine, while actual smoke indicates a problem that requires attention.
Here’s what you might be seeing and how to address it:
Excess Heat
A compost pile might appear to smoke if it’s too hot, a sign that it’s overactive.
This is often due to a high ratio of nitrogen-rich "green" materials like food waste and grass clippings.
To fix this, balance your compost by adding carbon-rich "brown" materials, such as dry leaves, straw, or sawdust to lower the temperature.
Limited Oxygen
When a compost pile lacks oxygen, it can start to smolder internally, which might cause actual smoke.
To fix this, regularly turn your compost to introduce oxygen. If your pile is dense or waterlogged, add dry, bulky materials to help aerate it.
Composting in Winter
During colder months, it might require a bit more attention but think of the wealth of rich compost you'll have for spring planting.
Your efforts now will pay off when your garden thrives with the help of the nutrient-rich amendment you've created.
May you have a successful compost bin this winter!