
Are you facing the challenge of root rot in your herb garden? This common yet severe issue can jeopardize the health of your plants.
However, there's hope. This article will walk you through three practical steps to effectively address root rot. These methods can restore your herbs and prevent future occurrences, ensuring a healthier, thriving garden.
Identifying Root Rot
The first step in salvaging herbs from root rot is to identify the problem. A few key signs can identify root rot. These include:
- Wilting or yellowing leaves
- Soft, mushy roots
- Foul odor
- Stunted growth
If you notice these signs, acting quickly to salvage your herbs is essential.
Causes of Root Rot
Root rot in herbs is primarily caused by overwatering, poor drainage, and soil-borne pathogens like Pythium and Phytophthora.
Overwatering leads to waterlogged, oxygen-starved soil, while poor drainage causes water accumulation around roots, exacerbating the issue.
To prevent this, ensure proper watering, use well-draining soil, and avoid soil compaction. A well-draining potting mix is also beneficial in preventing root rot.
Don't miss our insightful article: 5 Common Mistakes That Can Doom Your Herb Garden. Uncover the key pitfalls to avoid and learn expert tips to ensure your herb garden flourishes.
Step-by-step Guide to Salvaging Herbs
If you notice root rot in your herbs, don't panic. There are still steps you can take to save your plants. Follow this three-step guide to salvage your herbs.
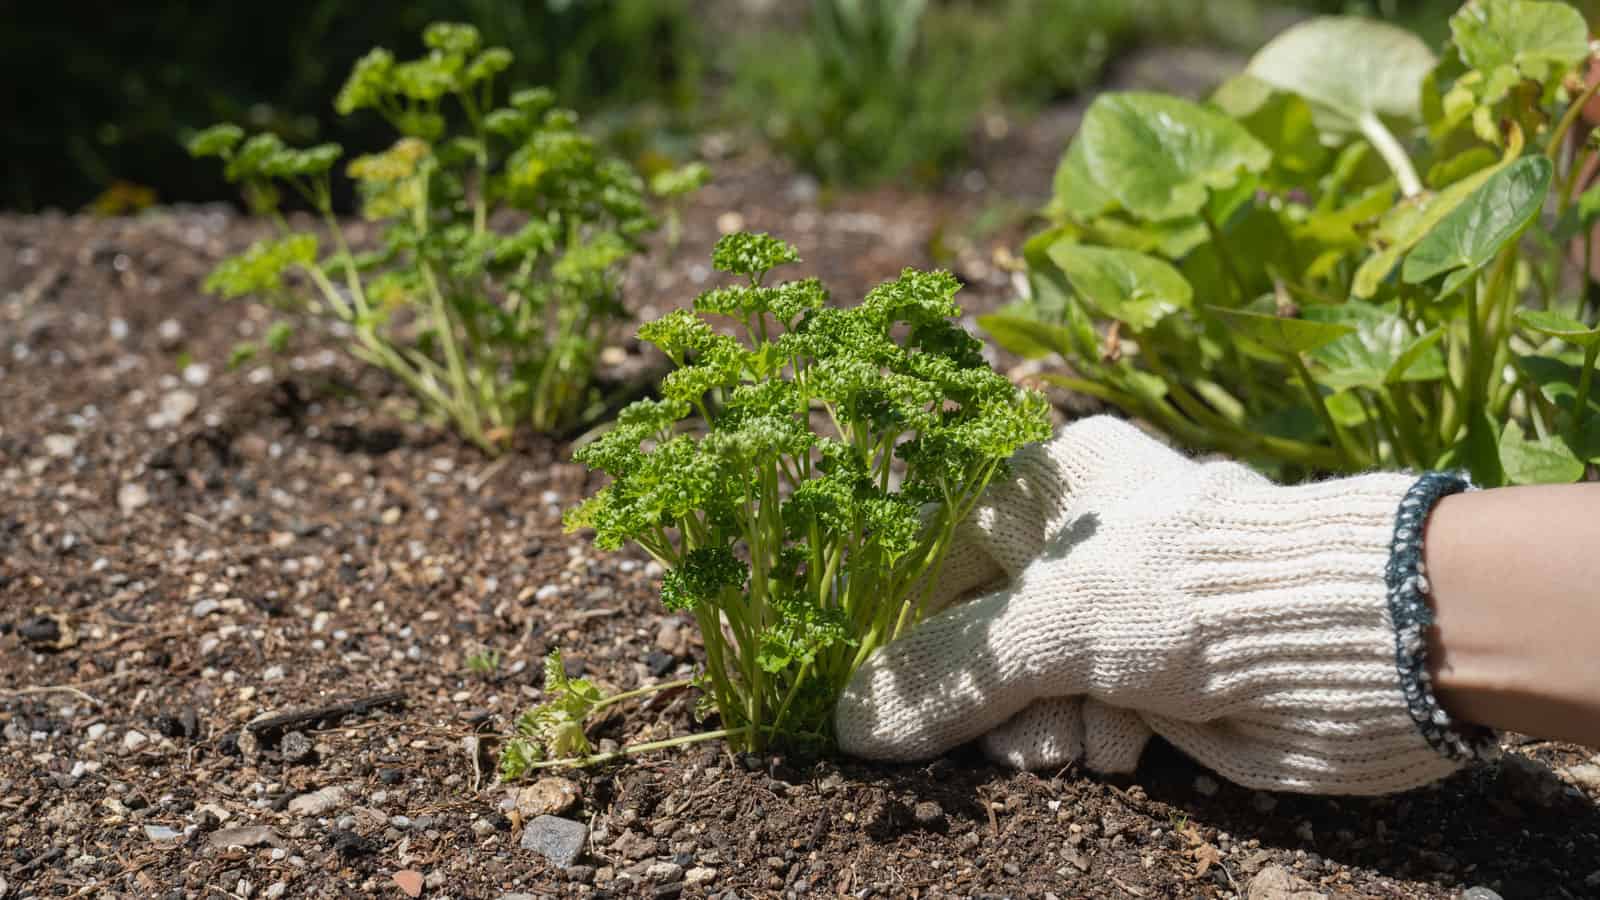
Step 1: Isolate the Affected Plants
The first thing you need to do is to isolate the affected plants. This will prevent the spread of the disease to other plants.
Remove any dead or dying leaves and stems from the infected plant. Make sure to dispose of them properly to avoid contamination.
Step 2: Treatment of Root Rot
Once you have isolated the affected plant, it's time to treat the root rot. Here are some methods you can use:
- Remove the plant from the soil: Carefully remove the plant from the soil and rinse the roots with water. Cut off any brown or mushy roots with a clean pair of scissors or shears. Disinfect the scissors or shears with rubbing alcohol between cuts to avoid spreading the disease.
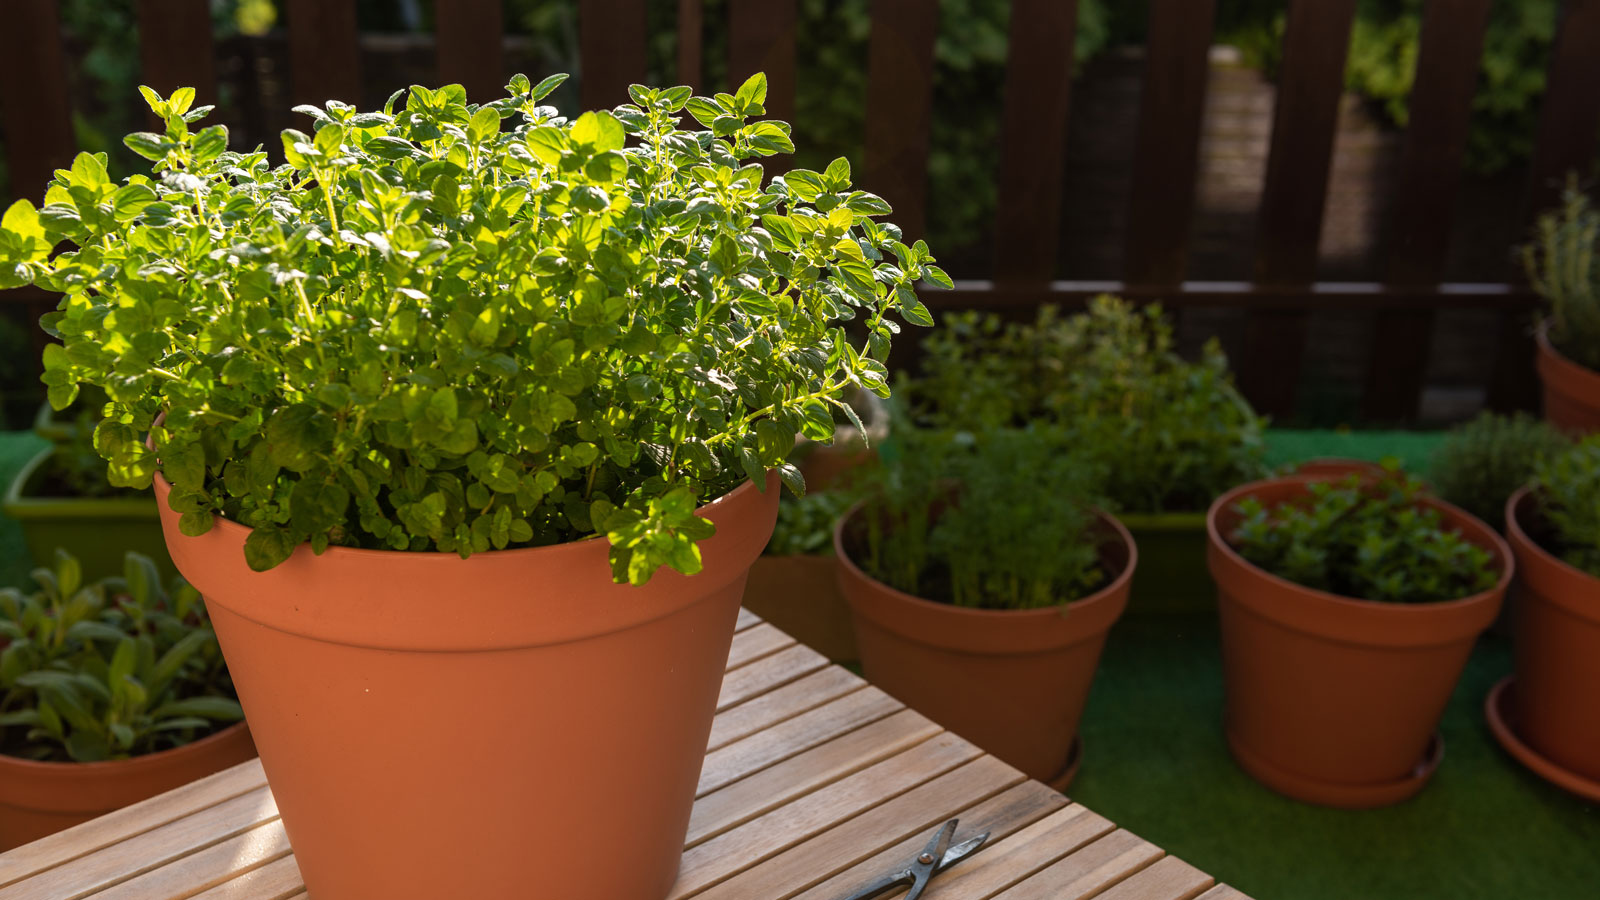
- Repot the plant: Choose a new, clean pot and fill it with fresh, well-draining soil. Make a hole in the soil and gently place the plant in the hole. Cover the roots with soil and water the plant thoroughly.
- Add beneficial microorganisms: You can add microorganisms such as mycorrhizal fungi to the soil. These microorganisms will help the plant absorb nutrients and fight off diseases.
Step 3: Reviving the Herbs
After treating the root rot, it's time to revive your herbs. Here are some tips:
- Water the plant properly: Don't overwater or underwater the plant. Water the plant when the top inch of soil is dry. Make sure the pot has drainage holes to avoid waterlogging.
- Provide adequate sunlight: Herbs need at least six hours a day. Place the plant in a sunny spot or use grow lights if you don't have access to natural light.
- Fertilize the plant: Use a balanced fertilizer to provide essential nutrients. Follow the instructions on the fertilizer package for best results.
Wrapping Up
You navigated root rot's challenges, from early detection to effective treatment and prevention. Remember, root rot is a formidable foe but not invincible.
With the right approach—careful watering, proper soil management, and vigilant plant care—you can rescue and rejuvenate your herbs, ensuring a vibrant and healthy garden.
Gardening is a learning and growth journey; together, you can cultivate thriving gardens free from the perils of root rot!
If you loved our guide on salvaging herbs from root rot, you'll find value in our article, 4 Steps To Save Your Succulents From Rot.