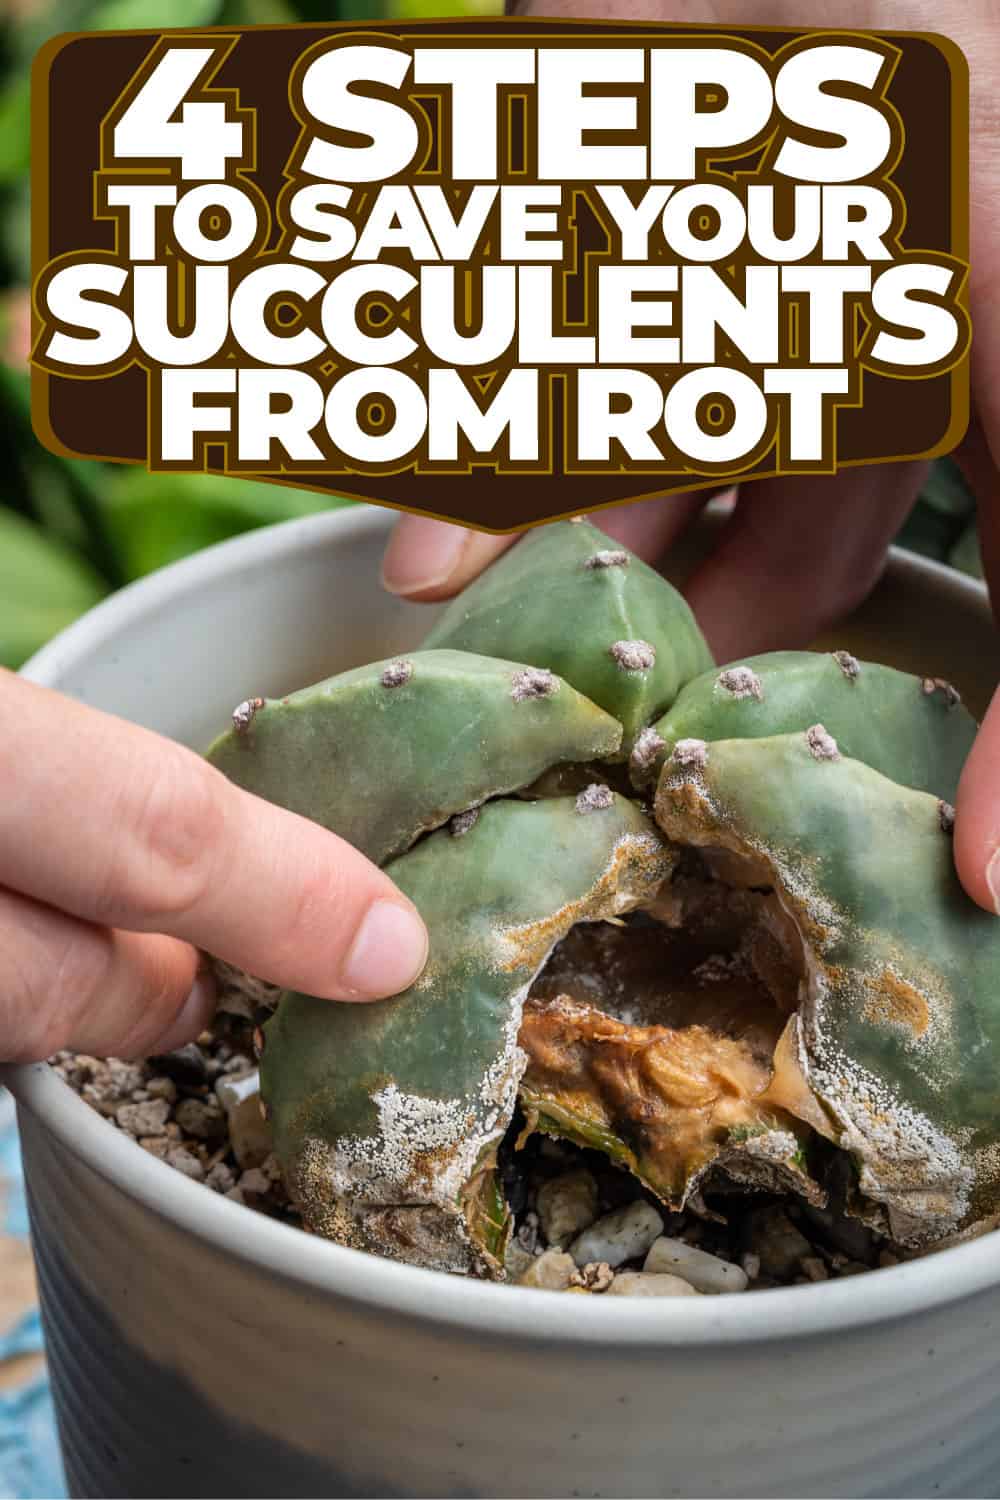
Are your succulents looking sickly, sporting mushy, dark leaves? Chances are, you’re dealing with root rot — a sneaky succulent killer.
Don't worry! In this guide, we’ve prepared a speedy rescue plan tailored for your succulent plants.
Uncover the root causes, from overwatering to unsuitable soil, and learn how to make timely interventions. Act now, and you might just bring your succulents back to health!
Root Rot in Succulents: Reasons and Common Symptoms
Overwatering is the top culprit in succulent root rot, but it’s not just about how much water you give. It’s also about how well the soil drains.
These plants are desert-dwellers and can’t handle staying wet for long. A common mistake? Using a poor-draining, unsuitable soil mix.
Succulents need light and fast-draining soil, such as a blend of potting mix, pumice, and perlite. Heavy clay-based soils can retain too much water, leading to root rot.
Alongside overwatering and poor soil drainage, fungi and bacteria in the soil also play a role in causing root rot, particularly when the soil stays too damp.
If you suspect your succulent has root rot, watch out for these symptoms:
- Mushy stems and leaves may feel soft and squishy, indicating the presence of excess water and possibly a fungal infection.
- Black spots indicate the early stages of root rot and are often found on the lower leaves.
- Yellowing leaves on your succulents can indicate progressing root rot, which may eventually cause the leaves to fall off.
If you’re curious about how natural elements like rain can affect your succulents, especially when it comes to overwatering, you might find this article helpful!
Steps to Save Your Succulents from Root Rot
If you find any of the symptoms mentioned above, your succulent may be in trouble. Follow these steps, and you might turn things around for them!
Step 1: Remove Rotting Leaves and Wet Soil
First, put on your gardening gloves. Gently wiggle your succulent out of its pot, being careful not to harm the roots.
Once out, trim any yellow, mushy leaves. Also, gently remove the soggy soil clinging to and suffocating the roots.
Clearing away this unhealthy environment isn’t just about cleaning up; it’s about stopping rot from spreading further and setting the stage for recovery.
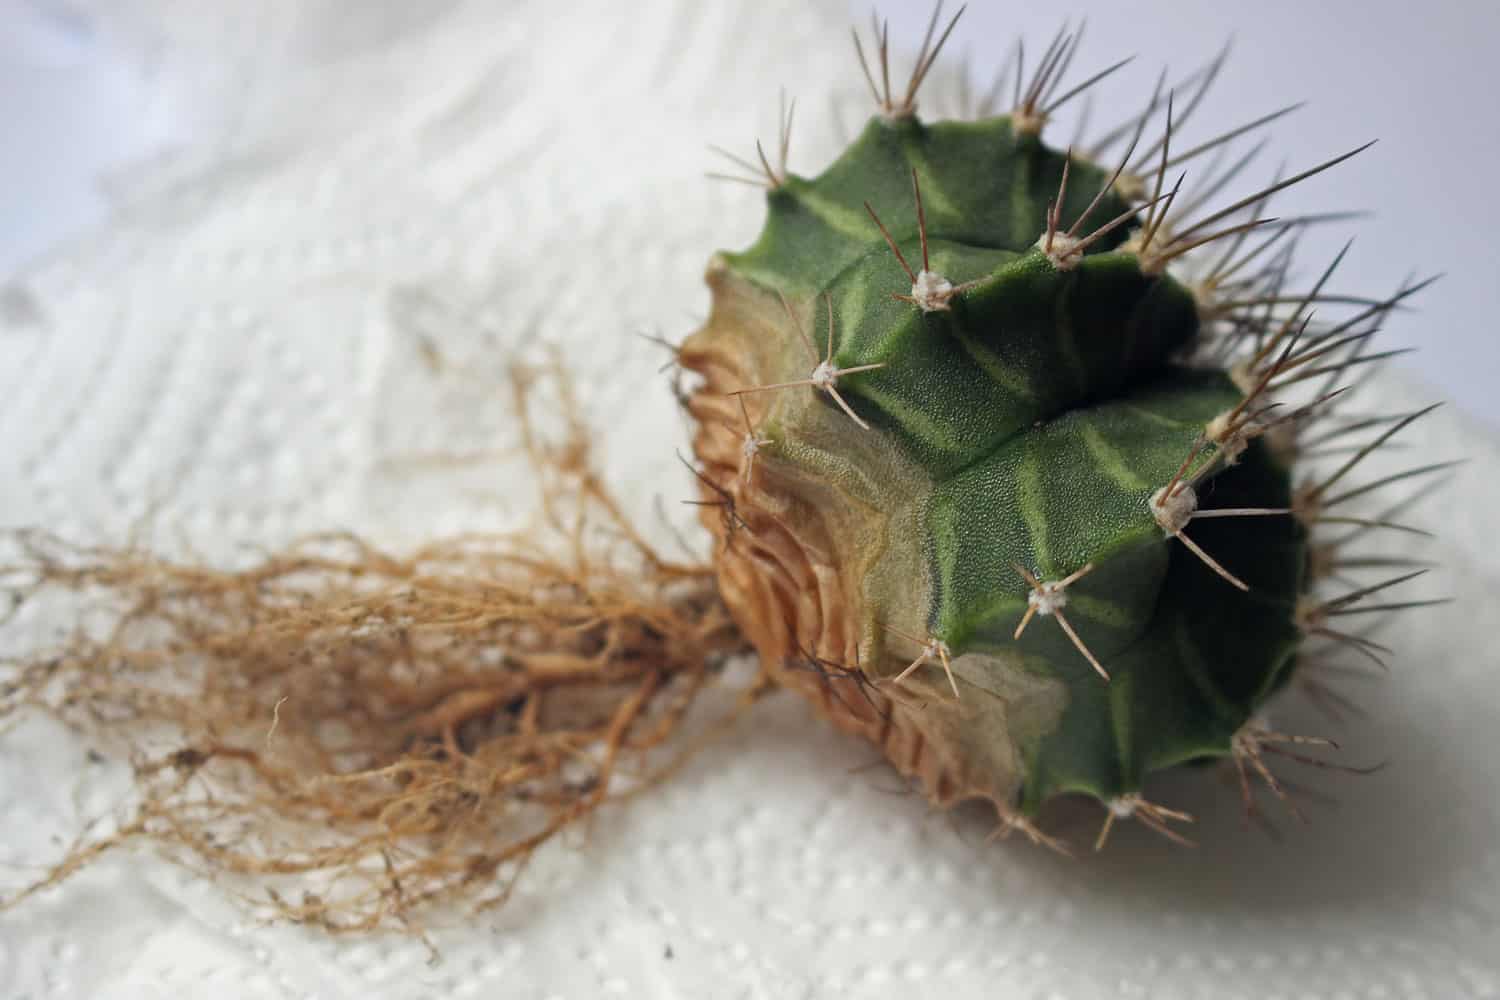
Step 2: Inspect and Trim Roots
Next, look for signs of rot. If you spot any, carefully trim the infected areas, cutting a few centimeters above the rot to remove internal damage as well.
Remember to handle the healthy roots carefully to avoid further stress on the plant. Watch this video by @SucculentsBox for more accurate trimming.
Step 3: Let the Succulent Dry
After the trim, your succulent needs some downtime. Leave it out to dry in an airy spot for a day, allowing the cut roots to callus over.
This drying technique is crucial for protecting the plant from infection when you replant it. It’s especially effective if the rot hasn’t spread to the stem yet.
Step 4: Repot with Care
Finally, it’s time to repot the succulent. Pick a pot with drainage holes and fill it with a well-draining soil mix enriched with perlite, sand, or pumice for optimal drainage.
If you prefer to reuse the same pot, make sure to disinfect it first using warm, soapy water, bleach, or hydrogen peroxide to eliminate any lingering pathogens.
Just be sure to rinse well to remove any residual cleaning agents!
For root rot caused by fungi or bacteria, consider mixing a small amount of sulfur powder into the soil for extra protection.

Get this sulfur power on Amazon.
Gently place your succulent in the new soil, being careful not to pack the soil too tightly around the roots.
Extra Step: Beheading for Severe Cases
If the rot has invaded the whole root system, stem, and leaves, beheading the succulent and propagating the healthy part is your last resort.
Cut about two inches above the rot, let the cutting callus over, and plant it in fresh soil. Place it in a warm, dry spot with indirect sunlight, and avoid watering for the first week.
Care and Preventative Measures After Repotting
Once you’ve repotted your succulent, taking the necessary care and preventative measures to ensure it stays healthy and free from rot is important.
Follow these tips to help your succulents thrive:
Water Adequately
Water your succulents only when the soil is bone dry. This means checking the soil’s moisture level before reaching for that watering can.
Feel the soil several inches down - if it’s dry to the touch, it’s time to water. But if you find it damp, hold off on watering.
And remember, when you do water, avoid dousing the leaves or stems. This is all about getting water to the roots, not the plant’s surface.
Sunlight for Strength
These desert darlings love bright, indirect sunlight. Make sure your repotted succulents are basking in just the right amount of light, ideally in a southern or western exposure within your home.
This placement usually provides the six to eight hours of light most succulents need to thrive.
Too little and they’ll struggle; too much and they might get sunburned. Find that sweet spot where they get ample light without the harsh direct rays.
Watch Out for Pests!
Keep your eyes peeled for uninvited guests. Pests like mealybugs, fungal gnats, and fungal infections can wreak havoc on your succulents.
These nuisances damage the plants, making them more vulnerable to diseases like root rot. Regularly inspect your plants and act swiftly if you spot any signs of infestation.
Final Thoughts: Keeping Your Succulents Thriving
Succulents are tough but not immune to challenges like root rot. With the knowledge and strategies you’ve gained here, you’re well-prepared to safeguard these unique plants.
The key to their well-being lies in striking the right balance: mindful watering, ensuring enough light, and keeping an eye out for pests.
By understanding the early signs of distress and acting promptly, you can turn the tide against root rot.