
Growing your own plumeria plants from seeds into seedlings can be a real catharsis. Want to know how to harvest, sow and take care of this kind of plant? Well, we've done plenty of research and have the answers below!
Below is you can harvest, plant, and grow your plumeria seed pods:
- Harvesting
- Watch the seed pod mature and open.
- Collect the seeds.
- Cover the seed pod.
- Pick the pod.
- Store them properly.
- Planting
- Moisten the seeds.
- Put sterile seed compost in your seed container.
- Pre-moisten the potting.
- Place the swollen seeds into your potting.
- Store the pots in the greenhouse.
- Remove the cotyledons' clinging seed coat.
- Transfer the more mature seedlings to a new container.
- Growing
- Pick a warmer location.
- Water adequately.
- Provide enough sunlight.
- Feed the plant the right amount of fertilizer.
Whether it's the delight of watching plumeria seed pods open or the hands-on necessity to gently take each seedling from its start pot, this article will guide you along the way. With that said, let's dive in!
How Do You Harvest Plumeria Seed Pods?
Before you can do anything else, you must harvest the seeds. Hummingbirds, sphynx moths, and butterflies all fertilize or pollinate the plant naturally.
As a result, if you live north of USDA hardiness zones 9b to 11, you will either need to let your plant spend some time outside throughout the summer or try to fertilize it manually.
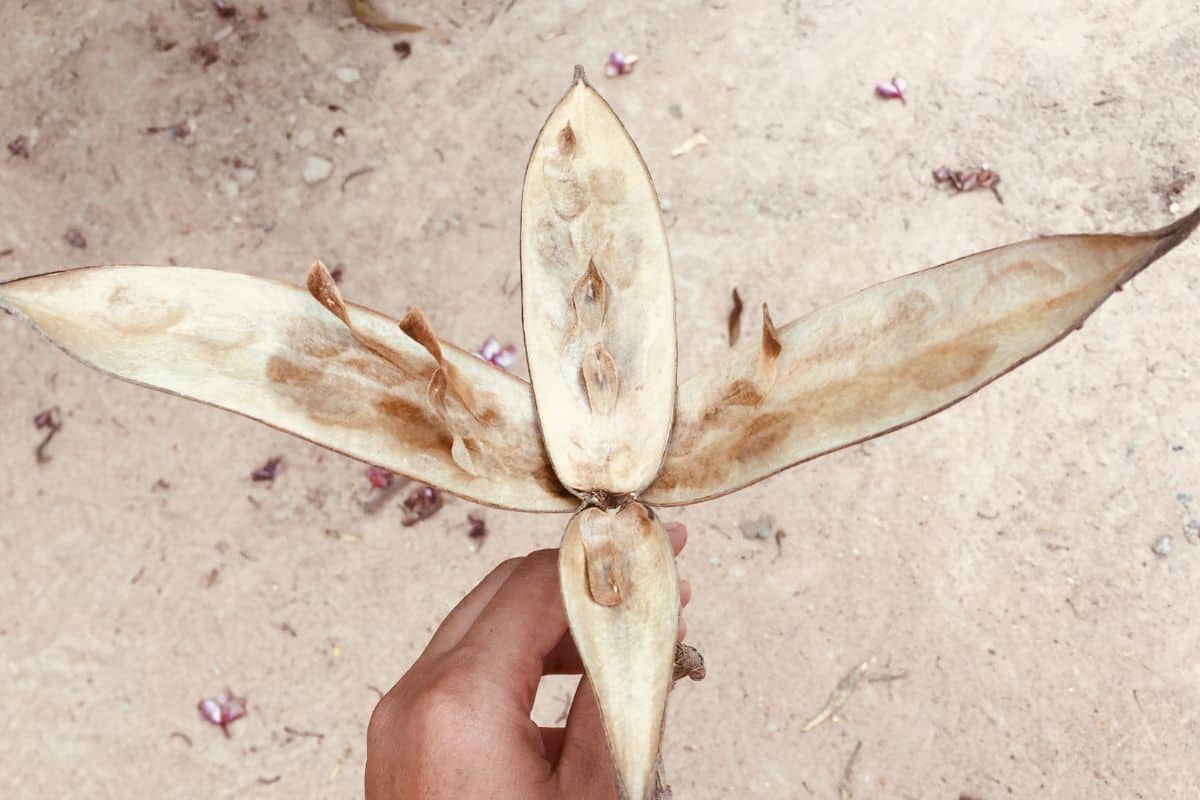
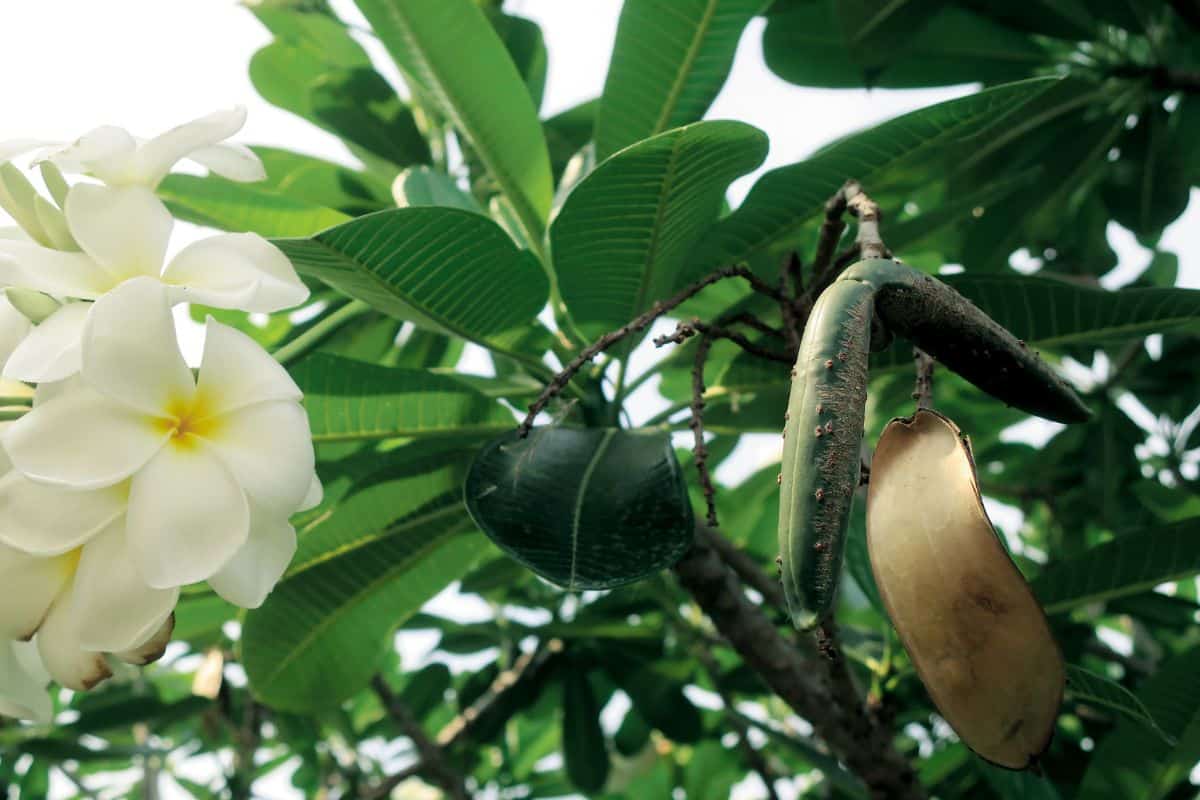
The blossoms will give place to long seed pods if successfully fertilized.
Seed pods resemble two long beans in shape. Green or light to dark brown is both possible colors.
When harvesting these seeds, here are the steps to follow:
1. Watch The Seed Pod Mature And Open
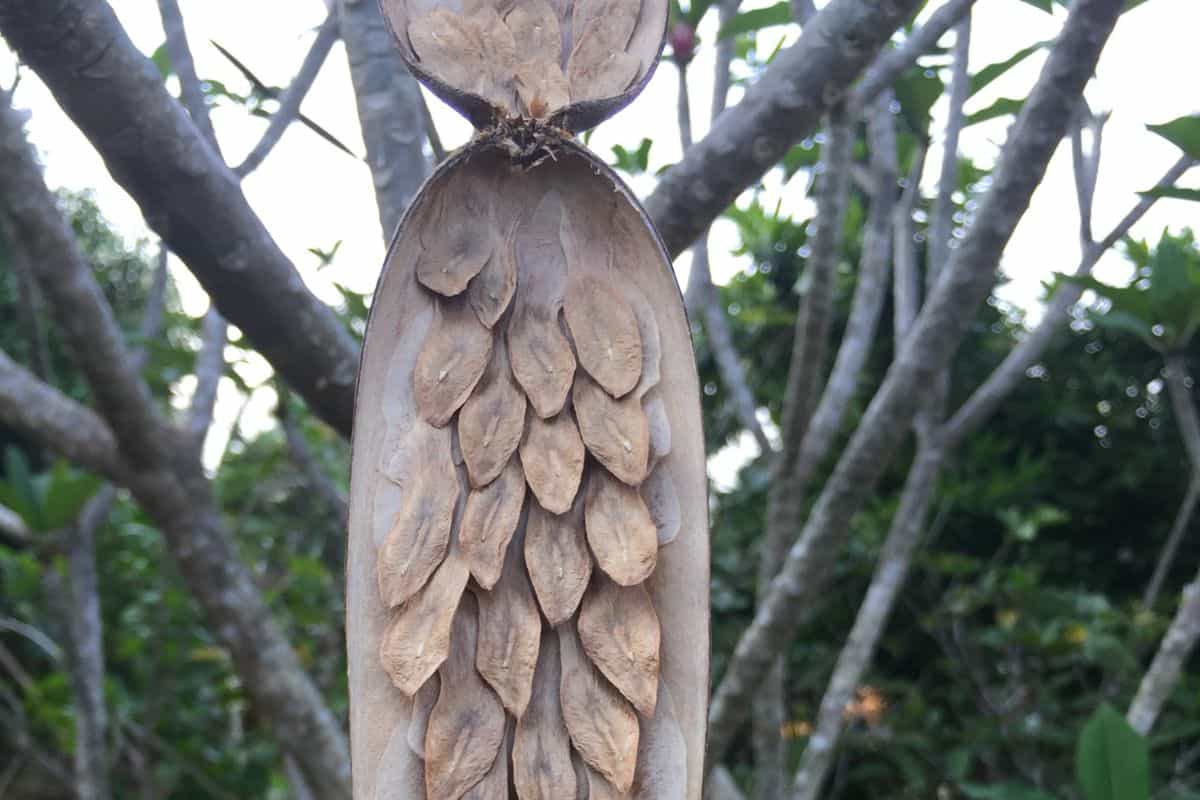
The seed pod needs time to mature on the plant before it can split apart and release anywhere from 20 to 100 seeds. The seed pods of plumeria can open at any time of the year. But most seed pods open in the spring.
Although their plumeria is dormant, seed pods will continue to grow throughout winter storage. Despite the slower growth in the winter, keep an eye on them because they might still open if they mature there.
The seeds have wing-like maple seeds, and while you can tell the pod is ripening when it gets brown, you can't determine exactly when it will split. The seeds are preparing to open when the pod begins to darken and appears to be dying.
2. Collect The Seeds
There are two ways you may try to collect the seeds, and these are:
Cover The Seed Pod
It's time to cover when you notice that the seam along the seed pod is beginning to crack. To protect the seed pod and collect the seeds, use netting or stockings and tie around the stem.
This ensures the seeds don't float away when the seed pods open.

See this garden mesh netting on Amazon.
Through the holes in the netting, they can still get sunshine and water. Be sure when you cover the seed pod with mesh; it gives plenty of breathing space and enough room to open it fully.
Pick The Pod
If the pod has begun to crack open, it is acceptable to pick it up. It will open entirely in a few days if kept in a cool, dry location.
Allow the seeds to dry out for a few days after it opens, as the moisture can encourage the growth of germs or fungus.
3. Store Them Properly
These plumeria seeds can be sown straight in the ground, or if you're preserving them for later, you can keep them in a paper bag and somewhere cold and dry.
How Do You Plant Plumeria Seed Pods?
To get started in planting, all you need are some basic tools and seeds!
Once you have your plumeria seeds, here is how to sow them:
1. Moisten The Seeds
If you purchase seeds online, not from your harvested pods, you cannot know if they were just picked or a few months old. Older seeds take longer to germinate, while newly obtained seeds do so more quickly.
To speed up the germination process, you need to moisten the seeds. The simplest method is to sandwich these seeds with damp tissue paper. In a warm setting, leave them for 24 hours.
You will see that the seeds' thicker region will puff and enlarge, which means that they are ready for planting.
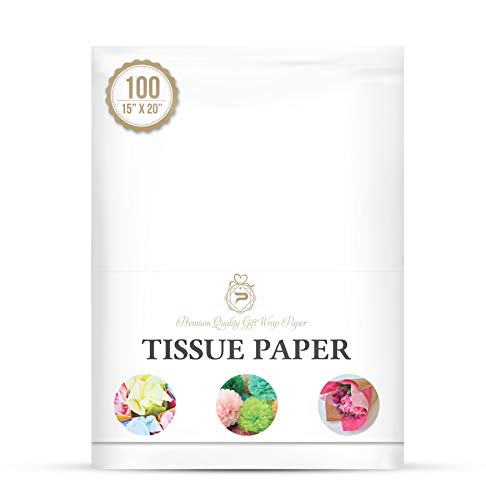
Click here to see this tissue paper on Amazon.
2. Put Sterile Seed Compost In Your Seed Container
You can either make your own compost or purchase an already-made potting mix from a nursery. Moreover, you need a nursery pot or empty mineral bottle as an alternative container to help you save money.

Click here to see this potting mix on Amazon.
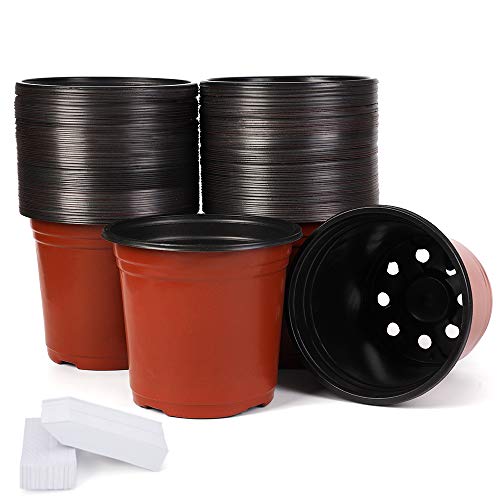
Click here to see these nursery pots on Amazon.
With this recycled bottle, get the bottom third by cutting it with a cutter. Next, clean it, drill holes at the base with a soldering iron, and your pot is ready for use.

Click here to see this cutter on Amazon.

Click here to see this soldering iron on Amazon.
3. Pre-Moisten The Potting Mix
Most premium potting mixes are dry when you first open the bag, which is understandable.
However, young roots might become harmed when seedlings are placed into a dry mix, so better moisten the potting mix before proceeding.
4. Place The Damp Seeds Into Your Potting Mix
Form a little hole in the potting mix and put the plumeria seed gently into it, about 0.2" deep. Ensure that the seed wing is at the top and the swelling end is at the bottom.
Let a portion of this wing protrude from the ground. Then, gently press the soil against the plumeria seed's side.
5. Store The Pots In A Greenhouse
To simulate a little greenhouse, put these pots in an empty plastic container and cover them. Put it somewhere warm and well-lit but out of direct sunlight.
Make sure the soil is not dry every day. Spray water on the topsoil if it appears to be dry.
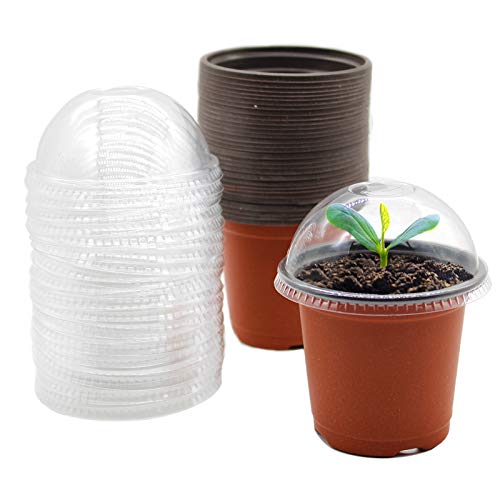
See this greenhouse-like nursery pot on Amazon.
6. Remove The Cotyledons' Clinging Seed Coat
Depending on how fresh they are, it might take seven days to more than a month for seeds to germinate. The cotyledon is the seedlings' initial embryonic leaves.
As the cotyledon began to emerge, the seed coat began to peel off and occasionally stuck to the cotyledon. In most cases, it naturally falls off, but sometimes it might not.
The seedlings may rot and die if these seed coats are not removed from the cotyledons. Therefore, removing it from these seedlings might require assistance.
You can mist it lightly to make it soft enough to remove it gently.
7. Transfer The More Mature Seedlings To A New Container
You can start transplanting a seedling to a larger container after you notice a fresh set of leaves and it is taller than 3".
Gently take the seedling out of the nursery pot and place it in the larger pot with the potting mix, or you can plant it directly in the ground.
How Do You Take Care Of Plumeria?
Here are some suggestions you might want to keep in mind to ensure your plant stays healthy:
1. Pick A Warmer Location
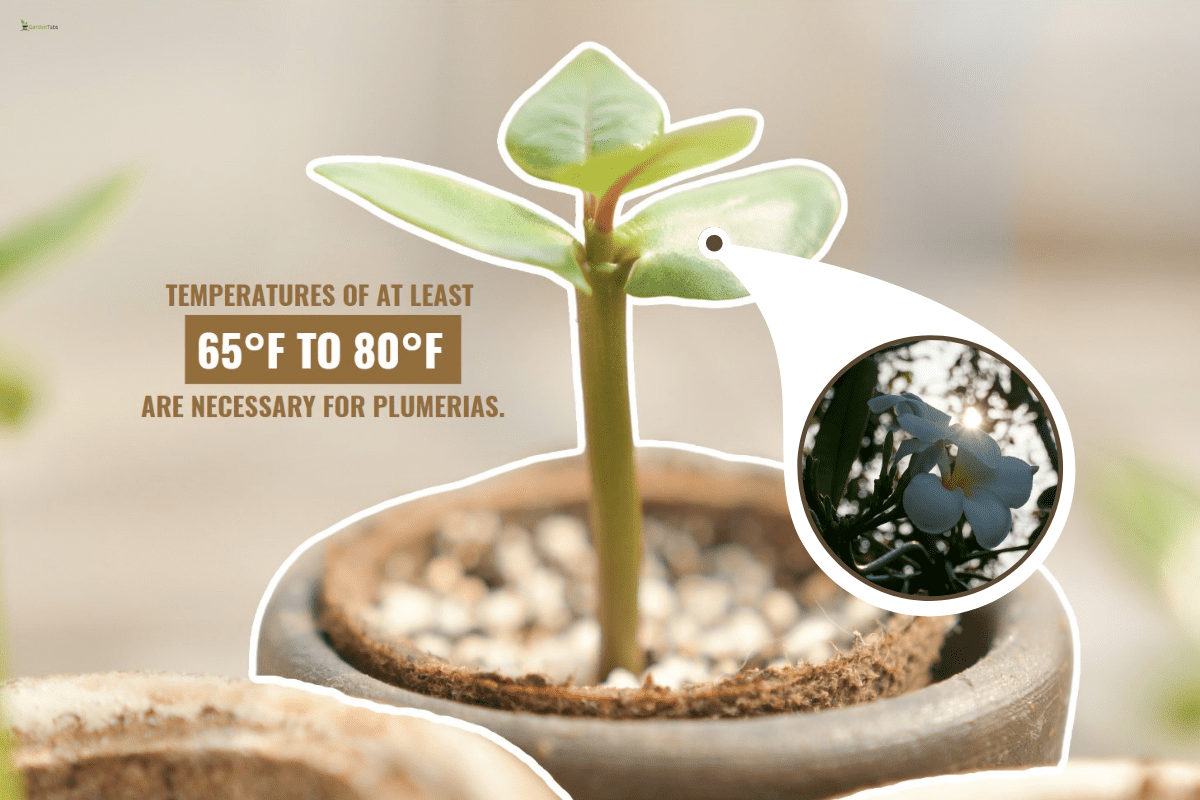
Temperatures of at least 65°F to 80°F are necessary for plumerias. Any plant parts that come into contact with cold temperatures will die, such as those below 55°F.
Therefore, picking the appropriate place is crucial. Do not plant your plumeria outside if the temperature regularly or frequently drops below 55°F. Instead, plant it in a pot you can bring indoors when the weather turns chilly.
2. Water Often
A deep watering once or twice a week, as opposed to more frequent and lighter watering, is what your Plumeria will benefit from if it is grown in a garden with quick-draining soil.
In between watering the soil, you can also mist the leaves. However, you must be careful not to overwater your Plumeria because this will make it rot and die.
When the leaves start to sag due to the cooler weather, it's best to stop watering and allow the soil to dry up. Watering the ground when your plumeria is dormant will probably cause rot, so avoid doing so.
3. Give Your Plumeria Enough Sunlight
The optimal conditions for plumeria growth are full sunlight for at least 6 hours daily. Locate a spot where the tree will receive consistent exposure to sunshine.
If you're growing plumerias indoors, they thrive in greenhouses or close to a large window with lots of light.
4. Use The Right Amount Of Fertilizer
Plumeria needs a considerable quantity of phosphorus, like many other flowering plants, to promote healthy blooming. Plumeria blooms primarily at the tips of the branches.
If you want a lot of branching without a lot of height, don't over-apply nitrogen, as it may result in a very tall plumeria plant that can become lanky.
The ideal fertilizer has a high phosphorus and a low nitrogen content.
It's best to have a fertilizer having a bloom-boosting formula and N-P-K (nitrogen-phosphorus-potassium) ratios for your Plumeria's optimal growth and flowering.

View bloom-boosting fertilizer on Amazon.
To Finish Up
Hopefully, this article helps you harvest, plant, and grow plumeria from seeds. Even though it could take up to two years for these young plants to mature into little trees, the wait is well worth it because you'll be able to appreciate their lovely scent fully. Good luck gardening!
While we have you, check out these related posts: