Did you know that snake plants can also be incorporated into innovative DIY projects that not only brighten up your living space but offer a creative outlet too?
Their tall, upright leaves offer a minimalistic and modern look, which can be leveraged in various DIY projects to enhance their visual appeal.
In this article, we'll share a few innovative DIY projects featuring snake plants. These projects are perfect for both beginners and advanced DIY enthusiasts.
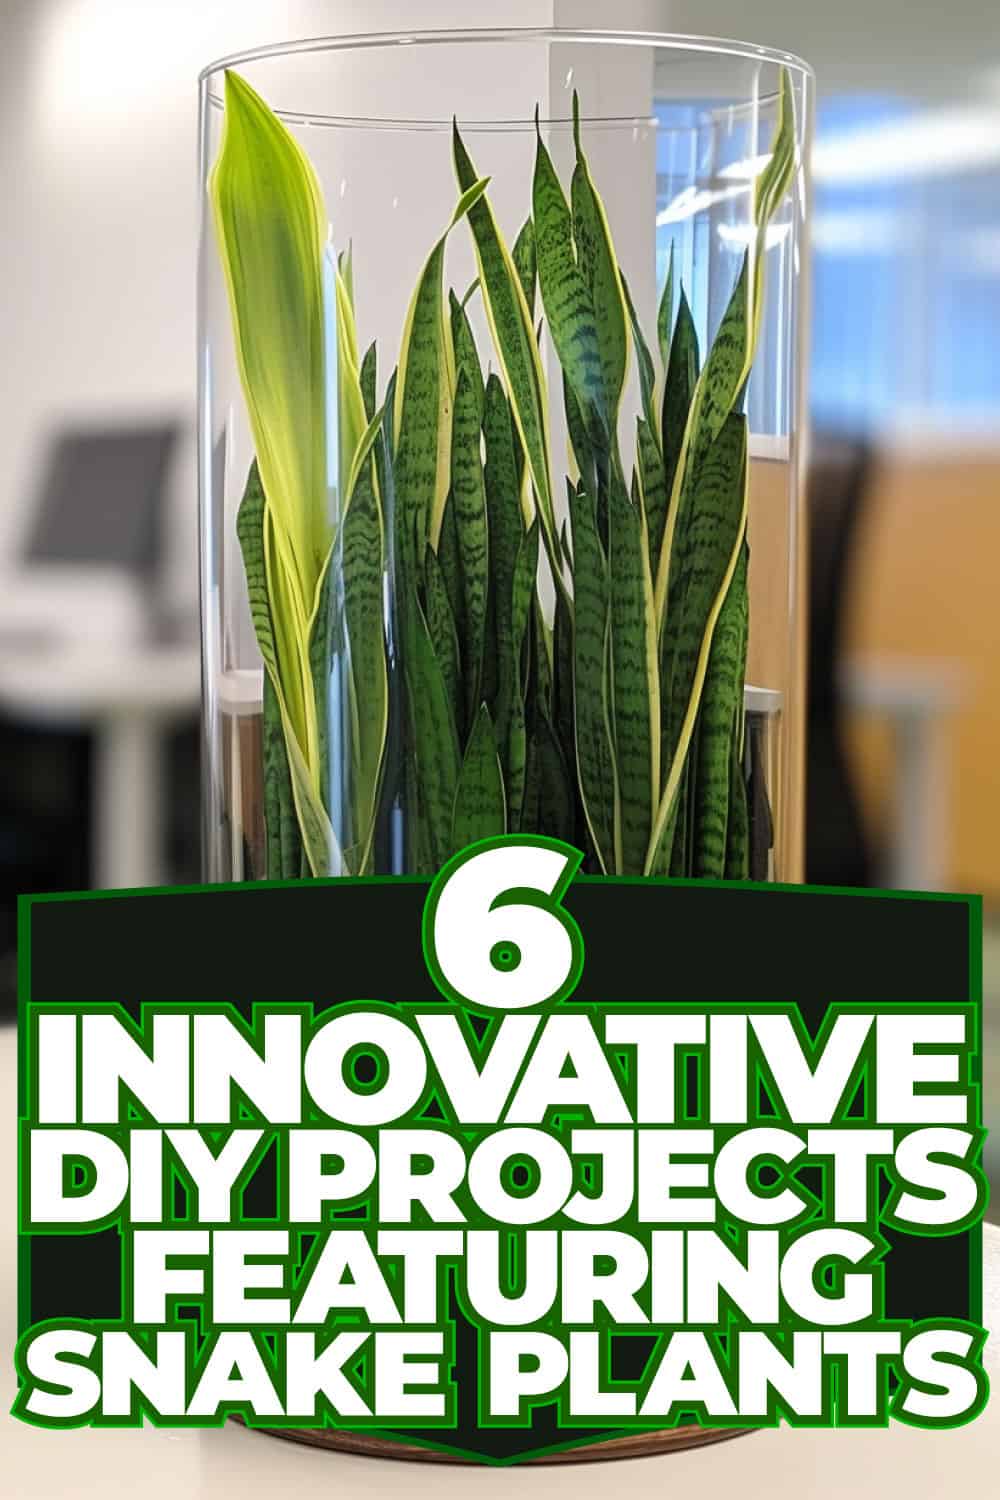
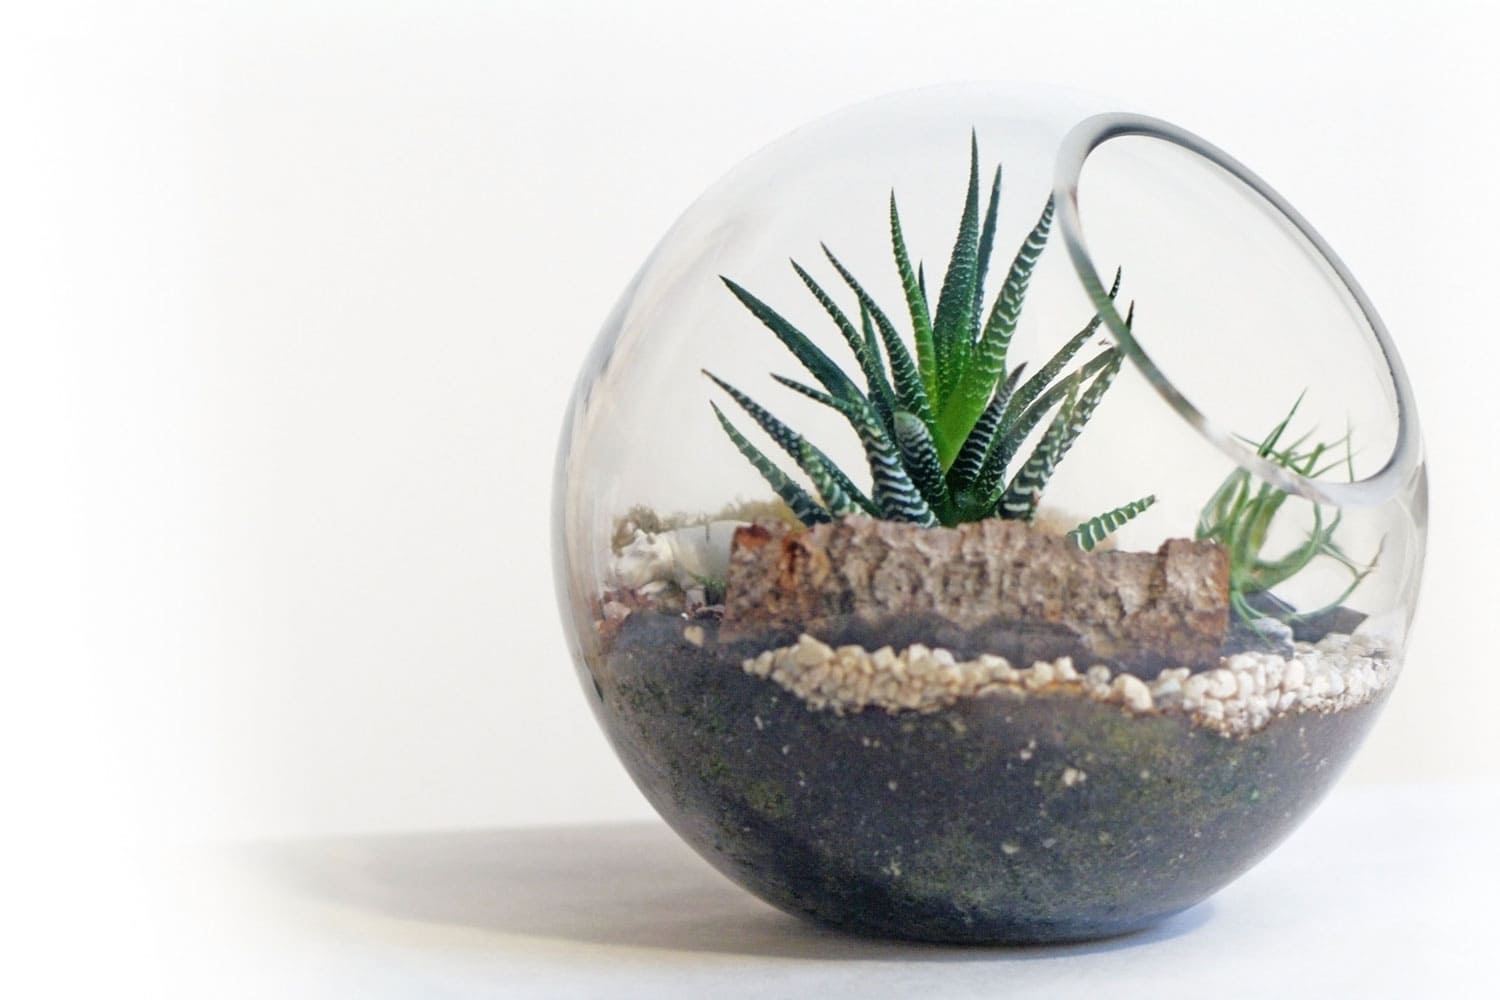
Snake Plant Terrarium
Snake plants are popular houseplants that can excel in a terrarium setting.
To start, select the right container. This is crucial for the health of your snake plant. Consider the following factors:
- Size: Size should fit your plant and allow for growth.
- Material: For terrariums, glass containers are preferred due to their visibility and ability to retain humidity.
- Shape: Use functional shapes like cylindrical, rectangular, or globular containers.
- Ventilation: Select a container with a lid or seal to retain humidity.
Assembling Your Terrarium
Now, let's create your snake plant terrarium.
1. Clean the Container
Thoroughly clean it with warm, soapy water and let it dry.
2. Create the Drainage Layer
Add a 1-2 inch layer of pebbles or gravel at the bottom. This helps prevent root rot by providing drainage.
3. Add a Barrier
To prevent soil from seeping into the drainage layer, place a layer of mesh or a nylon window screen on top of the pebbles.
4. Add Soil
Use a well-draining, fertile soil mix. Fill about 1/3 of the container with soil. Snake plants prefer sandy or loamy soil with good aeration.
5. Plant Your Snake Plant
Dig a hole in the soil and gently place your snake plant, making sure the roots are well covered.
6. Add Decorations
To create a visually appealing terrarium, try incorporating rocks, wood, or other live plants that thrive in similar conditions as snake plants.
7. Water
Lightly water your terrarium and make sure not to overwater. Snake plants are tolerant of low water conditions, so it's better to have less water than too much.
8. Cover
Place the lid or seal the container, ensuring a stable environment with consistent humidity. Keep the terrarium in a bright, indirect light area.
If you're not too familiar about snake plant light requirements, you can read here: Dos and Don’ts: The Ultimate Cheat Sheet for First-Time Snake Plant Parents
Plant Wall Art
Snake plants are popular houseplants known for their air-purifying qualities and low maintenance requirements.
One unique way to showcase them in your home is with a DIY snake plant wall art project.
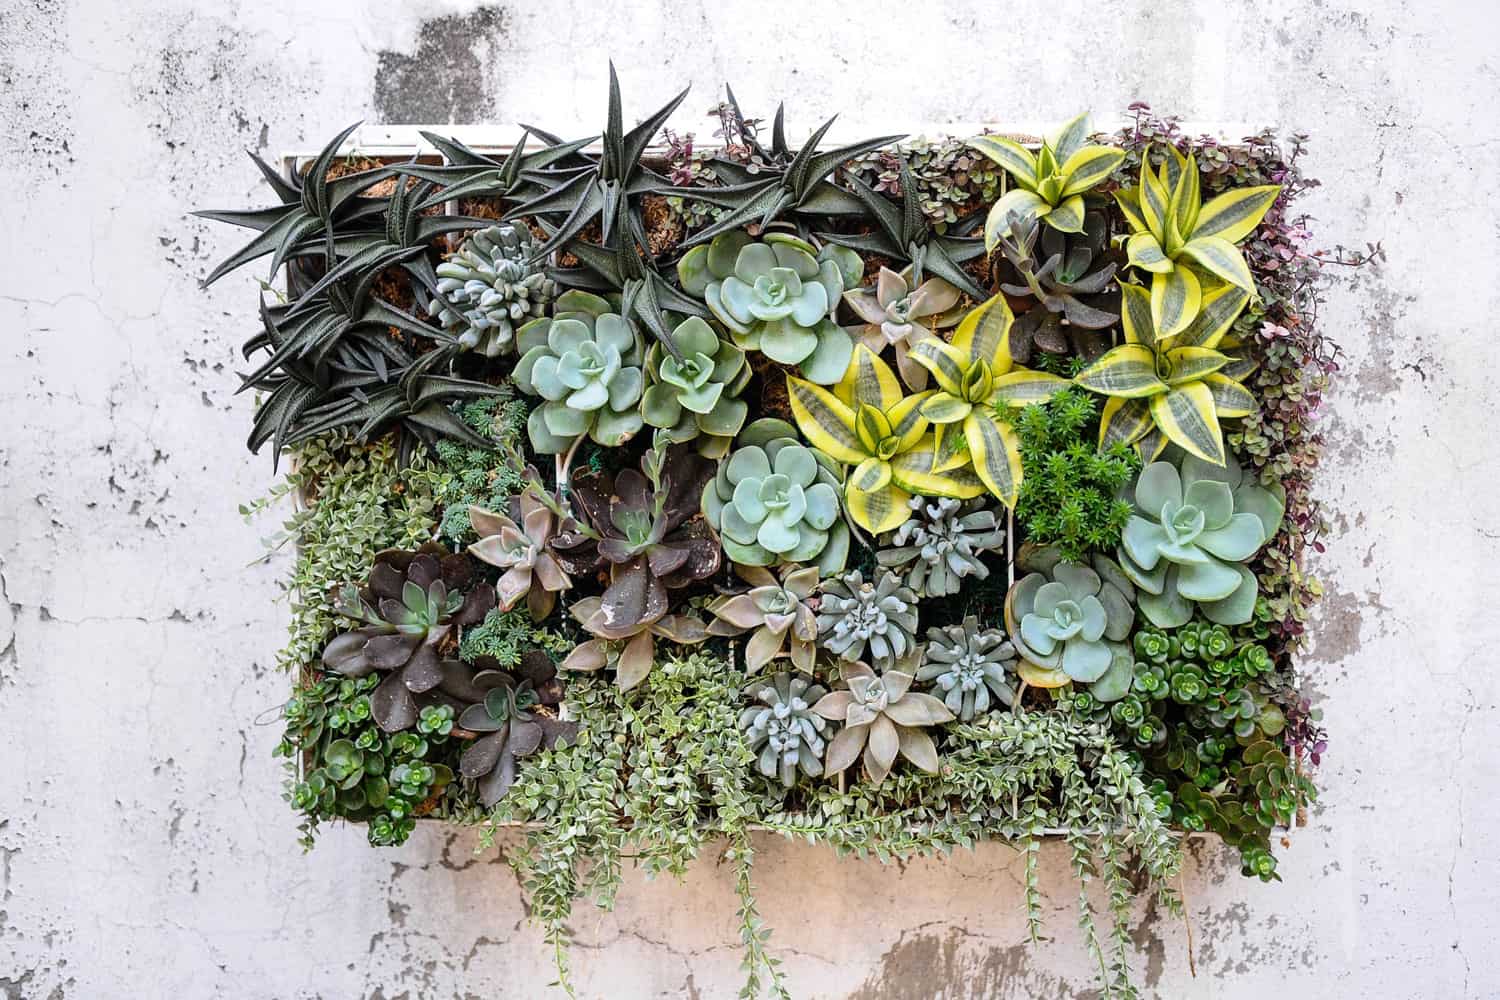
This project will add a touch of greenery and creativity to your living space.
Materials Needed
- Snake plants (choose different sizes for variety)
- Wooden frame or mounting board
- Moss or coir liners
- Potting soil
- Staple gun
- Waterproof liner (optional)
- Gloves
- Scissors
Step-by-Step Guide
Here's how to make a succulent living wall art.
1. Prepare the Frame
You can either repurpose an old frame or purchase a new one. If you're using a mounting board, you may need to build a frame around it for support.
2. Attach the Liner
Cut a piece of waterproof liner in the same size as your frame. Then, place it on top of the wooden frame and secure it in place with a staple gun. This liner will help protect your wall from moisture.
3. Add Moss or Coir
Now, it's time to add the moss or coir liner. Cut it to the exact size of your frame and attach it on top of the waterproof liner with a staple gun. Be sure to cover the entire surface.
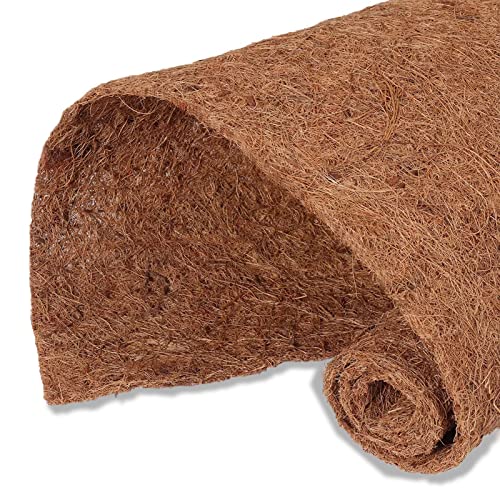
Get your natural coco coir fiber on Amazon.
4. Plant Your Snake Plants
Make small slits in the moss or coir liner, just big enough for the snake plant roots.
Insert the snake plants into the slits, spreading the roots out as much as possible.
Be creative with your plant arrangement; you can create a pattern or go for a more random look.
5. Fill with Potting Soil
Once the plants are in place, carefully fill the gaps between the plants with potting soil. This will provide necessary nutrients for the snake plants.
6. Secure the Plants
To keep your snake plants in place and add extra support, attach small pieces of moss or coir liner using a staple gun around the base of each plant.
7. Hang Your Masterpiece
Finally, mount your snake plant wall art on your wall. Make sure you have proper wall supports for the weight of your finished piece.
After hanging it, water the plants lightly and enjoy your beautiful creation!
Your innovative snake plant wall art is sure to catch the eye and admiration of visitors in your home.
Concrete Planters
Concrete planters are a modern and stylish way to display your snake plants.
They offer durability and a unique aesthetic that complements the sleek look of snake plants.
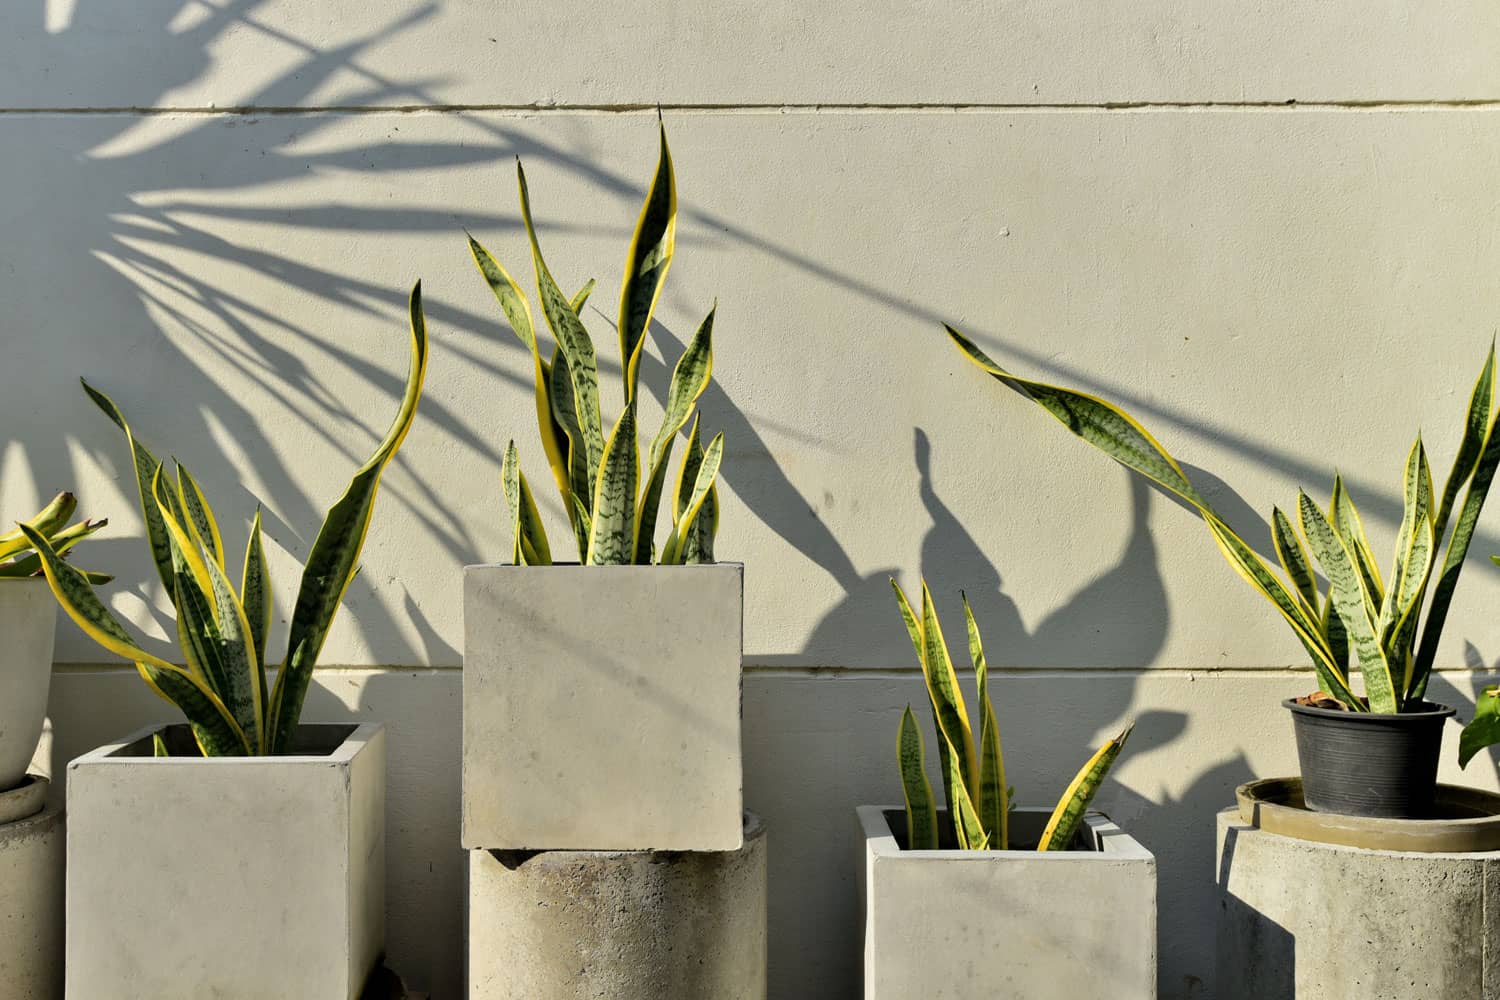
This DIY project allows you to create custom planters that fit your space perfectly. Here's a detailed guide on how to go about it:
Materials Needed
- Quick-set concrete mix
- Molds (You can use boxes, containers, or silicone molds)
- Snake plants
- Potting soil suitable for snake plants
- Water
- Mixing bucket or wheelbarrow
- Mixing stick or shovel
- Sandpaper (optional)
- Sealer (optional)
Step by Step Guide
Here are the steps to making concrete pots.
1. Prepare Your Workspace
Choose an outdoor area or a well-ventilated indoor space. Cover the work surface with plastic sheeting or newspaper to make cleanup easier.
2. Prepare Your Molds
If you're using boxes or plastic containers as molds, line them with plastic wrap for easier removal. If you're using silicone molds, ensure they are clean and dry.
3. Mix the Concrete
In a mixing bucket or wheelbarrow, mix the quick-set concrete with water according to the package instructions.
Stir the mixture well using a mixing stick or shovel until it reaches a thick, pourable consistency.
4. Pour the Concrete
Pour the concrete mixture into your molds. Gently tap the sides of the molds to remove any air bubbles.
5. Let it Set
Allow the concrete to set as per the instructions on the package, usually 24 to 48 hours. Keep the molds in a dry, cool area while the concrete sets.
6. Demold the Planters
Once the concrete has hardened, carefully remove the planters from the molds. If necessary, use sandpaper to smooth any rough edges.
7. Seal the Planters (Optional)
Apply a concrete sealer to the inside and outside of the planters to protect against moisture and stains. Allow the sealer to dry completely before proceeding.
8. Plant Your Snake Plants
Fill your new concrete planters with potting soil. Remove the snake plants from their current pots, gently loosen the root ball, and place them in the new planters.
Fill in around the plant with more soil, pressing it down lightly to eliminate air pockets.
9. Water and Enjoy
Water your snake plants lightly and place them in a well-lit area. Enjoy the modern, industrial look of your new concrete planters!
Macramé Plant Hangers
Macramé plant hangers offer a charming way to display snake plants, adding a touch of bohemian elegance to any space.
With their intricate knots and natural look, these hangers are perfect for showcasing the vertical growth and structured form of snake plants.
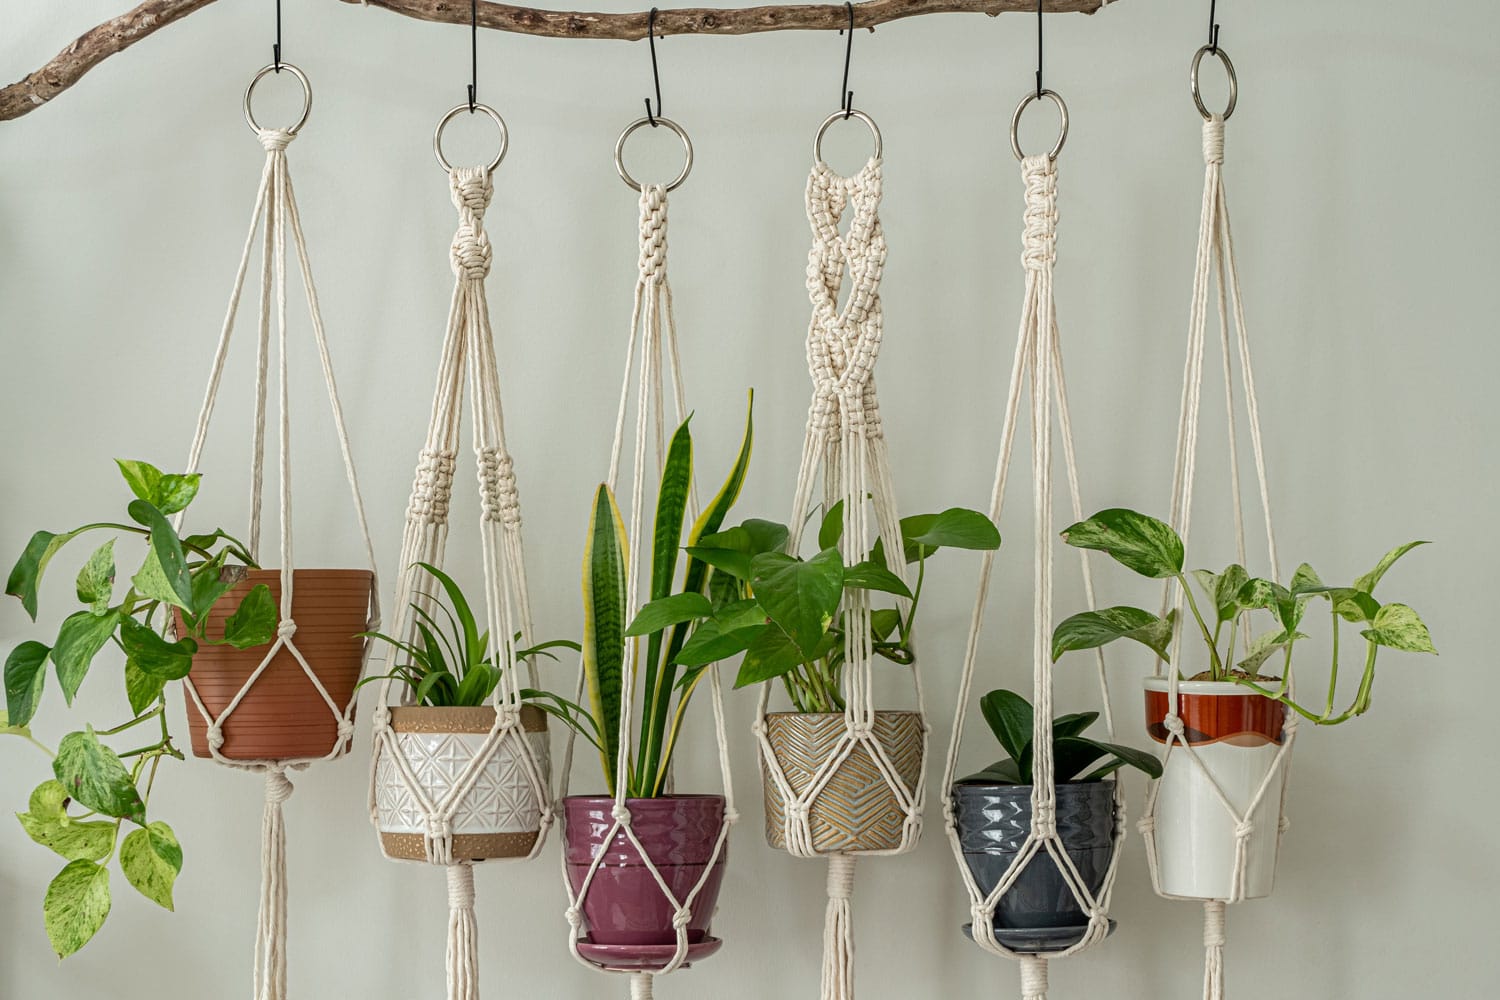
Here’s how to create your own macramé plant hanger, perfect for indoor or outdoor decoration.
Materials Needed
- High-quality macramé cord (3mm-5mm thickness recommended)
- A sturdy ring (metal or wooden)
- Scissors
- Measuring tape
- Potted snake plants
- Optional: beads or decorations
Steps
1. Cutting Your Cords
Measure and cut four strands of macramé cord, each about 6 to 8 feet long, depending on the desired final length of the hanger.
2. Securing the Cords
Fold the cords in half and loop them through your ring using a lark's head knot. You should now have eight strands dangling from the ring.
3. Starting the Knotting
Decide on your macramé pattern. The square knot and spiral knot are two popular choices for beginners.
Begin knotting according to your pattern, usually starting a few inches down from the ring to create a gathering point.
4. Adding Decorative Touches (Optional)
Incorporate beads or decorations by threading them onto the cord at various points in your pattern. Continue knotting, ensuring the beads are secured in place.
5. Creating the Basket
As you approach the desired length for the 'arms' of the hanger, start creating the basket portion that will hold the pot.
Divide the strands into pairs and knot them together, forming a net-like structure that will support the pot's base.
6. Securing the Pot
Place your snake plant pot into the basket you've created, adjusting the last set of knots to ensure the pot sits securely.
Finish off with a final gathering knot beneath the pot to hold everything in place.
7. Finishing Touches
Trim any excess cord below the final knot to create a tassel effect. If desired, unravel the ends of the cords to add texture to the tassel.
8. Hanging Your Plant
Hang your new macramé plant hanger from a hook in the ceiling, on a wall, or from a sturdy plant stand.
Ensure it's placed in a spot with bright, indirect light, which snake plants favor.
Snake Plant Souvenirs
When it comes to finding the perfect parting gift for guests at an event or a special keepsake for friends, snake plant souvenirs are both thoughtful and innovative.
These hardy plants are not only easy to care for but also symbolize clean air and resilience, making them meaningful gifts.
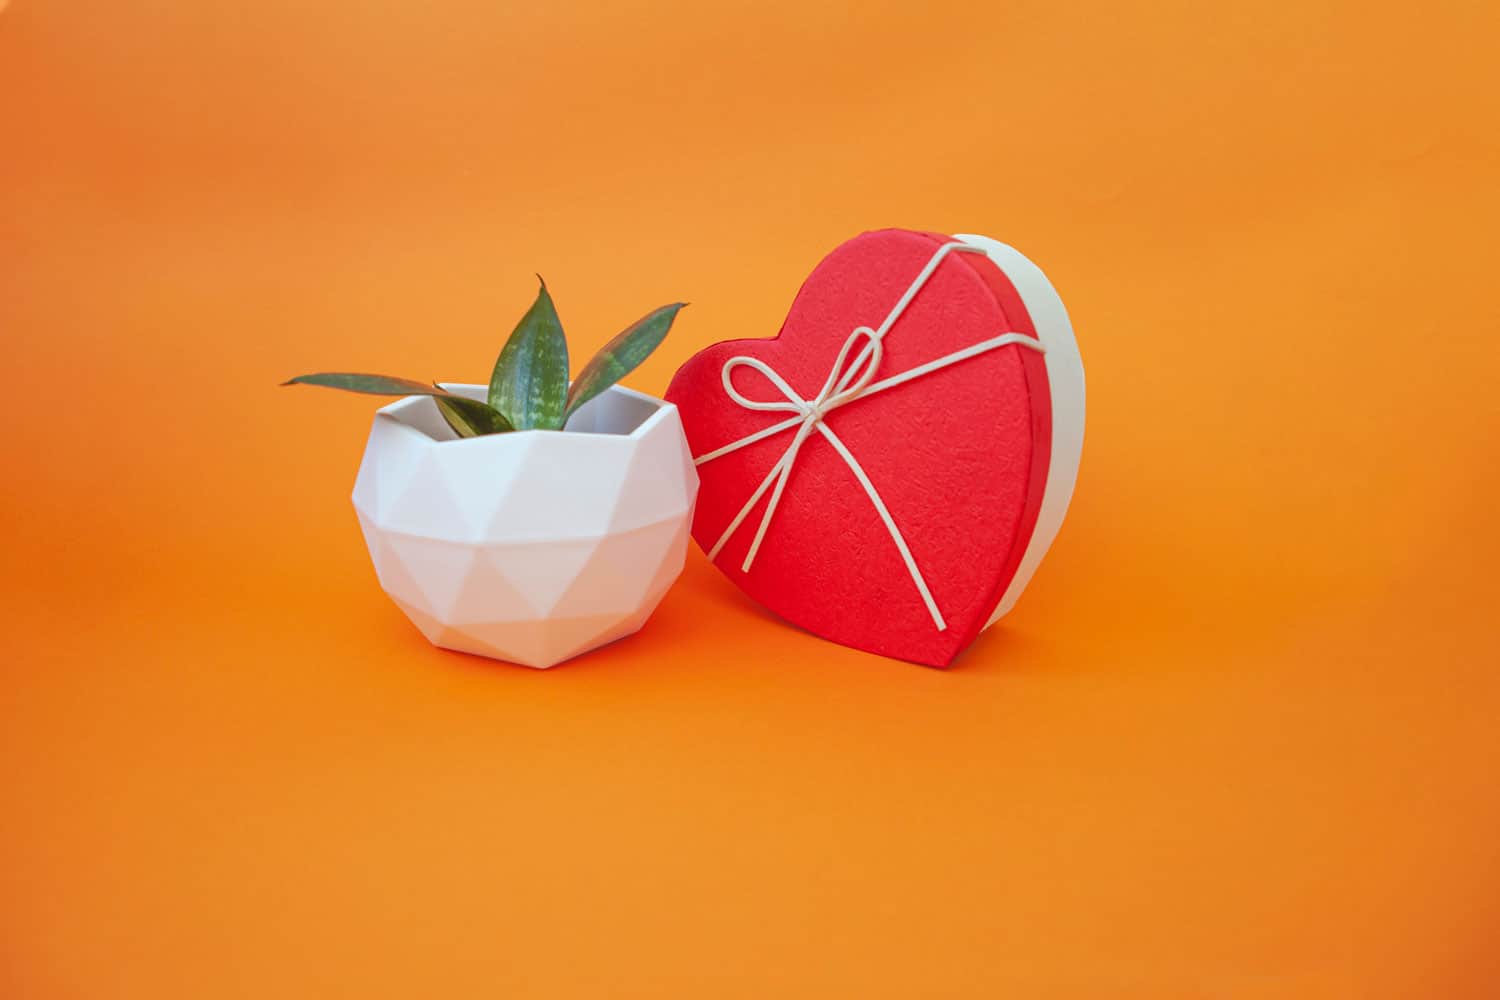
Packaged creatively, they can make for a lasting memento. Here's how to prepare snake plant souvenirs for your next event.
Materials Needed
- Small snake plants or cuttings
- Small pots or biodegradable planting cups
- Potting mix suitable for snake plants
- Decorative gift boxes
- Tissue paper or shredded paper filler
- Ribbons or twine
- Personalized gift tags
- Optional: Decorative stones or moss
Steps
1. Preparing the Plants
If using snake plant cuttings, root them in water until they develop a network of roots.
Select small pots or biodegradable cups that will fit nicely into your gift boxes.
2. Potting the Plants
Fill the pots or cups with a well-draining potting mix. Plant the snake plants or rooted cuttings into the soil, firming gently.
3. Decorating the Pots
Add decorative stones or a layer of moss on top of the soil for a polished look. Wrap the pot with a ribbon or twine, attaching a personalized gift tag.
4. Boxing the Souvenirs
Line your gift boxes with tissue paper or shredded paper filler. Place the potted snake plants inside the boxes gently. Close the boxes and finish with a ribbon or a custom label.
5. Adding Finishing Touches
Write a care instruction card or a note about the significance of the snake plant.
Attach the care instructions to the gift box or place them inside on top of the plant.
6. Gifting
Present the snake plant souvenirs to your guests or friends as a memento of the special occasion.
Remind them that snake plants are low-maintenance, making them a suitable gift even for those without a green thumb.
Natural Room Dividers
In the modern quest for open-plan living and working spaces, the need for defining areas without closing off space has given rise to the use of natural room dividers.
Snake plants, with their upright growth and striking foliage, are excellent candidates for this role.

Planted in rectangular planters, they can be used to delineate spaces subtly and stylishly in homes and offices.
Materials Needed
- Tall and robust snake plants
- Rectangular planters (size to fit your space)
- Potting mix suitable for snake plants
- Decorative stones or pebbles
- Optional: Wheels or casters for planters
Steps
1. Choosing the Right Planters
Select rectangular planters that are tall enough to provide a visual barrier. Consider planters with a sleek design to match your decor and the natural elegance of snake plants.
2. Preparing the Planters
Fill the planters with a well-draining potting mix. If mobility is desired, attach wheels or casters to the bottom of the planters before filling them.
3. Planting the Snake Plants
Place snake plants into the soil, arranging them for optimal fullness and coverage. Ensure the plants are spaced in a way that allows for air circulation and growth.
4. Adding Finishing Touches
Top the soil with decorative stones or pebbles to maintain moisture and add aesthetic appeal.
5. Strategic Placement
Position the planters in areas where you wish to create separation, such as between a dining and living area, or to section off a work area in an office.
Ensure the plants receive bright, indirect light (or grow lights) and are not in the path of strong drafts.
6. Maintenance
Water the snake plants as needed, allowing the soil to dry out between watering to prevent root rot.
Dust the leaves occasionally to keep the plants looking fresh and to allow efficient photosynthesis.
No Boring Snake Plant on Crafty Hands
Innovative DIY projects featuring snake plants are a great way to incorporate greenery into your home while expanding your creative skills.
These DIY projects can also be a fun way to involve your friends or family in exploring new gardening techniques together.
You can find more ideas here: Transform Your Space: Stylish Ways To Display Your Snake Plants
Throughout the process of designing and creating your innovative DIY projects, remember to be patient with yourself and enjoy the learning experience.
Treat any setbacks or challenges as opportunities for growth and continue to refine your ideas.
Lastly, always prioritize the health and well-being of your snake plants.
Provide them with the appropriate care, such as proper watering, light, and temperature, to ensure they thrive in your DIY creations.
Enjoy crafting!