Agave plants are a popular choice for many gardeners, especially those who love the look of succulents.
They come in various shapes and sizes, and their distinctive, spiky appearance adds a touch of drama to any landscape.
However, one issue that may concern you is the potential for your agave plant to spread uncontrollably.
Not to worry! There are some nifty tricks you can employ to keep your agave plant in check and maintain the aesthetic appeal of your garden.
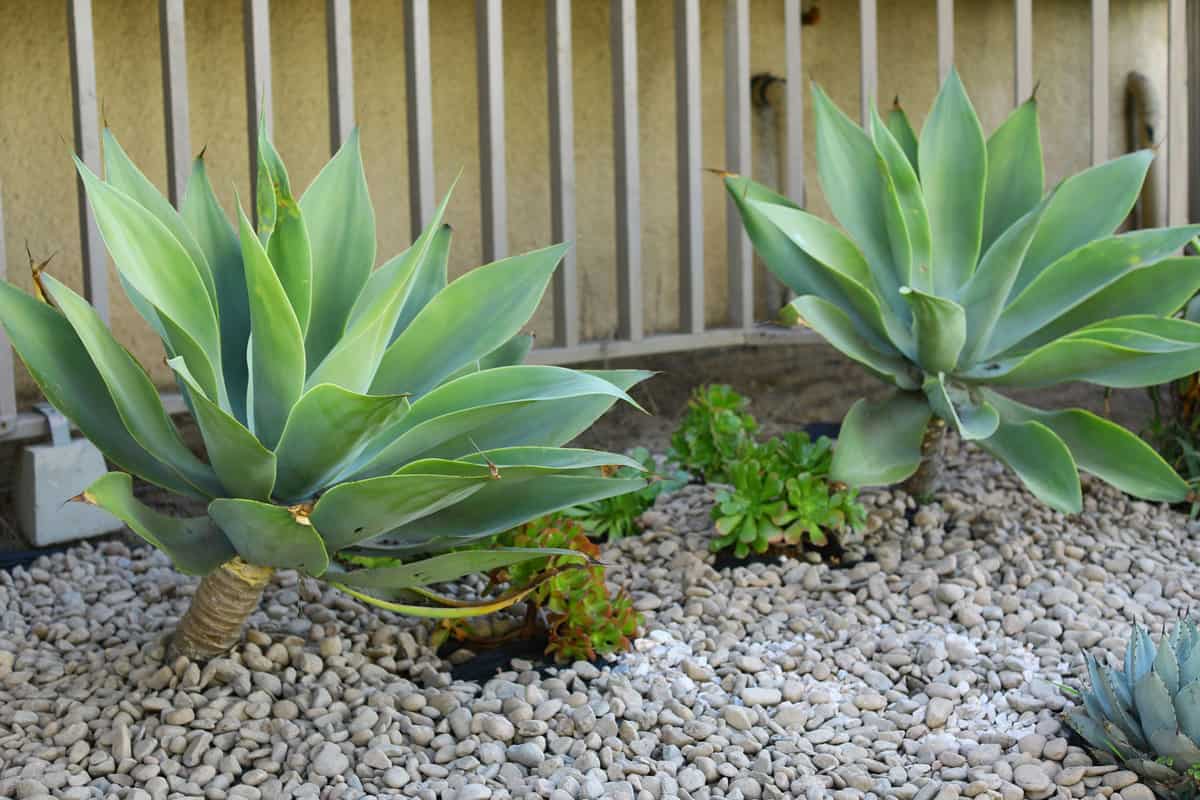
Stopping Agave from Spreading
To stop your agave plant from spreading, you should understand its growth habits and preferences.
Agave plants thrive in well-drained soil with little water, and they love a sunny location.
With this knowledge in hand, you can create an environment that discourages excessive growth while still keeping your agave plant healthy and happy.
In the following sections, you'll discover some practical tips and techniques to help you prevent your agave plant from spreading and taking over your garden.
Growth and Spreading Pattern
Agaves reproduce in two primary ways: from seeds and by producing "pups" or offsets.
The pups are smaller versions of the plant that emerge at the base and grow from the parent's roots.
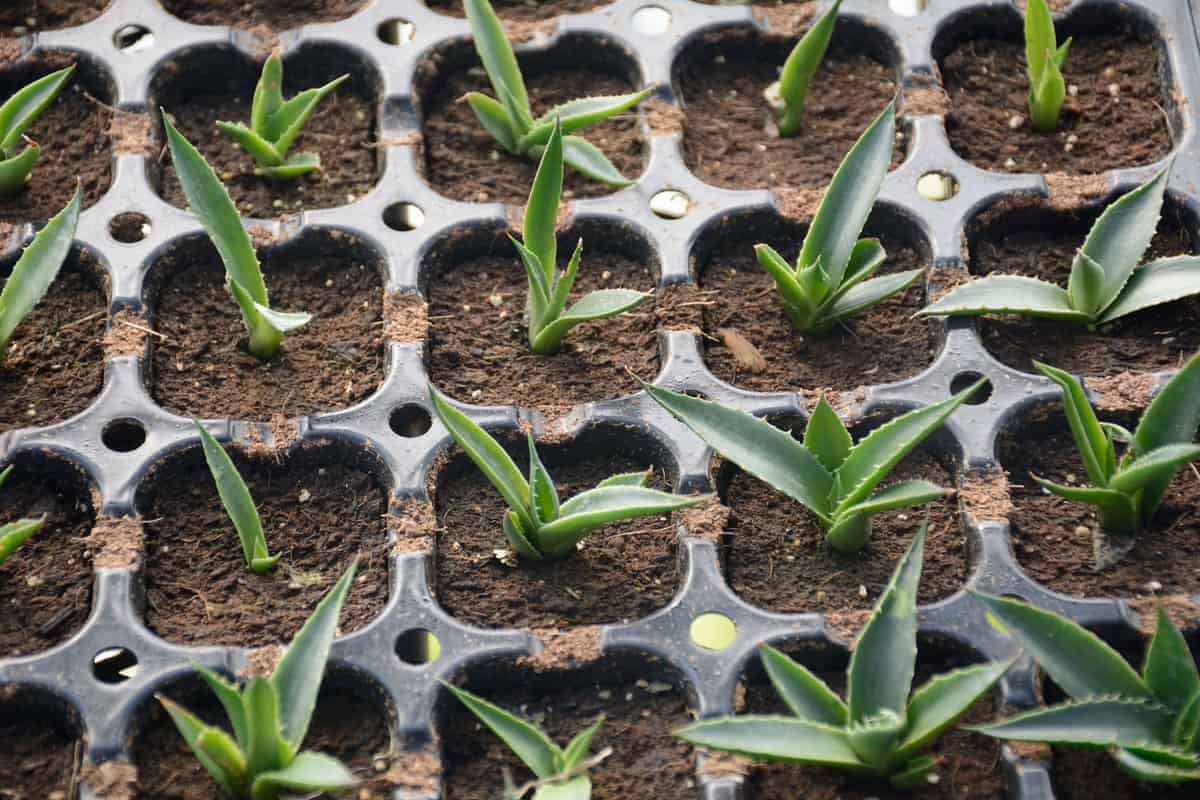
These offsets can share essential nutrients with the main plant, ensuring the successful development and growth of the entire cluster.
If left unchecked, the agave plant will continue to produce pups that will spread within close proximity, potentially dominating your garden space.
To prevent your agave plant from spreading too much, you should monitor and manage its growth by removing the offsets periodically.
This helps to keep the plant in check while also providing you with new plants to propagate elsewhere or share with fellow gardeners.
Guide to Stop Agave Spread
To keep your agave plants from spreading, it's essential to take some preventive measures.
Start by selecting the right planting location; Agave plants thrive in well-drained soil with little water.
Choose a spot with full sun or partial shade. Proper spacing between plants is also crucial.
Follow these simple steps to prevent agave from spreading:
1. Soil Preparation
Amend the soil with sand or other porous materials to improve drainage. This discourages root spread and offsets the risk of plants multiplying.
2. Plant Spacing
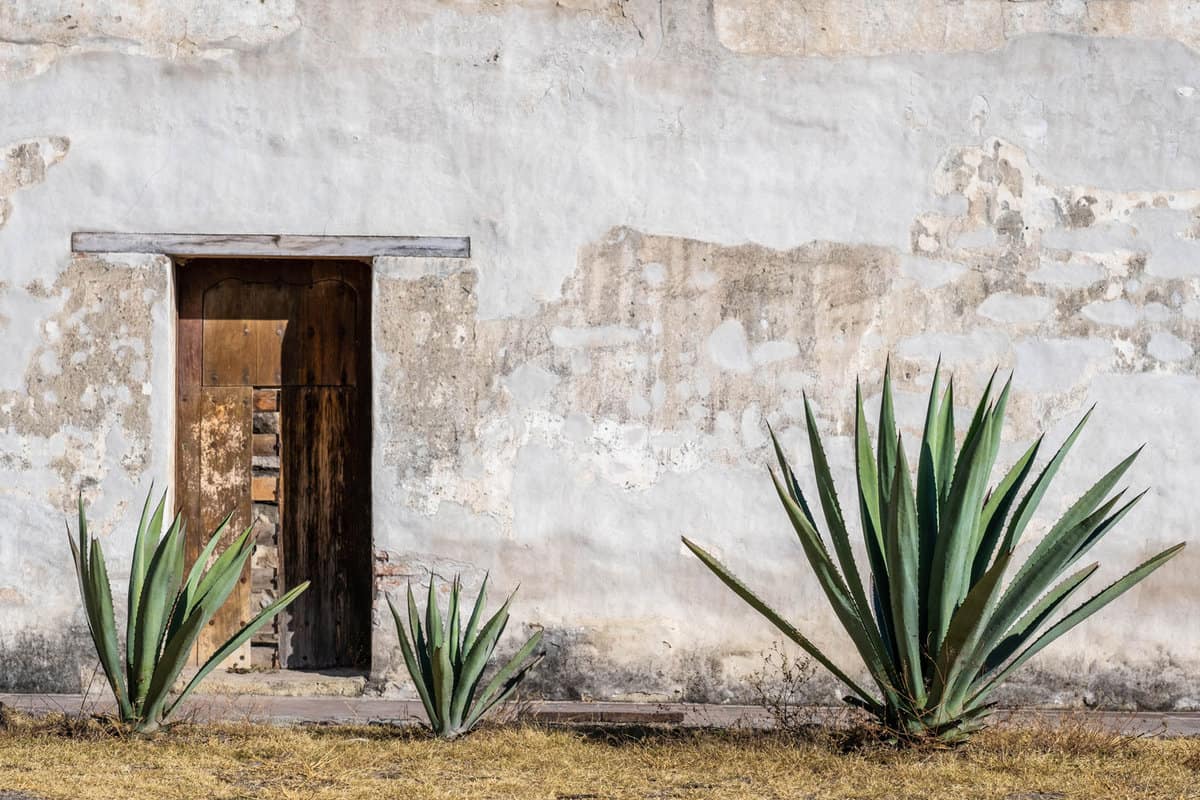
Ensure that you leave ample space between agave plants when planting them. This will reduce the chances of one plant's roots spreading to another.
3. Water Management
Limit the amount of water given to established agave plants. Overwatering can encourage growth and lead to unwanted spreading.
4. Monitoring
Keep an eye on your agave plants for signs of new growth. Remove any small plants that appear close to the main plant to prevent spread.
Dealing with Existing Spread
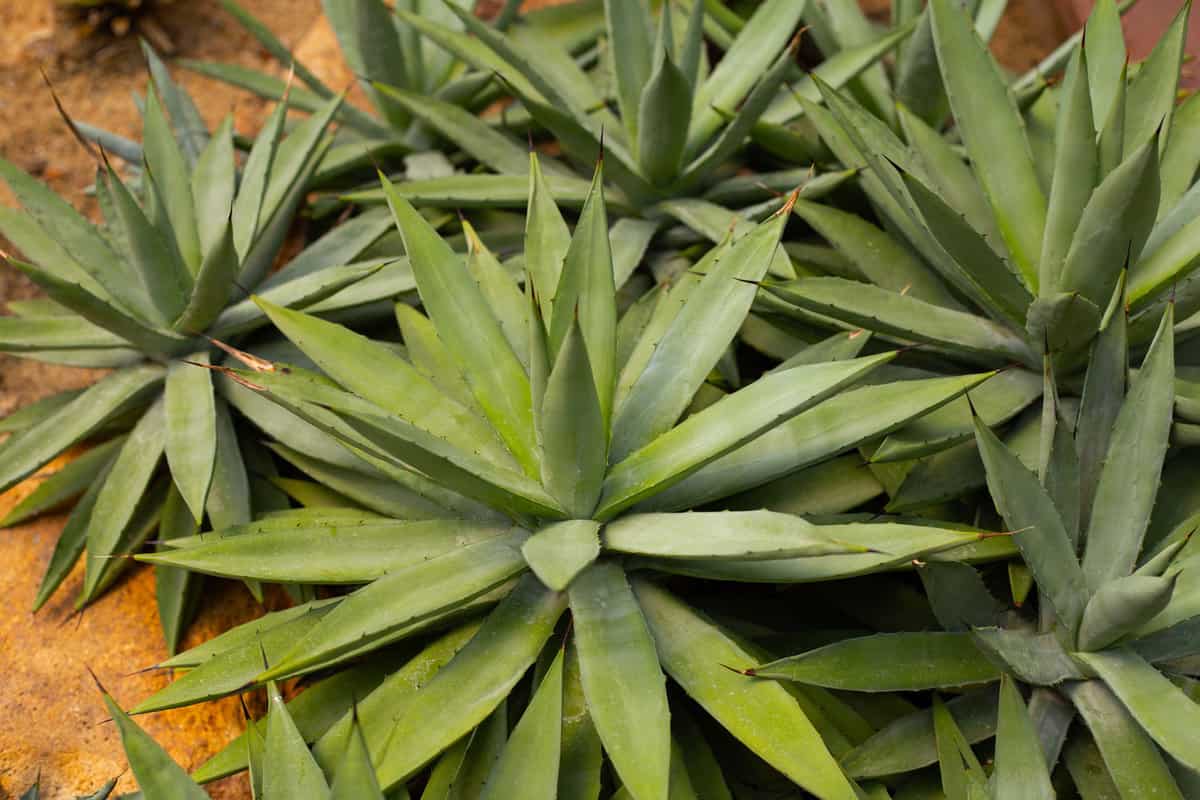
If your agave plants have already started to spread, you can still take action to manage and control their growth.
Here are some methods to deal with existing spread:
Trim Offshoots
Carefully remove the offshoots or "pups" that grow around the main plant. Use a sharp, sterilized knife to separate the pups from the parent plant.
Be sure to wear gloves and protective gear, as agave sap can cause skin irritation.
Dig and Divide
Using a shovel, carefully dig around the spreading plant to expose its root system.
Sever the connected roots and remove the new plant from the ground. You can either plant these divisions elsewhere or discard them.
Barrier Installation
Install a root barrier around the agave plant to contain its root system. This can be either a rigid plastic sheet or a continuous strip of metal.
Dig a trench around the plant and insert the barrier so that it extends a few inches above the ground level.
Safe Techniques for Agave Removal
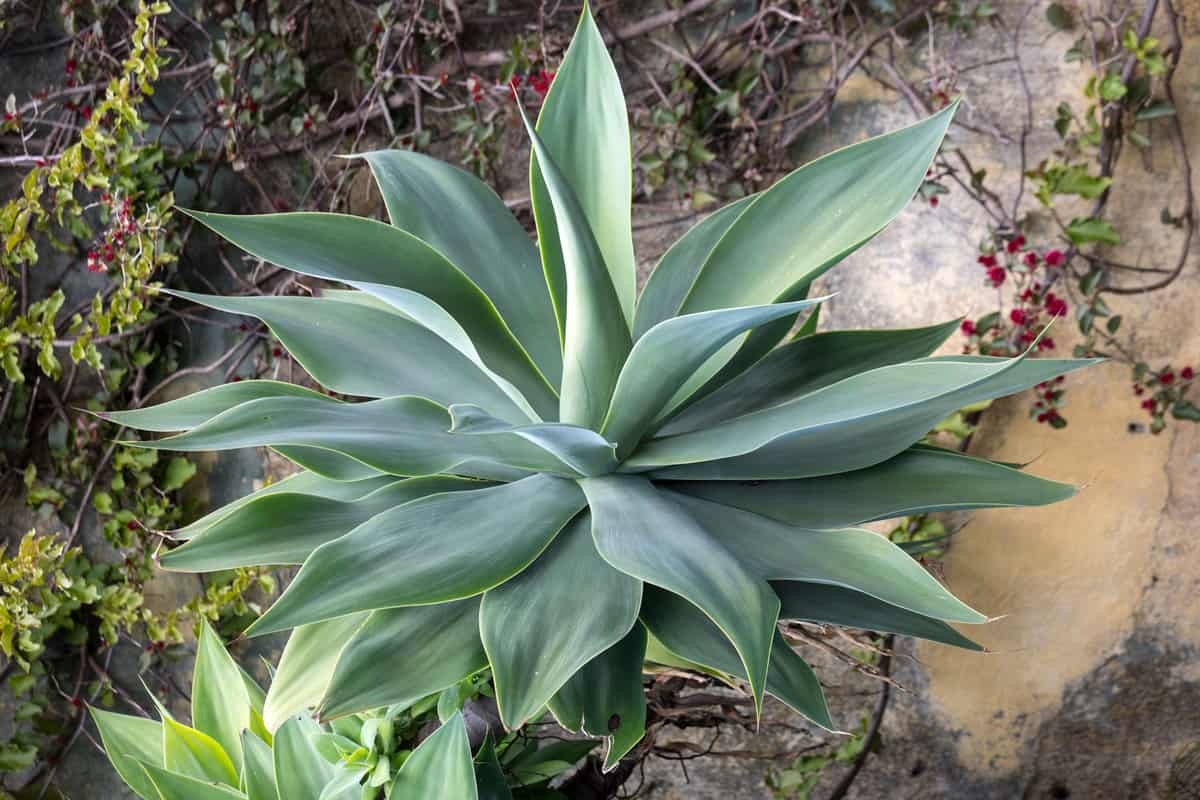
Let's explore some safe techniques for agave removal that every gardener should know.
Here are some straightforward methods and precautions you can take while handling and removing this plant.
Choosing the Right Tools
Arm yourself with the proper tools before starting the agave removal process. Some useful tools include:
- Thick gloves: Protect your hands from the plant's sharp tips and irritating sap.
- A long-handled shovel or spade: To dig around the agave plant, allowing you to loosen the soil and safely remove the root ball.
- A pruning saw or shears: To sever larger roots, helping you extract the plant more easily.


Check out this D handle spade shovel on Amazon.
Choosing the right tools not only makes the job easier but also ensures that you can safely remove the agave without injuring yourself or damaging the surrounding plants.
Proper and Safe Handling
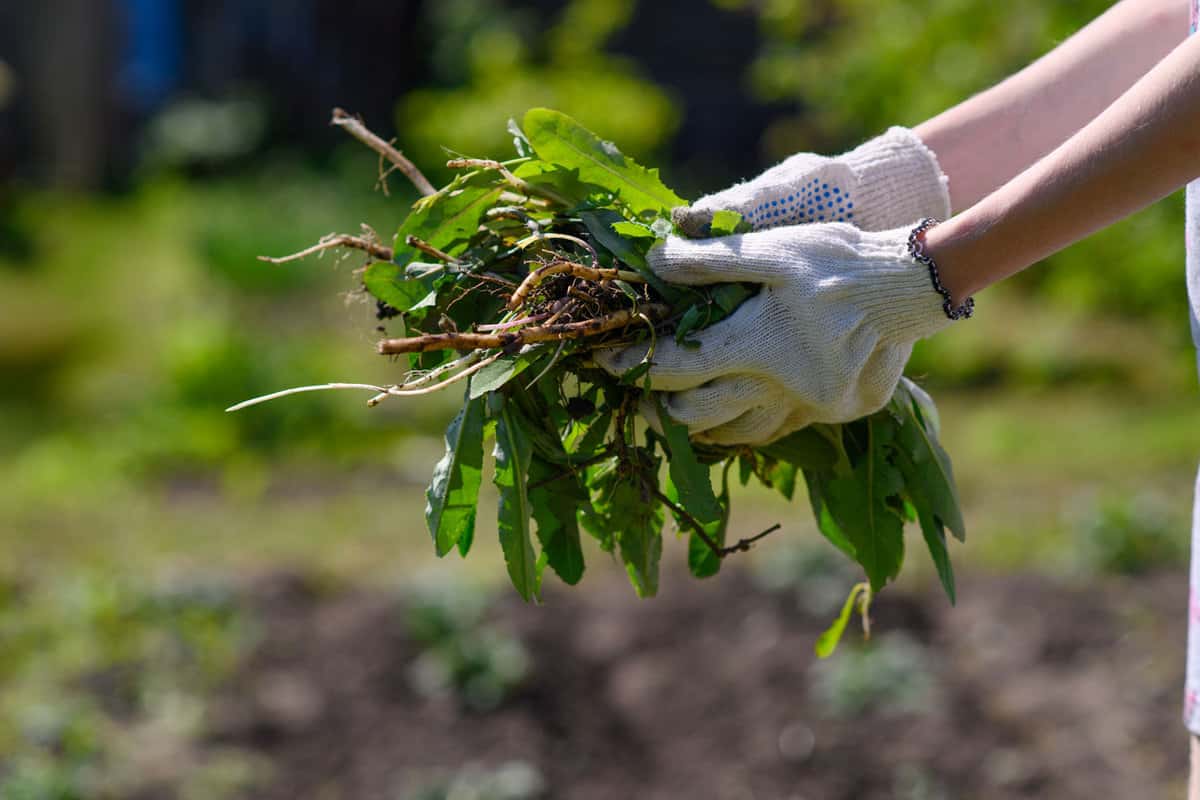
Handling agave plants requires care and attention to avoid potential injuries or skin irritation. Follow these tips for proper and safe handling:
1. Wear Protective Clothing
Long sleeves, pants, and eye protection can shield your skin from the sharp points and irritating sap.
2. Approach with Caution
Agave plants can be quite large with sharp tips, so approach them from the side to avoid accidental contact with these points.
3. Grab the Plant Carefully
Use your thick gloves to firmly grasp the agave at its base, avoiding any contact with the sap.
4. Leverage the Shovel or Spade
Carefully dig around the plant with your long-handled shovel or spade to loosen the soil, taking care not to damage the root ball.
5. Cut the Roots if Needed
Use the pruning saw or shears to cut any stubborn, larger roots that may be preventing the plant from coming free.
6. Lift the Plant out of the Ground
Once the roots are severed, gently lift the plant out of the ground, taking care not to damage surrounding plants or expose yourself to the irritating sap.
By following these safe techniques for agave removal, you can keep your garden looking beautiful without putting yourself at risk.
Take Out the Pups
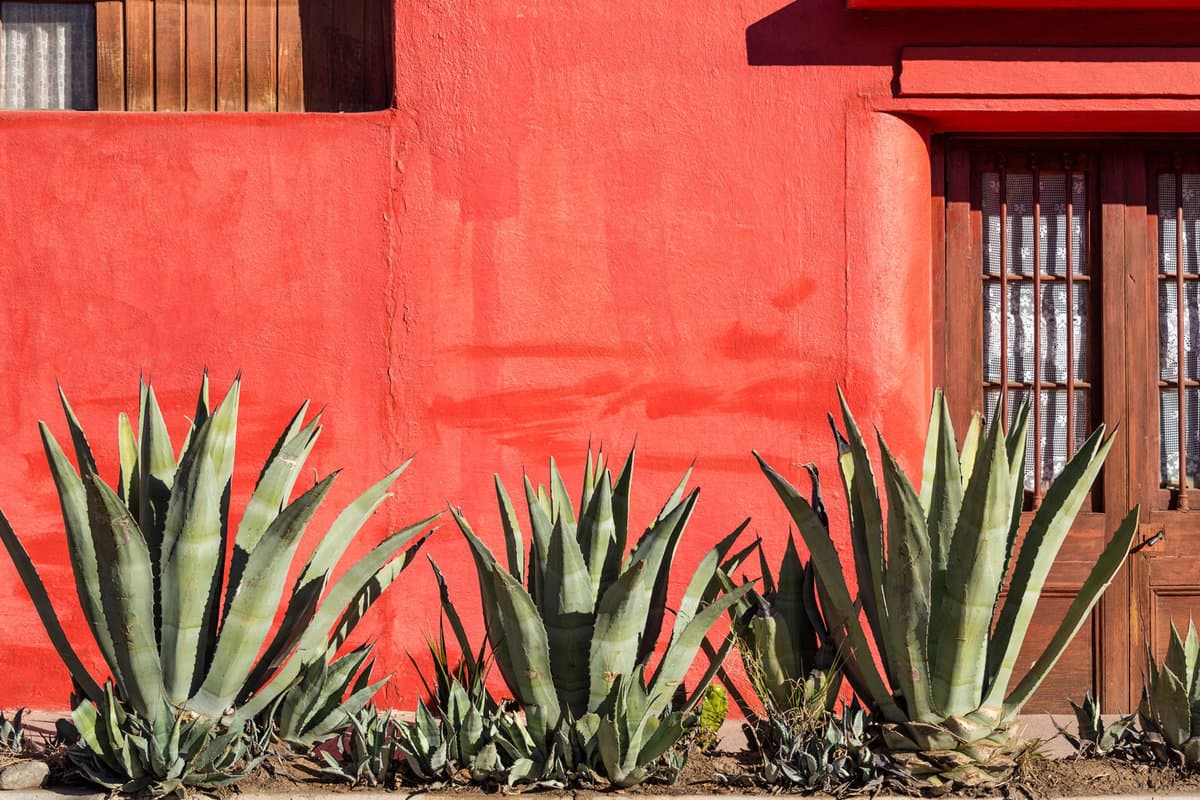
Remember, keep an eye on the growth of your agave plant, particularly when you see new pups. Act promptly when you notice any unwanted spreading.
By applying the techniques you've learned, you'll be a pro at maintaining the desired size and shape of your agave plants, ensuring a beautiful and well-organized garden.
More on drought-tolerant plants in these articles:
Thriving in Extreme Warmth: How to Make Your Zone 13 Garden Flourish
