
Garden shears are an important tool for any gardener, helping to trim and shape plants, bushes, and hedges.
But over time, even the best garden shears can become dull and less effective due to constant usage and exposure to dirt.
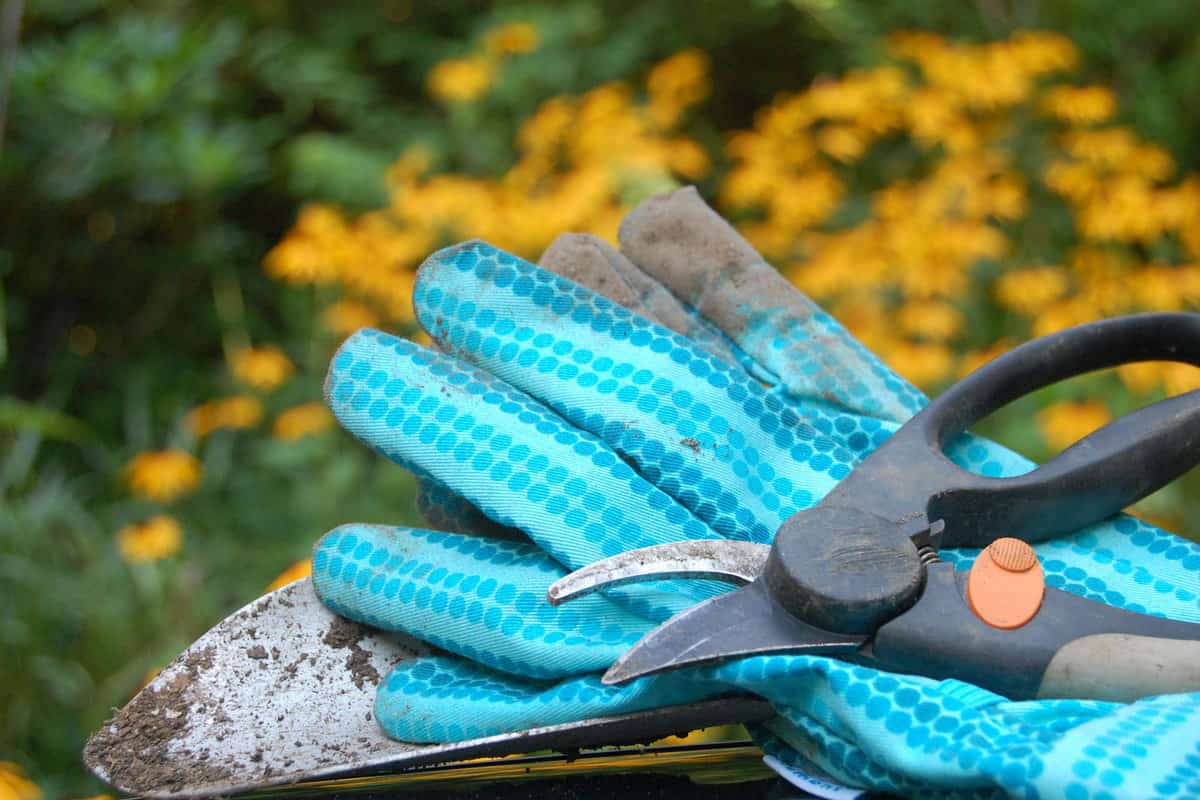
Keeping garden shears sharp is vital for maintaining plant health and making your gardening tasks more efficient. Sharpened shears provide precise cuts, lessen the strain on your hands, and prolong the tool's usability.
We will discuss several DIY methods to keep your garden shears sharp, ensuring they stay in prime condition for optimal results.
No need to invest in expensive sharpening tools, as these simple steps can be done with basic materials available in your home or garage.
By adding these techniques as part of your regular garden tool maintenance, you'll enjoy the benefits of razor-sharp garden shears that will make your gardening tasks a breeze.
Step-by-Step Guide to Sharpen Garden Shears
Maintaining your garden shears is essential for an effortless gardening experience. Here are the simple steps to keep your shears sharp and efficient:
1. Clean the Garden Shears
Dirt and debris can get in the way and possibly damage the blades while sharpening.
To clean the shears, first, use warm soapy water and a sponge to gently remove dirt and grime.
After washing, use a clean rag to dry the shears and remove any remaining moisture.
2. Sharpen the Blades
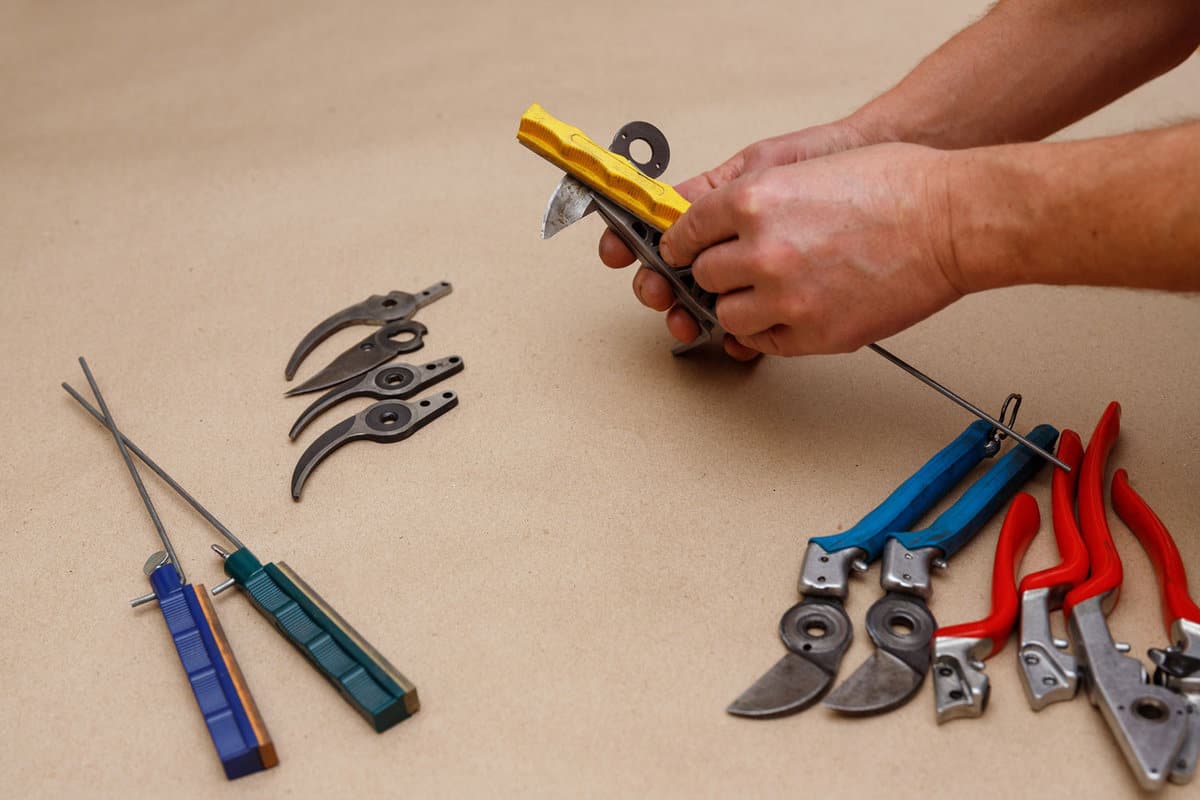
Once the garden shears are clean and dry, it's time to sharpen the blades. You'll need a simple 10-inch long mill file for the task.

Hold the file at a consistent angle along the cutting edge of the blade and make sure to maintain even pressure while filing.
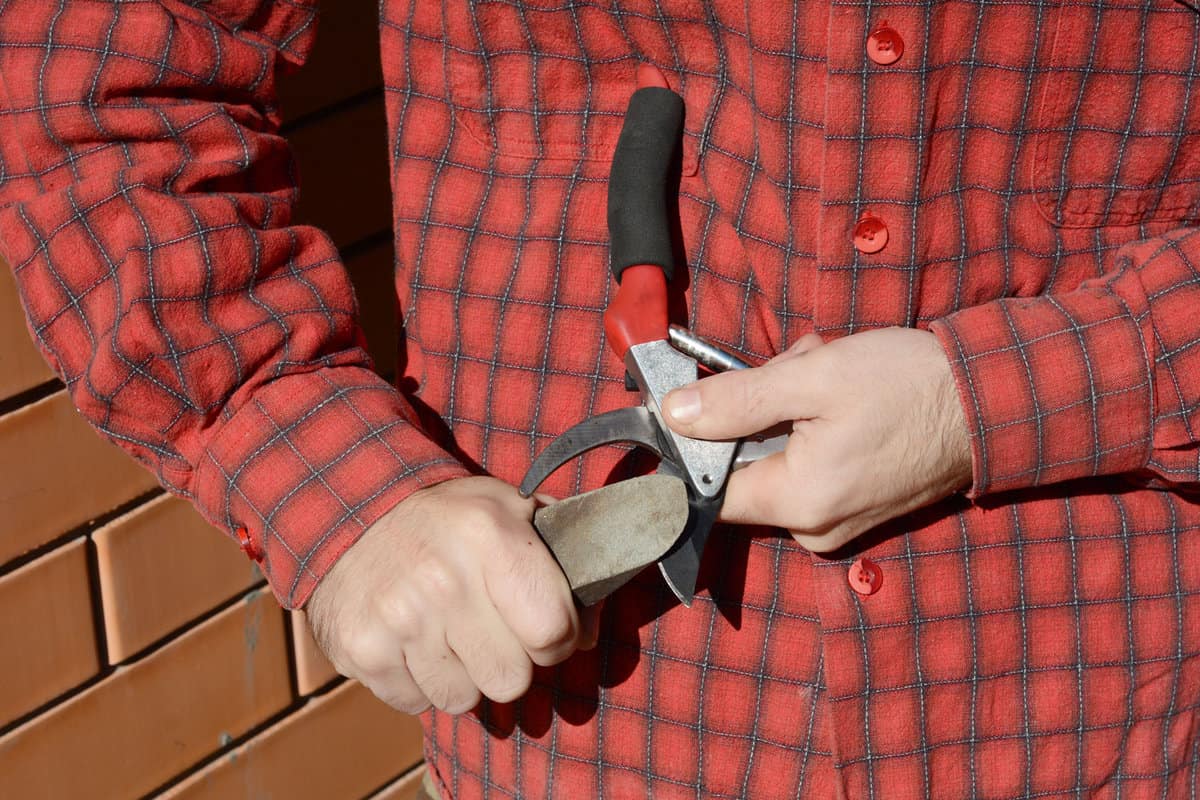
Following the blade's original angle, move the file in one direction, away from your body. Repeat this process several times until the blade is sharp.
Make sure to sharpen both sides of the shears for optimal results.
3. Finish the Blades
After the blades are sharpened, you should finish them properly to ensure longevity and protection.
Start by reassembling the garden shears if you needed to take them apart for any reason.
Once reassembled, apply a light coat of oil to the shears to prevent rust and keep them lubricated.
This helps maintain their sharpness and reduce friction during use, providing smoother and easier cuts for your gardening tasks.
You might also like: How To Adjust Grass Shears [What To Know]
Sharpening Garden Shears: An Alternative Method
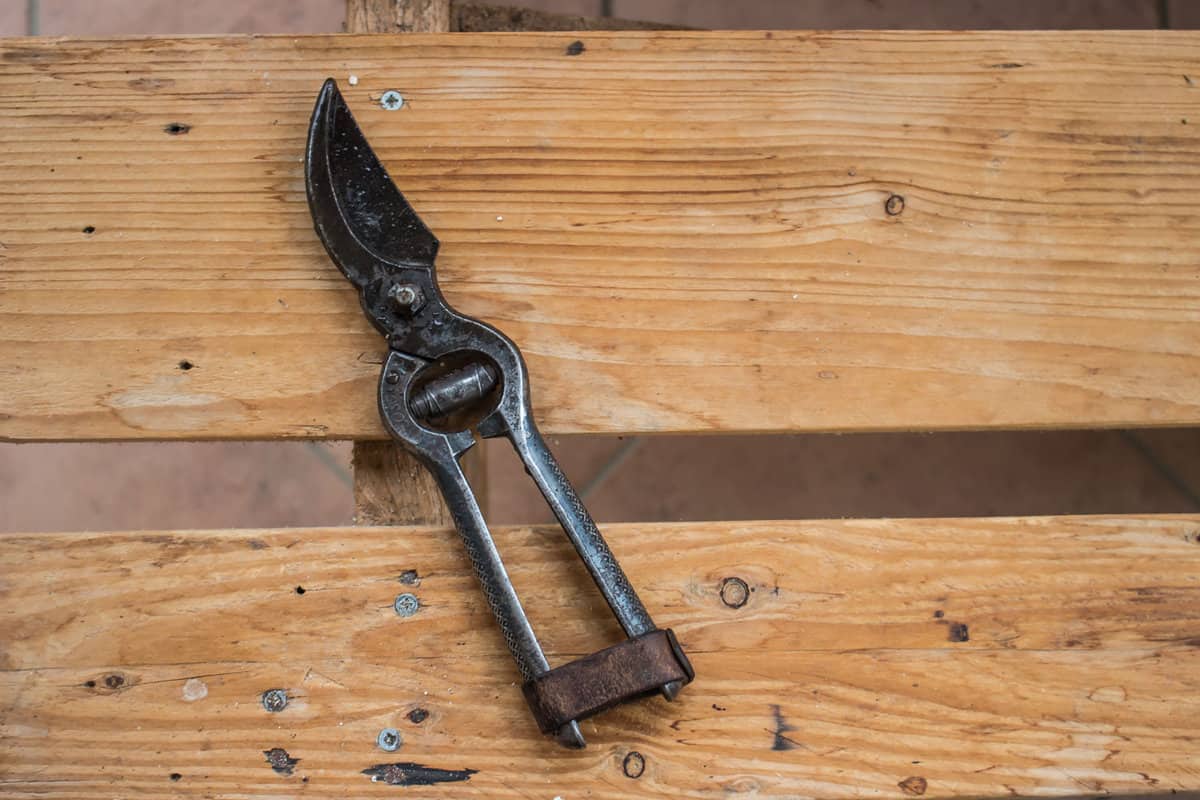
Sometimes, tools that are not directly associated with woodworking, such as garden shears, might require similar maintenance methods.
This guide offers an alternative method to sharpen garden shears, particularly a pair that have been neglected for a year and have a wavy edge.
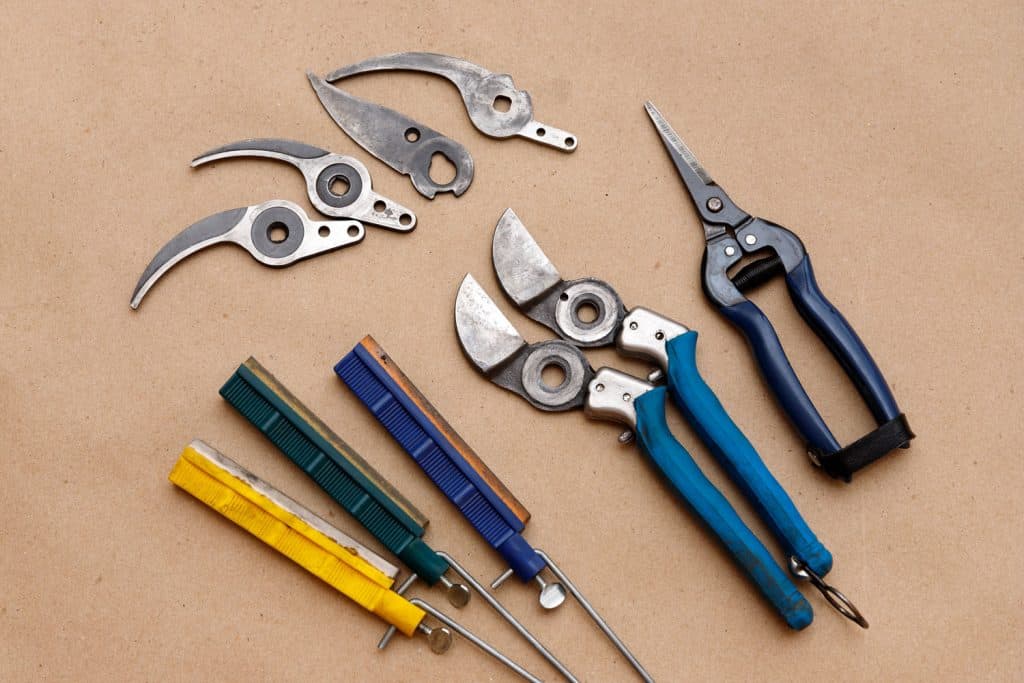
1. Disassemble the Shears
First, you'll need to disassemble the shears by removing the nut and bolt at the center. This process is crucial for cleaning and sharpening the shears effectively.
2. Remove the Rust
Use a 250-grit sandpaper to remove the rust on the shears. Be careful not to touch the sharpened edge, but focus on removing rust from the areas surrounding it.
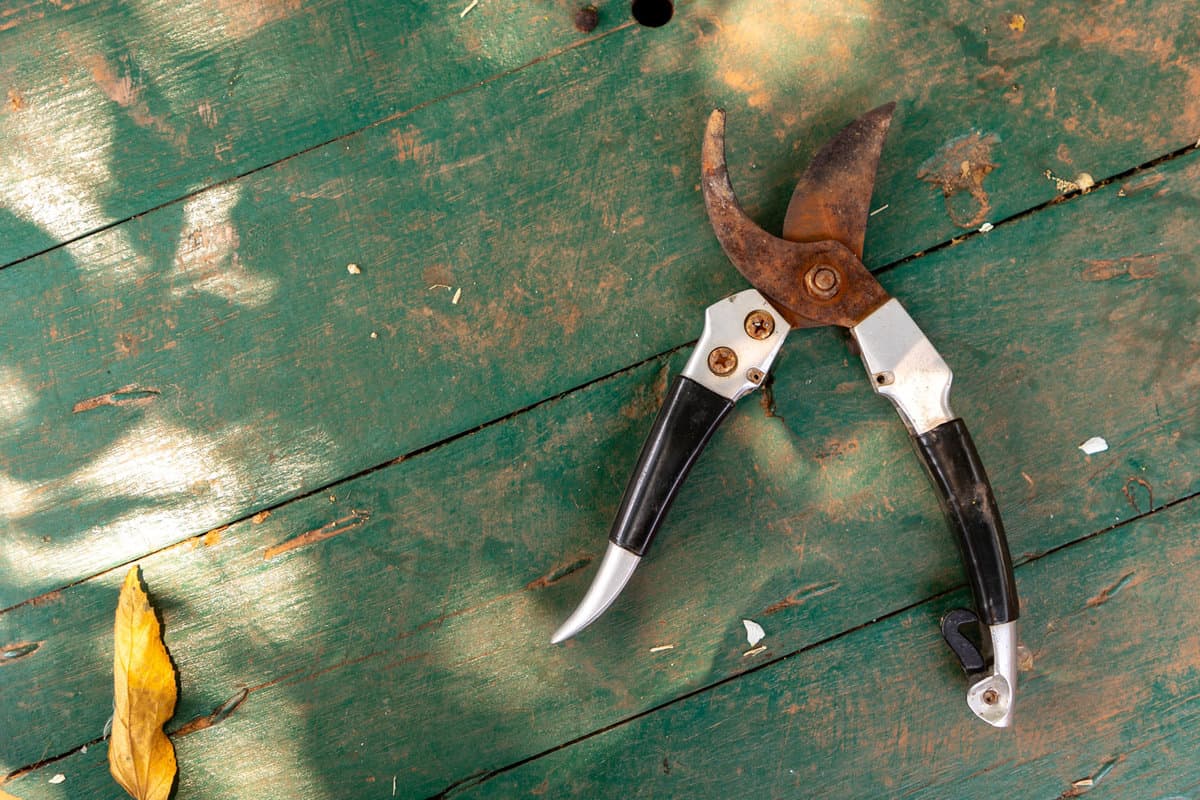
The purpose is to get rid of all the rust signs, which are indicative of neglect.
3. Oil the Shears
Once you've removed the rust, oil the shears to make sure the rust doesn't return. Use a suitable lubricant and spread it across the shears.
4. Clean Between the Blades
If you have a wire brush, use it to clean between the blades and remove any remaining rust. Be careful not to scrape the sharpened edge.
5. Sharpen the Blades
After you've removed as much rust as possible, it's time to sharpen the shears. Use a diamond file to sharpen the flat faces of the shears.
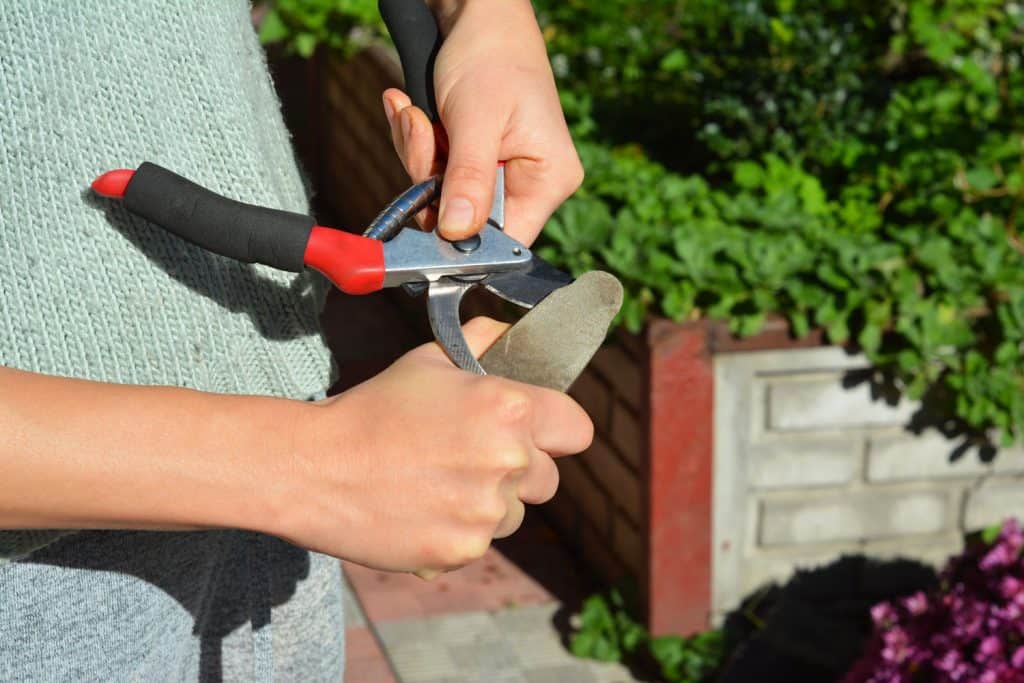
Keep the file flat across the face and avoid lifting it up for a consistent sharpening effect.
6. Secure the Shears for Sharpening
To effectively sharpen along the entire edge of the shears, you'll need to secure them, preferably in a vice. This provides stability while sharpening.
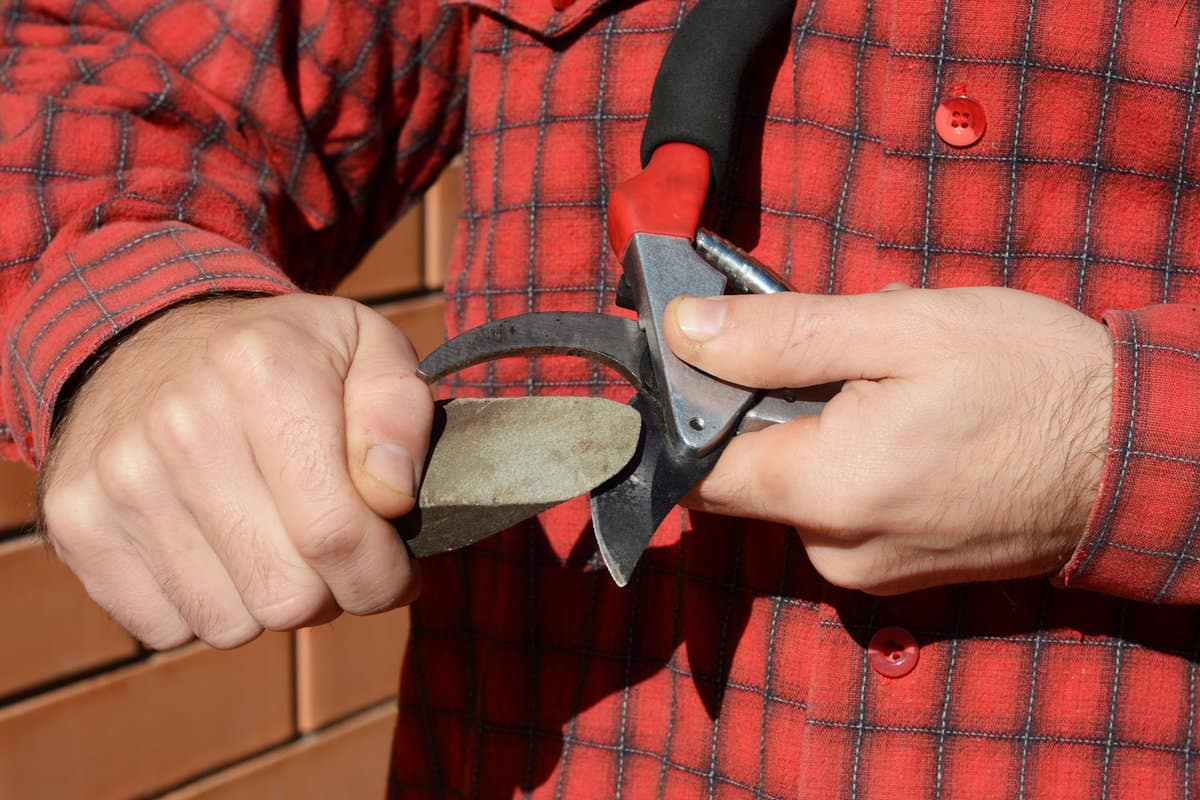
7. File the Blades
Use a three-cornered saw file or a narrow flat file to sharpen the blades. Apply equal pressure and follow the original bevel of the blade to maintain its shape and effectiveness.
You can then use a finer diamond file (if available) to further refine the edge.
8. Reassemble the Shears
Once you've finished sharpening, it's time to reassemble the shears. Be sure to add the washer and secure the nut and bolt tightly.
9. Final Oiling and Testing
Apply a final coating of oil to all the bare faces of the shears. After applying the oil, open and close the shears multiple times to spread it evenly, then wipe off the excess.
You might also like to read: Best Garden Edging Shears [10 Options Every Gardener Should Know]
Sharpening Garden Shears with a Whetstone
Giving new life to your garden shears can be easily achieved by sharpening them with a whetstone. The result is a rejuvenated tool, ready for precise and efficient cutting.
Here is a video tutorial that outlines the process for restoring the sharpness of garden shears using a whetstone.
1. Disassemble the Shears
Begin by disassembling your garden shears. It allows you to access the blades for sharpening and cleaning.
2. Clean the Blades
Once you've disassembled your shears, place the blade and other parts in a bath of vinegar.
Let them soak for a couple of hours. The vinegar helps loosen rust and dirt, making it easier to clean off the metal.
After the blades have soaked, use some steel wool to rub off the loosened rust and grime.
3. Prepare the Blades for Sharpening
With the blades clean, start by flattening the back of the blades with 120-grit sandpaper on a lapping plate.
If you don't have a lapping plate, there are several online tutorials that can guide you on how to make one.
Continue with this process until the edge has a flat surface all the way across.
Note that the backs of the blades are usually concave, which makes sharpening easier and reduces friction while cutting.
4. Sharpen the Blades
If your blade has a secondary bevel, match up with that angle for sharpening.
Lock your hands in place, keeping your wrists and hands as stationary as possible while rocking on your legs and sliding all the way across the cutting edge.
Then, alternate between the bevel and the back to remove any burr that has developed on the edge.
Switch to the other blade, which might have a different angle on the bevel, and repeat the same process.
Be sure to maintain a consistent angle and smooth stroke throughout.
Although you can stop after this coarse stone and the shears will work fine, you can choose to get them as sharp as possible by progressing to finer stones, as shown in the video.
5. Polish the Blades
After the sharpening process, you can use a leather strap loaded with diamond paste, or any other honing compound, for polishing.
This process helps to remove any remaining small burrs and provides a smooth, sharp edge.
6. Reassemble the Shears
After sharpening, treat all the parts with a rust-preventative like Boeshield T9 to protect them from future rust. Then, reassemble the shears carefully.

7. Test the Shears
Once reassembled, test your newly sharpened garden shears on a piece of paper or a similar medium to see how well they cut.
How to Maintain Razor-Sharp Garden Shears
For your garden shears to continually perform at their best, regular maintenance is vital.
To keep your shears in good condition, ensure frequent sharpening and proper storage on a regular basis.
Frequent Sharpening
Frequent sharpening helps keep your garden shears functioning at their best. The sharpening process may vary depending on whether you have bypass pruners, anvil pruners, or loppers.
A general rule of thumb is to sharpen your shears when they aren't making clean cuts, or at the beginning of gardening season.
So, make a habit of regularly sharpening your shears to maintain their cutting efficiency.
Proper Storage
Always store your garden shears in a dry place, away from moisture, to avoid corrosion.
Additionally, keep your shears away from children and pets to ensure safety.
In Closing
Sharpening garden shears using DIY methods is a great way to maintain the effectiveness and longevity of these gardening tools.
By following one of these simple, straightforward steps, gardeners can achieve razor-sharp results without having to rely on professional sharpening services.
Once the shears have been sharpened, test the functionality of the tool by cutting some branches or grass.
This provides gardeners with the assurance that their DIY efforts have been successful and that they can proceed with their gardening tasks confidently.
With these easy-to-follow tips, gardeners can benefit from maintaining their garden shears in optimal working condition, ensuring their garden remains neat and tidy throughout the seasons!