
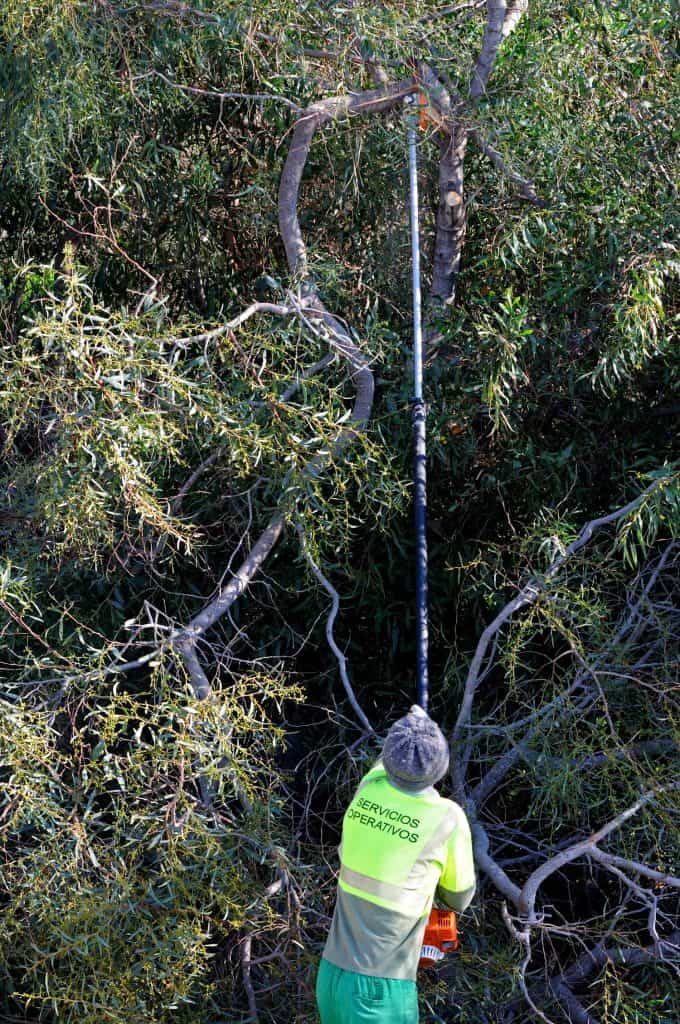
A Stihl pole saw is a device that can trim branches using a chain saw connected to an extendable rod. You might have decided to disassemble your Stihl pole saw for repairs and are now wondering how to put the parts back together. Don't worry because we have done the research to provide you with the necessary information to help you reassemble the tool.
Below is a step-by-step guide you can follow for putting a Stihl pole saw back together.
- Attach the main shaft and liner to the motor housing tube.
- Install the springs and bushings.
- Insert the main shaft into the main pole.
- Insert the inner extension tube and liner into the outer extension pole.
- Insert the outer extension pole into the main pole.
- Insert the white bushing into the main pole.
- Secure the motor housing pole coupler in the main pole.
- Secure the chain saw housing coupler in the main pole.
- Attach the motor housing to the motor housing pole.
- Attach the chain saw housing to the extension pole.
There are multiple shafts, tubes, and liners inside the main pole of a Stihl pole saw. All of these materials need to be installed in a specific order due to the various sizes of each piece. Continue reading below as we discuss how you can reassemble a Stihl pole saw properly.
How Do I Reassemble A Stihl Pole Saw?
Some Stihl pole saws have multiple bushings and springs and two couplers that are specifically sized to fit perfectly into each end of the main pole. Due to the frequent upgrading of the products, some features might be different from one pole to another.
Below is a general step-by-step guide you can follow to properly reassemble a Stihl pole saw.
1. Attach The Main Shaft And Liner To The Motor Housing Pole
To begin reassembling the Stihl pole saw, take the motor housing liner and slide it into the motor housing pole. The main shaft is the longest shaft and it should have a splined body with a smooth pole at the end.
Once the liner is inserted in the motor housing pole, slide the main shaft to the motor housing pole.
Insert the shaft all the way through until the entire splined body has exited the other end of the motor housing. The smooth end of the main shaft should be hidden inside the motor housing pole and the splined part should be exposed.
2. Install The Springs And Bushings
Once the motor housing pole is attached to the main shaft, begin inserting the bushings and the springs. The bushings are circular metal tubes that provide support to the springs when they expand and contract.
When installing the bushings, pay attention to their orientation. Make sure to slide the bushings in with the opening facing the motor housing end. The end of the string should sit inside the opening of the bushing.
3. Insert The Main Shaft Into The Main Pole
After installing all three bushings and both springs, insert the main shaft into the main pole. At this point, the motor housing tube should have already been attached to the main shaft.
This is important because the white bushing attached to the motor housing tube should be sealing the main shaft into the main pole. Make sure that this bushing is sealed flush against the mouth of the main pole. You can use a hammer to secure it in place.
You should also pay attention to the grooves along the outer surface of each bushing on the main shaft. When you look at the inner surface of the main pole, you will see tiny indentions along the surface. The grooves on the bushings should fit these intentions properly.
4. Insert The Inner Extension Tube And Liner Into The Outer Extension Pole

Set aside the main shaft and begin reassembling the extension pole. Take the inner extension tube and slide it into the inner extension tube liner. After this is done, insert them into the outer extension pole.
Similar to the main shaft's bushings, the follower installed on the inner extension tube should have grooves along its outer surface. The outer extension pole will also have small indentions on its inner surface, and the grooves on the follower should fit these indentions.
5. Insert The Extension Pole Into The Main Pole
Before inserting the outer extension pole, you should see the splined shaft sitting in the center of the main pole. This splined shaft should slide into the splined inner extension tube that you inserted inside the outer extension pole.
To insert the extension pole, align the splined shaft inside the main pole into the splined tube inside the outer extension pole. The end of the extension pole where the black bearing is attached should go in first.
Slide the extension pole in until the black bearing is flush against the motor housing pole on the other end.
6. Insert The White Bushing Into The Main Pole
Similar to the white bushing attached to the motor housing pole, you should have a detached white bushing.
Take the white bushing and slide it through the exposed part of the extension pole until it reaches the mouth of the main pole. Again, you can use a hammer to secure it to the main pole.
At this point of the reassembly, you should have the motor housing pole attached to one end of the main pole, and the exposed part end of the extension pole on the other. The black keystroke on one end of the extension pole should be exposed as well.
7. Secure The Motor Housing Coupler
Slide the black coupler down on the motor housing pole until it reaches the main pole. Once it reaches the main pole, tighten the screws. The screws you will tighten in this part of the process will depend on the screws that you loosened during disassembly.
8. Secure The Chain Saw Housing Coupler
On the other end of the main pole, slide in the chain saw housing coupler and tighten the screws that you loosened during disassembly. Unlike the coupler of the motor housing, this coupler is detached. You can identify this coupler by the black knob handle used to hold the extension pole in place.
9. Attach The Motor Housing To The Motor Housing Pole
Once the extension pole is secured inside the main pole, install the last two remaining parts of the device. At this part of the reassembly process, you should have the motor housing and chain saw housing left to reattach.
Take the motor housing and slide it into the main pole where the motor housing pole is attached. Slide in the trigger handle first before inserting the main motor housing. Tighten the screws that you loosened during disassembly.
10. Attach the Chain Saw Housing To The Extension Pole
The final step of the reassembly process should be reattaching the chain saw housing to the extension pole.
Remember that after the process of inserting the extension pole into the main pole, you left a length of the extension pole exposed. Attach the chain saw housing to the end of this pole. Re-tighten all the screws that you loosened during disassembly.
For details on this process, check out the video below.
How Do You Store A Stihl Pole Saw?
When you're not using your pole saw, you should store it properly. Storing the saw properly will prevent unwanted damage to the device and prevent accidents.
Below is a list of general pole saw storage tips you can follow.
- Remove the power source.
- Clean debris off the chain saw housing and handle.
- Loosen the oil cap to reduce the pressure inside the gas compartment.
- Put the scabbard on securely.
- Store in a dry place away from the reach of children.
When storing a pole saw for an extended period of time, it is important to empty the oil tank and lubricate the chain before returning the scabbard. The scabbard should be secured and not damaged to ensure that the chain is protected.


Click here to see this Stihl scabbard on Amazon.
Watch the video below for details on how to store your pole saw.
How Do You Crank A Stihl Pole Saw?

Below is a general step-by-step guide you can follow to start a Stihl pole saw for operation.
Check The Fuel
In some Stihl pole saw models, you can check the fuel by pushing the fuel pump bulb on the motor housing. If you see fuel rising inside the transparent fuel pump bulb, then the pole saw has sufficient fuel.
Start The Engine
If the saw has not been used for a while, start the device on a cold start. If it has just been recently used and the motor is still warm, set the device on a warm start.
Pull The Starter Rope
When the motor is warm enough, pull the starter rope until you hear the motor start to rumble. Pull the throttle trigger a few times to check if the engine is running.
To Wrap Up
In this article, we discussed the process of putting a Stihl pole saw back together. We also discussed how you can store it and start the engine. Make sure to reassemble the pole saw properly so that you don't encounter problems when the engine starts.
Made it to the end? Check out some of our related posts!