
If you're wondering how to make garden rows with a hoe, wonder no more! Luckily, we compiled our research to create this tutorial that will show you how easy it is to do.
Here is an easy way to make garden rows with just a hoe:
- Make a Plan
- Prepare the Area
- Mark Your Ground
- Start Hoeing
- Fill and Water
- Plant the Crops/Vegetables
In this post, we'll show you how to make garden rows with a hoe in just a few simple steps. So grab your hoe, and let's get started!
![Preparing an agricultural field for planting seasonal vegetables and fruits in spring. Garden seasonal work concept. - How To Make Garden Rows With A Hoe? [Step By Step Guide]](https://gardentabs.com/wp-content/uploads/2022/10/Preparing-an-agricultural-field-for-planting-seasonal-vegetables-and-fruits-in-spring.-Garden-seasonal-work-concept.-How-To-Make-Garden-Row.png)
Can You Make Garden Rows With a Hoe?
When most people think of a garden, they picture evenly spaced rows of neatly planted vegetables. And while this traditional layout does have its benefits, it is by no means the only way to grow a successful garden.
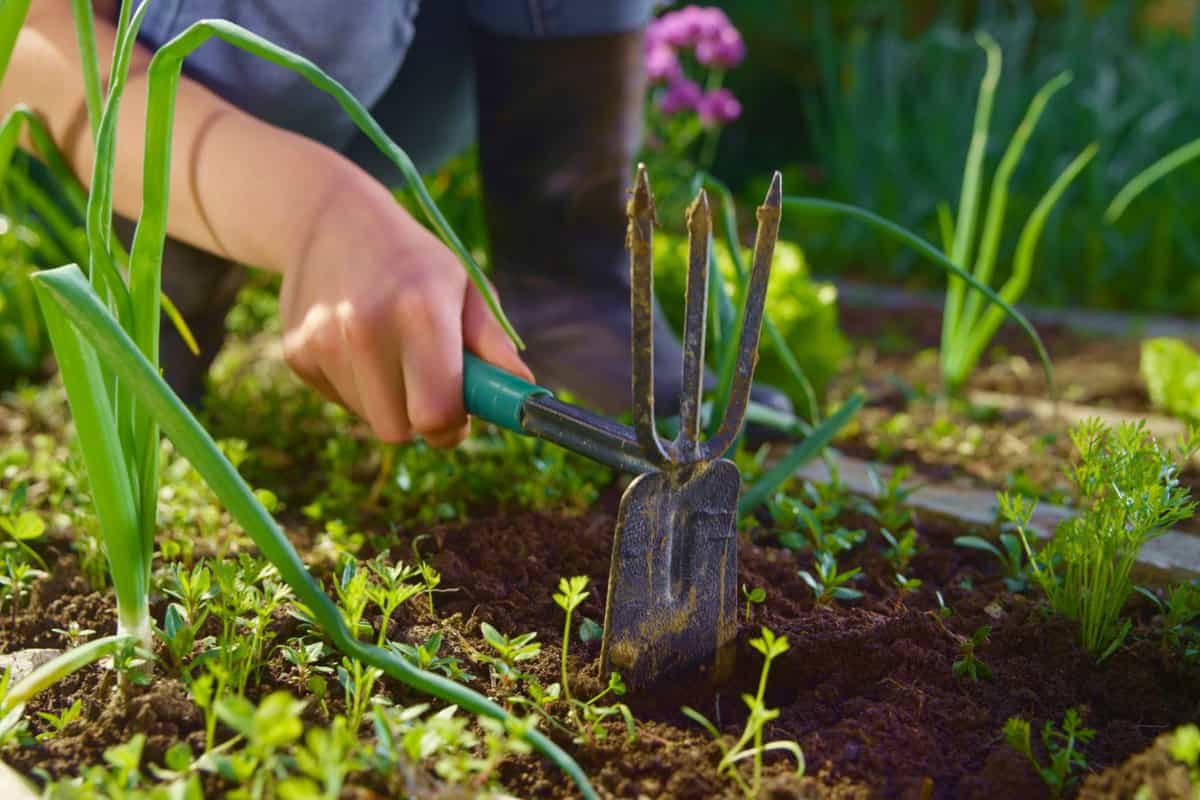
In fact, many experienced gardeners prefer to hoe their rows rather than using a shovel or tiller. Hoes come in a variety of shapes and sizes, but all are designed to loosen and cultivate the soil with minimal effort.
When used properly, a hoe can help you create perfectly straight rows that are ready for planting. And best of all, hoes are relatively inexpensive and easy to find.
So if you're looking for an alternative way to make your garden rows, don't be afraid to give hoes a try.
How Do You Make Garden Rows With a Hoe?
Making garden rows is an essential part of gardening. Not only does it give your plants a place to grow, but it also helps to keep weeds under control.
There are a few different ways to make garden rows, but one of the most popular is with a hoe. Here are the steps to use it properly:
1. Determine Number and Sizes of Rows
Before you begin hoeing, it's important to have a plan in place. This will help keep your rows straight and even while making the overall process much easier.
If possible, try to draw out your garden area on paper first. This will give you a better sense of how long each row should be, as well as where to plant certain crops.
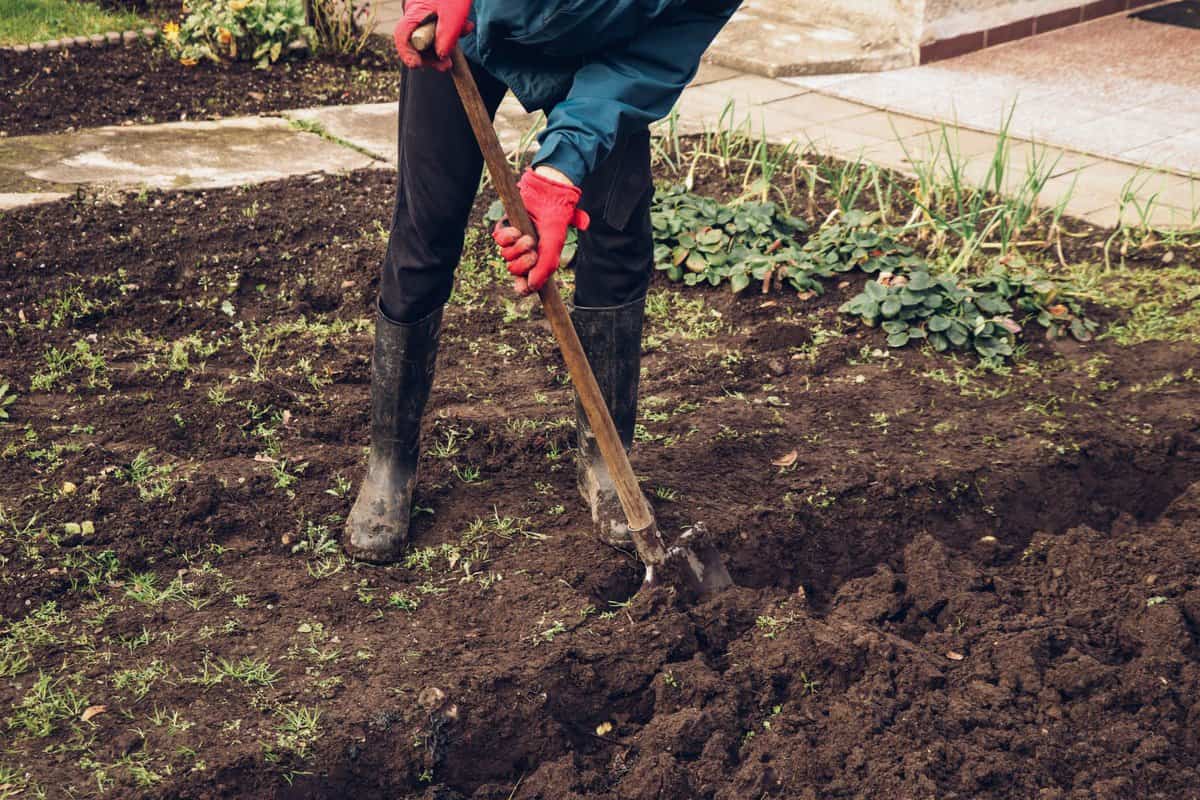
2. Prepare the Soil
Once you have your plan in place, the next step is to prepare the area. This might involve tilling the soil or removing any existing weeds or grass.
If you're working with a small garden plot, you can usually do this by hand using a hoe and a rake. However, if your garden is larger, it's usually easier and more effective to rent or borrow a tiller.
3. Mark Your Ground
Now that your soil is prepped and ready, it's time to start marking the ground for your rows. You can do this by laying out wooden stakes or twine at regular intervals. Be sure to choose a straight reference line as well, such as a fence or other marker.
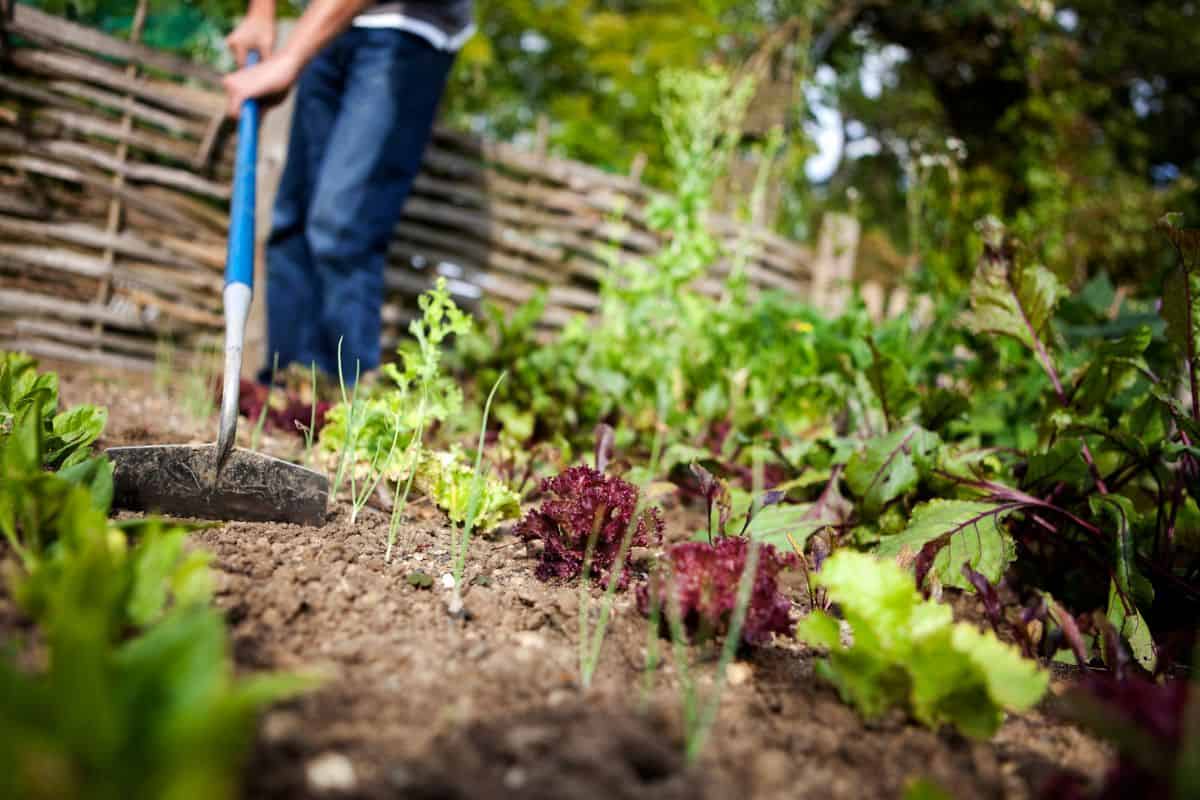
4. Start Hoeing
Once you've got your plan marked, it's time to start hoeing! Start by pushing the tip of your hoe into the soil at one end of the row. Then use short, quick motions to work your way down the row, loosening and cultivating the soil as you go.
If you notice that your rows are getting too narrow, simply widen them by moving the hoe side to side a bit more.
5. Fill and Water
Once your rows have been loosened and cultivated, it's time to fill them in with soil or organic matter. You can use compost, manure, or a soil mixture as you fill in the rows. Then water the rows to help settle everything into place and prepare your plants for growth.
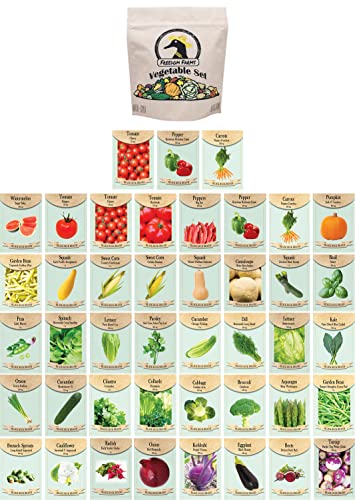
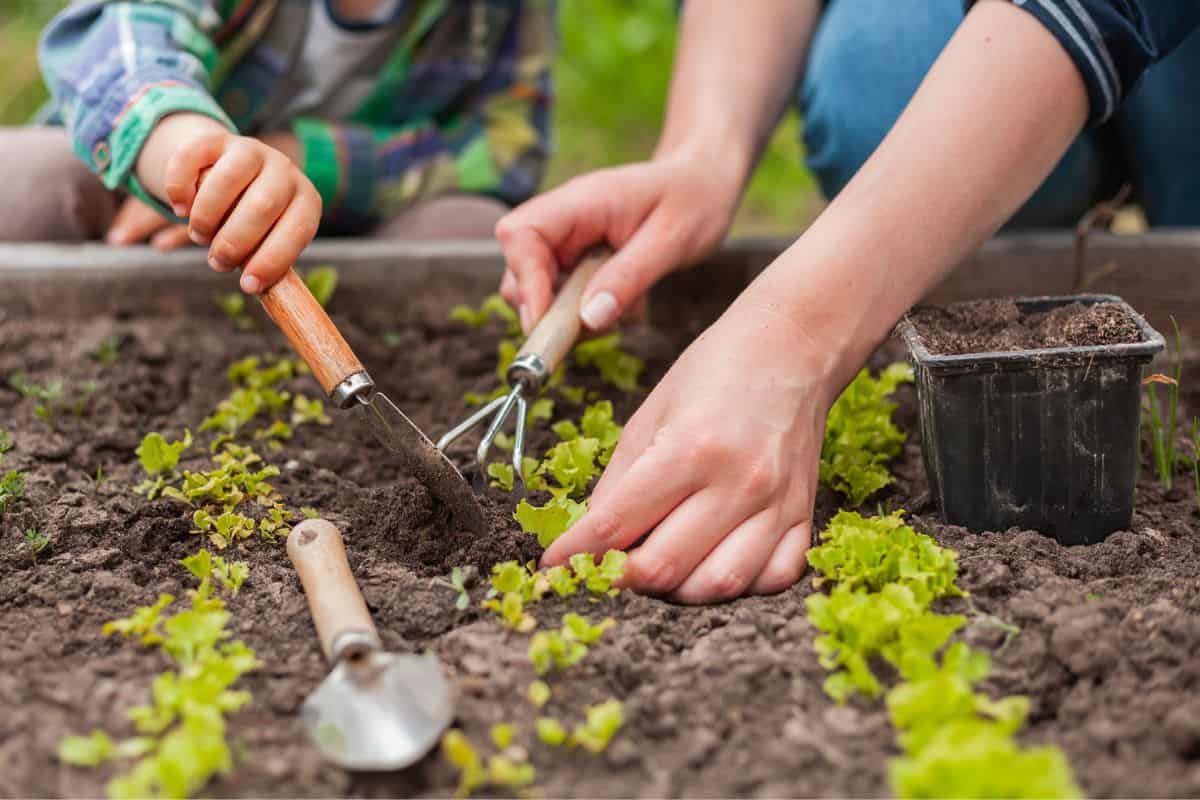
6. Plant the Crops/Vegetables
Simply clear a patch of ground and then use the hoe to create small ruts or furrows in the soil. You can make the ruts as wide or as narrow as you like, but they should be deep enough trenches your plants will have plenty of room for roots.
Once you have made the ruts, carefully place your seeds or seedlings into them and cover them with soil.
Whether you're new to gardening or have an experienced green thumb, making garden rows with a hoe is an easy and effective way to grow a beautiful, healthy garden. So get out there, pick up your hoe, and start making great rows today!
Tips for Making the Perfect Garden Rows With a Hoe
For anyone who has ever grown a garden, one of the most essential tools is a hoe. A hoe can be used for a variety of tasks, from loosening the soil to removing weeds, but its most common use is making clean, straight rows for planting.
Some people find it easy to make straight rows with a hoe, while others often end up with crooked lines. If you've ever struggled to make straight rows, here are a few tips that may help.
- First, make sure that your hoe is sharp. A dull hoe will more likely create uneven rows.
- Second, take your time. It's tempting to try to hurry through the row-making process, but this usually leads to mistakes. Go slowly and focus on each individual stroke.
- Finally, use a guide. Whether it's a length of string or an actual row marker, having something to follow will help you stay on track. With these tips in mind, you'll be well on your way to making perfectly straight rows every time.
What Are the Benefits of Making Garden Rows With a Hoe?
For many gardeners, the hoe is one of the most essential tools in their toolkits. Not only is it great for making straight rows, but it can also be used to loosen soil, remove weeds, and chop through thick root systems.
Here are five benefits of making garden rows with a hoe:
- The hoe is great for making straight rows. This is especially helpful if you're planting seeds or setting out young plants.
- The hoe can be used to loosen soil. This makes it easier for roots to take hold and allows water and nutrients to penetrate the soil more easily.
- The hoe can be used to remove weeds. This is a crucial step in maintaining a healthy garden, as weeds can compete with your plants for resources like water and nutrients.
- The hoe can be used to chop through thick root systems. This is useful if you're trying to remove stubborn plants that are difficult to pull up by hand.
- The hoe is a versatile tool that can be used for many different tasks in the garden. In addition to making rows and removing weeds, the hoe can also be used to edge beds, stir compost, and aerate the soil.

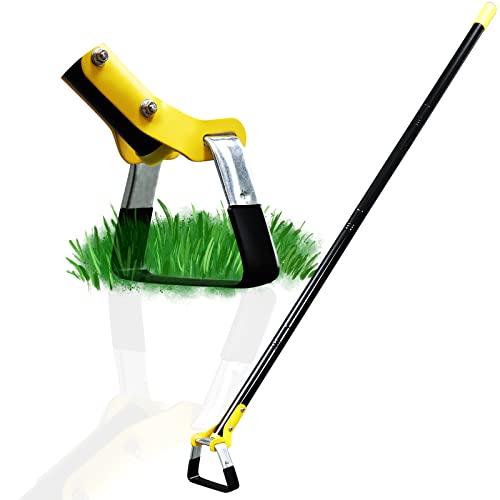
View gardening tool kit on Amazon.
Considerations for Hoeing Garden Rows
There are a few things to consider when you're hoeing garden rows to ensure you're doing it correctly.
- First, the width of the row should be based on the type of crop you're planting. Crops like corn need wider rows so the roots have room to grow, while crops like lettuce only need narrow rows.
- Second, the depth of the row also needs to be considered. Some crops, like potatoes, need deeper rows so their roots can grow downward, while other crops like carrots only need shallow rows.
- Finally, you also need to make sure that the rows are spaced evenly apart so that the plants have enough room to grow without crowding each other.
By considering all of these factors, you can be sure that you're hoeing garden rows the right way.
What Are Some Common Mistakes People Make When Trying to Create Garden Rows With a Hoe?
One of the most common mistakes people make when trying to create garden rows with a hoe is not using the right type of hoe for the job. There are two main types of hoes: draw hoes and push hoes.
Draw hoes are designed to be pulled towards you, while push hoes are designed to be pushed away from you. Using the wrong type of hoe can make the task much more difficult than it needs to be.
Another common mistake is failing to sharpen the blade of the hoe before each use. A dull blade will not cut through the soil as easily, making it more difficult to create straight rows.
Finally, people often try to make the rows too wide. This makes it difficult to reach the plants without walking on the soil and compacting it.
By following these simple tips, you can avoid common mistakes and have success in creating beautiful garden rows.
Final Thoughts
If you are looking for an easy way to make garden rows, look no further than your hoe. With a few simple steps, you can be on your way to creating tidy rows in your garden in no time.
For more gardening tips, check out our posts below:
How To Sharpen A Garden Hoe [Quickly And Easily]
What Size Hardware Cloth Do I Need For A Raised Bed [& How To Attach It]?