
A fence is not simply a boundary in your yard; it can also serve as an expression of your home's personality, a protective shield, and, often, a canvas awaiting transformation.
Whether you're looking to try out a fresh coat of paint or protect it with a rich stain, the key to achieving a flawless finish starts long before the brush meets the wood.
It all begins with ensuring the fence is clean, free from debris, and primed for perfection.
In this article, we get into the essential preparatory steps to clean your fence, setting the stage for that impeccable staining or painting job.
Why Clean Before Staining Or Painting
Cleaning your fence before staining or painting is essential for a successful outcome.
When you thoroughly clean the surface, you remove dirt, debris, and mildew that may interfere with the paint or stain's ability to adhere properly.
A clean fence also ensures a smooth, even finish, ultimately enhancing the appearance and longevity of your fence.
Gathering Necessary Tools
Before you start cleaning your fence for staining or painting, gather all the necessary tools to ensure a smooth and efficient cleaning process.
Let's explore the cleaning tools and protection equipment you'll need.
Cleaning Tools
For a thorough fence cleaning, you'll need some essential tools. Here's a list of what you should gather:
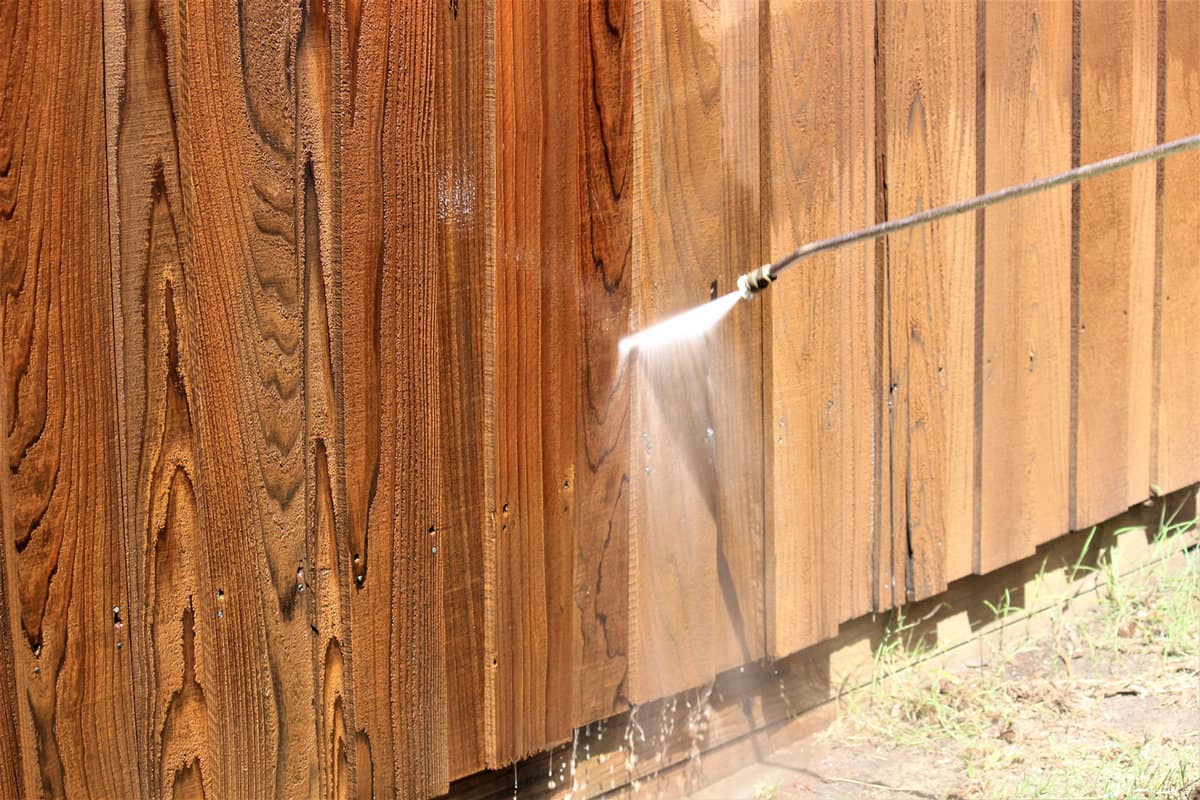
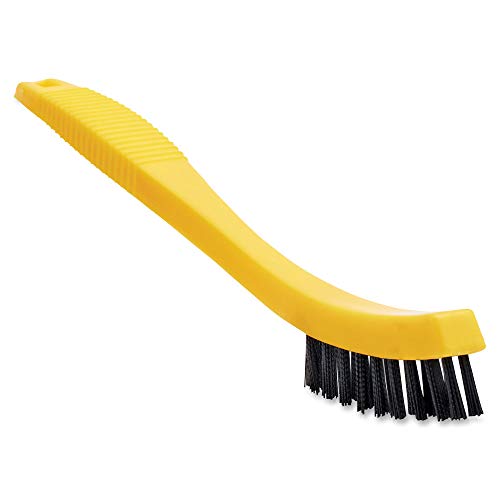
1. Stiff-bristled Brush or a Pressure Washer
A stiff-bristled brush, a stainless steel wire brush, or a pressure washer are some of the things to consider. These tools will help remove dirt, debris, and old paint from your fence.
2. Water and Cleaning Solution
A bucket filled with a cleaning solution is the next thing you need. Mix water and a fence cleaning solution or a mild detergent to help remove stubborn stains and grime.
3. Hose for Rinsing
A garden hose with a spray nozzle attachment will help rinse off the cleaning solution once you've finished scrubbing your fence.
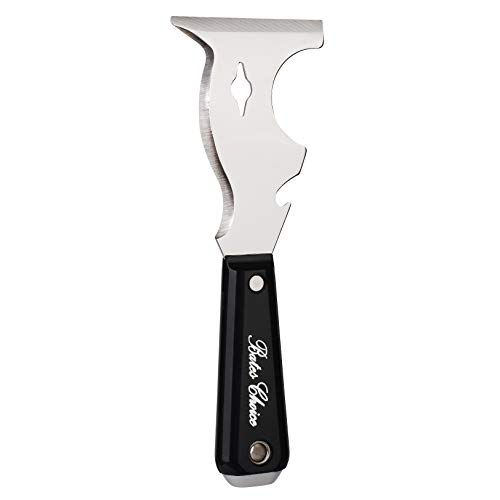
4. Scraper Tool
Get a scraper or putty knife to help remove any old, peeling paint or debris from the fence.
Protection Equipment
Safety is crucial when cleaning a fence. Make sure to have the following protection equipment on hand:
- Eye protection, such as safety goggles
- Gloves
- Long-sleeved clothing
- Non-slip footwear
Once you've gathered all the necessary tools and protection equipment, you'll be ready to begin cleaning your fence in preparation for staining or painting.
Cleaning Process
Begin by inspecting your fence thoroughly. Look for any loose nails, screws, or rotting wood that may need to be repaired before cleaning.
Replace or fix any broken parts, as this will ensure a smooth and efficient cleaning process.
Removing Dirt and Debris
Before applying any cleaning solution, clear your fence of dirt and debris. You can use a brush or broom to sweep away loose dirt, leaves, and other particles.
If there's stubborn dirt stuck to the fence, you can opt for a soft-bristle brush or even a leaf blower to clear it away. Approach this step with care and do not scrub too hard to avoid damaging your fence.
Applying Cleaning Solution
Depending on your fence material, choose an appropriate cleaning solution.
For example, a wooden fence may benefit from a wood cleaner or a mixture of water and mild detergent. Follow the product's instructions for the proper dilution ratio.
Apply the solution generously onto the fence using a spray bottle or pump sprayer. Allow it to sit for a few minutes, as per the directions, to help loosen dirt and grime.
Scrubbing The Fence
Once the cleaning solution has had time to work on the dirt, use a brush or sponge to scrub the fence gently.
Be careful not to be too rough, especially on wooden fences, to avoid damaging the surface.
Scrub with long, even strokes, covering the entire area of the fence. Focus on heavily soiled areas and use a mild pressure to ensure an effective cleaning process.
Rinsing The Fence
After scrubbing the fence, it's time to rinse away the cleaning solution and dirt.
Use a garden hose with a moderate water pressure setting and spray the fence from top to bottom.
Make sure you thoroughly rinse away any remaining dirt, debris, and cleaning solution to prevent any residual stains or damage.
Allow the fence to dry completely before moving on to staining or painting.
Preparation For Staining Or Painting
A well-prepared fence surface ensures better adhesion and the longevity of the stain or paint applied.
Drying The Fence
Make sure your fence is completely dry. If the fence is made of wood, the moisture content needs to be less than 15%. To achieve this, follow these steps:
1. Check the Weather Forecast
Choose a period with at least 2-3 days of sunshine and no rain to clean and dry the fence.
2. Clean the Fence
Use a mixture of water and mild detergent to gently scrub away dirt, mold, and mildew using a brush or pressure washer. Make sure you cover the entire surface evenly.
3. Leave it to Dry
After cleaning, allow your fence to dry thoroughly in the sun for a minimum of 48 hours.
Sanding The Surface
Sanding your fence will help remove any rough or uneven spots, ensuring a smooth and receptive surface for staining or painting.
Here's how you can sand your fence efficiently:
1. Choose the Right Sandpaper
Use a medium grit sandpaper (80 to 120 grit) to remove any imperfections and smooth out the surface.

2. Sand in the Direction of the Grain
Sanding along the wood grain will help avoid scratches and result in a more even surface.
3. Clean the Surface
After sanding, use a brush or cloth to remove the dust and debris from the fence. This helps the stain or paint adhere better.
Safety Tips When Working with Chemical and Tools
Here are some friendly tips to ensure you complete your project safely and efficiently.
Safety Gear
First, make sure you wear appropriate clothing and protective gear. Long sleeves, pants, and sturdy shoes are a good idea to protect your skin from contact with cleaning agents or paint.
Don't forget safety glasses to protect your eyes and gloves to protect your hands from chemicals and splinters.
When working with chemicals or paint, it's crucial to read and follow the manufacturer's instructions.
Be aware of the safety data sheets for all paints or chemicals used, so you're familiar with their properties, hazards, and necessary precautions.
Ventilation
Ensure you have adequate ventilation when using chemicals, especially if they produce strong fumes.
Use water-based paints whenever possible, as they are generally less toxic and have fewer fumes than solvent-based paints.
If the area you're working in doesn't have good air circulation, consider using a fan or working outdoors instead.
Safe Handling of Power Tools
If you're using power tools, such as a pressure washer or power sander, follow proper safety procedures.
Keep cords well-organized and away from water to avoid tripping or electrocution hazards.
Don't forget to unplug the tools before making any adjustments or cleaning them.
Lastly, when using a ladder to reach higher sections of your fence, make sure it's set up on a stable, even surface.
Keep a 4-to-1 ratio for ladder placement, meaning that for every 4 feet of ladder height, the base should be 1 foot away from the fence. This ensures a safe and secure setup.
Possible Challenges In Fence Cleaning And Their Solutions
Fence cleaning may seem like a simple task, but there are several challenges that you could face when preparing your fence for staining or painting.
Mold and Mildew
Fences, especially wooden ones, can be prone to mold and mildew growth due to prolonged exposure to moisture.
To combat this issue, mix a solution of water and a small amount of bleach.
Apply the solution onto the affected area using a brush or a soft cloth, let it sit for a few minutes, and then rinse it thoroughly with water.
Dirt and Debris
Your fence may accumulate dirt and debris over time, making it harder to clean before staining or painting.
To remove dirt, use a pressure washer or your garden hose with a high-pressure nozzle attachment.
Adjust the pressure level according to the type of fence material, as too much pressure can damage the surface.
Loose and Damaged Boards
Inspect the fence for any loose or damaged boards before you start cleaning.
If you find any, secure them back into place with nails or screws, or replace them entirely with new boards that match the rest of the fence.
This will not only help in cleaning more effectively but also ensure a longer-lasting paint or stain job.
Peeling Paint or Old Stain
If your fence has peeling paint or a fading stain, remove the loose paint or old stain by using a paint scraper or sandpaper.
Sand the surface evenly and gently to avoid causing further damage. After removing the old finish, clean the fence with a mild soapy water solution to remove any sanding dust.
Remember, taking the time to address these challenges will result in a smoother and more effective cleaning process.
With a clean and well-prepared fence, your staining or painting project will be more successful, enhancing the appearance and longevity of your fence.
The Right Tools Can Make the Job Easier
Cleaning your fence before staining or painting is an essential step to achieving a long-lasting finish.
Preparing the surface properly will not only improve the appearance but also strengthen the bond between the coating and the fence material.
Having complete and right tools will make the job easier and cleaning much faster.
By adhering to these recommendations, you'll end up with a professionally finished fence that enhances the beauty of your property.
For more painting related topics, check out these other articles:
What Kind Of Paint To Use On A Hummingbird Feeder? [Safe & Weather Resistant Options]
What Is A Safe Paint For Metal Bird Baths? [3 Great Options To Choose From]