
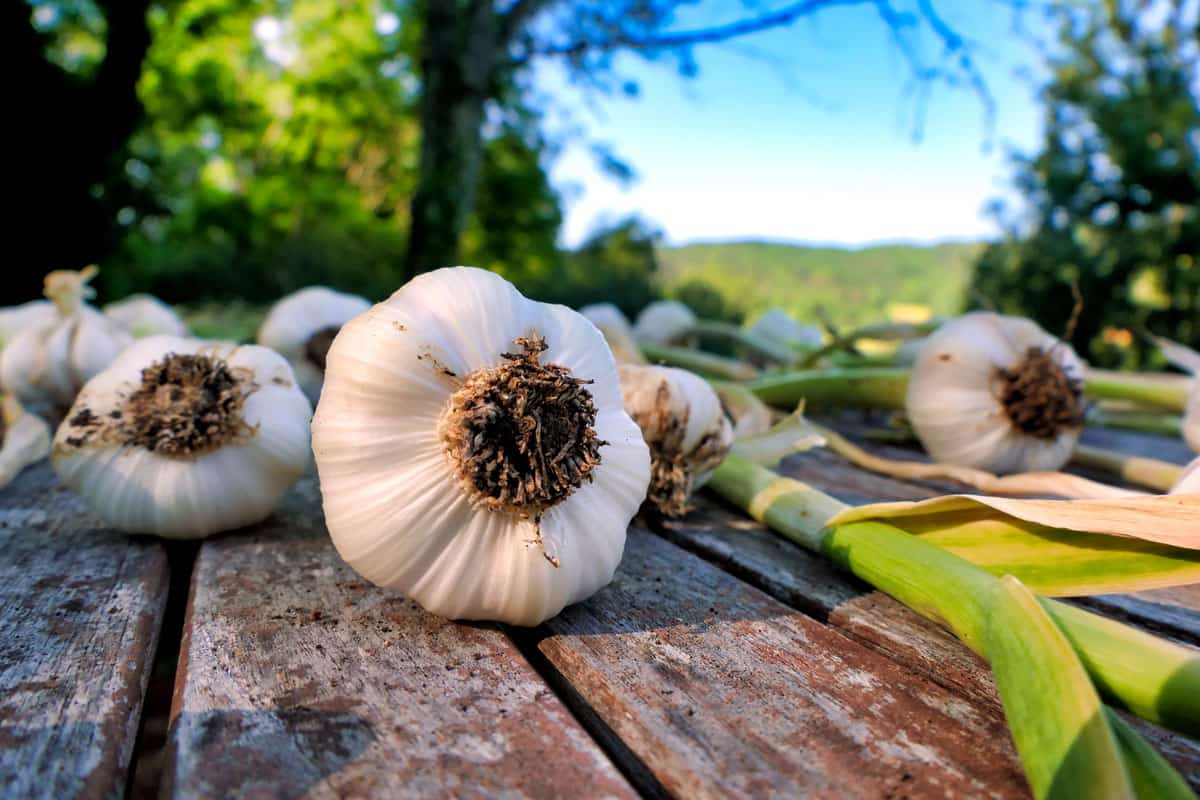
Scientifically known as Allium sativum, Garlic is is a culinary staple that chefs and home cooks love.
Garlic’s pungent aroma and unique flavor enhance dishes worldwide.
Aside from its culinary uses, it's a favorite among gardeners because of its relatively low-maintenance growing process.
Here, we offer 17 essential tips for growing and harvesting garlic in your garden.
Understanding the USDA Hardiness Planting Zones
The Department of Agriculture (USDA) has outlined 13 different plant hardiness zones in the United States.
Each zone is characterized by its average annual minimum winter temperature, which helps determine the types of plants that will thrive.
To find your zone, see our guide here A Detailed Guide To 13 USDA Plant Hardiness Zones—Zone In On Your Garden, and visit the USDA Plant Hardiness Zone Map.
1. Know Your Garlic Varieties
Garlic boasts over 600 varieties. However, they mainly fall into two broad categories: softneck and hardneck.
Softneck garlic, with types like Artichoke and Silverskin, is ideal for warmer zones (7-9) due to its less winter-hardy nature.
They are often more prolific producers, with multiple cloves arranged around the central stem in several layers.
This variety is usually found in supermarkets and has a flexible stalk that is excellent for braiding. Hardneck garlic, including Rocambole and Purple Stripe, is better suited to colder zones (4-7).
This variety has a stiff central stalk with a single layer of cloves around it. Hardnecks are renowned for their complex flavor profiles, often offering a richer garlic taste.
2. Choose the Right Variety for Your Zone
Although garlic can be grown in various climates, zones 3-8 are typically optimal. Your geographical location should inform your choice of garlic variety.
If you live in a colder climate like zones 3-4, hardneck varieties, which fare better in harsh winters, are the best option.
Gardeners in warmer zones (7-8) should lean towards softneck, more heat-tolerant varieties.
Zones 5-6 provide unique flexibility as they can effectively accommodate both types.
3. Correct Timing for Planting
The timing for planting garlic is contingent on your USDA zone. In colder zones (3-4), it's best to plant garlic in late September to October, just before the ground freezes.
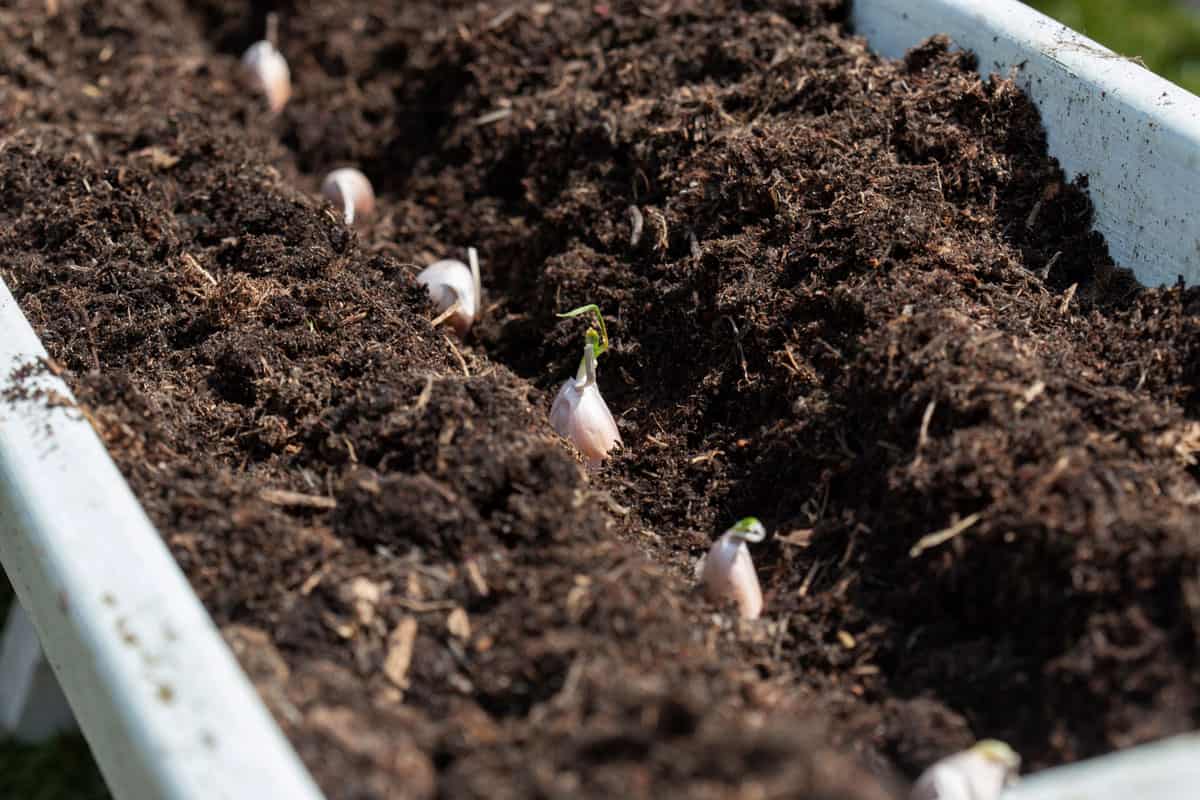
This allows the plant to establish roots but only sprout after the winter.
The ideal planting time for zones 5-7 is from October to early November. This period allows the garlic to establish substantial roots over the winter.
The planting window in warmer zones 8-9 extends from late October through January.
Garlic in these zones doesn't require a long winter dormancy and benefits from the cooler winter temperatures for root development.
4. Sourcing High-Quality Garlic Bulbs
Always source your garlic from reputable nurseries or seed companies. This ensures you get disease-free, viable cloves suited to your hardiness zone.
While it is possible to use garlic from supermarkets, we suggest avoiding it as it may carry diseases, and some garlic may have been treated to prevent sprouting.
5. Soil Preparation
Garlic prefers well-drained soil enriched with organic matter. Before planting, amend your soil with compost or aged manure to increase fertility.
Garlic prefers slightly acidic to neutral soil, so aim for a pH between 6.0 and 7.0.
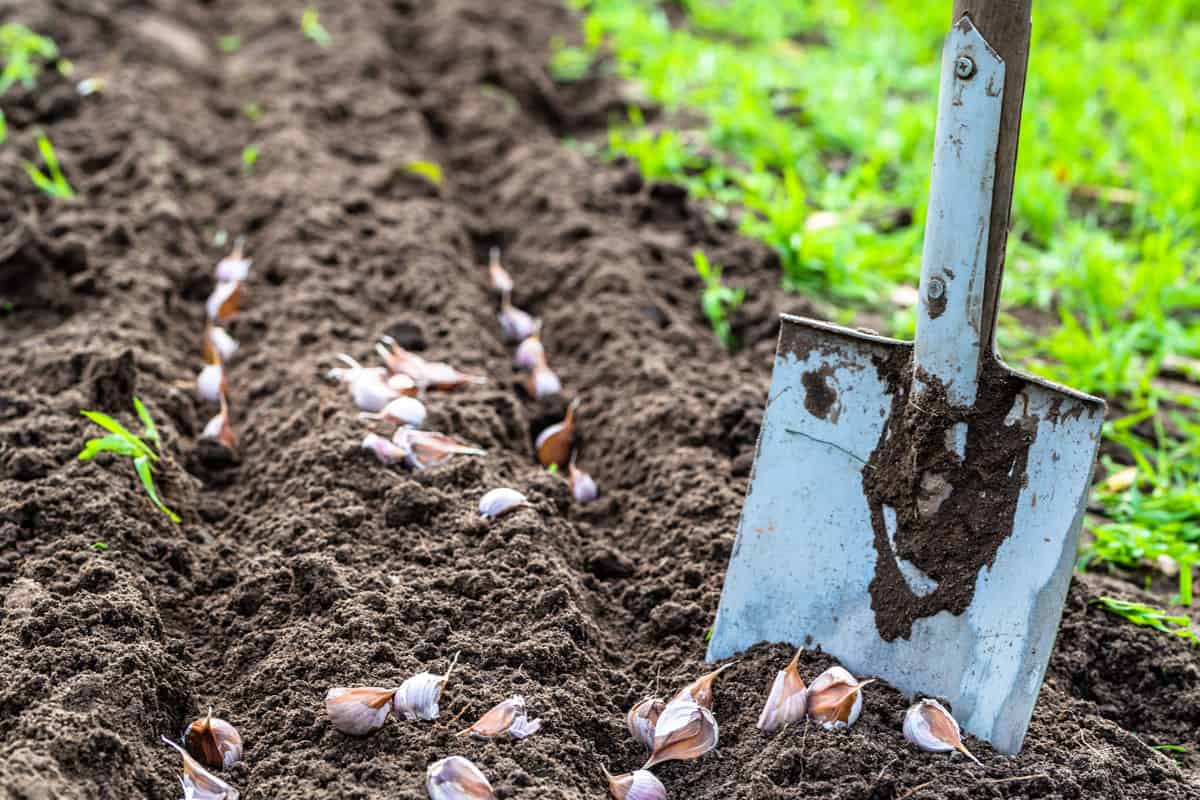
6. Correct Planting Method
Planting garlic requires finesse. Break apart the bulbs and plant the individual cloves pointed-end, about 2 inches deep.
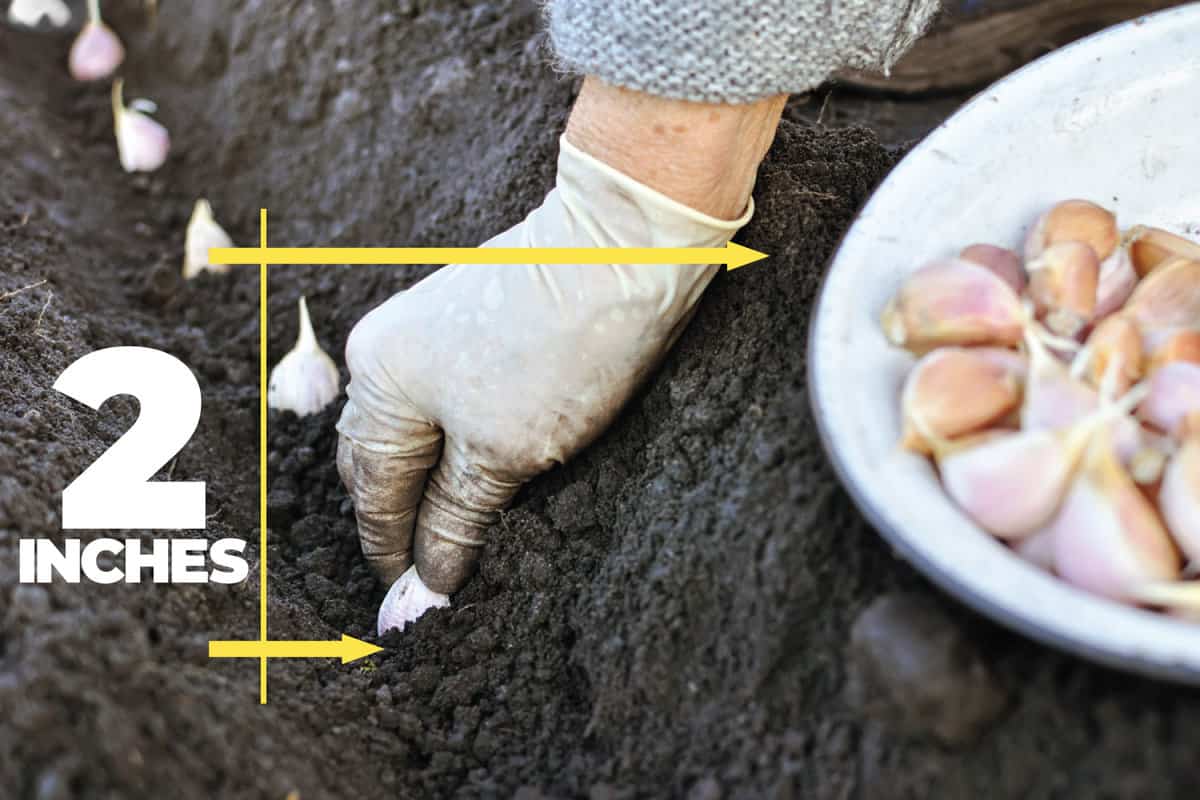
Each clove should be about 6 inches apart, and rows should be spaced 1-2 feet apart.
7. Mulching is Crucial
After planting, apply a generous layer of mulch, like straw or shredded leaves, to retain soil moisture, suppress weeds, and maintain consistent soil temperature.

This is especially critical in colder zones, where garlic requires extra insulation.
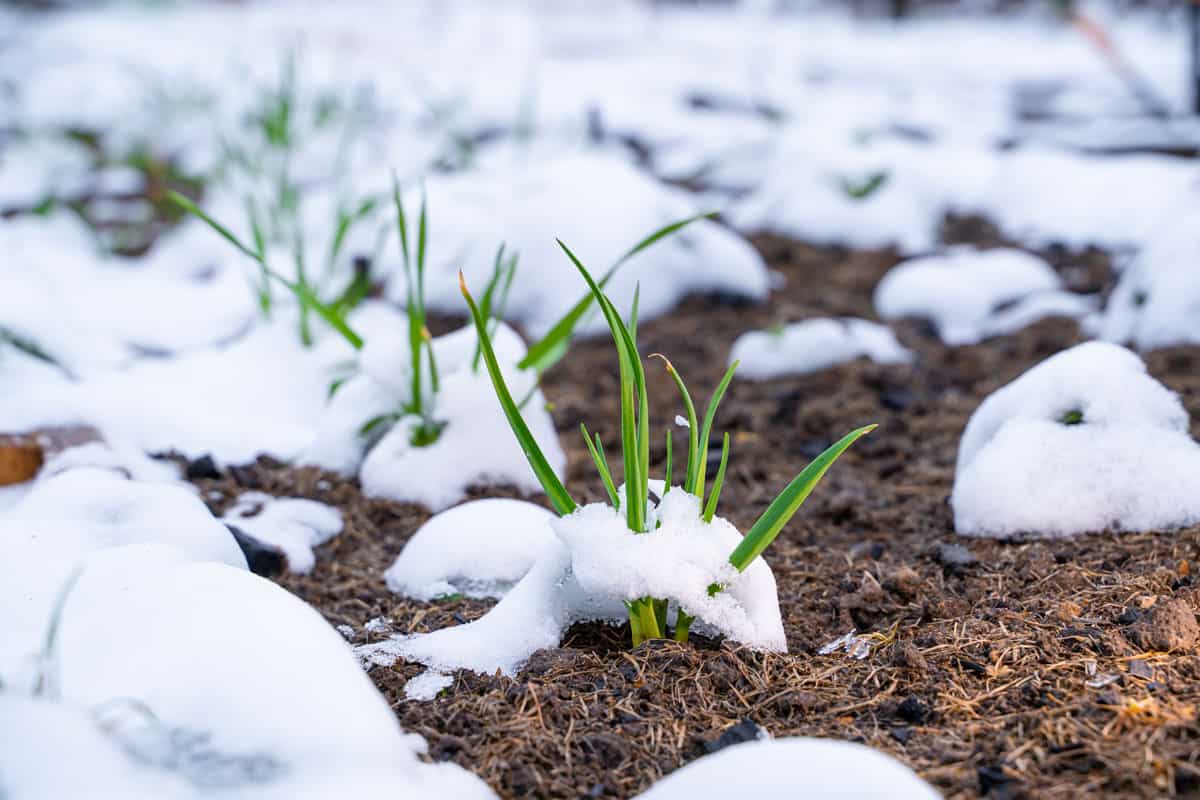
8. Winter Care
Garlic is a hardy plant and requires little winter care, especially when well mulched. In colder zones, the layer of mulch provides insulation, protecting the cloves from freeze-thaw cycles that could push them out of the ground.
9. Watering Schedule
Garlic needs consistent watering to develop well. The aim is to keep the soil moist but not waterlogged. Overwatering can lead to bulb rot.
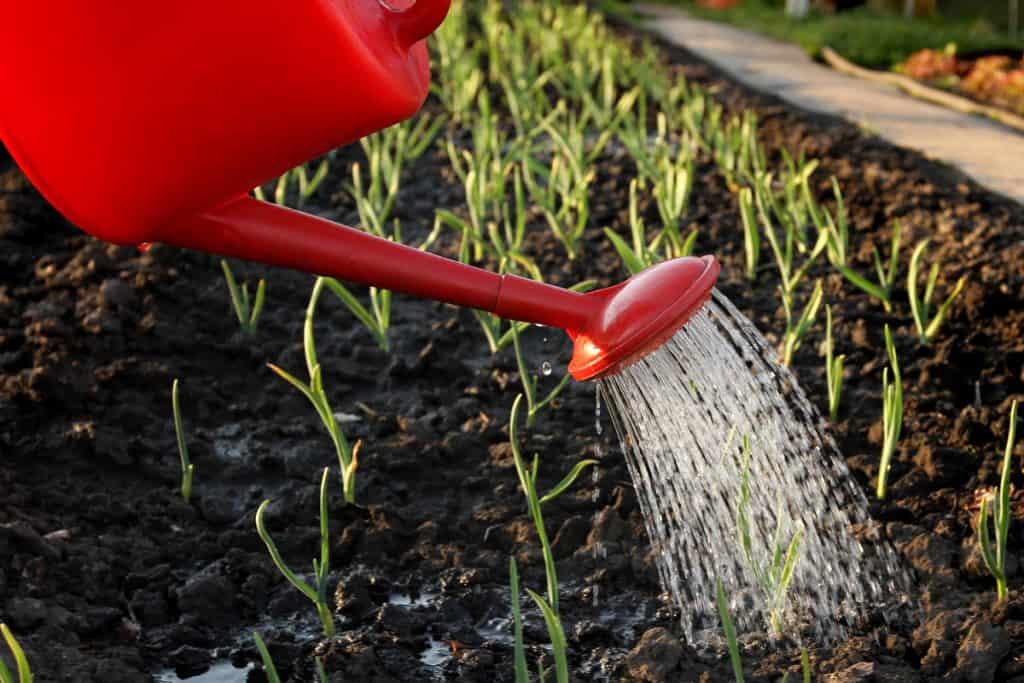
As a rule, water your garlic once a week, adjusting depending on rainfall. When the leaves begin to yellow in late spring, gradually reduce watering.
10. Proper Fertilization
Feed your garlic a high-nitrogen fertilizer in early spring to support leafy growth.
When scapes (flower stems) begin to grow, a second fertilizer application will ensure the development of large, healthy bulbs.
11. Scapes Management
Did you know that scapes are the long, green stems that grow from garlic plants? They look like big chives or scallions and come from hardneck garlic plants.
The sprouting scapes should be cut back for hardnecks. This directs the plant's energy into growing a larger bulb.
Bonus: scapes are edible and add flavor to stir-fries, pesto, and salads.
12. Recognizing Pests and Diseases
Garlic is relatively pest-resistant. However, watch for signs of rust (orange patches on leaves), mold (white, fluffy fungus), and nematodes (stunted growth and distorted leaves).
Rotating crops each year helps minimize the build-up of these diseases.
13. Judging the Harvest Time
Typically, garlic is ready to harvest in mid to late summer. Look for half the leaves turning brown while 5-6 green leaves remain.
Each green leaf represents a layer of protective wrapping around the bulb, which is necessary for long-term storage.
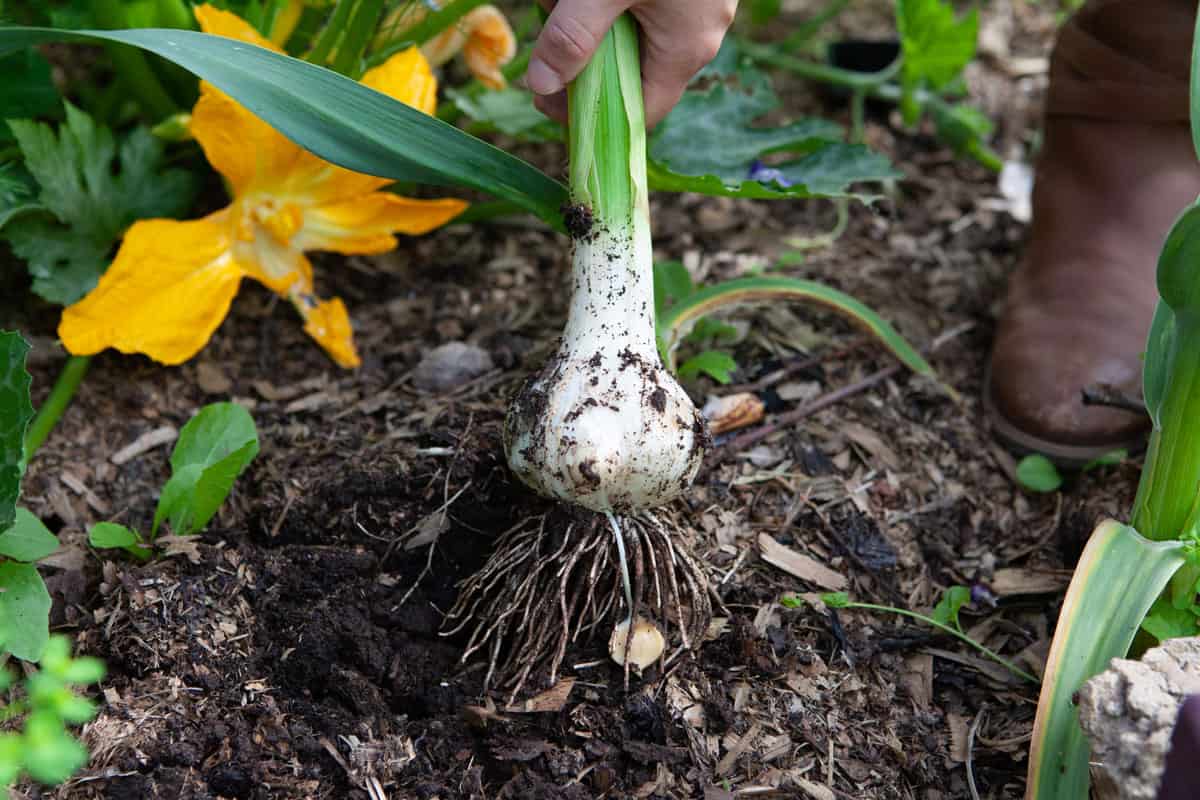
14. Correct Harvesting Technique
To harvest, gently loosen the soil with a garden fork. Pull the bulbs out, being careful not to bruise them. Damage to the bulbs can reduce their storage life.
15. Drying and Curing
Once harvested, garlic needs to cure. Lay the bulbs in a single layer in a well-ventilated, shady area for two weeks. This process allows the skin to dry and enhances the garlic's flavor.
16. Storing Garlic
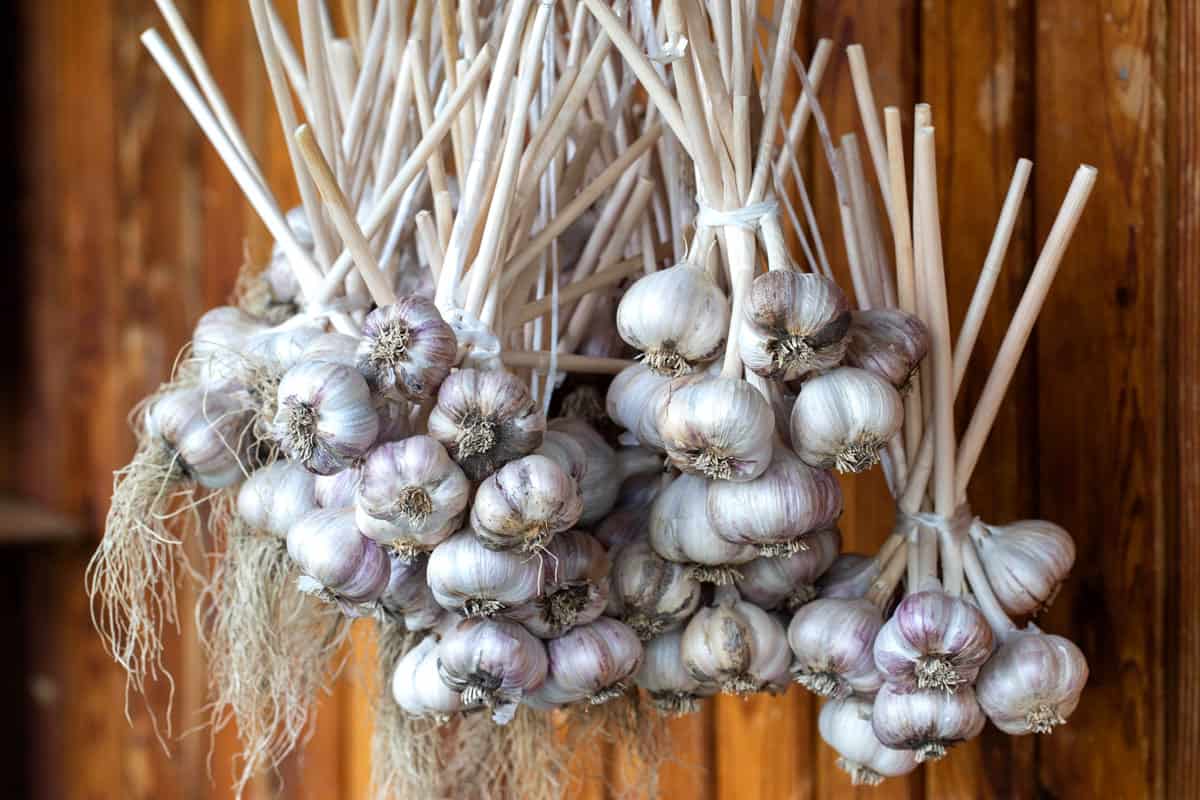
Store cured garlic in a cool, dry, dark place. Ideal storage temperatures are between 60-65°F.
Softneck varieties can be braided and hung for storage, while hardneck varieties are best stored in mesh bags.
17. Saving Bulbs for Next Planting
Select the largest, healthiest bulbs from your harvest to plant the following season. By doing so, you continually improve the quality of your garlic crop.
Here are more informative articles:
How Deep Should Garlic Be Planted?
Can You Grow Garlic From Store Bought Cloves?
23 Vegetables That Have Shallow Roots
A Culinary Delight
Garlic is a rewarding addition to any home garden. Its relatively straightforward cultivation process pays off with a bountiful harvest of flavor-packed bulbs.
We hope you’ll use these tips to grow, harvest, and savor your garlic season after season.