Cold frame gardening is an excellent way to extend your growing season, especially in challenging climates like USDA Zone 2.
This method allows you to protect your plants and grow cool-season crops earlier and later than usual in your garden.
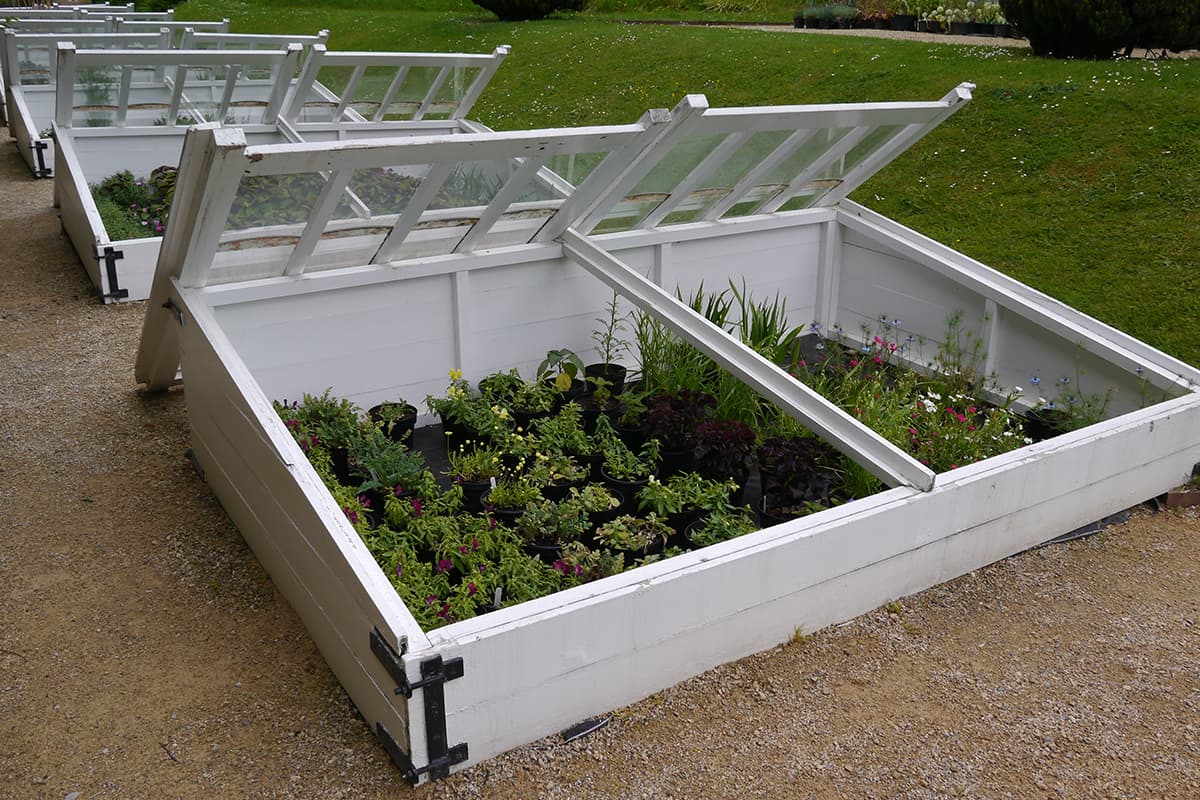
Cold frame gardening in USDA Zone 2 offers you the opportunity to grow cool-season vegetables like lettuce, spinach, or radishes earlier, extending your harvest period.
As cold frames provide warmth, protection from wind, and water retention, they make an essential addition to your garden in such a challenging climate.
By taking advantage of a cold frame, you can enjoy fresh vegetables well beyond the typical harvest period for your region.
Want to learn how to do it? Let's get started.
The Basics of Cold Frame Gardening
In USDA Zone 2, the average minimum winter temperature can drop to a chilling -45°F to -50°F.
However, utilizing a cold frame can boost your garden's warmth and make it possible to grow crops such as lettuce, spinach, and radishes that might otherwise struggle in your area.
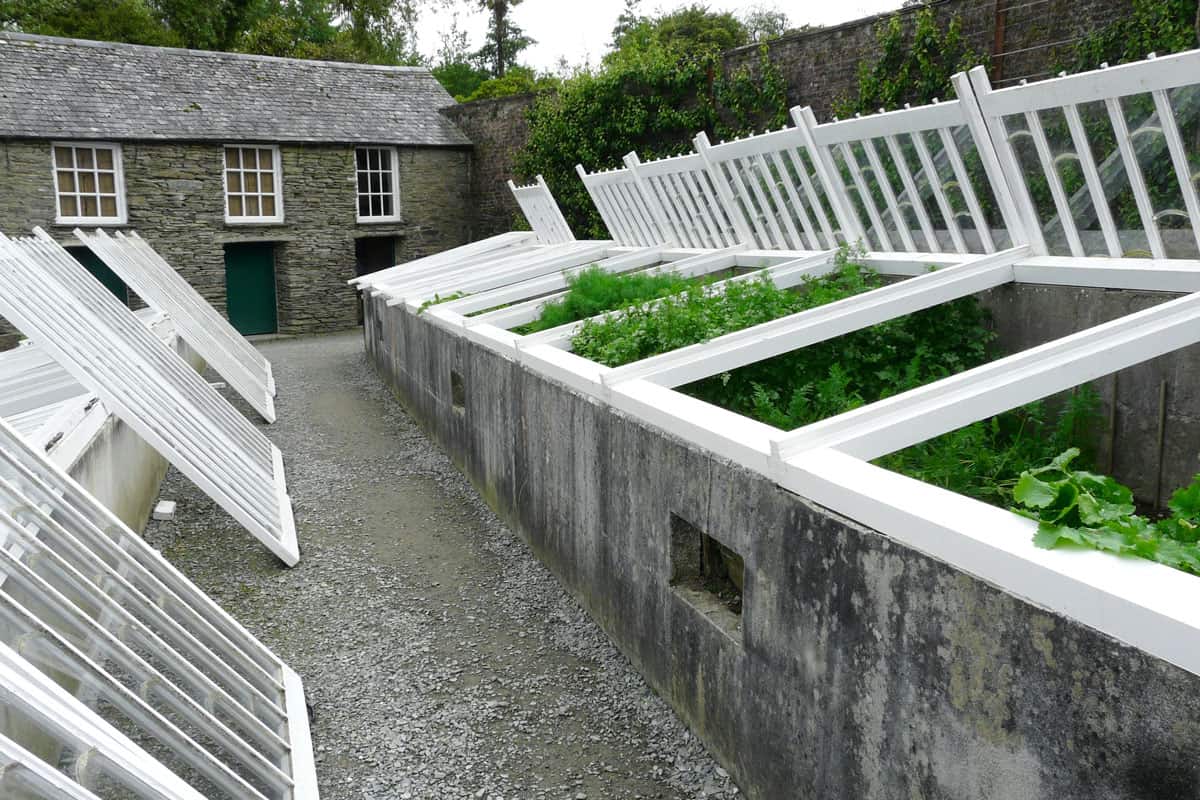
These structures create a sanctuary for your plants, shielding them from the harsh conditions and allowing them to grow in a more favorable environment.
To get started with cold frame gardening, you'll first need to select an appropriate location that receives ample sunlight and offers some protection from prevailing winds.
Then, select sturdy framing materials and transparent coverings that will effectively capture and retain heat while allowing light to penetrate for your plants' growth.
By following these initial steps, you're well on your way to enjoying an extended gardening season in USDA Zone 2.
Materials and Construction
When building your cold frame, select sturdy and durable materials that can withstand harsh weather conditions.
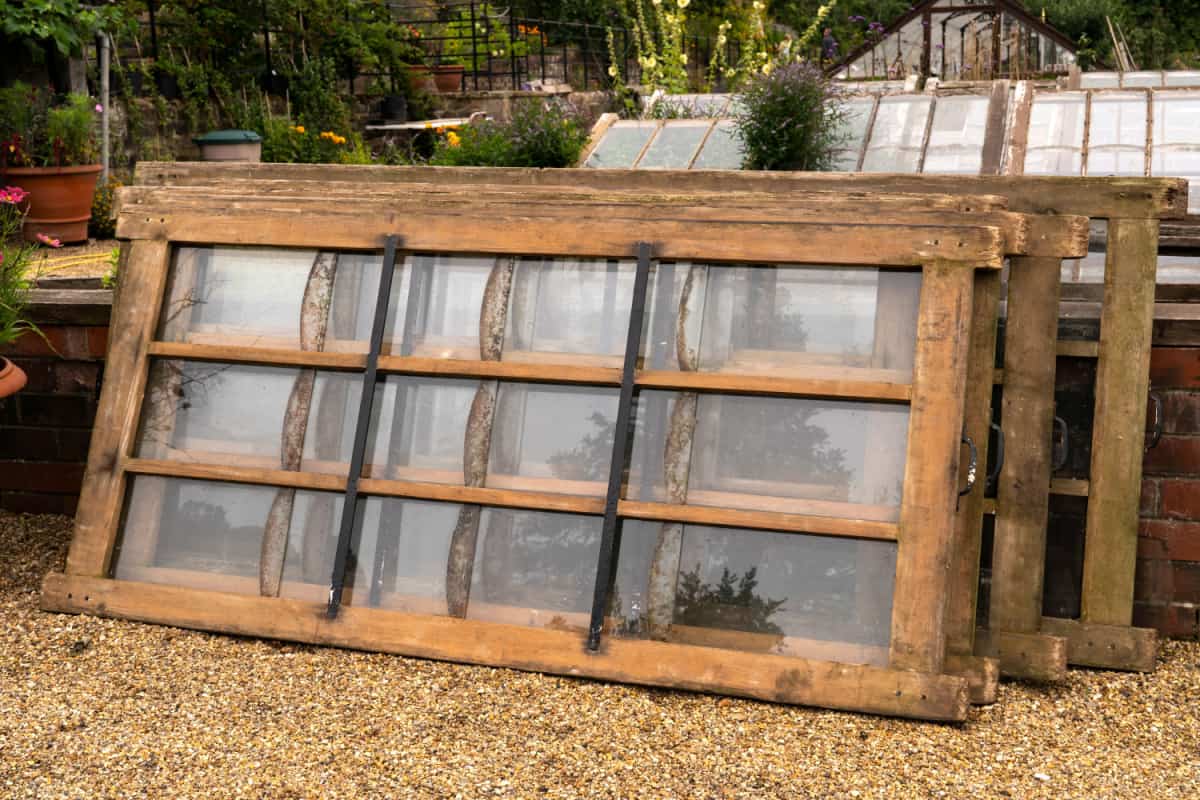
Some popular choices include:
- Wood: Cedar or redwood are rot-resistant and work well for the frame structure.
- Polycarbonate panels: These provide better insulation compared to glass and are less likely to shatter.
- Metal brackets and hinges: These can be used for securing the frame and lid.
Construct the cold frame with a sloped top to allow better sunlight access and prevent snow buildup.
Make sure the lid can be easily opened and closed for ventilation and temperature regulation purposes.
Location and Orientation
Choosing the right location for your cold frame is crucial for achieving optimal growing conditions.
Here are a few tips:
- Place the cold frame in a well-draining, level area.
- Make sure the location receives at least 6 hours of direct sunlight per day.
- Orient the cold frame so the sloped side faces south. This maximizes sunlight exposure while providing some protection from prevailing winds.
Temperature Regulation
Monitoring and controlling temperature within the cold frame is important to ensure your plants thrive.
Keep the following in mind:
- Use a reliable thermometer to monitor the internal temperature.
- Open the lid when temperatures rise above 60-70°F to prevent overheating.
- Close the lid during the evening to retain heat and protect plants from frost.
- If necessary, add insulation, such as straw bales or blankets, around the cold frame for extra warmth during colder months.
Check out this large waterproof wall outdoor thermometer on Amazon.
Understanding USDA Zone 2
USDA Zone 2 is most commonly found in colder regions, such as parts of Alaska and Canada.
In this hardiness zone, plants must tolerate low temperatures that hit an average minimum of -50°F to -40°F.
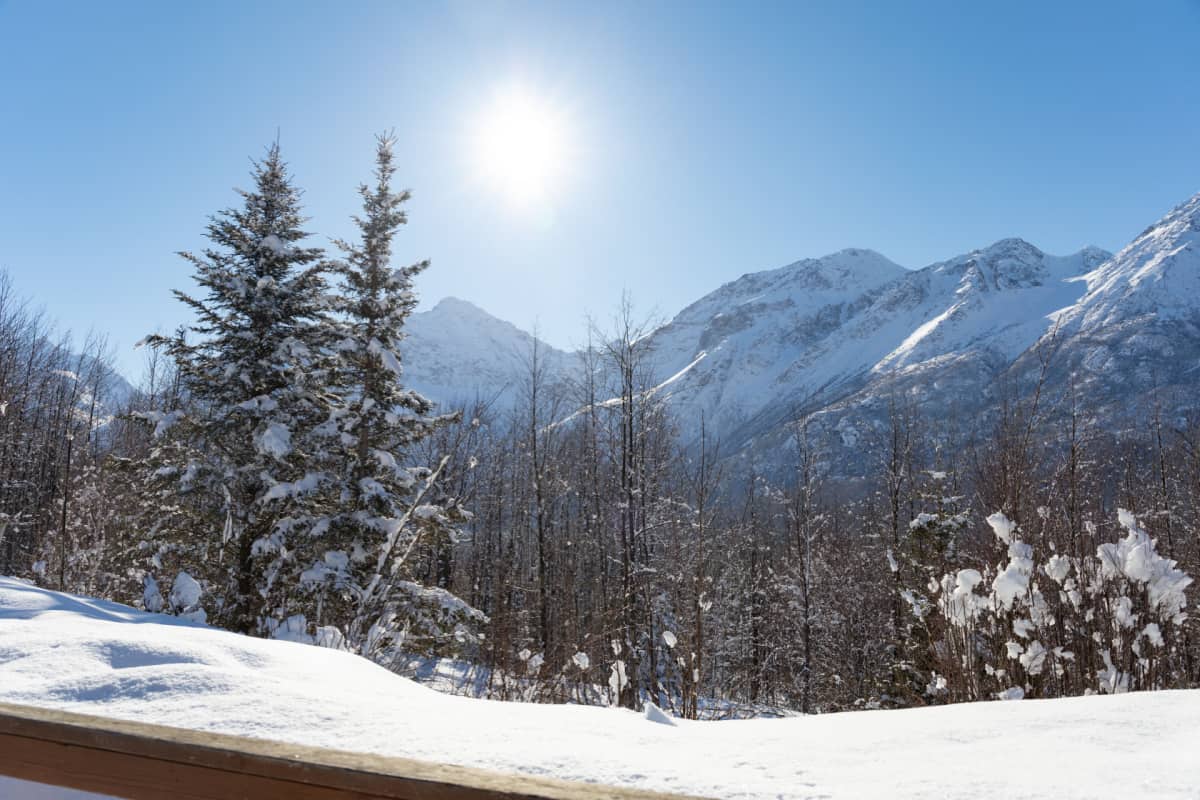
You'll need to consider this extreme cold when selecting plants for your cold frame garden.
Through conscious efforts and careful selection of plants, your cold frame garden can thrive, even in the chilly climate of Zone 2.
Start with choosing plants that are known for their ability to withstand frost and freezing temperatures, such as hardy bulbs like tulips and daffodils or cold-hardy vegetables like kale and spinach.
Seasonal Temperature Ranges
In Zone 2, you'll experience a limited growing season due to the severe cold temperatures.
In order to fully utilize your cold frame garden, you should monitor the temperature fluctuations inside the cold frame throughout the seasons.
Late Winter/Early Spring
As temperatures begin to rise in late winter and early spring, you can start planting your cold-tolerant vegetables and hardy bulbs.
To prevent temperature-related damage, prepare your cold frame by insulating it with materials like straw or bubble wrap.
Late Spring/Early Summer
During this season, you'll see the temperature range widen which might allow you to start gradually introducing additional plants while continuing to focus on cold-hardy varieties.
Be prepared to open up the cold frame on warmer days to avoid overheating your plants.
Late Summer/Fall
As the weather begins to cool, it's time to harvest your summer garden and replace it with cool-season crops.
Rotate in new vegetable plantings and use your cold frame to extend the growing season of your favorite cold-tolerant varieties.
Winter
While growing plants in Zone 2's frigid winters might not be possible for everyone, you can still use the cold frame to store some of your root vegetables.
These can be carrots and beets, as long as they are properly insulated from extreme temperatures.
Ideal Plants for Zone 2
Cold frames can help you extend the growing season and protect your plants. Some ideal plants for Zone 2 include:
- Lettuce: This cool-season crop can thrive in a cold frame, producing fresh, tender leaves for longer periods.
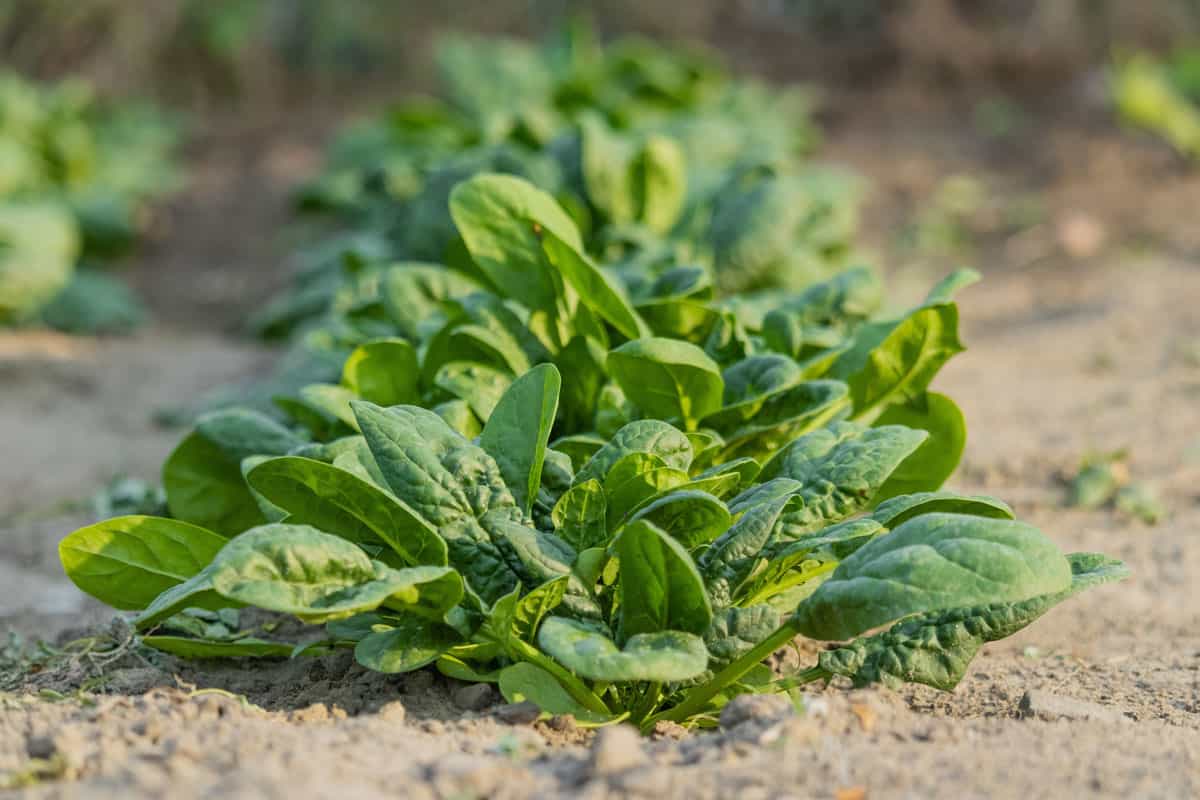
- Spinach: Robust and cold-hardy, spinach is well-suited for Zone 2, giving you a nutritious addition to your meals.
- Kale: This nutrient-rich vegetable is also cold-tolerant, making it a great candidate for your cold frame garden.
Planting and Transplanting Tips
In order to succeed with your cold frame garden, follow these planting and transplanting tips:
Choose Frost-Tolerant Seedlings
You should start by selecting plants that can withstand cool temperatures and frost, such as the ones mentioned above.
Start Seedlings Indoors
Begin your seedlings indoors to give them a head start before transplanting them into the cold frame.
This allows them to establish a healthy root system, making them better equipped to handle the cold.
Harden Seedlings
When preparing to transplant your seedlings into the cold frame, it's crucial to harden them off first.
Gradually expose them to outdoor conditions for a few hours each day, increasing the duration over a week or two until they're ready for their new environment.
Watering and Fertilizing Needs
Last but not least, let's explore the proper watering and fertilizing practices for your cold frame garden in Zone 2.
Watering
Cold frames tend to maintain moisture well, so it's important not to overwater your plants.
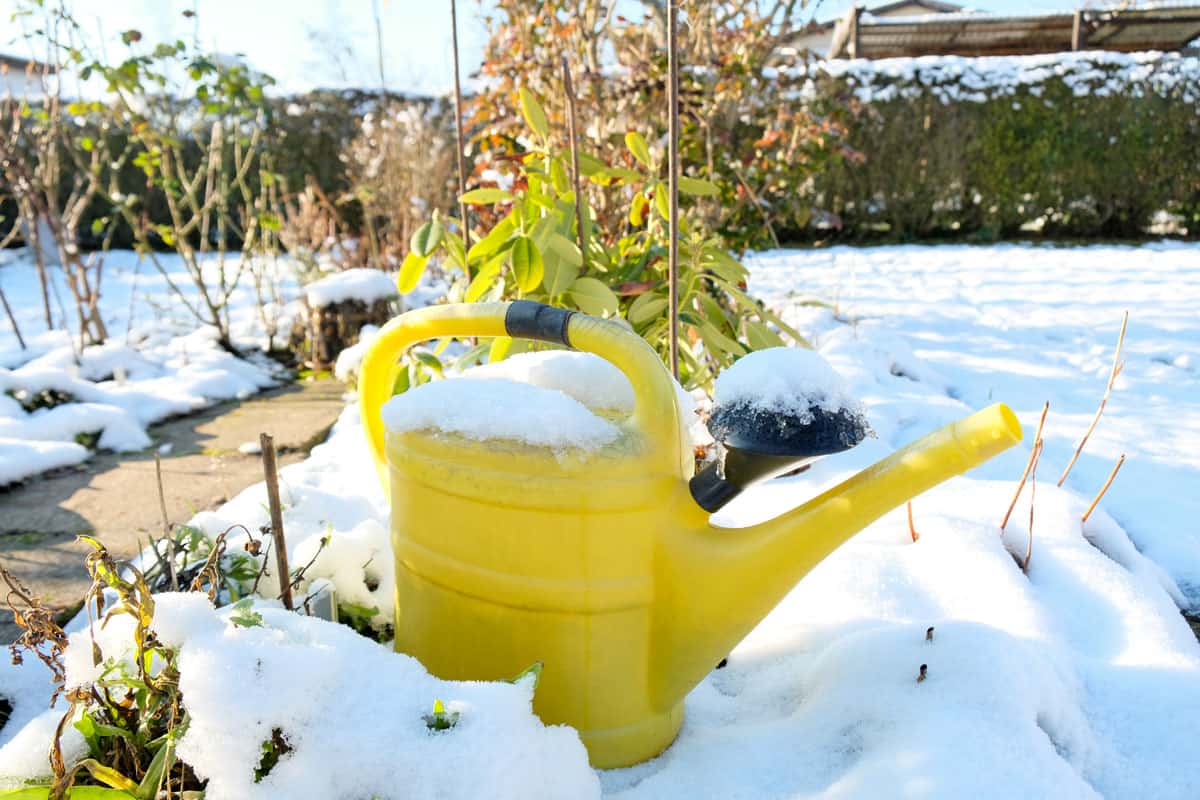
Check the soil moisture regularly with your finger, and only water when it feels dry an inch below the surface.
Be mindful that the cold frame's cover can limit airflow, potentially leading to mold or mildew, so ensure adequate ventilation on warmer days.
Fertilizing
To provide essential nutrients to your plants, add a slow-release fertilizer or well-aged compost to the soil before planting.
Try this Schultz all-purpose slow-release fertilizer.
Avoid over-fertilizing as it can lead to overly soft growth or problems with pests.
Conduct a soil test at the beginning of the growing season to determine if additional amendments are necessary.
Cold Frame Gardening Success
To succeed in Zone 2, select plants that can withstand the average lowest minimum temperature in your region.
Endeavor to use the USDA Plant Hardiness Zone Map as your guide, ensuring you choose plants that are hardy for at least one zone colder than your area.
For instance, selecting Zone 1 plants for your Zone 2 garden can increase your chances of success.
Remember, cold frame gardening opens up a range of possibilities for year-round productivity in your garden.
With dedication and persistence, you can significantly enhance your growing season and enjoy a more bountiful harvest in USDA Zone 2.
Happy gardening!
For more winter gardening tips, check out these other articles:


