
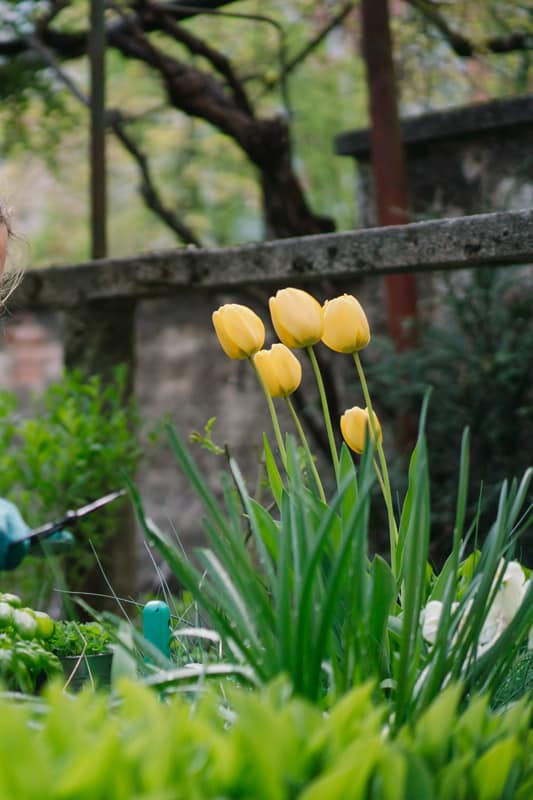
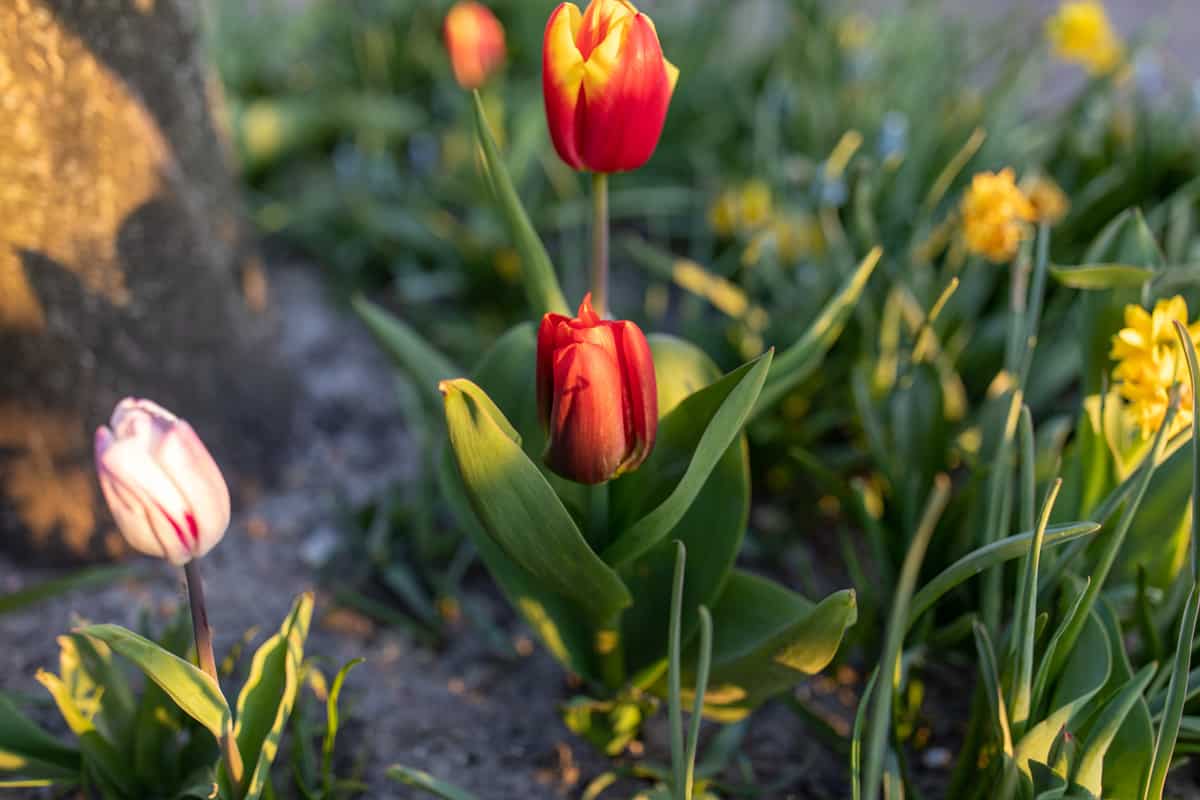
Tulips (Tulipa) come in a sea of colors and are a great sight to add to any landscape. If you are growing tulips of your own, you have questions about their care. In this article, we will answer when to cut tulips back, and how to get it done.
Your tulips can benefit from some summer pruning. However, you should wait at least 6 weeks after your tulips have stopped flowering to do a full cut back. The exact timing may vary based on your location and climate.
So, now you know when to cut back your tulips, but how should you go about doing it? Keep reading as we breakdown cutting back tulips step-by-step. We will answer if you should deadhead your flowers and more.
![Gardener cutting purple tulips, When To Cut Back Tulips [And How To Do That]](https://gardentabs.com/wp-content/uploads/2022/08/When-To-Cut-Back-Tulips-And-How-To-Do-That.png)
How To Cut Back Tulips?
Cutting back tulips is an essential part of their care. This practice allows the plant to preserve their energy, allowing them to bloom the following year. The timing is crucial for your cut back, as cutting too late or too early can impact next year's blooms.
Let's take a closer look at the process of cutting back tulips.
1. Selecting The Right Time
Patience is key when cutting back your tulips. You should continue to water and fertilize your tulips as normal until you cut them back. The month can vary for each location, but the signs of knowing when the time is right are the same.
You will know your tulips are ready to get cut back when the dead foliage changes to a yellow color. Once this color appears, your leaves will change in consistency too. They will feel like straw instead of the smooth leaves you are used to.
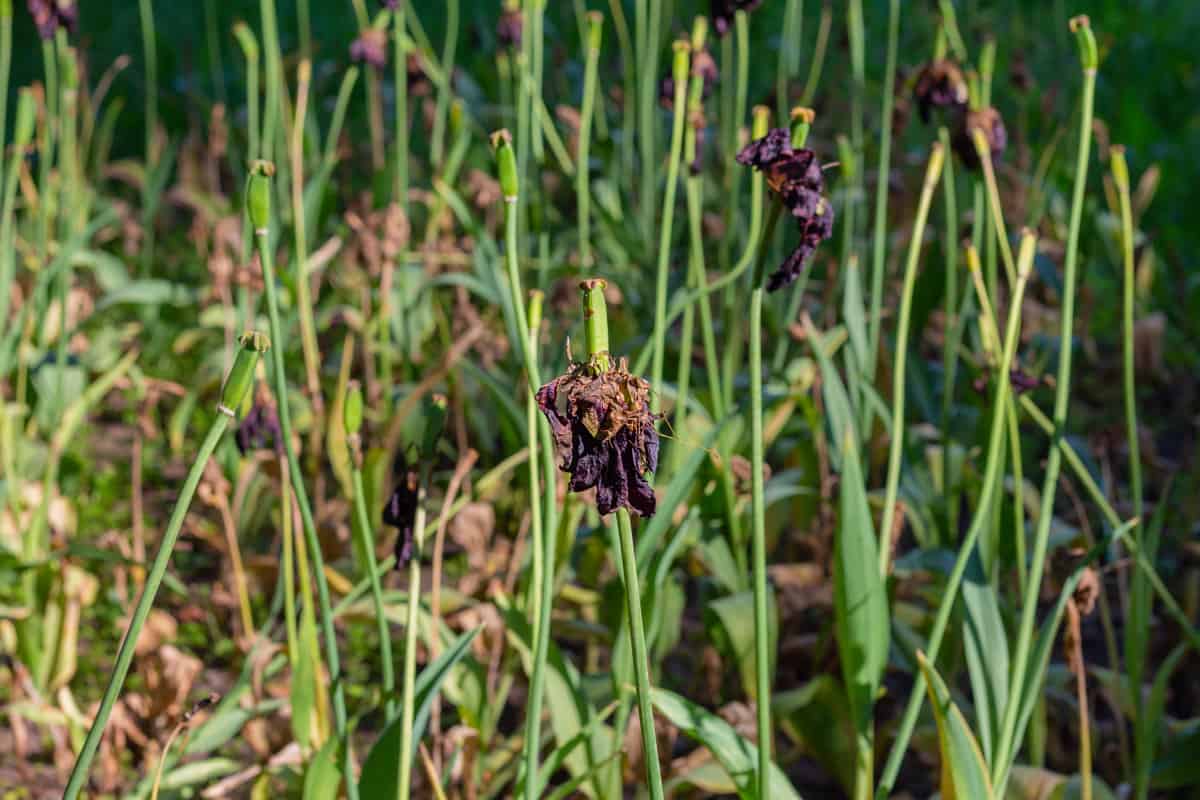
Your flowers will fade before the foliage does, which makes it tempting to cut back sooner. Avoid this and wait until your foliage makes this change. Then, you will know this is the right time to perform a cut back.
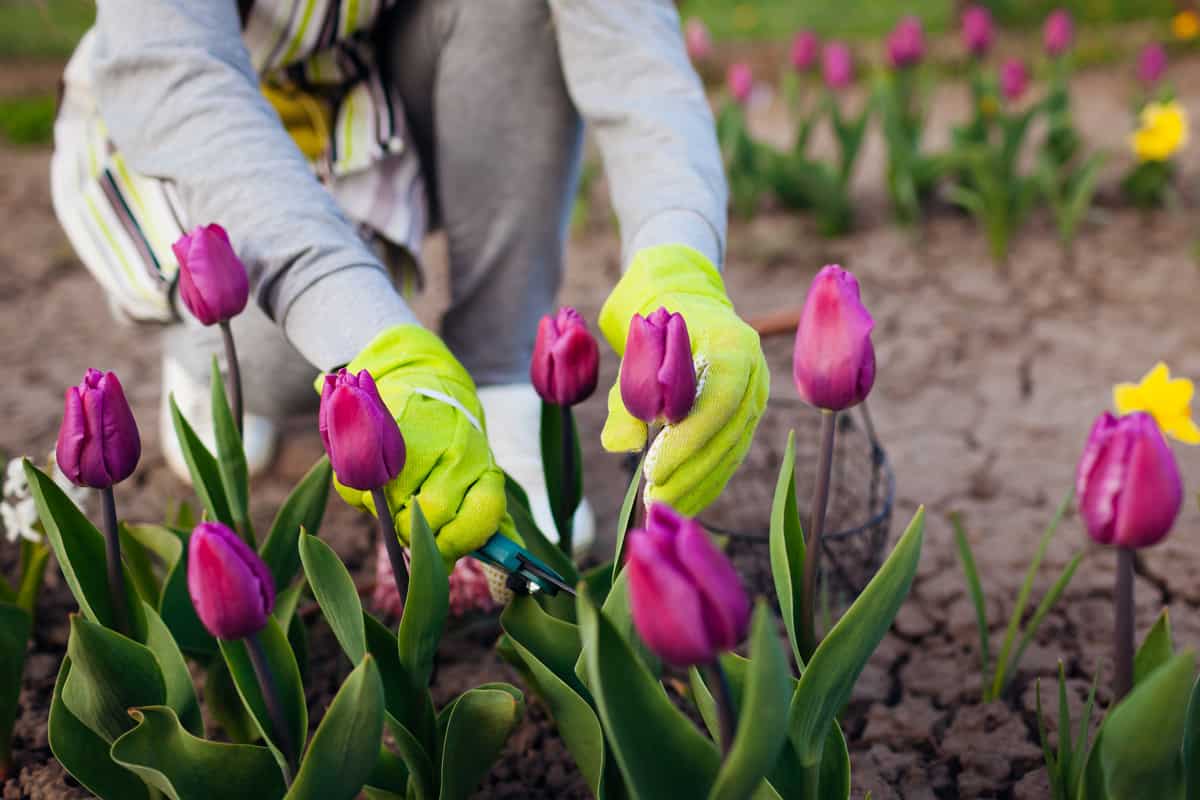
2. Prune Tulip Heads
Once you have decided it is time to cut back your tulips, the first place you will start is with the tulip heads. The entire cutting process only calls for a sharp pair of pruning scissors. Ensure you washed and dried your scissors before you begin.
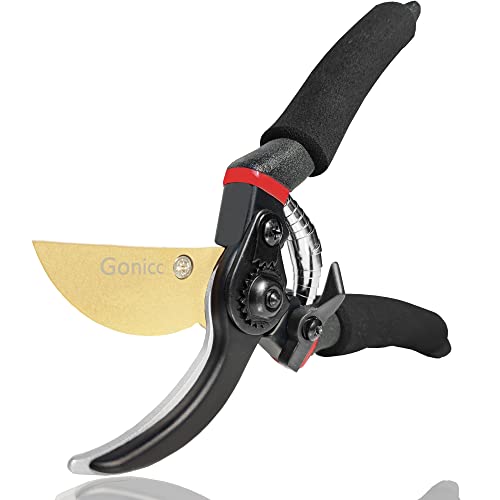
You can find a pair of hand pruners here on Amazon
To cut back the heads, grab a wilted flower bud between your fingers and make a cut about 1 inch below the base of the bud. Removing the heads first will stop the plant from producing seeds.
Stopping seed production allows your plant to put all its energy towards enforcing a healthy root system. This is important for next year's bloom.
3. Cut The Stems
After you have removed the Tulip heads, you can make your way down the stems. Cut the stems at the base, as low as you can get. Again, use clean pruning scissors to do this.
4. Remove The Foliage
After the stems and heads are gone, you can work on removing the foliage. Cut back all foliage that is yellow and turning into that straw texture. This last step may be a gradual process, as parts of the foliage will die off sooner than others.
Do not remove any green leaves, you must wait until each leaf is yellow before cutting it back.
Have a look at the video below for a visual representation of cutting back your tulips.
Should I Deadhead My Tulips?
Deadheading is the process of removing faded or dead flowers from your plants. You should absolutely deadhead your tulips, as deadheading is step one of cutting back your plant to prepare for the next year's bloom.
What's more, frequent deadheading will stop seed production and promote reproduction of your bulbs. You can deadhead your flowers as soon as they fade and lose their pedals.
Remember, just remove the flower when you deadhead and leave the green leaves behind, so they can continue soaking up energy into your bulbs. You can deadhead using your gardening shears, or simply snap off the flower right under the Tulip head.
Learn more on our blog post,
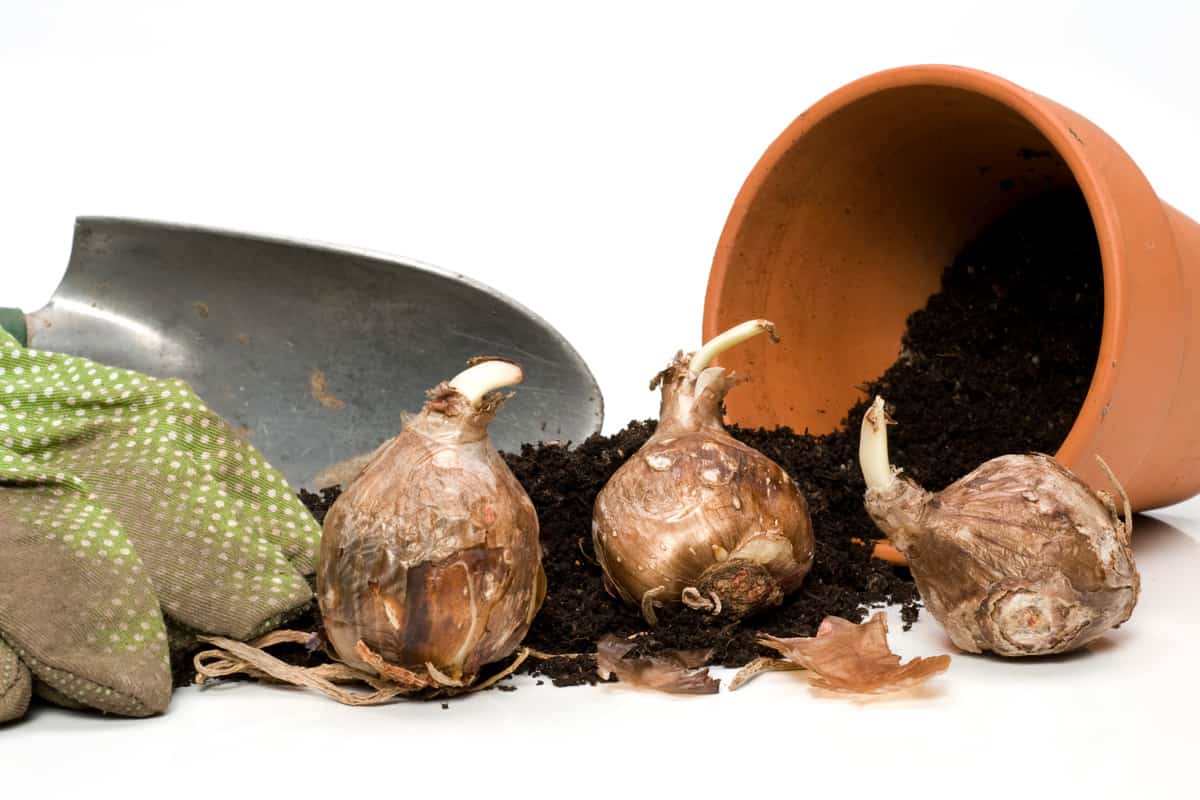
Can You Leave Tulip Bulbs In The Ground All Year?
Bulb care varies based on the type of tulip you have planted. To avoid the annual digging up of your bulbs, you will need to find a tulip that will overwinter correctly in the climate you are in.
For example, smaller tulip varieties, like Tulipa clusiana, can have their bulbs left in the ground in USDA Zones 8-10, and will continue to bloom the next season. These varieties do not require a dormancy period to keep blooming.
On the other hand, there are types of tulips that need a cold dormancy period to bloom again. This dormancy period should be about 8-10 weeks long, in temperatures below 45 degrees.
If your climate does not meet these dormancy requirements, you will need to dig up your tulip bulbs annually. You can store dug up bulbs in your freezer and plant them again in the late winter.
Do Tulips Come Back Every Year?
Tulips are perennials. To ensure you have a species of tulip that will reappear the following year, always check the label on the bulbs you buy. You won't know for sure after you get your bulbs in the ground, so look before you plant.
Examples of tulip species that are perennials include Darwin Hybrids, Emperor, and Gregili.
Keep in mind, your tulips will need proper care to keep their perennial status. Bulbs that get too much water may suffer from rot. This can prevent a bloom in the next season. What's more, tulips need plenty of sunlight and don't plant them too close to other plants.
Read more on our blog post,
My Tulips Did Not Flower This Year, What Happened?
It can come as a disappointment if your tulips do not flower again the next year. A common reason this happens is because of the plant's environment. Tulips offer bright flowers only when they get all the nutrients and care they require.
For example, some species of tulips are native to dry climates that experience icy winters. These species may not flower in your garden if temperatures do not reach a point where your bulbs can experience dormancy.
Along with temperature complications, tulips that do not flower may not be getting the nutrients they require. Blooming calls for plenty of nitrogen. Test your soil regularly to ensure your dirt contains the nutrients your tulips need.
You can check the nitrogen levels in your soil by using a soil test kit. Good times to test are before planting, throughout the growing season, and right before your tulip's dormancy period.
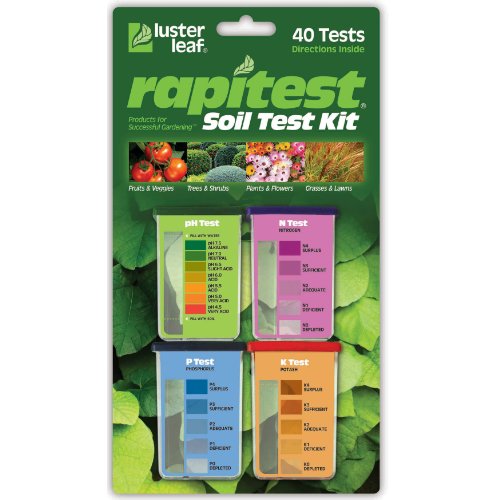
You can find soil test kits here on Amazon
Tips To Encourage Your Tulips To Bloom
Cutting back your tulips at the right time and ensuring the environment is ideal for your plant is the first steps in encouraging your flowers to bloom. Let's check out other tips and tricks to getting the best bloom out of your tulips.
Where you plant your tulips can affect their blooms. You want to avoid planting too close to foundations or driveways. These concrete forms will cause the bulbs of your tulips to stay warmer in colder months, impacting their bloom.
What's more, planting your tulips in mounds will ensure good drainage and encourage beautiful blooms.
Another tip is to plant your bulbs at a good depth. Plant your bulb 3 times deeper than the height of the bulb. Remember, we mentioned how important phosphorus is for tulip blooms?
You can fertilize your tulips annually with phosphorus rich fertilizer to give your flowers that extra boost they may need.
Sometimes, you may not live in a climate that can support annual blooming tulips. You can still get these beautiful flowers by treating tulips as an annual, replanting them each year.
In Summary
Now you know when, and how to cut back your tulips. Done the right way, you will get to enjoy beautiful blooms the following year. We hope you found this article insightful for caring for your tulips.
Are you looking for more information on tulip care? Have a look through our blog post,