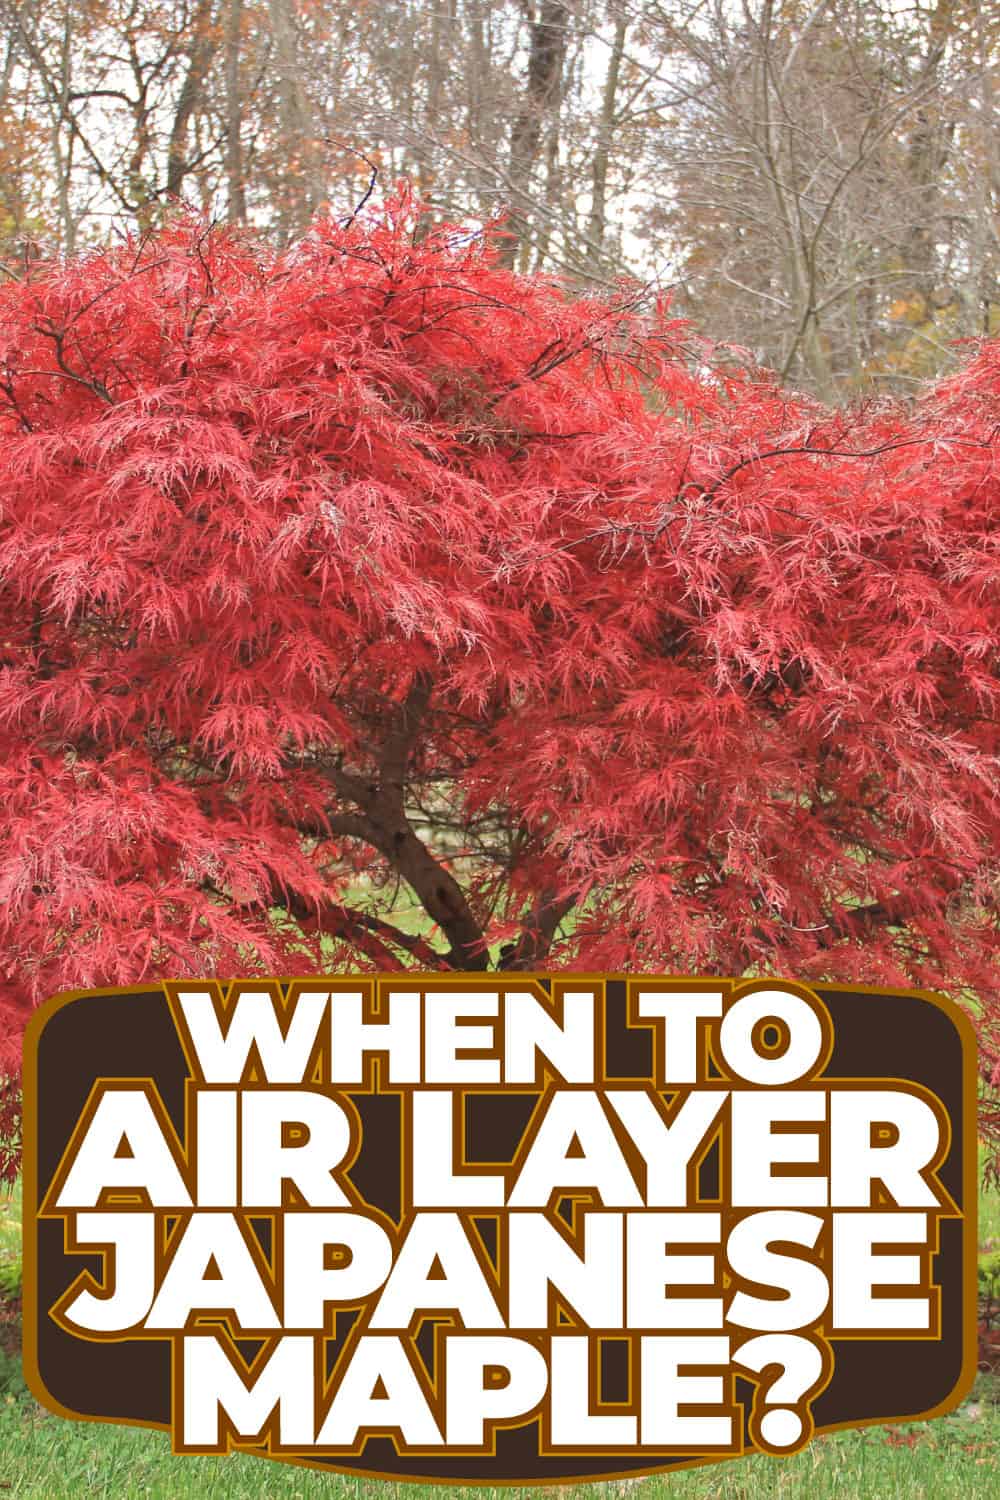
Japanese maple trees are a wonderful addition to any landscape. If you're wondering when to air layer them, you need to think about the seasons and how Japanese maples respond. We have researched this question for you, so you'll know when to do this!
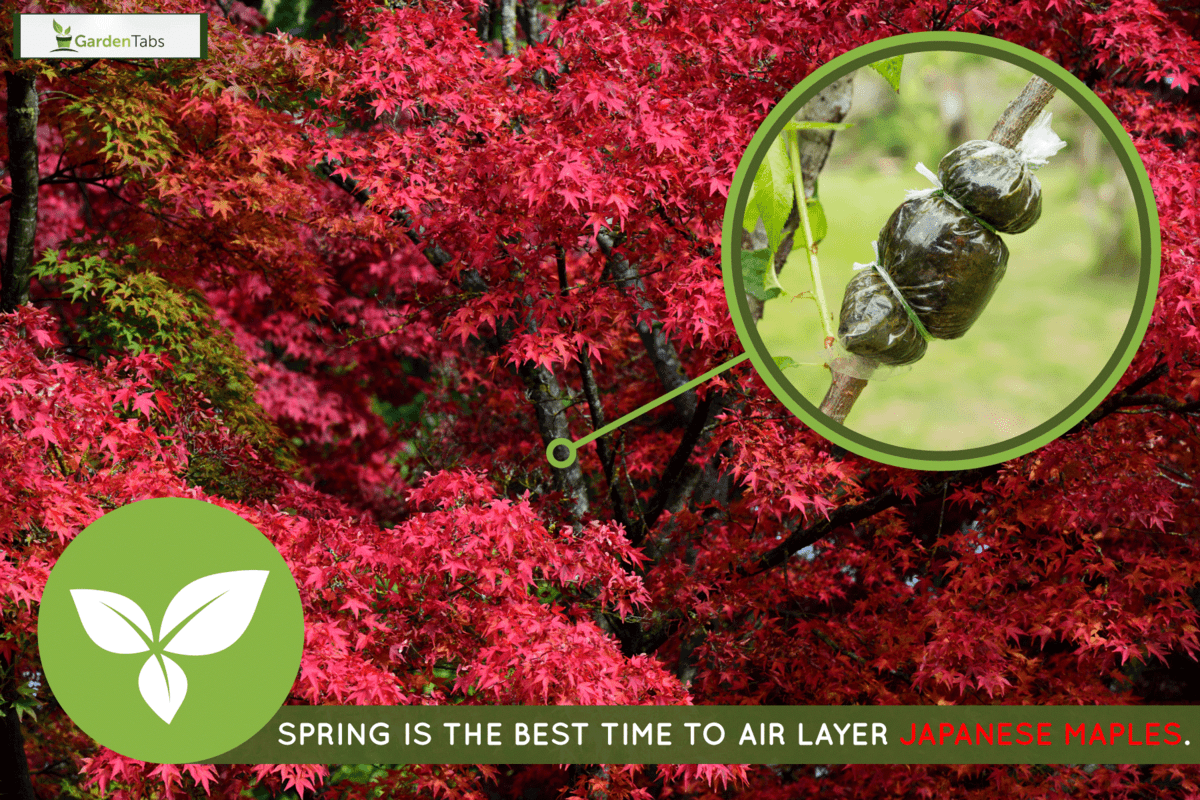
Spring is the best time to air layer Japanese maples. Spring offers a period of relatively moderate weather to stimulate root growth. Winter, on the other hand, is not the best time since the cold, freezing temperature leads the tree to dormancy.
It has been a long winter, and spring is just around the corner. Keep reading as we discuss more to ensure your Japanese maple can thrive during the rest of the growing season.
What Is A Japanese Maple?
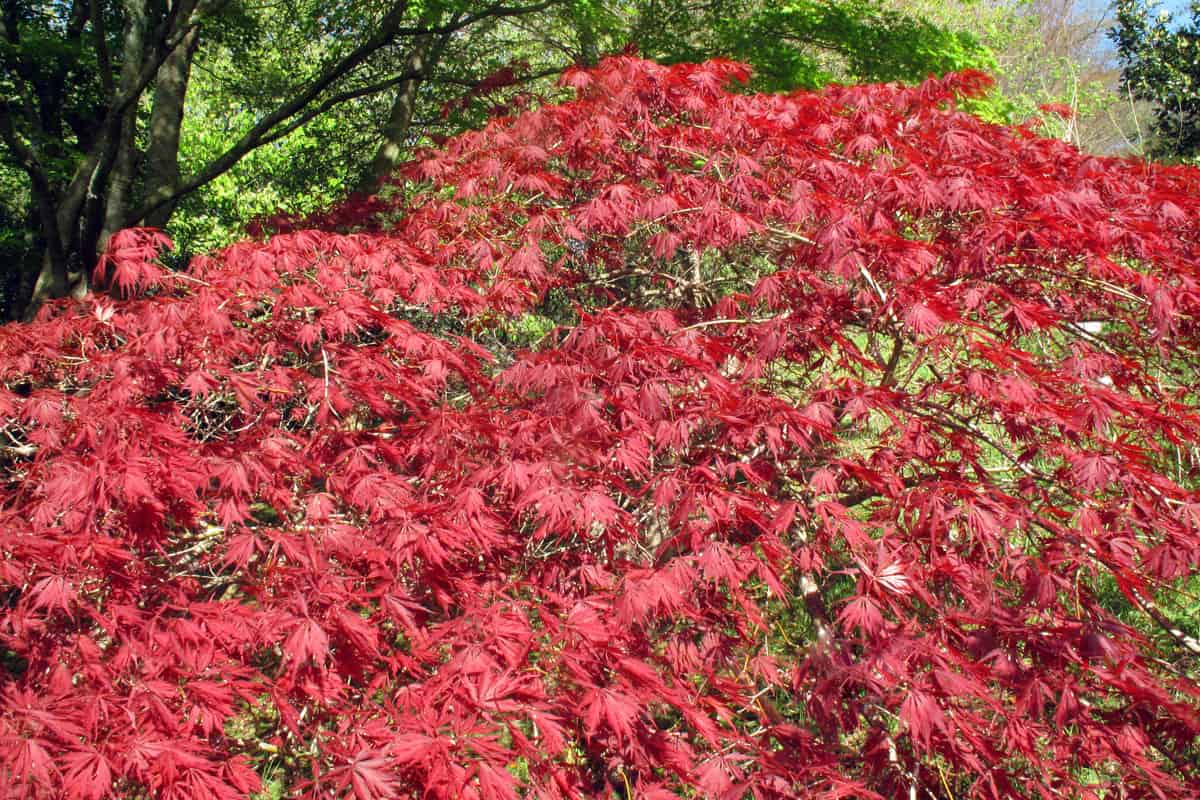
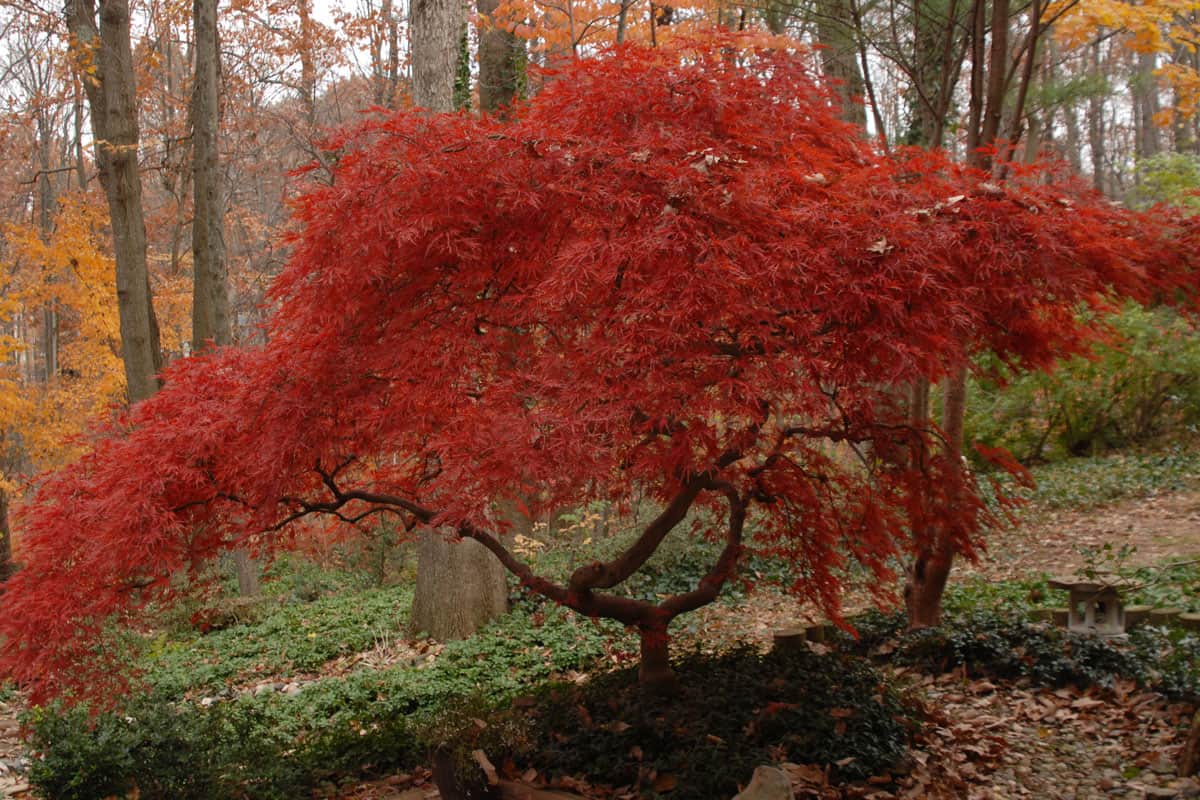
Japanese maple is a deciduous tree that can grow up to 30 feet tall.
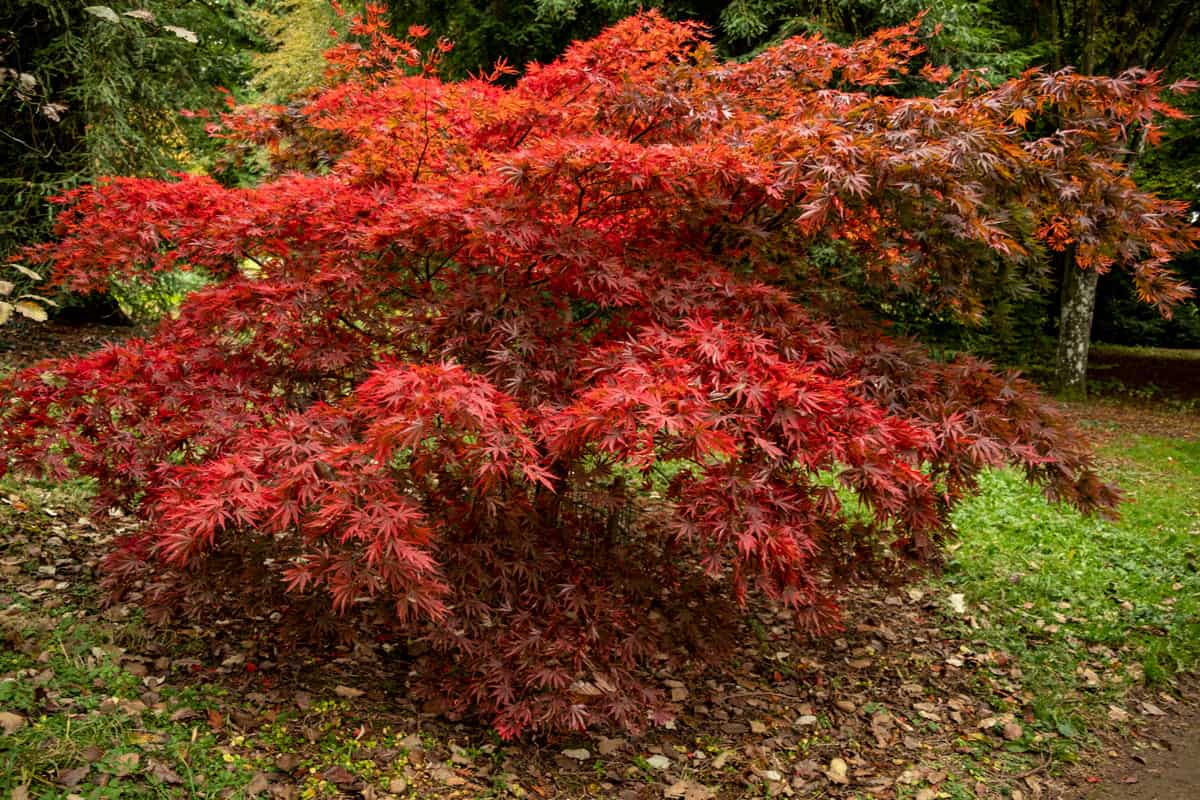
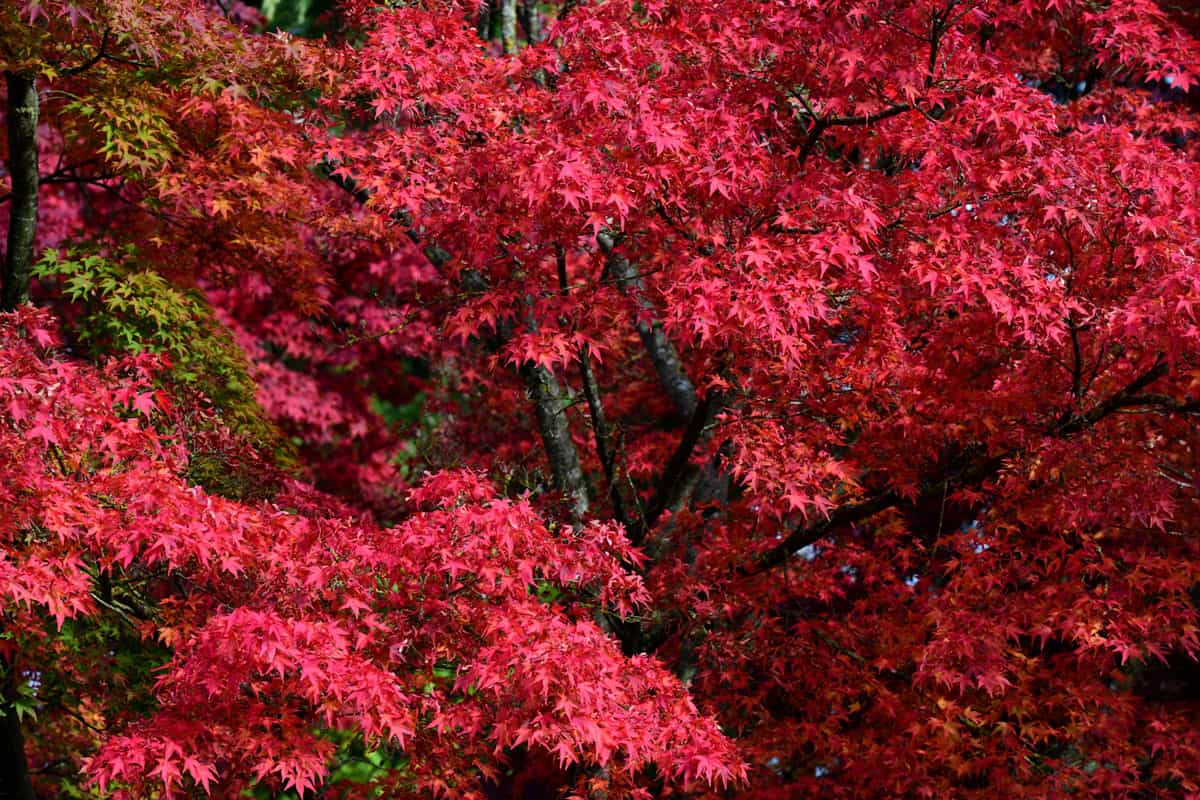
It has a spreading crown characterized by its large leaves, which feature many leaflets. Japanese maple leaves turn red or orange in the fall and will fall off in the winter.
Japanese maples are the most popular shade trees for residential and commercial landscaping. They are also good choices for naturalizing in parks and along roadsides.
What Is Air Layering?
Air layering is one of the most popular tree and shrub propagation techniques. Typically, plants grow on the soil as their substrate.
However, air layering is a method of propagation that uses a different kind of substrate. And it is no less than the mother plant utilized as the substrate for root development.
Air layering is an easy and effective way of getting new trees or shrubs. This technique is mainly used when the parent plant cannot produce enough seeds for a successful seedling. It is a slow process but is very efficient.
The process involves making incisions in the bark (or branch) and removing the bark. This will expose the sapwood underneath the bark. Layers of damp moss are then used to cover the peeled surface for some time until the roots grow through.
Further, these layers serve as a root matrix for the new plant. The new tree can be planted right away after the roots have developed.
Air layering is a delicate process requiring much care and precision. The air layering process should be done at the right time to achieve optimal results.
When Should I Air Layer My Japanese Maple Tree?
Spring is the ideal time to air layer Japanese maple trees because it is the beginning of the growing season. It gives the perfect temperature for the roots to sufficiently develop for transplanting.
By air layering Japanese maple trees at this time, you help the branch establish healthy root systems and avoid transplant shock. The roots of the young trees are still soft, so it is easier to plant them in pots.
Is It Necessary To Air Layer A Japanese Maple?
If you want to plant Japanese maples as Mother Nature intended them to, then you will need to start from seed. The seeds will only sprout in spring if you give them the right conditions to germinate.
This usually means that they will need to be planted in the ground in late winter when it's about to wake up from dormancy, but you need to ensure the pot is covered to protect it from the elements.
However, the entire process of seed germination alone takes about two years. If you're willing to wait that long, then it's your call.
On the other hand, if you air layer Japanese maple, it will only take 90 days to complete seed germination. To quote a participant in a popular forum whose topic is about Japanese maples:
"At any rate, where I live, it takes at least 90 days to get to a harvestable air layer."
How Do You Air Layer A Tree?
Air layering can be overwhelming if you haven't tried it before. To make it look even more complicated, there are so many trees, and each one is a different size and shape.
You may need to adjust your plan multiple times to ensure you're not accidentally cutting off branches. But once you've completed at least one, you'll be amazed at how much easier it was than you thought it would be.
You may think you should start air layering trees as a hobby!
Here are the steps to follow:
1. Select a branch
Select a branch and make a round cut 1-inch below the branch node. Make a second cut. There should be a 1-inch distance between the first and second cut.
2. Make a vertical cut
Make a vertical cut from the primary and secondary cut. You should be able to peel the bark off after you've done this.
3. Scrape the exposed cambium
Cambium is the growth layer of a tree. The cambium is the part of a tree that grows continuously and is where new wood cells form. It's located below the bark.
Cambium cells are responsible for creating wood cells that make up the structure of trees.
4. Put some rooting powder on the cambium
Rooting hormone is an essential element in the propagation process, and it is often used with propagating mediums like peat moss and coco peat.
Rooting hormone is a common product used by gardeners to promote root growth.

Check out this rooting hormone on Amazon.
5. Prepare your potting mix
When it comes to the best materials for air layering, most people gravitate towards using sphagnum moss. This is because it is the most effective and cost-effective option.
But if you want to mix something aside from sphagnum moss, consider using a combination of peat moss and potting soil (with perlite).
It's a great combo because peat moss holds water, and potting soil is porous, precisely what you want for this application.

View this sphagnum moss on Amazon.
6. Mix potting mix with cow manure
You may want to mix composted cow manure in your potting soil to improve its texture and reduce the chances of the soil drying out.
This will allow the plant to absorb more water from the soil since cow manure helps improve the soil's water retention capability.
Adding organic materials such as composted cow manure will also improve pot air quality. This will ensure the roots get enough oxygen for the metabolic process.

Check out this potting mix on Amazon.
7. Mix 1 tablet of Aspirin with 1 liter of water
Aspirin can be used to help plants to germinate quicker, especially when sowing seeds. It is often mixed with water and sprayed on the plants to speed up germination.
Knowing how to deal with garden pests and diseases will be beneficial for those who love gardening. There are many ways to handle these problems.
One of the most common ways is to use a diluted solution of aspirin water. Wet the potting mix with the Aspirin water solution.
8. Make a pile of potting mix and apply it to the cambium
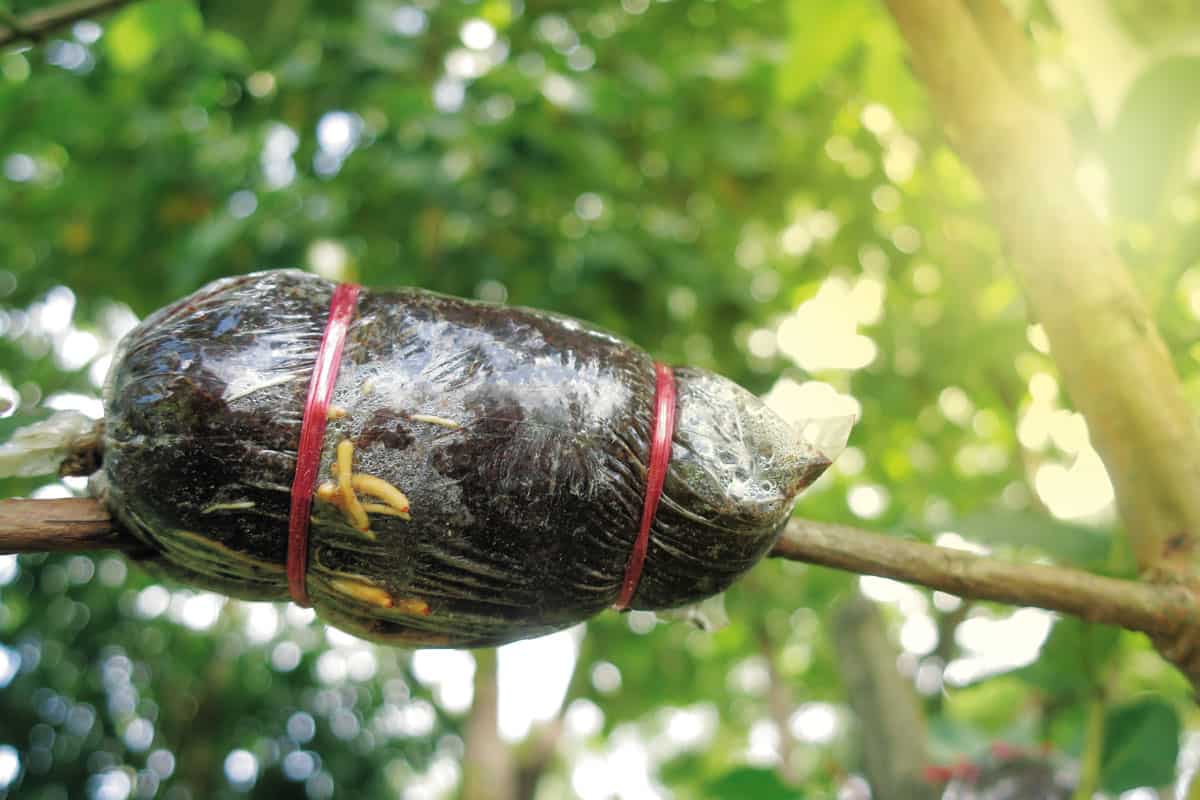
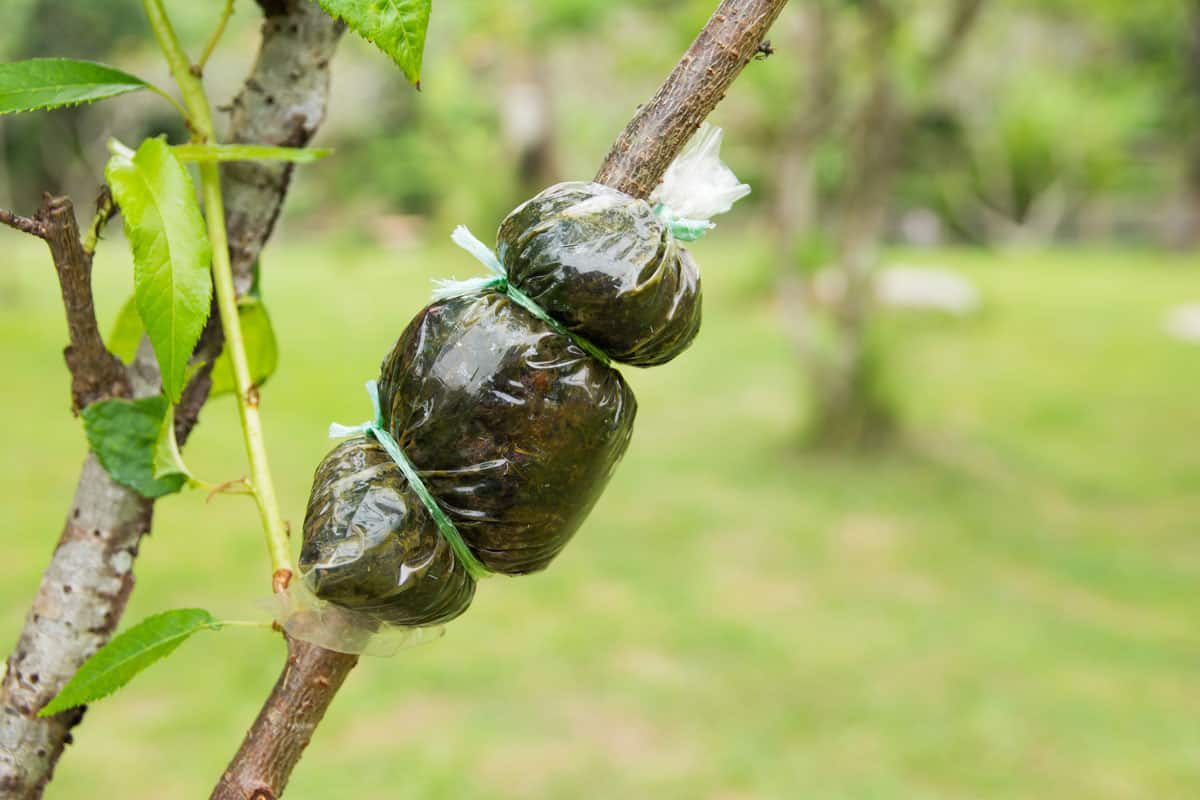
Using a piece of polythene, apply a heap of the potting mix around the exposed cambium. This should serve as the nursery for the roots to develop.
9. Secure the polythene
You can use nylon strings, straws, plastic fasteners, or anything as long as it can seal the polythene tight.
10. Cover the polythene with dark cloth or aluminum
Aluminum foil is the perfect protective material to use on the wound. You can have it placed over the plastic wrap. The foil will act as a shield for the soil and the roots of the plant.
It will also protect the wound from the direct sun rays. Alternatively, you may also use a cloth impenetrable to sun rays.
If you prefer a visual guide, you may refer to the video below:
When Can You Remove Your Air Layer?
The plant is placed in a bag filled with aerated soil in air layering. The plant is kept in this environment for about 6-12 weeks to a maximum of 2 years or until the roots are developed enough to handle the plant's natural growth environment.
The unwrapping of the air layer depends on the kind of tree you're air layering. For Japanese maple trees, it's 90 days.
Once the roots are developed enough to be removed, the plant will be ready to be repotted. A plant with air layers will look much healthier with a denser root system than one without.
What Causes Air Layering To Fail?
Much goes into successful air layering, and many variables can cause failure. To get good results, you should take some time to research different options for air layering relative to the tree you're air layering.
You need to take care of the following steps:
- Be patient. Air layers require several months to mature.
- Choose the best growing medium.
- Select the right time to plant.
- Protect the nursery from the sun.
- Seal the nursery.
What's The Difference Between Grafting And Air Layering?
Grafting is the process of joining or cutting pieces from two or more plants so that the resulting plant has both characteristics.
It can be done on any plant, and the most common place to graft is the tree's trunk or the vine's stem. Grafting is helpful for the propagation of rare species and hybrids.
On the other hand, air layering involves cutting the stem of a young plant and tying it to polythene filled with damp moss or sphagnum peat moss. This is usually done in the spring when the plants are actively growing.
When the stem is cut, it is left in the moist medium until new roots begin to form. The resulting root system is transplanted to a container and watered well.
This process encourages plants of the same species to multiply and look much better.
In Closing
As they say, timing is everything. Not knowing the best time to air layer your Japanese maple is a recipe for failure. But since we have thoroughly researched this topic, hopefully, this article will give you the knowledge to be successful in air layering.
Want to read more? Check out these related posts!
Can You Put Topsoil Over Moss?
How Long Can A Tree Live In A Pot?