Whether you've just been gifted your first orchid or have been an orchid enthusiast for years, understanding the core essentials of orchid care is crucial for nurturing a thriving plant.
Orchids, with their exotic allure and stunning blossoms, can be a true delight in any living space. Yet, their unique care requirements often pose a challenge, especially to the uninitiated.
This guide takes you to the trio of orchid care fundamentals: the right soil mix, the art of repotting, and the balanced approach to fertilizing.
Orchids are not your typical houseplants; they thrive in a soil medium miming their natural habitat—well-draining, airy, and with ample room for root growth.

Repotting isn't merely a routine but a timely intervention when your orchid outgrows its abode or the soil medium breaks down.
It's a delicate process that, when done correctly, can invigorate your orchid for months to come.
Meanwhile, fertilizing is the cherry on top, providing the nutrients essential for vibrant blooms and robust growth, albeit with a gentle touch.
Are you excited to see it flourish and bloom under your nurturing gaze? Keep reading to unearth the nuances of orchid care that will empower you to foster a hearty and happy orchid!
Soil Basics for Orchids
Almost all orchids are epiphytes, which means they grow on other plants in their natural habitat.

Therefore, they require a unique potting mix that provides their roots with excellent aeration, drainage, and stability. Here are some soil basics for orchids:
Potting Mix
It would be best if you used a potting medium designed explicitly for epiphytes like fir bark, sphagnum moss, peat moss, lava rocks, perlite, charcoal, clay pebbles, tree ferns, coconut fiber, and rocks.
These materials provide stability and aeration to the orchid roots while controlling moisture levels.
Bark Fines
Bark fines are small barks ideal for orchid potting mixes because they provide excellent aeration and drainage. Mix them with other potting materials to create a well-draining mix.
Perlite
Perlite is a volcanic rock that is commonly used in orchid potting mixes because it provides excellent aeration and drainage. It also helps to keep the potting mix from becoming too compact.
Charcoal
Like other plants, orchids are also prone to pests, which can hinder their growth and overall health.
Charcoal is a common ingredient in most orchid potting mixes because it keeps some moisture in the pot without keeping the mix too damp.
It repels some insects and pests, and it can slightly increase the pH of the mix, which can benefit your orchid's root system and encourage plant growth.
Click here to learn more on Amazon.
Repotting Orchids
Orchids must be repotted every one to two years, depending on their growth rate.
Repotting is necessary for your orchids to grow and prevent them from becoming root-bound, which can lead to stunted growth and poor blooming. Here's what you need to know about repotting orchids.
When to Repot
It would be best if you repotted your orchid when you notice any of the following signs:
- Roots are growing out of the bottom of the pot.
- The potting mix has broken down and is no longer providing adequate drainage.
- The orchid has outgrown its pot and is becoming root-bound.
- The orchid is not blooming or growing as well as it used to.
How to Repot
1. Selecting the Right Pot
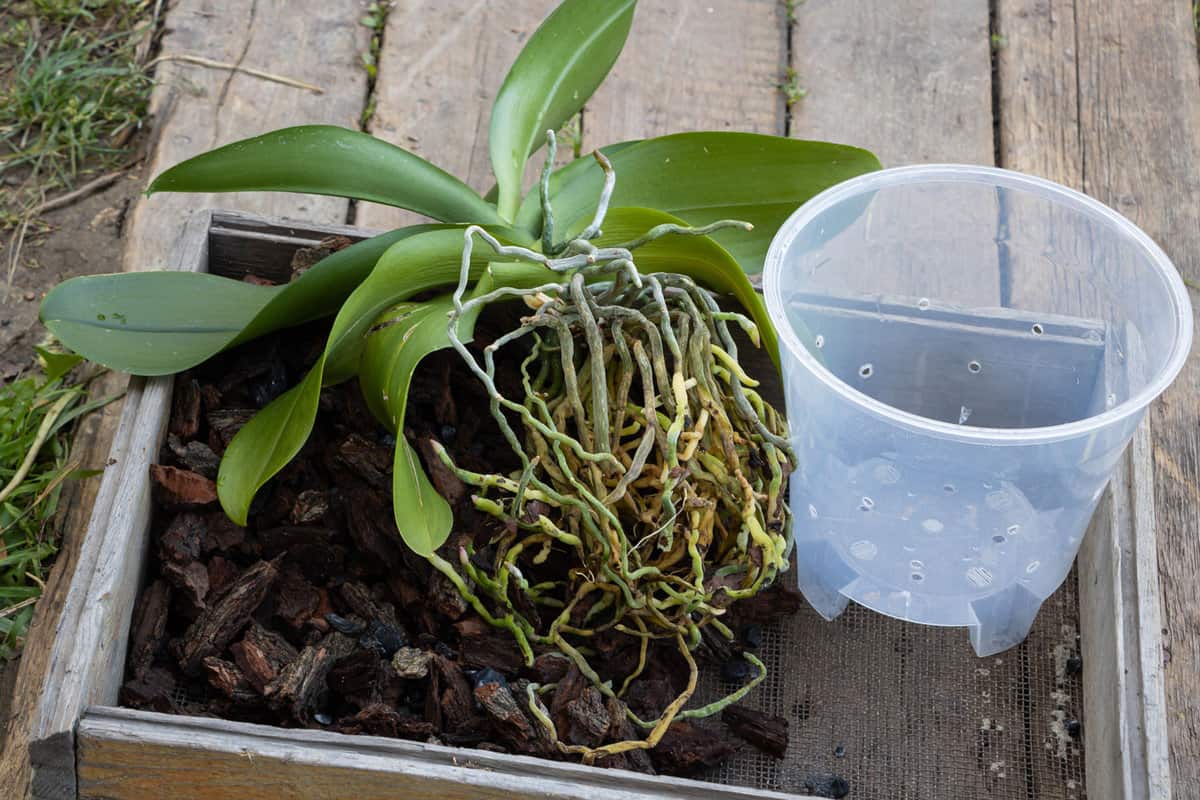
Choose a pot that is only slightly larger than the current pot. Orchids prefer to be slightly root-bound, so a pot that is too large can lead to overwatering and root rot.
2. Preparing Your Orchid
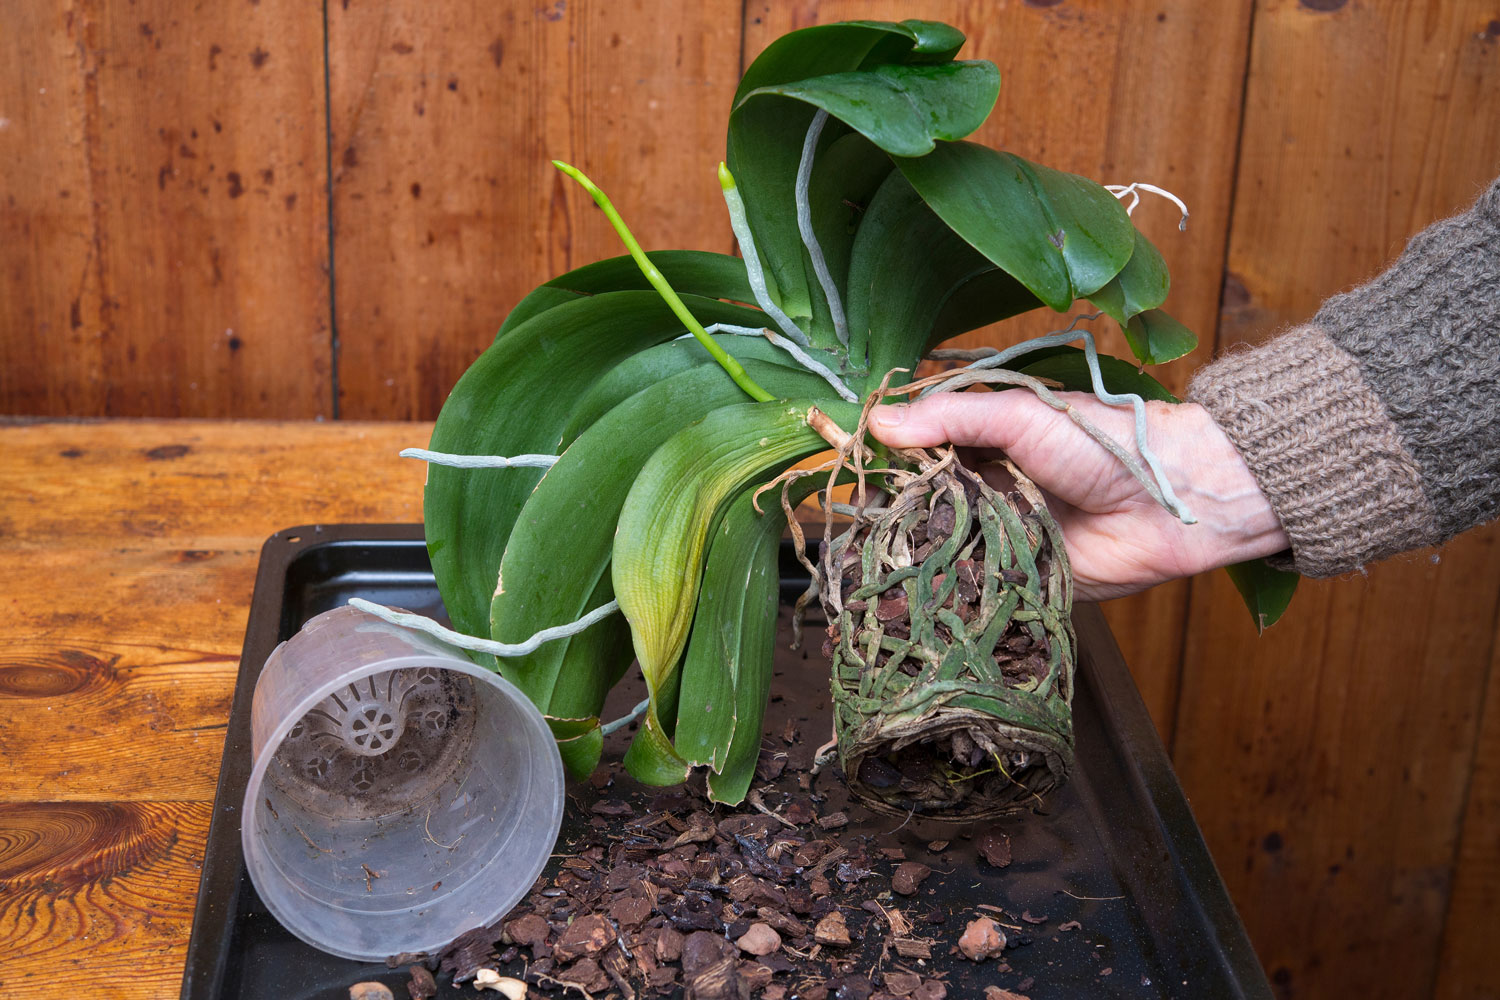
Remove the orchid from its current pot and gently remove any old potting mix from the roots. Trim any dead or damaged roots with a sterilized pair of scissors or pruning shears.
3. Repotting Process
Place a layer of fresh potting mix in the bottom of the new pot. Position the orchid in the center of the pot and fill in around the roots with more potting mix. Gently press down on the potting mix to secure the orchid in place.
4. Watering Post-Repotting
Water the orchid thoroughly, allowing the water to drain out the bottom of the pot. Do not water again until the potting mix has completely dried out.
5. Positioning and Ongoing Care
Place the orchid in a bright, indirect light location and continue to care for it as usual.
Remember, repotting can be stressful for orchids, so give them time to adjust to their new pot. Avoid fertilizing for at least a month after repotting to prevent fertilizer burn.
Fertilizing Orchids
To keep your orchids healthy and blooming, proper fertilization is crucial in this section, you will learn about the basics of orchid nutrition, how to choose the right fertilizer, and a recommended fertilizing schedule.
Understanding Orchid Nutrition
Orchids require a balanced mix of nutrients to thrive. The three primary nutrients that orchids need are nitrogen (N), phosphorus (P), and potassium (K).
Nitrogen is essential for vegetative growth, phosphorus promotes healthy roots and blooms, and potassium helps with overall plant health and disease resistance.
In addition to these three primary nutrients, orchids also require trace elements such as iron, calcium, and magnesium.
These elements are necessary in smaller quantities but are crucial for healthy plant growth.
Fertilizing Schedule
The most important thing to remember when fertilizing orchids is to do it regularly but in moderation.
A good rule of thumb is to fertilize subtly every week rather than heavily once a month. This means using a diluted fertilizer solution at about 1/4 strength.
You can fertilize your orchids every week during the growing season (spring and summer).
During the dormant season (fall and winter), you can cut back to fertilizing every other week.
It's also a good idea to flush the potting media with water once a month to remove any salt buildup from the fertilizer.
Final Thoughts
You find yourself at the precipice of orchid mastery, equipped with the fundamental knowledge.
Soil mix, repotting, and fertilizing, nurturing a flourishing orchid becomes an exhilarating journey more than a daunting task.
Orchids, though delicate and requiring a tender touch, are not beyond the reach of your green thumb. The serene beauty and exotic charm they bring to your space are well worth the attentive care they seek!

