
Want a fresh twist on Halloween pumpkins without the fuss of carving? Explore the world of no-carve pumpkin designs!
These ideas are perfect for families with young children and eliminate the mess and potential danger of carving pumpkins.
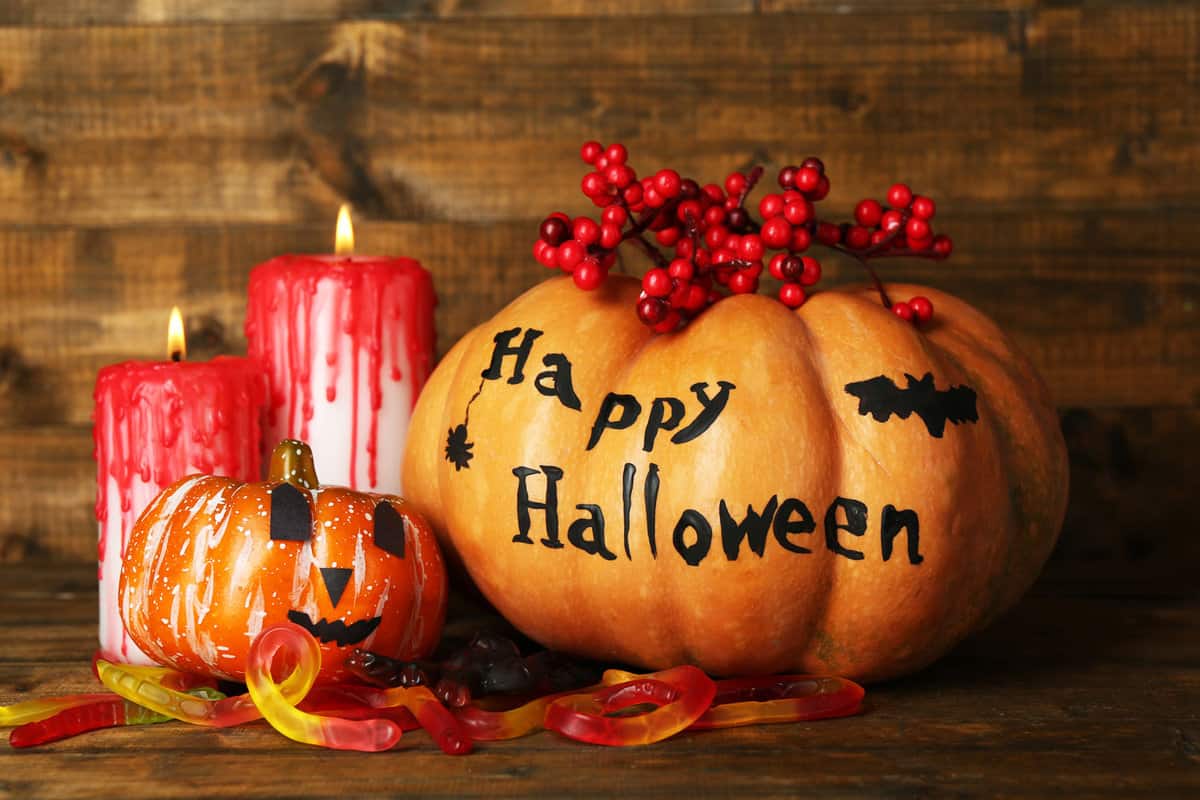
Whether you're going for spooky, silly, or whimsical, there are plenty of no-carve pumpkin decorating ideas.
From painting and bedazzling to decoupaging and wrapping, the possibilities are endless.
So, gather your family for fun with no-carve pumpkin ideas, craft lasting memories, and impress neighbors with your creative decorations!
8 Creative No-Carve Pumpkin Decorating Ideas
Here are eight creative no-carve pumpkin decorating ideas perfect for a fun family Halloween.
Painted Pumpkins
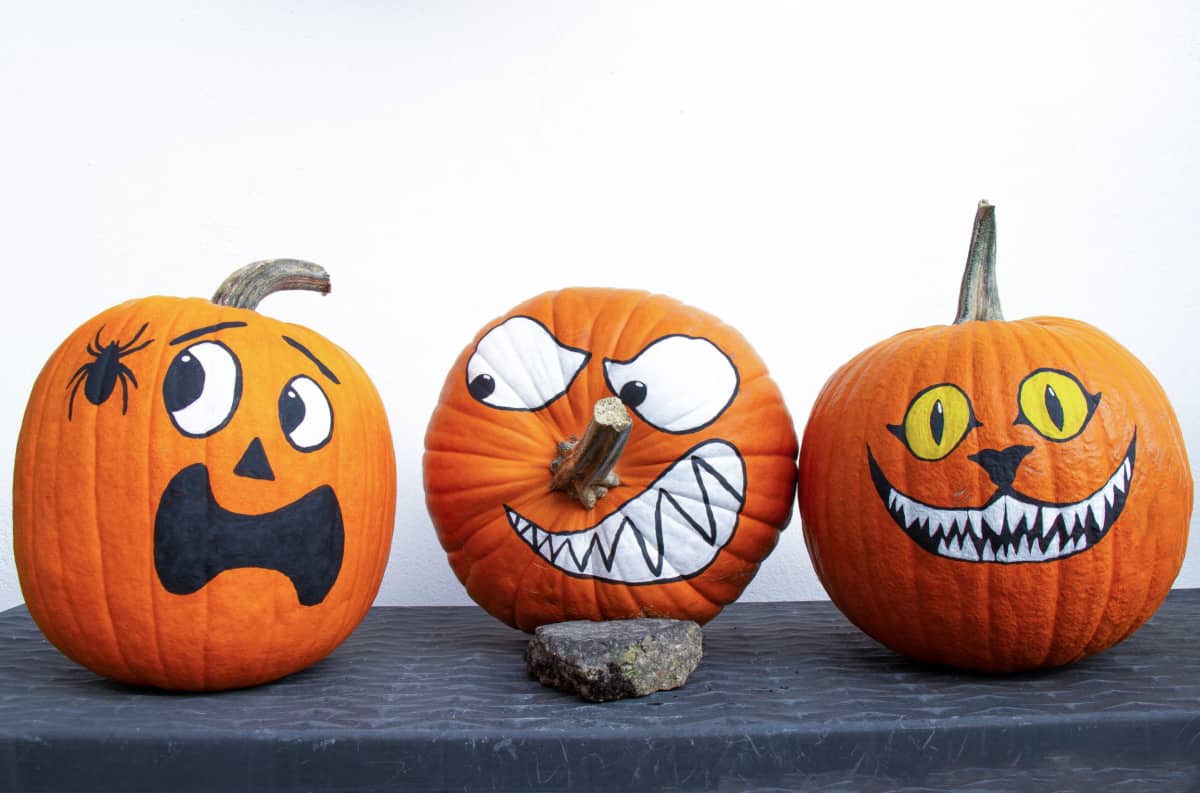
Painting pumpkins is a great way to get creative and add personality to your Halloween decorations.
Use acrylic or spray paint and add embellishments like glitter or stickers. Try painting your pumpkins in non-traditional colors like pink, blue, or gold for a unique twist.
What To Get
- Pumpkins
- Acrylic paint or spray paint
- Paintbrushes
- Painter's tape
- Stencils
- Sealer spray
Instructions
- Start by cleaning your pumpkins with a damp cloth and letting them dry completely.
- If you want to create a specific design or pattern, use painter's tape or stencils to create the shapes.
- Paint your pumpkins with your chosen colors using a paintbrush or spray paint. You may need to apply multiple coats to get the desired look.
- If you want to protect your pumpkins from the elements, apply a layer of sealer spray.
- Let your pumpkins dry entirely before displaying them.
Decoupage Pumpkins
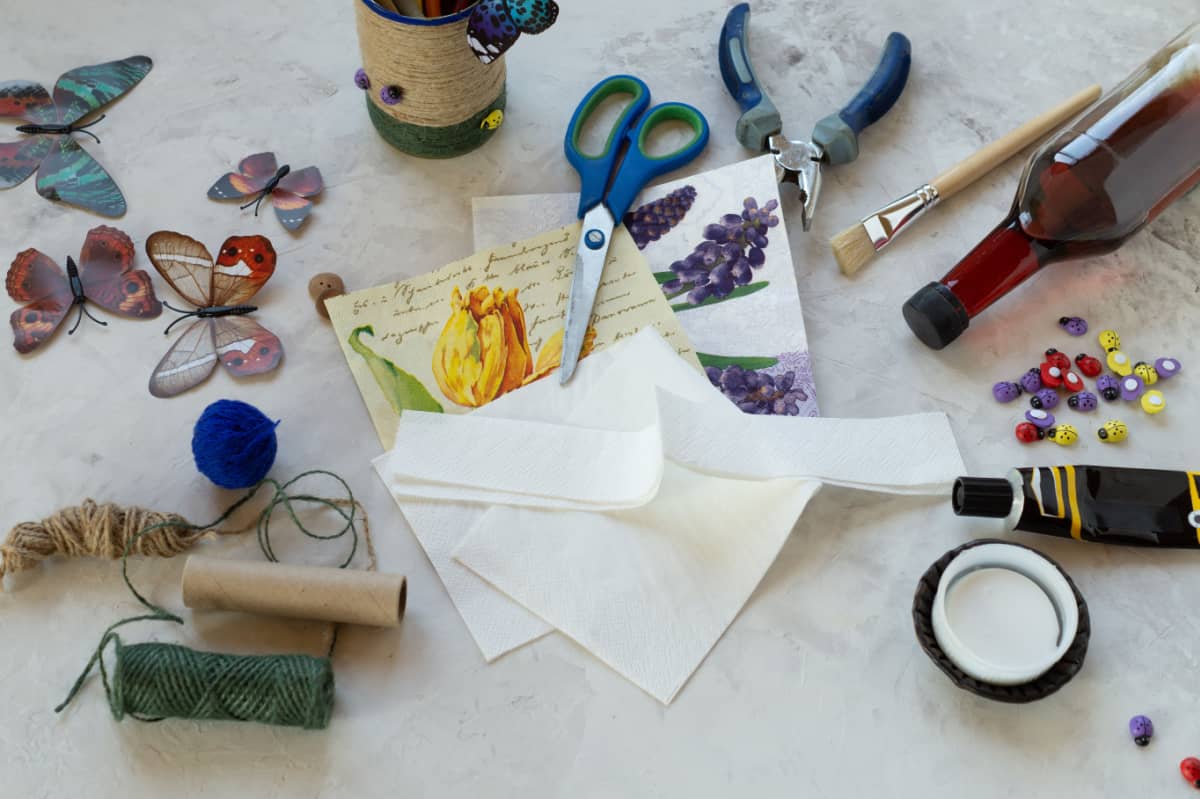
Decoupage is a fun and easy way to decorate pumpkins without any carving involved.
Simply cut out pictures or patterns from napkins or tissue paper and adhere them to the pumpkin using Mod Podge.
You can create a collage of different designs or stick to a specific theme, like Halloween or fall leaves.
What To Get
- Pumpkins
- Tissue paper or napkins with fun designs
- Mod Podge or white glue
- Paintbrush
- Scissors
Instructions
- Cut out your tissue paper or napkin designs into small pieces.
- Apply a thin Mod Podge or white glue layer to a small section of the pumpkin's surface.
- Carefully place a piece of tissue paper on top of the glue and smooth it out with your fingers or a paintbrush.
- Repeat steps 3 and 4 until you have covered the entire pumpkin's surface with tissue paper cutouts.
- Once you've covered the pumpkin, let it dry completely for at least 24 hours.
- After it's dry, apply another layer of Mod Podge or white glue over the entire surface to seal the tissue paper and create a glossy finish.
- Let it dry for another 24 hours before displaying your beautiful decoupage pumpkin.
Sticker or Washi Tape Pumpkins
If you're looking for a no-mess, no-fuss way to decorate your pumpkins this Halloween, sticker or washi tape pumpkins are the perfect solution.
These pumpkins are easy to make and require minimal supplies, making them perfect for families with young children.
What To Get
- Pumpkins
- Stickers or washi tape
- Scissors
- Paint or markers for additional decoration
Instructions
- Clean your pumpkin with a damp cloth and let it dry completely.
- Decide on your design and gather your stickers or washi tape. If using washi tape, cut the tape to the desired length and shape.
- Apply the stickers or washi tape to your pumpkin, pressing down firmly to ensure they stick.
- If desired, use paint or markers to add decoration to your pumpkin.
- Display your finished pumpkin and enjoy!
Glitter Pumpkins
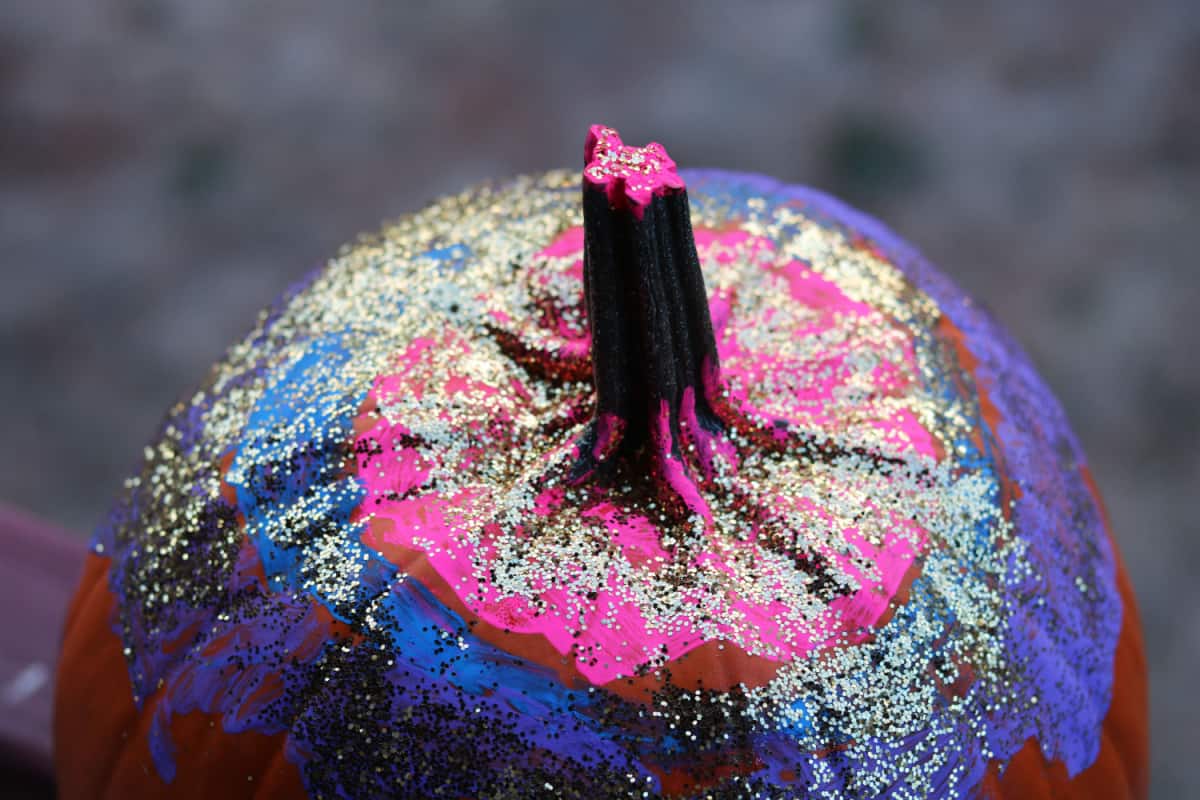
If you're a fan of all things sparkly, then glitter pumpkins might be your perfect choice.
You can use Mod Podge or glitter glue as the base to adhere the glitter. If you prefer, you can also sprinkle loose glitter over a fresh coat of paint.
Be sure to do this project outside or in a well-ventilated area, as glitter can get messy!
What To Get
- Pumpkins
- Glitters
- Foam brush
- Newspaper or drop cloth
- Mod Podge or another adhesive
Instructions
- Start by covering your work surface with newspaper or a drop cloth to protect it from glitter and glue.
- Clean your pumpkins with a damp rag and let them dry completely.
- Pour some Mod Podge (or your adhesive of choice) into a small bowl or container.
- Using a foam brush, apply a thin layer of Mod Podge to the pumpkin's surface.
- Sprinkle glitter over the Mod Podge, covering the entire surface. Shake off any excess glitter and let the pumpkin dry completely.
- Repeat steps 4-6 until you have achieved your desired level of glitter coverage.
- Once the pumpkin is completely dry, add decorations such as ribbon or rhinestones if desired.
Melted Crayon Pumpkins
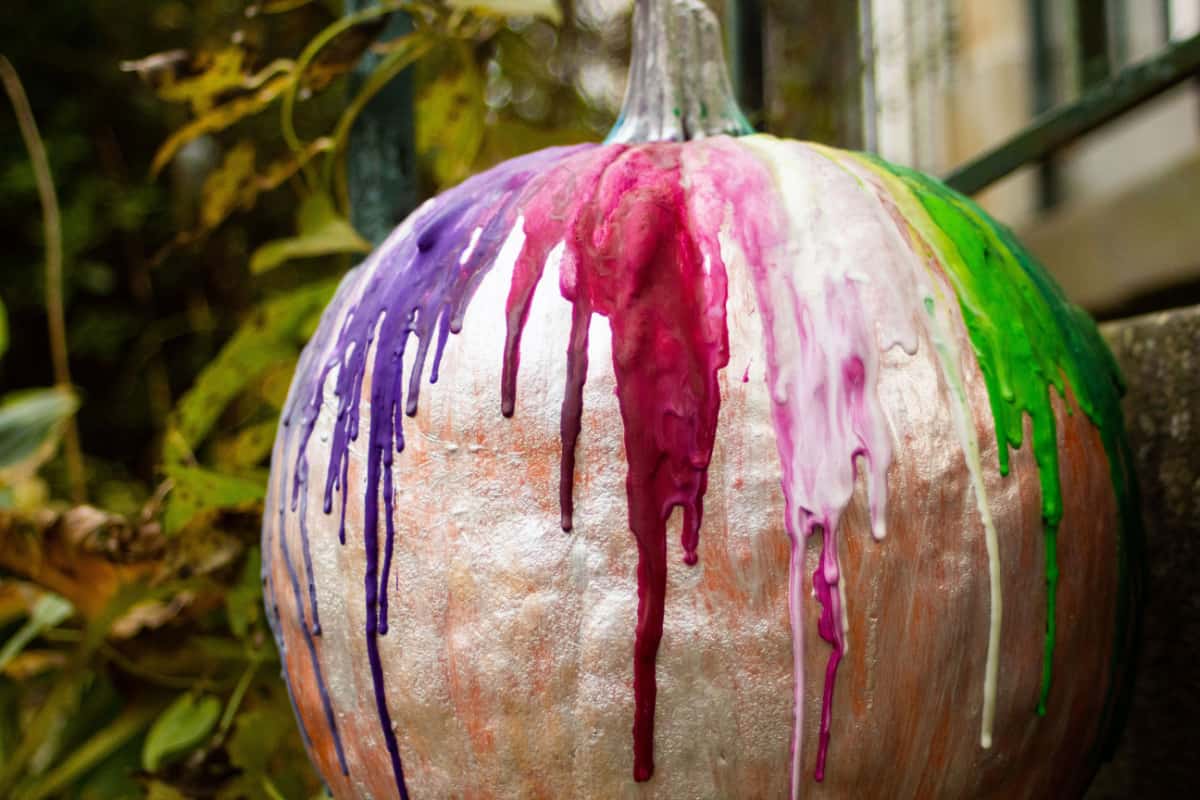
Melted crayon pumpkins are a fun and easy way to decorate your home for Halloween. Plus, they're great for using broken crayons around the house.
Get creative and experiment with different color combinations to make your pumpkin truly unique.
What To Get
- A pumpkin
- Broken crayons (the more colors, the better)
- A hot glue gun
- A hairdryer
- A drop cloth or newspaper to protect your work surface
Instructions
- Start by covering your work surface with a drop cloth or newspaper to protect it from melted crayon splatters.
- Remove any stickers or dirt from your pumpkin and ensure it's dry before you begin.
- Use a hot glue gun to attach broken crayon pieces around the stem of your pumpkin. Ensure they're evenly spaced around the stem.
- Once the crayons are attached, use a hair dryer on high heat to melt the crayons. You can tilt the pumpkin differently to guide the wax as it drips down the sides.
- Keep melting the crayons until you're happy with the design. You can add more crayons if you want to create more layers of color.
- Once finished, let the pumpkin cool, and the wax hardens. Your melted crayon pumpkin is now ready to display.
Chalkboard Paint Pumpkins
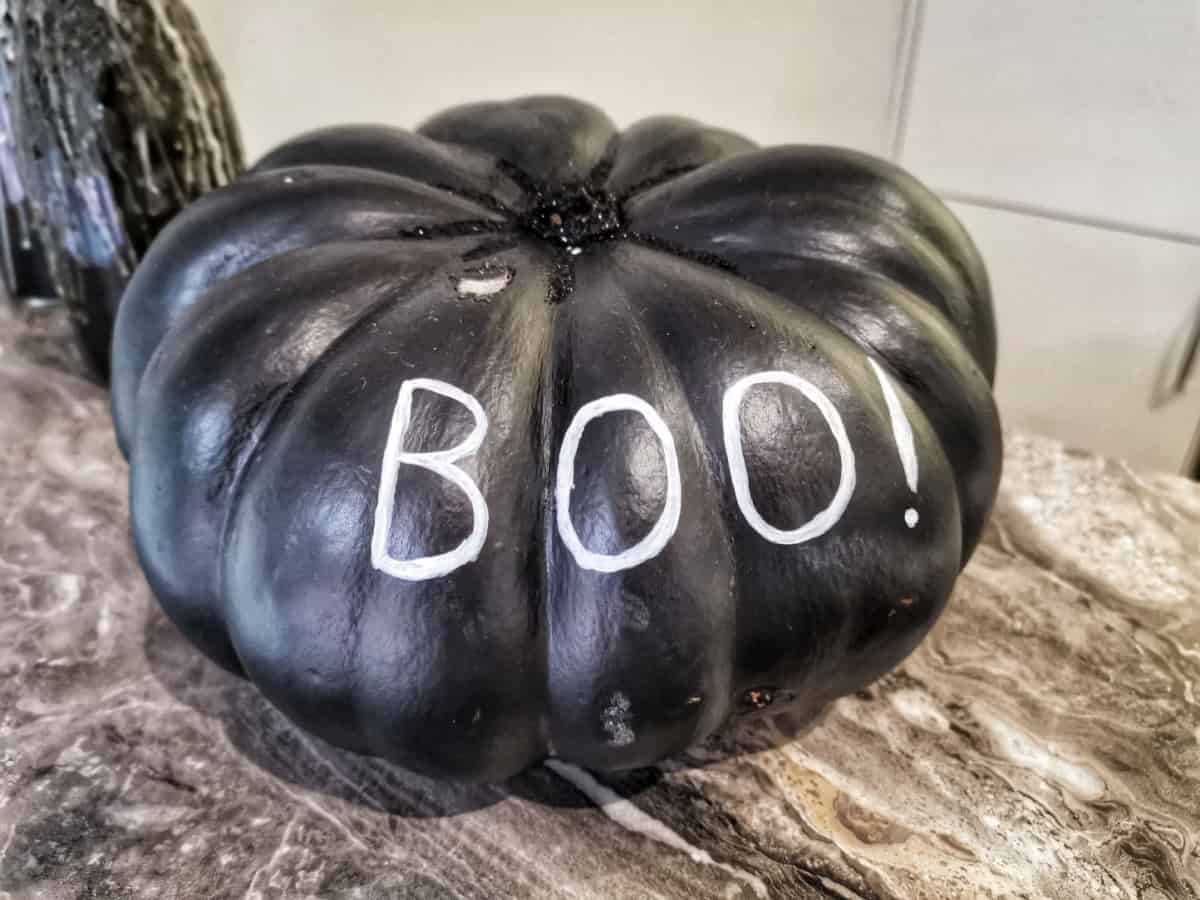
Chalkboard paint pumpkins invite interactive fun.
Once dried, the chalkboard surface becomes a canvas for doodles, tic-tac-toe games, or spooky messages, making every pumpkin a source of ongoing family entertainment.
What To Get
- Pumpkins
- Chalkboard paint
- Paintbrush
- Chalk
Instructions
- Using your paintbrush, apply a thin layer of chalkboard paint to the surface of your pumpkin.
- Allow the first coat to dry completely before applying a second coat.
- After drying your pumpkin, get creative with chalk. Design spooky patterns or leave welcoming messages for trick-or-treaters.
- To clean your pumpkin, wipe it down with a damp cloth and start with a new design.
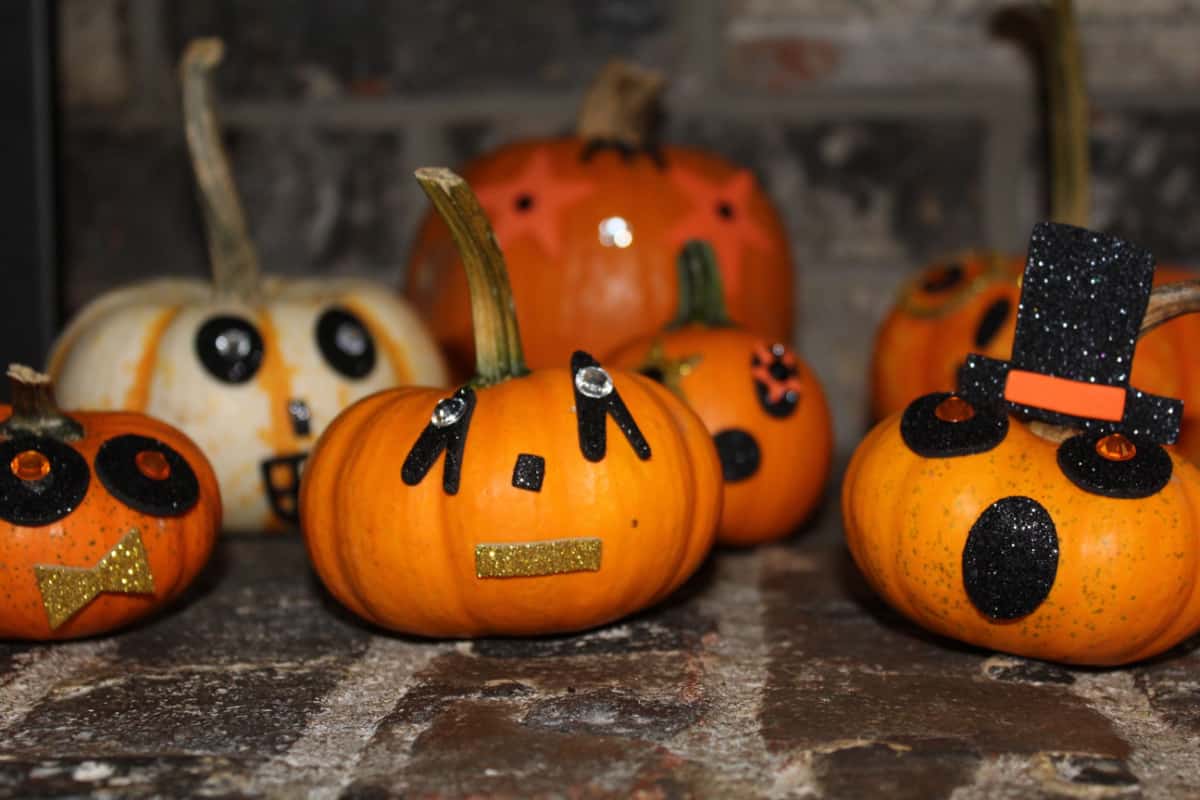
Rhinestone or Gem Pumpkins
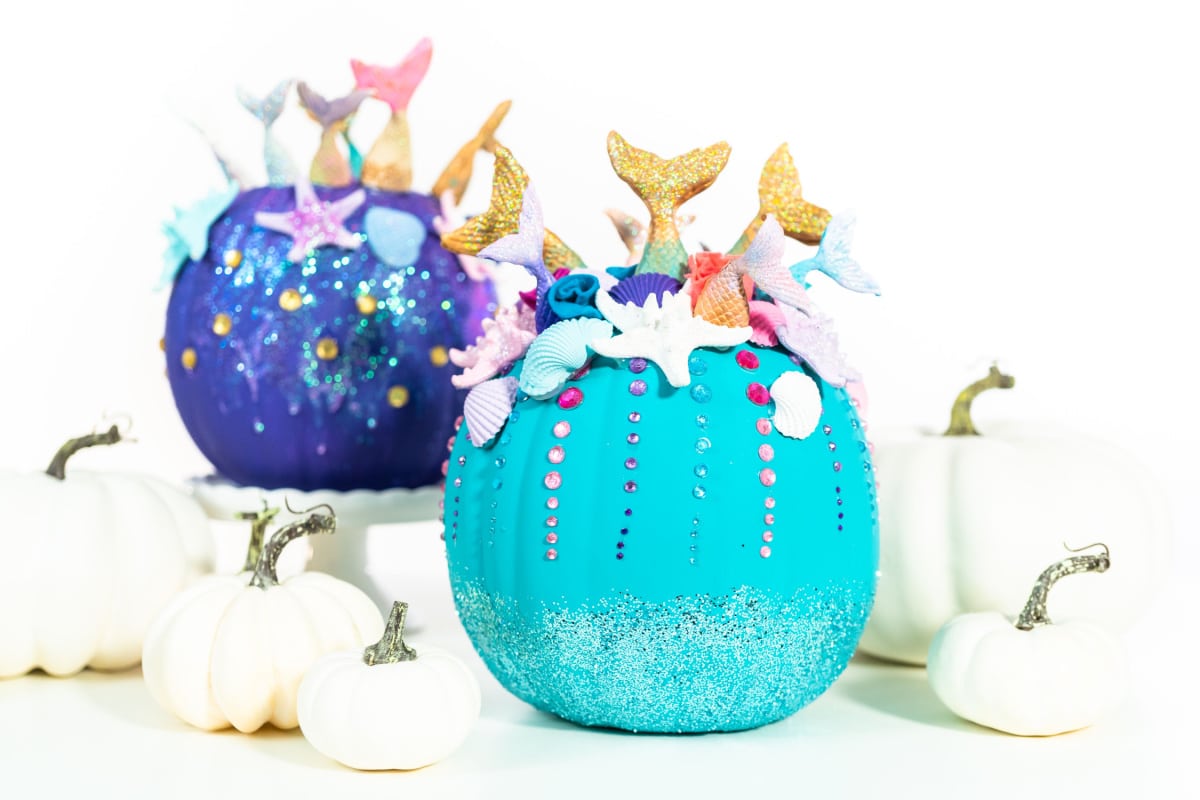
Adding a touch of glamour to the rustic charm of pumpkins, rhinestone or gem pumpkins can turn into a family-friendly jewelry crafting session.
The shimmering end products are sure to capture the imagination of the little ones and add elegance to your Halloween decor.
What To Get
- Pumpkins
- Rhinestones or gems
- Glue (we recommend using a strong adhesive like E6000)
- Tweezers
Instructions
- Decide on a design for your pumpkin. You can create a pattern or go for a more random look.
- Apply a small amount of glue to the back of a rhinestone and place it on the pumpkin. Use tweezers to help position the rhinestone if necessary.
- Continue adding rhinestones to the pumpkin. Mix and match different colors and sizes to create a unique look.
- Let the glue dry completely before handling the pumpkin.
Feather or Pom Pom Pumpkins
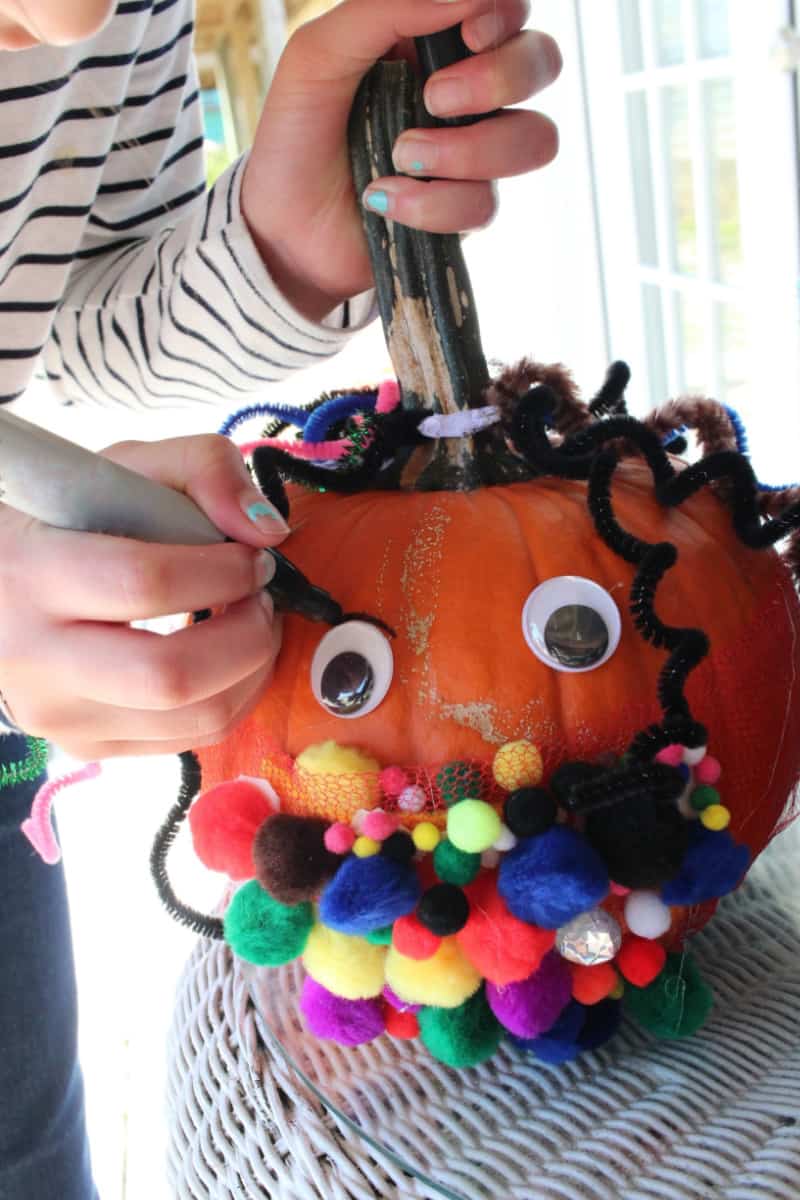
Feathers or pom poms can bring a touch of playfulness to your pumpkins. You can attach charming or slightly eerie characters to your pumpkins.
Whether you choose endearing animals or mysterious figures, these soft additions give your pumpkins a friendly Halloween twist.
What To Get
- Supplies
- Pumpkins
- Feathers or Pom Poms
- Glue
- Paintbrush
Instructions
- Start by selecting the pumpkins you want to decorate. You can choose different sizes and colors of pumpkins to create a unique display.
- Next, gather your feathers or pom poms. You can use various colors and sizes to create a fun and playful look.
- Using a paintbrush, apply glue to the areas of the pumpkin where you want to add feathers or pom poms.
- Carefully place the feathers or pom poms onto the glue, pressing down gently to ensure they stick.
- Continue adding feathers or pom poms until you have achieved the desired look. Once the glue has dried, your feather or pom pumpkins are ready to display
Tips for Successful No-Carve Pumpkin Decorating
Decorating pumpkins without carving them can be a fun and creative way to celebrate Halloween with your family.
Follow these tips to make sure your no-carve pumpkin decorating goes smoothly:
- Before decorating, clean the pumpkin thoroughly with a damp cloth or paper towel.
- Planning out your design before starting to decorate is also a good idea. You can sketch it out on paper or use a stencil to guide you.
- Decorating a pumpkin can be messy, so protect your work area with newspaper or a drop cloth.
- When selecting a pumpkin for decorating, look for one that is smooth, free of blemishes, and has a flat surface.
For more tips on choosing the perfect pumpkin, read our article on How To Choose The Best Pumpkins At The Pumpkin Patch.
How To Preserve No-Carve Decorated Pumpkin?
You've spent hours creating the perfect no-carve pumpkin to decorate your home for Halloween.
Now that you're finished, you want to ensure it lasts as long as possible. Here's how to preserve your no-carve decorated pumpkin:
Keep Them Dry and Clean
As they grow, pumpkins spend most of their time in fields surrounded by soil teeming with microorganisms, including fungi, bacteria, insects, and mites.
These organisms and any eggs attached to your pumpkin's rind can affect its longevity.
To safeguard your pumpkin, give them a wipe-down, preferably with a bleach wipe, to remove any potential hitchhiking microorganisms or debris.
If you're concerned about potential pests or diseases affecting your pumpkins, don't miss our Controlling Common Pumpkin Pests And Diseases guide.
Seal Your Pumpkin
To preserve your pumpkin, you need to seal it. There are several ways to do this.
One way is to spray your pumpkin with a clear acrylic sealer, such as FolkArt Acrylic Sealer. This will help protect it from moisture and keep it looking fresh for longer.
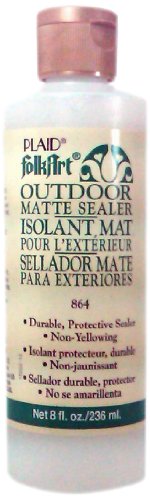
Another way to seal your pumpkin is to apply a layer of petroleum jelly or vegetable oil to the outside.
Avoid Direct Sunlight
Direct sunlight can cause your pumpkin to dry out and rot faster. Keep your pumpkin in a shaded area, away from direct sunlight.
If you're displaying it outside, ensure it's in a shady spot or cover it with a cloth to protect it from the sun.
Combining Different No-Carve Decorating Techniques on a Single Pumpkin
Combining different no-carve decorating techniques on a single pumpkin is a fantastic way to create a visually captivating centerpiece.
For example, you can start by painting your pumpkin with vibrant colors, adding glitter accents for some sparkle, and finally, using washi tape to create intricate designs.
The combination adds depth and uniqueness to your Halloween decorations, making each pumpkin a work of art.
Experiment and let your family's imagination run wild to create one-of-a-kind masterpieces!
Final Thoughts
You've made it to the end of our article on No-Carve Pumpkin Decorating Ideas for a Fun Family Halloween.
We hope you've enjoyed reading it and found some inspiration for your Halloween decorations this year.
And once Halloween is over, and you're pondering what to do with those pumpkins, here are 23 Things To Do With Pumpkins for fun and innovative ideas.
Don't forget to share your creations on Facebook using the hashtag #GTNoCarvePumpkinIdeas. We can't wait to see what you come up with!