
Creating your fire starters from garden materials is a fun and practical DIY project to recycle garden waste and enjoy more time outdoors.
Your garden offers many natural materials, such as dried leaves and herbs, perfect for efficiently burning a campfire or fireplace.
This guide will empower you to transform what nature provides into something delightful – get ready to ignite your creativity and bring warmth to your outdoor experiences!
Preparing Your Materials
Creating your fire starters with items from your garden is fantastic to bring a piece of home to your next campfire or barbecue. Let's get your materials ready for action!
Drying Garden Items
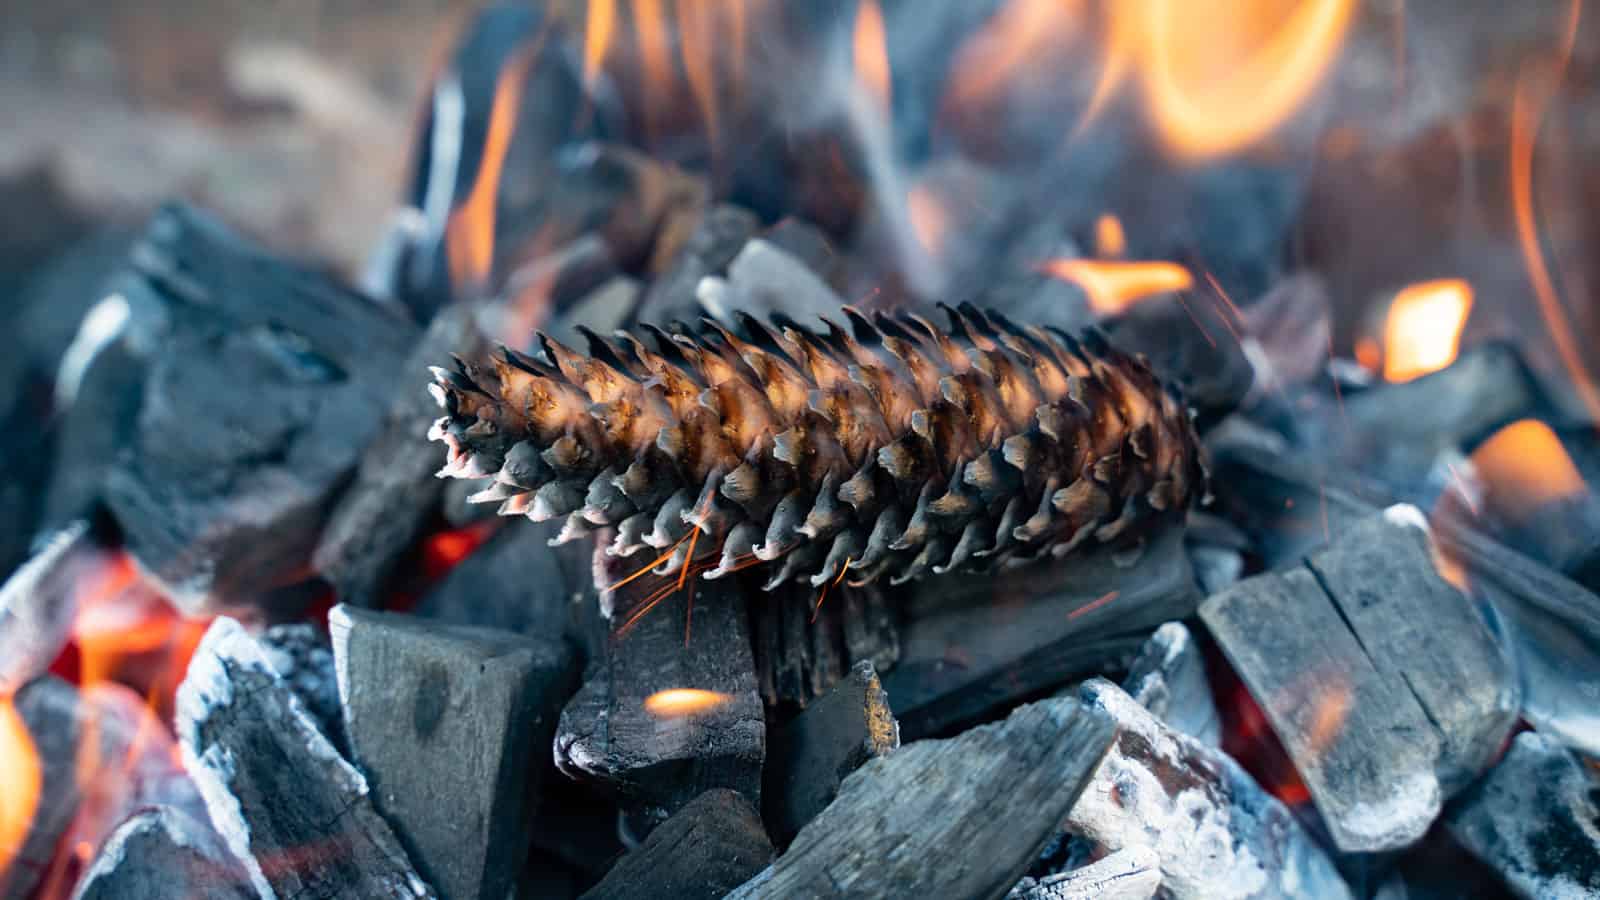
Prepare your fire starter materials by ensuring they are thoroughly dried. Spread items like pine cones, herb clippings, and citrus peels in a sunny, warm spot.
Air dry pine cones for 2-3 days; citrus peels may need up to 8-12 hours using an electric food dehydrator; herb clippings typically air dry up to 3 weeks. The key is to remove as much moisture as possible for optimal burning.
Cutting and Shaping
Once your materials are dry, cut or trim them into smaller pieces for easier mixing with combustibles.
Pine cones might need a trim to remove excess needles, while herbs should be finely chopped for better blending. The goal is to create small, manageable pieces that integrate well with the wax and other combustibles.
Mixing with Combustibles
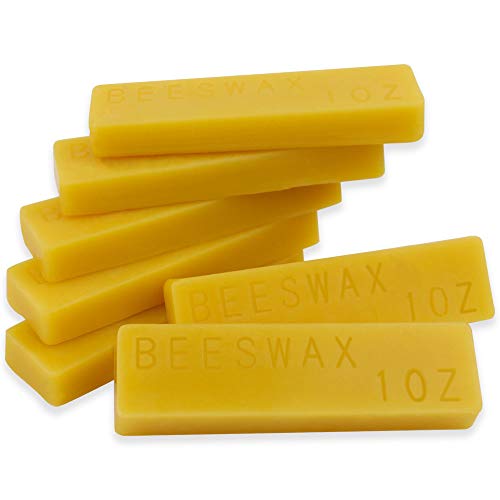
Mix your dry garden items with an explosive substance to guarantee a good burn. Melted wax is a standard go-to, as it coats well and sustains the flame.
You can also stir in some sawdust or shredded paper for added substance. Mix until each piece of your garden treasures is well-coated.
- Melted Beeswax or Paraffin
- Sawdust or Shredded Paper

Creating Fire Starters
Get ready to have this delightful way to turn your garden leftovers into nifty fire starters!
Molding Techniques
Mold your garden-based fire starters into unique and functional shapes. You can use simple household items like muffin tins or ice cube trays lined with wax paper as molds.
Pack your dried leaves, petals, and twigs into these molds, and then pour melted wax over them to bind the materials together.
Adding Scents
Imagine your fire starter also being a natural air freshener. Sounds great, right? Here's how: Mix dried citrus peels or cinnamon sticks broken into small pieces with your garden materials before adding the wax.
These add a lovely scent, and some have natural oils that can help boost your fire starter's performance.
Just remember, fresh materials have moisture and won't work here. Only use dried scents to prevent mold and ensure a long burn.
Safety Measures
Safety is critical in this fiery DIY project.
Ensure your workspace is well-ventilated when melting wax, and watch the temperature to avoid overheating – remember, wax can ignite if it gets too hot. Always have a fire extinguisher close at hand for safety.
After crafting your fire starters, store them in a cool, dry place, out of reach of children and pets. And importantly, only use your homemade fire starters in safe, designated areas like fireplaces or fire pits.
Using Your Fire Starters
Lighting Techniques
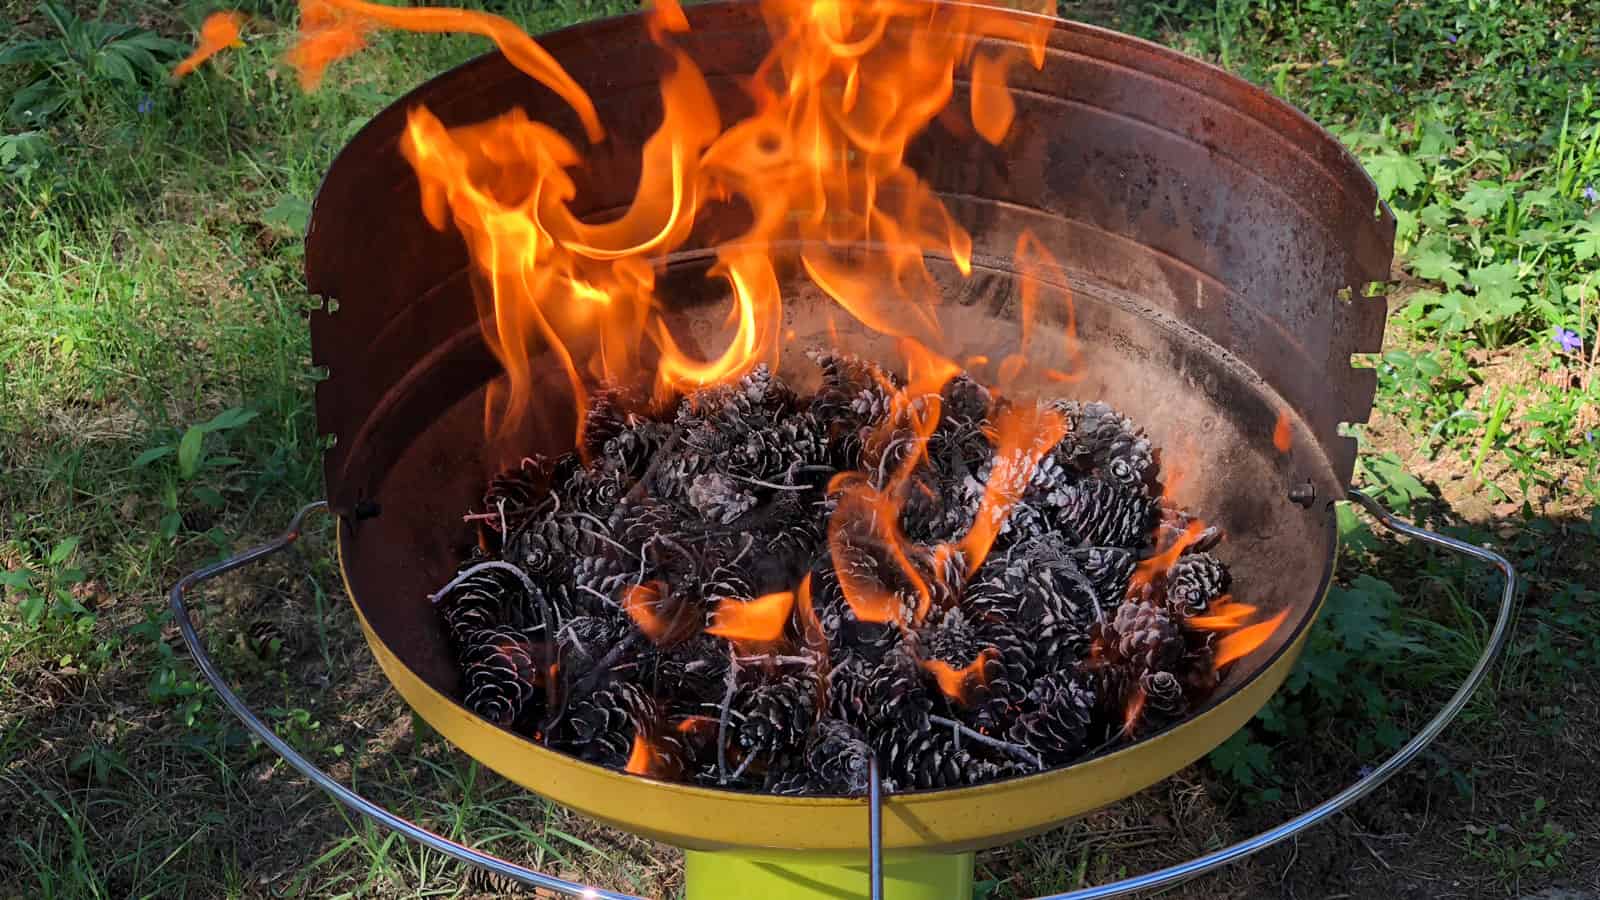
Efficiently lighting your fire starters is crucial. Use a match or lighter to quickly ignite them, and place them strategically among kindling like small sticks or dry leaves for effective fire spread.
Shield them from the wind for a swift catch.
Best Fire-Building Practices
Start your fire with a small, manageable setup. Begin with the fire starter surrounded by kindling in a teepee or log cabin arrangement for good airflow.
Gradually add larger wood pieces as the kindling catches fire, ensuring a controlled and enjoyable flame.
Storing and Preserving
Ensuring your fire starters are ready when needed depends on how you store and preserve them, so let's dig into doing it right!
Proper Storage Methods
Keep your fire starters in top condition by storing them in a cool, dry place away from moisture and humidity. Use an airtight container, like a metal tin or a plastic storage box, to protect them from the elements and pests.
Organize them in single layers or with dividers to prevent sticking and moisture transfer.
Shelf Life Tips
Maximize the longevity of your DIY fire starters by considering their ingredients. Note the creation date for tracking their effectiveness.
Periodically inspect for signs of mold, dampness, or odor and replace them as needed to ensure they're always ready for use.
Troubleshooting Common Issues
When making garden-sourced fire starters, you might encounter a couple of hiccups. But don't worry; with a few quick fixes, you'll be on your way to a cozy fire in no time!
Wax Not Adhering
If wax isn't sticking to materials like pine cones, ensure they are bone-dry. Moisture can cause the wax to bead up. Lay items out in the sun or gently heat them in an oven before applying wax.
Fast-Burning Starters
To slow down the burn, increase the density of your fire starters. Pack combustible materials more tightly and add more wax. The denser the fire starter, the slower and more consistent the burn.
Smoky Starters
Reduce smoke by using dry, dead plant matter. Green or fresh materials tend to produce more smoke. Stick to thoroughly dried leaves and twigs for a cleaner burning fire starter.
Weak Flame
Add wax-soaked cotton or newspaper spirals to your fire starter for a more robust flame. These materials help sustain the flame and ensure a more effective burn.
Embracing Sustainability
Creating fire starters from your garden is an innovative and sustainable choice. This DIY project reuses and recycles natural resources and contributes to a greener environment.
By opting for local materials, you're making an eco-friendly choice that benefits your garden and the planet.
As these fire starters complete their purpose, remember that any unburned remnants can be returned to the earth through composting, closing the sustainability loop.
If you enjoyed learning about making your fire starters, don't miss our other DIY articles!
Check our article How To Waterproof A Planter: Tips And Tricks For A Successful DIY Project for creative ways to protect your planters from the elements.
And for the bird lovers, our DIY Bird Baths To Bring Feathered Friends To Your Yard will guide you through crafting beautiful bird baths that'll make your yard a haven for birds.