
If you have just purchased a money tree, you may be wondering how to braid it. If so, look no further—we've researched how for you!
Here, we've outlined the list of steps to braid a money tree's trunk:
- Inspect the plant.
- Grab shoots from the base.
- Create the first plait.
- String it up.
- Plant the stakes.
- Re-braid.
In this post, we're going to teach you all you need to know about how to braid your money tree. Read on to learn how to do each step and some helpful tips for keeping your money tree healthy throughout the process. We'll also discuss when is the best time to braid your money tree, why this look is so appealing (aesthetically and symbolically), and how the braid impacts the money tree's growth.
![A braided money tree on a brown wall, How To Braid A Money Tree? [6 Steps]](https://gardentabs.com/wp-content/uploads/2020/11/How-To-Braid-A-Money-Tree-6-Steps-683x1024.jpg)
Steps To Braiding A Money Tree
Whether you're a fan of indoor plants or you just love money trees, it's sure to make a nice addition to your home decor. One good thing to know is that money trees are fairly easy to braid and even maintain. Let's discuss how to braid the trunk.
Materials you'll need:
- A healthy money tree
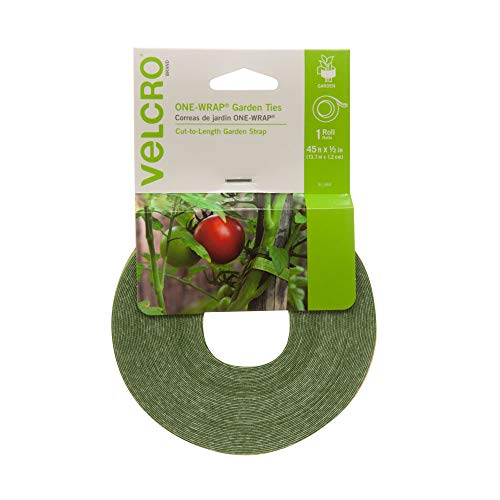
- String (or garden tape)
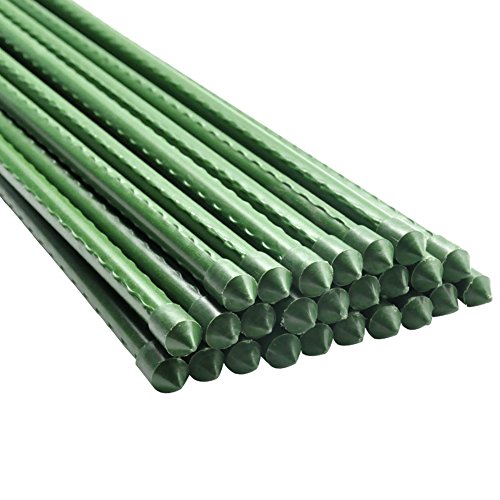
- 2 garden stakes
- Measuring tape
Step 1. Inspect the plant
Before braiding your money tree, it's important to ensure that the plant is young and healthy enough to braid. Start by taking a look at the shoots and measuring them.
Before braiding a money tree, the shoots should be at least 15 to 16-inches high, or you'll risk the chance of hindering the tree's growth.
Braiding when the plant is too young can also cause the shoots to develop scars, which unfortunately will remain on the plant forever. Also, the money tree will need to have at least three shoots to be braided.
Step 2. Grab shoots from the base
Once you confirm that the money tree is in a young and healthy state, is long enough, and has at least three to five shoots, you're ready to start braiding.
Take a glance at the bottom of the base where the stems emerge. Next, grab two shoots in each hand (one in one hand and one in the other if there are only three shoots) and leave one shoot in the middle. If you have five shoots, grab two in each hand.
Step 3. Create the first plait
Next, gently and slowly begin to make a traditional french braid, bringing the shoots in your left hand over the shoots in your right hand, positioning the middle shoot so that it is now on the left.
Next, do the same with the shoot in your right hand and continue this process. Work slowly and untangle any leaves that may get caught up during this braiding process.
Step 4. String it up
Once the braid reaches the leafy portion of your plant, stop braiding by five to six inches. Next, secure the braids with a piece of string or garden tape (it can even be a shoelace), just something to hold the braids in place. Be careful not to secure the string too tightly around the tree, as it will need breathing space to grow properly. Tying it too tightly can cut off its oxygen and stress the branches, resulting in deterioration.
Step 5. Plant the Stakes
After you've completed the braiding, take your two stakes, and place them on opposite sides of the plant. The stakes work to support the tree by preventing it from leaning to the side. This way, your braided shoots will grow vertically and straight. You can also use the string to tie the stakes to the tree as well for added support.
Step 6. Re-braid
After two to four months have gone by, the plant will have grown a bit, and it will be time to do a re-braid.
To do this, remove the string or garden tape that you previously placed around the tree (and stakes). Next, simply grab the plant and braid the sections as you did the previous ones, leaving five to six inches unbraided once you get close to the leafy top of the plant. Next, string or tape the plant (and stakes) as you did before, though you will need longer string and possibly longer stakes as well.
Quick tips:
- After the initial braiding and subsequent re-braidings, you can remove the string and the stakes to allow the plant to grow more freely. However, before doing so, make sure that the tree is already growing in a straight, vertical direction.
- It's imperative when braiding the shoots that you do not place too much stress on the tree by bending the shoots too much. If you break a branch during the process, simply mend the ends back together and wrap them with garden tape. They'll heal within a few weeks.
- If your plant is on the older side, it's not recommended to braid them, as branches may snap from the pressure of the braid.
- During the braiding process, be sure to keep the tree away from sunlight, as you do not want it to become dehydrated. Also, money trees don't need a lot of water to grow. Keeping the plant watered every two to three weeks should suffice.
- Money trees grow best when they are left alone and not agitated. So to say, try not to agitate it too much, outside of yearly pruning and braiding.
Why are money trees braided?

The history of braiding money trees goes back thousands of years. There are a few reasons why money trees are braided. Let's discuss the most common ones.
It Makes Them Stand Out
Money trees are beautiful indoor plants. When their branches are woven or twisted, they can turn even the simplest decor into one more interesting or exotic.
Also, the tree's braided nature tends to give them a certain level of appeal to everyday plant lovers. Not only are they fairly inexpensive, but they are attractive decor additions that can be found fairly easily in most local plant nurseries and even in stores such as Trader Joe's and Walgreens.
It's Emblematic
Money trees symbolize wealth and prosperity. The legend of money trees traces back to an impoverished farmer who apparently discovered a money tree growing on his land.
The story has it that he was very captivated by the tree's beauty and believed that if he sold the plant, he'd be able to provide financial support for his family. Ultimately, he did just that and became very wealthy, eventually naming the plant a "Money Tree."
The popularity of money trees spread across Chinese culture, with the plant being associated with success, prosperity, and the five elements (i.e., wind, earth, fire, water, space).
The braids are said to lock-in good fortune by securing it inside the home. This is why money trees make for such a popular wedding and graduation gift. So if someone gives you a money tree as a gift, it's because they wish you good fortune and success.
The Braids Create A Thicker Appearance
When unbraided, the shoots of money trees can appear thin, isolated, and plain. Braiding the trunks gives them a fuller and more appealing look. Most of the leaves on a money tree are found at the top, so it also helps the spread of their leaves appear more lush and thick.
It Can Increase Their Sturdiness
Since the branches of money trees are rather thin and tall, they can be on the fragile side. Unbraided money trees are known for easy snapping and breaking due to this factor alone.
Also, the stress of repotting, pruning, and any other mild agitation can cause too much stress on the plant and make the shoots easier to break or bend. When the shoots are braided, it provides increased stability for the tree's shoots, reducing the chance that they may break from mild stress. Braiding also reduces the chance of "plant shock" on smaller sensitive stems.
How do you keep a money tree braided?
Money trees tend to grow fairly quickly when they are in great conditions, such as growing conditions that provide sufficient, indirect light and ample humidity and warmth. They will typically need to be braided every two to three months, depending on the tree's size. If you feel that you are over-braiding your tree, it's best to look at the stems.
If stems are firm and green, this means your plant is growing and is in a healthy state. If you find that many of the leaves are falling off, turning brown/yellow, or curling up on end, you could be over-stressing the plant by braiding it too often.
If this is the case, it's best to give it a couple of extra months before the next re-braid. So, where you would normally braid after every six to eight inches of growth, try waiting until eight to ten inches of growth if the plant is stressed.
How big does a braided money tree get?
Braided money trees will usually stop growing anywhere from three to six inches at a time. However, once you're tree is braided (and subsequently re-braided), it will remain that way throughout its lifespan.
These plants can potentially grow up as big as eight feet tall! To ensure that your plant continues to grow (and not become stunted after you start braiding), it's important when you re-braid it every few months that you don't tie the string too tightly or bend the shoots too aggressively.
Also, as the plant continues to grow, you will need to re-pot it so that the roots have room to expand and breathe. If not, this can cause stress on the plant (more specifically, its root system) and inhibit growth significantly. With baby money trees, You'll typically need to replant the plant every few months or so.
Is it too late to braid my money tree?
Typically, braiding older money trees is not advised. The reason is that these shoots tend to be harder during this part of the plant's life, and the branches simply won't be able to endure the level of stress that braiding can cause. They can easily snap during this time, as their branches aren't as flexible as younger plants.
Should I braid my money tree?
If your plant is young, healthy, and has at least three shoots--why not? Braided money trees just look way more appealing than unbraided ones, and it can also help your plant maintain its sturdiness throughout its lifetime. Just remember, once you braid it, it can't be undone.
Wrapping Things Up
We hope you've found the details you were looking for to braid your money tree. If you take care of it properly, you'll find that it can last anywhere from 10 to 15 years.
Before you go, be sure to check out our other posts:
How Big Does A Fiddle Leaf Fig Tree Get? [Here’s The Answer]
Easy to do, I would recommend.