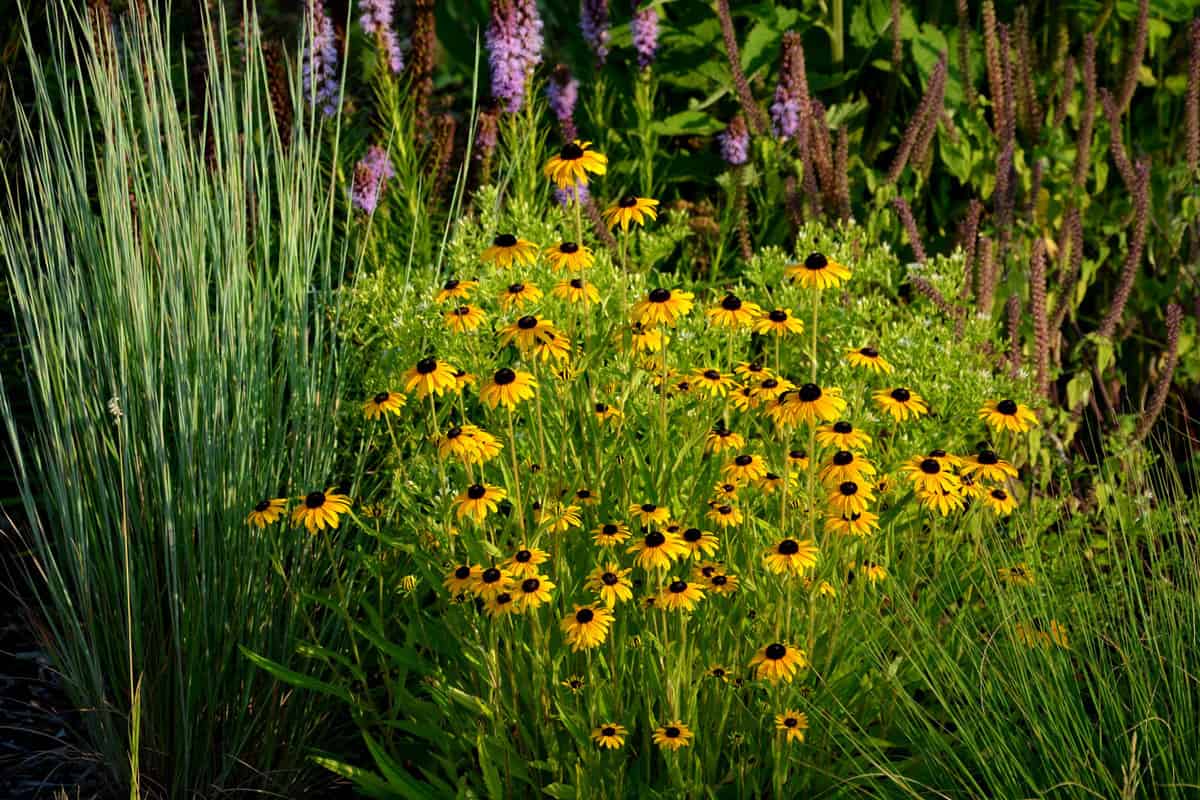
Black-eyed Susans add vibrant color to gardens with their golden-yellow petals.
But there are times when a change in their location becomes necessary for their well-being or garden design. Whichever the case, proper transplanting makes a difference.
In this article, we'll show you the best times and methods to move your Black-eyed Susans to ensure they thrive in your garden.
Black-eyed Susan Overview
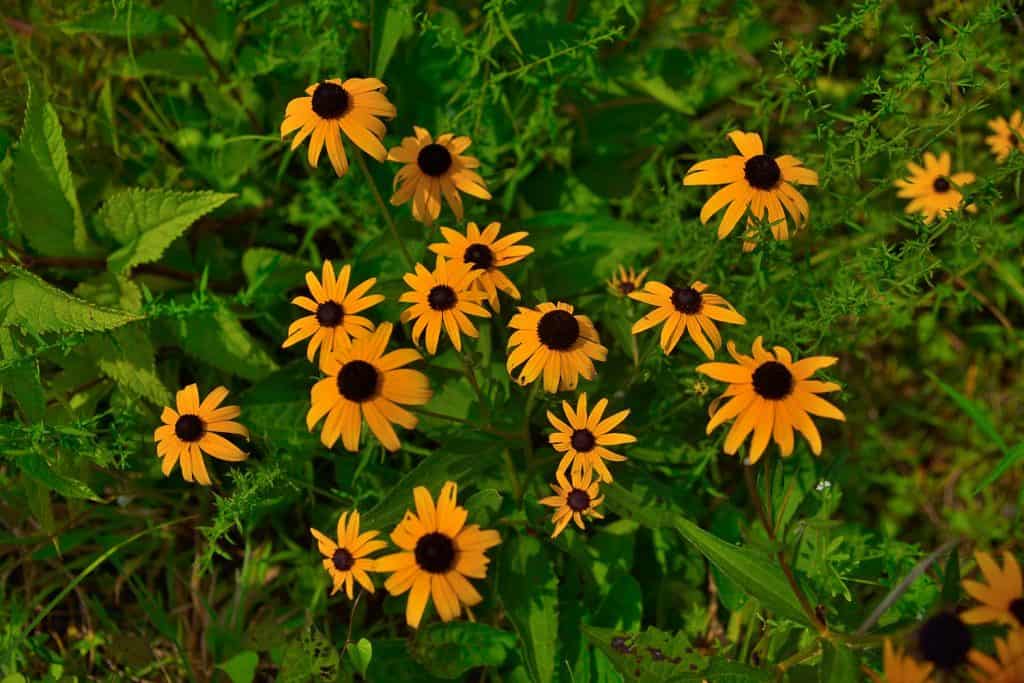
Black-eyed Susans are popular flowering plants known for their bright yellow or gold petals and dark brown or black centers, resembling an "eye."
Scientifically named Rudbeckia hirta, they are native to North America and are a part of the Asteraceae (or sunflower) family.
These perennial plants are easy to grow and are often used in gardens for their vibrant color and ability to attract pollinators like butterflies.
They're drought-tolerant, making them suitable for various landscapes and garden types, and they generally bloom from mid-summer to the first frost.
When to Transplant Black-eyed Susans
Knowing when to transplant your flowers is almost as important as knowing how.
The best time to transplant Black-eyed Susans is in the spring and fall when there is not frost.
Fall is considered the best time because it gives the roots time to establish before winter.
However, the toughness of the Black-eyed Susans mean that you could technically transplant them anytime throughout the year.
Signs You Should Transplant
Dividing and transplanting your Black-eyed Susans will help them stay healthy.
You'll know it's time to move your flowers once they start showing signs of distress.
You should start thinking about transplanting once you notice weak stems, fewer leaves, and fewer blooms.
You also need to consider transplanting if the flowers look crowded. Black-eyed Susans are self-seeding and can easily take over neighboring plants.
How To Transplant Black-eyed Susans
Now that you've decided to move your plants, it's time to gather your supplies. You should have a shovel and garden shears.
It would also help to have a bucket filled with water. This will help hydrate the roots before moving them to the next location.

Check out these garden pruning shears on Amazon.
Prepare Your Plants and Location
It's best to prepare everything you'll need before you dig out your plants. This will help minimize the amount of time the Black-eyed Susans have to spend out of the ground.
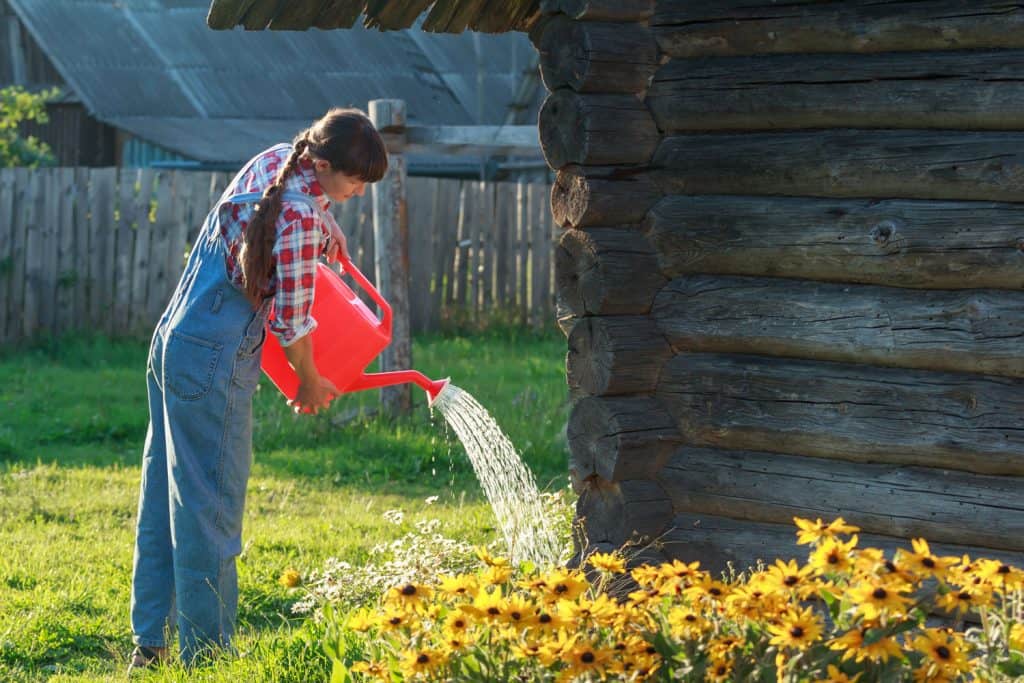
First, you should water the plants deeply. This will help loosen the roots, making it easier for you to dig out. It will also help hydrate them and prepare them for moving.
Next, you should get the new location ready. You can test your soil to see if it lacks any nutrients or use an all-purpose fertilizer or compost.
Dig as many holes as you'll need for your plants. You'll have to ensure the holes you dig are big enough to accommodate the root systems.
To be sure, dig a hole that is at least 12 inches deep and approximately 12 inches wide.
Dividing the Plant
With your new location prepared, it's time to work on dividing the Black-eyed Susans.
You should cut back your plant to make it easier to move. To cut them back, you need to cut the stems approximately four inches from the ground.
Then take a shovel and use it to sever the roots. This is best done by first digging a circle around the plant. Then, take the shovel at an angle and carefully push it into the dirt, and lift your plant.
If you're dividing your plant, take a small shovel and use it to carefully break up the roots into smaller plants.
You should put your waiting plants into a bucket of water in the shade to further hydrate and protect the plant from shock. Allow the plants to soak for around an hour.
Transplanting Procedure
Your plants are ready to be moved after about an hour or less of soaking.
It's best to transplant your them during the coolest part of the day, preferably early morning or late afternoon to reduce plant stress.
Move your plants into the dug up holes, refill with soil, and cover with mulch. Adding a layer of mulch an inch thick will help the roots retain their moisture.
It will take your Black-eyed Susans a few weeks to recover from being moved.
Do Black-eyed Susans Need to be Divided?
Yes! Dividing your Black-eyed Susans is vital. These plants aren't considered invasive.
However, Black-eyed Susans will spread and take over neighboring plants if you don't break them into smaller plants.
Can Black-eyed Susans Grow in the Shade?
Black-eyed Susans grow best in full sun. You should plant these flowers in a spot that gets a minimum of six to eight hours of sunlight.
Although they love the sun, you should protect them from the scorching afternoon sun, especially if you live in warmer zones.
In general, black-eyed Susans are only partially tolerant of shade. So, a sunny location is a must.
However, certain types of this plant are more tolerant of shade. The Rudbeckia subtomentosa is one example of a shade-tolerant Black-eyed Susan variety.
How Do you Deadhead Black-eyed Susans?
It's easy to deadhead your Black-eyed Susan. All you have to do is pinch or cut off dying flowers.
You should be cutting just below the base of the petals. Alternatively, you can also cut the stem all the way back to the bottom of the plant.
While deadheading isn't necessary, it can help your plants bloom for a longer time, create more blooms, and appear bushier.
Not only that, deadheading Black-eyed Susans can help control its spread. The flowers will turn into seeds when they die.
You avoid unnecessary plant growth by removing the flowers before they start to spread more seeds onto the ground.
Read more here: When To Cut Back Black Eyed Susans?
How Deep Should You Plant Black-eyed Susans?
Black-eyed Susans have a fibrous root system. So when transplanting them, you should transfer them into a relatively shallow hole.
A hole around 12 inches will work just fine. If you're moving a potted Black-eyed Susan into the ground, you should dig a hole as wide and deep as the pot it is planted in.
If you're growing your Black-eyed Susans from seeds, you don't want to bury them at all. These seeds need light to germinate.
Thus, you need to be very careful with the amount of soil you put on them.
Some gardeners even recommend leaving the seeds on top of the soil instead of covering them.
How Long Do Black-eyed Susans live?
Black-eyed Susans are typically treated as biennials or short-lived perennials.
This means they often live for two to three years, though their lifespan can vary depending on growing conditions.
In the first year, the plant typically focuses on producing foliage and establishing a robust root system.
In the second year (and sometimes third), the plant blooms, sets seeds, and then dies.
However, Black-eyed Susans are prolific seed producers. So even when individual plants die off, they tend to self-seed and create the appearance of a perennial presence in the garden.
This means that if left untouched, they can consistently produce new plants year after year.
Proper care, such as offering good soil, adequate sunlight, and appropriate water, can help extend their life in the garden.
The Resilient Black-eyed Susans
Black-eyed Susans are hardy plants that can survive being transplanted at nearly any time during the year.

However, to lessen transplant shock, you should move them during late fall or spring.
Don't forget to divide your perennial Black-eyed Susans every three to four years to keep them healthy.
To summarize, here's a rundown of the steps for transplanting:
- Deeply water the flowers you plan to move
- Prepare the area where you're moving the plant
- Carefully dig out your Black-eyed Susans with roots intact
- Move the plant to the new location
- Mulch and water your plants
For more information on these perennials, check out these other articles:
My Black Eyed Susans Didn’t Come Back – Why? What To Do?
How Tall Do Black Eyed Susans Get?
Are you on Pinterest? Help us share this post! You can use this bright and beautiful image below as a pin.