
Like plants, mushrooms have their own needs from their environment to grow and colonize. Using the proper substrate helps a lot to produce healthy and safe mycelium. Are you planning to add vermiculite to the substrate for your mushrooms? Are you looking for other options to use? We have the answers you need!
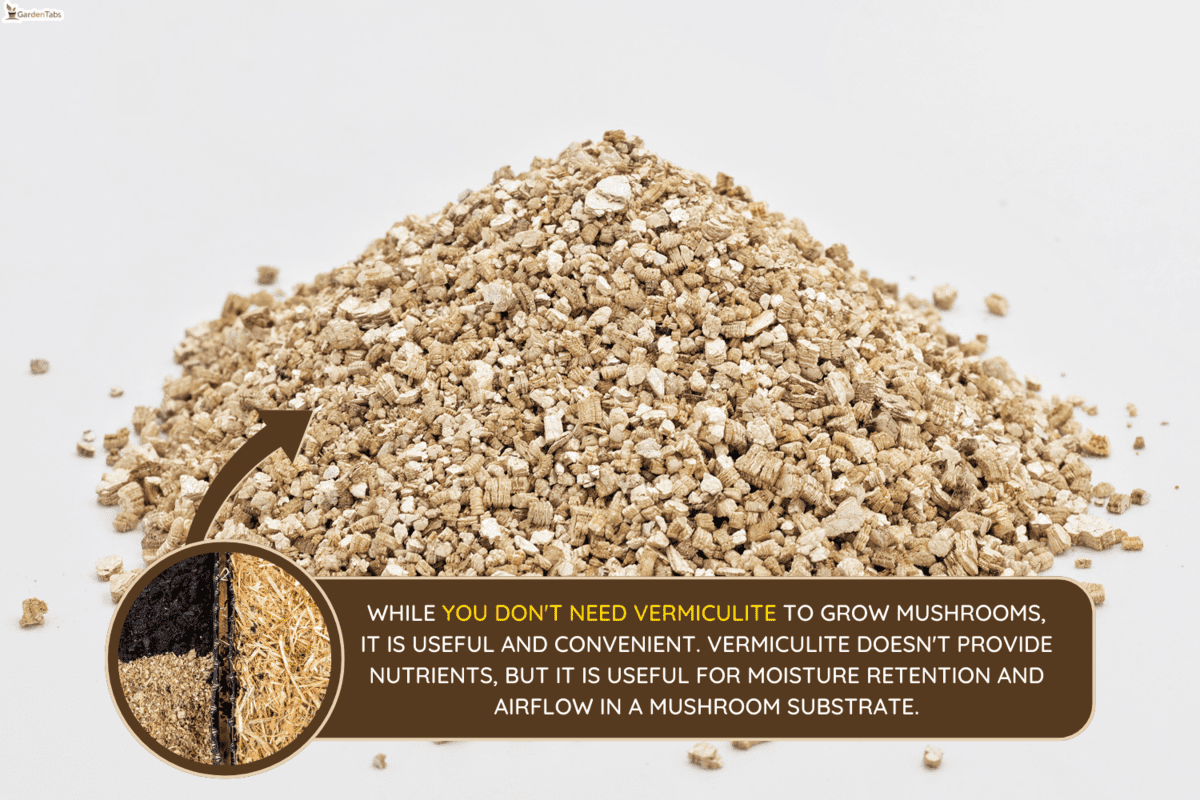
While you don't need vermiculite to grow mushrooms, it is useful and convenient. Vermiculite doesn't provide nutrients, but it is useful for moisture retention and airflow in a mushroom substrate. You can combine vermiculite with coco coir, manure, and gypsum for the best results.
Continue reading throughout this post for the discussion about vermiculite and growing mushrooms. We have done the research and collected all the information you may need. Read on to learn more!
Do Mushrooms Need Vermiculite to Grow?
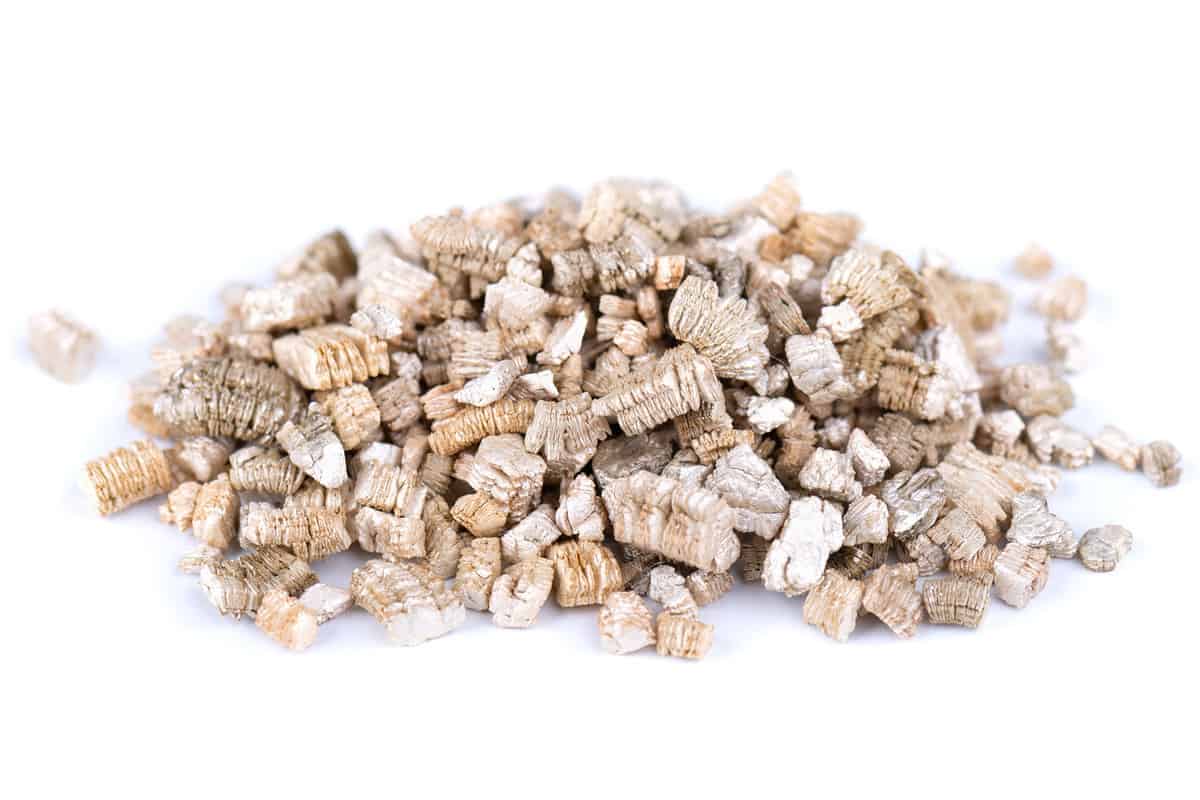
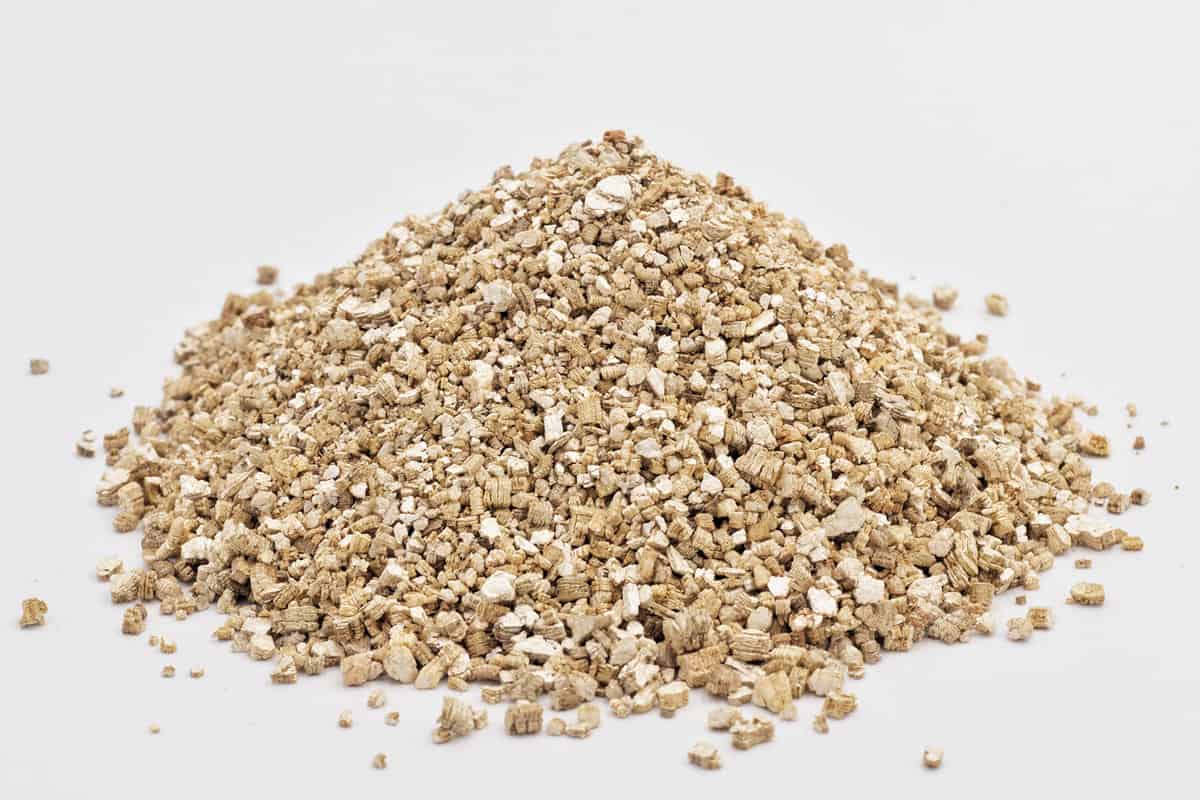
Vermiculite is lightweight and retains higher water content that helps the mushroom keep its moisture, promoting aeration and providing micronutrients that the mushroom needs for faster plantation. It is a useful additive to mushroom substrates.
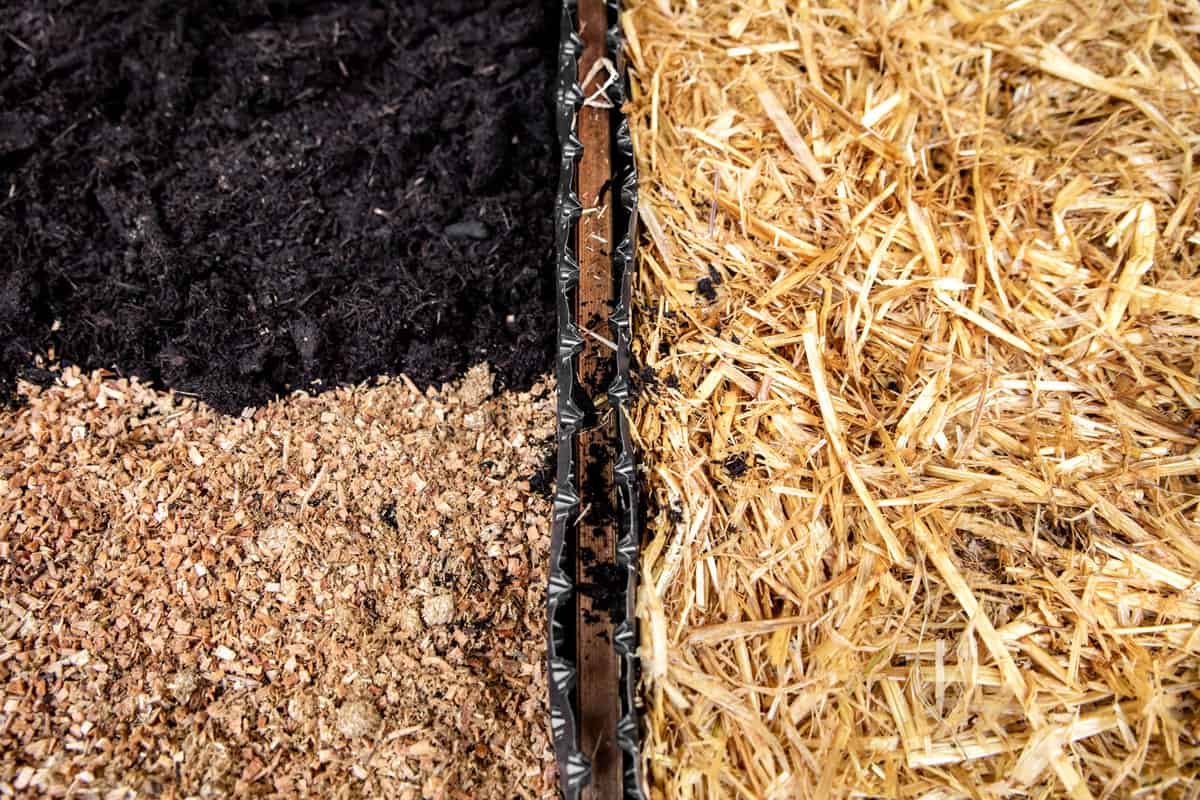
That being said, you can make mushroom substrates without vermiculite. We'll cover mushroom substrates made with straw, sawdust, and coffee grounds that don't require any vermiculite.
Can You Mix Vermiculite And Coco Coir For Mushroom Substrate?
Mushroom substrate should be woody, fibrous materials, and cellulose which has a high carbon component, the food source of mycelium. Vermiculite is known for its capability in holding moisture, and coco coir is made of ground coconut shells and husks. Combining these two materials will produce a perfect substrate for some mushroom types.
Does Vermiculite Have Nutritional Value?
Vermiculite doesn't have nutritional value, but you can mix it with other materials for a perfect substrate for your mushroom to help retain nutrients and moisture, helps scatter bad soil, and improves soil structure.
What Are The Substrate Mixtures To Use For Mushrooms?
Listed below are the substrate mixtures for mushrooms and the steps on how to make them:
Vermiculite And Coco Coir
Here is what you need to do to create your homemade substrate for mushroom:
Ingredients:
- 500 grams vermiculite
- 500 coco coir
- 100 grams gypsum
Procedure:
- Pour all the ingredients into a deep tub or bucket and mix them well.
- Get a pan and boil 16 cups of water.
- After boiling, pour the water into the mixture and close the lid of the tub or bucket.
- Wrap the bucket with the towel to help with the pasteurization process of the substrate.
- Let it cool and then you're ready to use it.
Watch the video to learn how to make vermiculite and coco coir substrate:
Straw
Follow these steps to make a homemade straw substrate:
Ingredients:
- Straw
- Pearl Oyster Mushroom Spawn, cut into small pieces
- Water
Steps on making straw substrate:
- Chop the straw using a weed whacker.
- Place the chopped straw in a basket made of chicken wire.
- Place the basket filled with chopped straw in the drum.
- Refine or pasteurize the chopped weed whacker in the drum using a propane burner for at least 90 minutes.
- Take the basket from the drum and lay the pasteurized straw on a clean, flat surface for faster cooling and to avoid contamination. You can use isopropyl alcohol to sanitize the working table where you want to cool down the mixture.
- Inoculate the straw with oyster mushroom pawn plugs of at least 10% in a bucket.

Click here to find pearl oyster mushroom pawn plugs on Amazon.
- Mix the straw and the pawn plugs well.
- Pack your log in plastic and close it tighter using a zip tie.
- You can store the straw plugs, place the label and date, and pluck holes in the plastic to let the mushroom breathe and drain excess moisture.
- Keep in a cool location away from the sun to fully colonize. Wait for two weeks to harvest.
Watch the video below to learn how to inoculate oyster mushroom pawn plugs in the straw substrate:
Hardwood Sawdust
Listed here are the steps on how to make a sawdust substrate:
Ingredients:
- 1/4 pound of rice bran
- 1/4 pound of millet
- 1/2 pound of wood chips
- 1 pound of hardwood sawdust pellets
- Oyster of Mushroom Spawn, cut into pieces
- Water
Procedure:
- Combine all the ingredients except the water in a 5-gallon bucket and mix thoroughly.
- Slowly add water, keeping the mixture moist but not soaked, and don't let it become sticky. If you accidentally pour in too much water, pour more ingredients to even it out.
- Prepare heat-resistant bags for the substrate. Half-fill them with the mixture and close the bag.
- Cook the bags filled with the substrate in a pressure cooker at 250 degrees Fahrenheit for 2 hours.
- This process is to ensure that the substrate-filled bags are clean, to avoid contamination of the mushrooms, and to ensure that they are safe to consume later.
- After cooking, let the bags cool down for up to eight hours and keep them in a cool, dry place to avoid contamination.
- Once the mixture cools down, inspect the bags. Throw them away if you see any signs of contamination.
- If the substrate looks good, open the bags, add the oyster mushroom spawn and mix well.
- Close the bags again and place them in a safe place to let the spawn colonize.
- Wait for 10 to 21 days for the mushroom to grow before harvesting.
Watch the video below for further instructions on how to make homemade sawdust in your kitchen.
Coffee Grounds
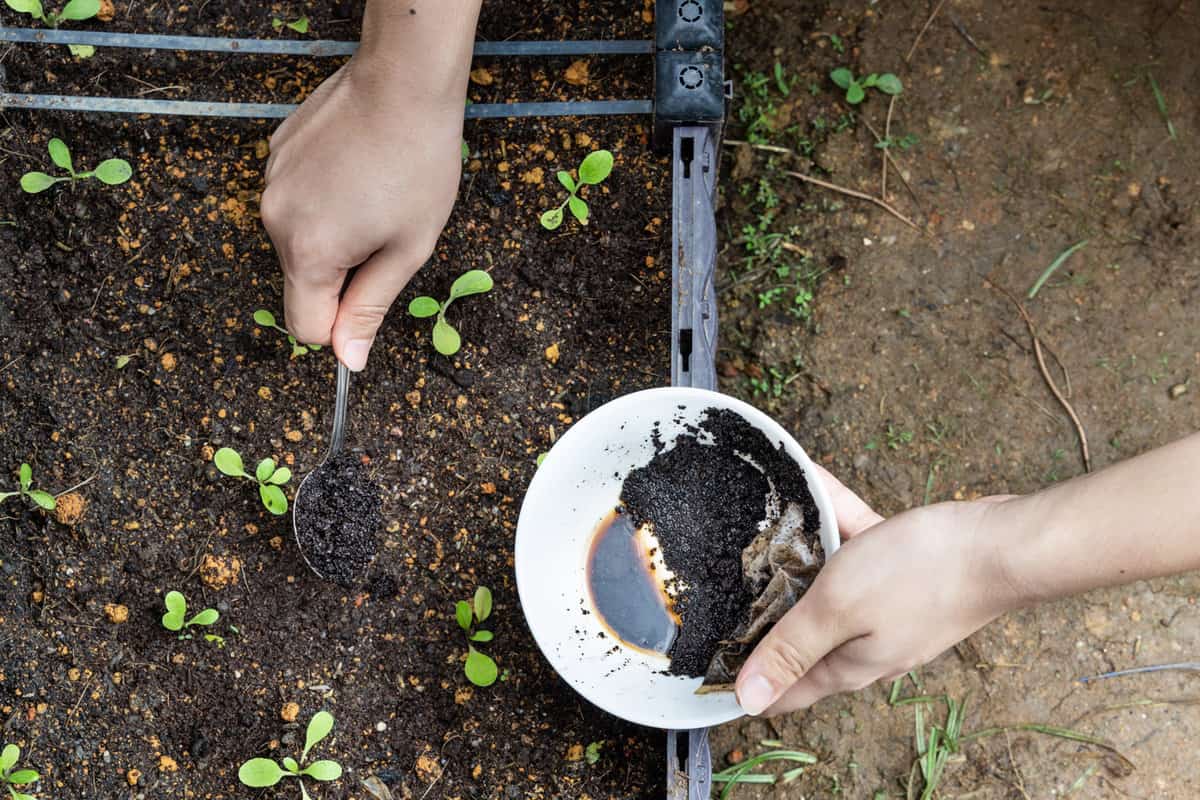
Follow these steps to grow mushrooms in coffee grounds:
Ingredients:
- Oyster Mushroom Spawn, at least 10% of the substrate, cut into pieces
- Fresh coffee ground
Procedure:
- Clean the work area using isopropyl alcohol. This is necessary to avoid contamination.
- Use fresh coffee grounds within 24 hours of brewing to ensure no mold contamination in the coffee.
- Mix the ingredients using utensils or your hands. Ensure that you sanitize utensils or wear clean hand gloves before mixing them.
- Fill a jar with the substrate mixture for incubation. Cover it with sanitized, breathable fabric.
- Place the jar mixture in a box or warm, moist, dark place.
- Check the growth of spawn once a week after 14 days.
Watch the following video to learn how to grow mushrooms on coffee grounds.
Does Vermiculite Go Bad?
Horticultural vermiculites sold today have no asbestos and do not have nutritional value. Hence, they do not deteriorate or go bad over time. It is also the best choice for organic farming and growing mushrooms.
What Happens If You Mix Clay Soil And Vermiculite?
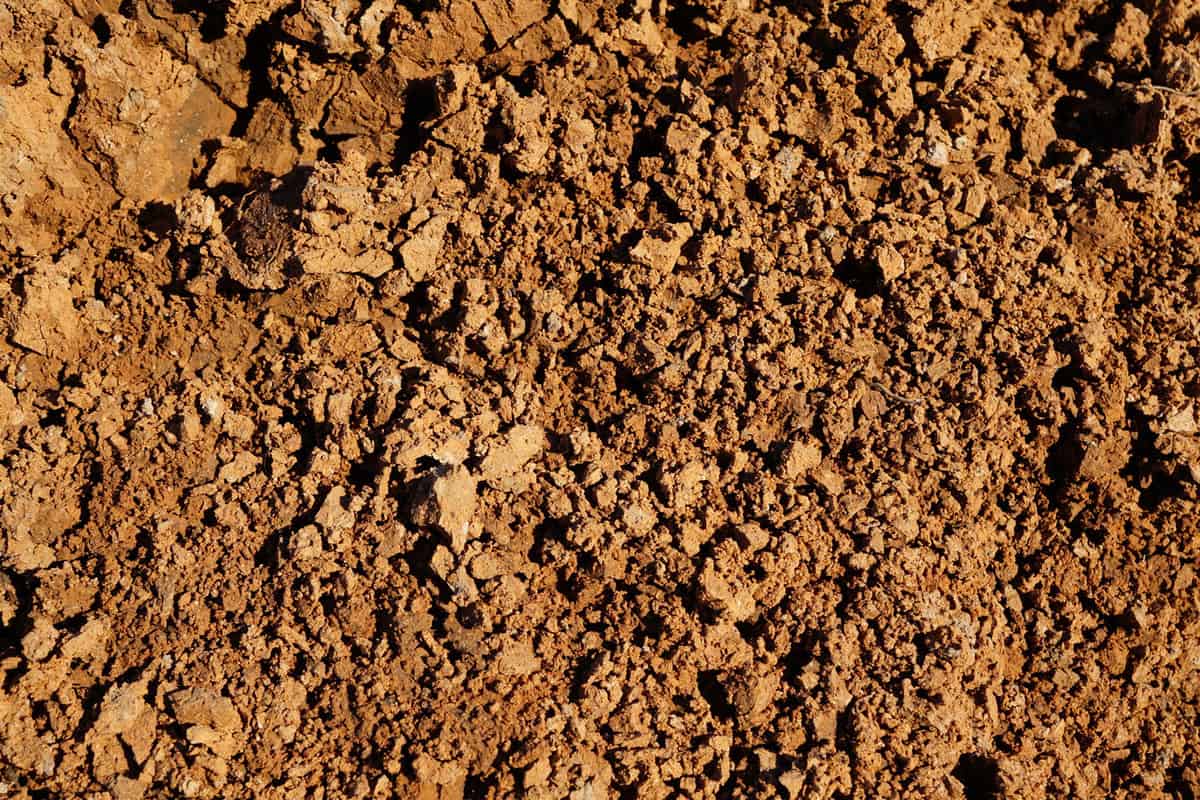
If you mix vermiculite and clay soil, the mixture will be soggy, reducing aeration around the roots. It will also become waterlogged, losing the capability to drain water. This substrate mixture will have problems like developing mold, fungi, and other bacteria.
Is There A Ready-Made Substrate For Mushrooms?
Aside from making your substrate, you can purchase a commercialized substrate mix that is ready to use. Here is the list of recommended substrate products you to choose from:
Mushroom Suppliers Premium Mushroom Substrate
This substrate mixture contains vermiculite, manure, gypsum, and coco coir, fortified with nutrients that mycelium needs to colonize.

Click here to check out this Premium Mushroom Substrate on Amazon.
Surfin' Spores Coco Coir Mushroom Substrate Mix
This product is a ready-made substrate that contains perfect moisture content. It is very convenient and easy to use. Follow the instruction included in the packaging for the successful colonization of mushrooms.

Click here to see this mushroom substrate mix on Amazon.
Boomr Bag Manure-Based Substrate Blend
This product is hydrated, which helps mycelium quickly and fully colonize. Follow the directions in the packaging to achieve the best results.

Click here to check out this substrate blend on Amazon.
Sterilized Rye Berry Mushroom Substrate
Berry Mushroom Substrate is ready to use, and you can store it for up to four months. This product has a micron filter patch for airflow while keeping microbes out. This substrate is perfect for gourmet mushrooms.

Click here to check out this berry mushroom substrate on Amazon.
Pasteurized Mushroom Substrate
This product is a mixture of coco coir and vermiculite. It is ready to use upon opening the packaging. This mushroom substrate is made from organic materials, perfect for boosting mycelium's growth and colonization.

Click here to check pasteurized mushroom substrate on Amazon.
Summary
While vermiculite is not necessary for growing mushrooms, including it in the substrate helps retain moisture and provides airflow for the mycelium to colonize. You can buy ready-made vermiculite substrate or make your own. You can also use other materials to grow mushrooms.
If you have questions or comments, let us know below! You can also check out these posts for more helpful tips on gardening:
Vermiculite Vs Perlite Vs Pumice: Pros, Cons, And Differences
4 Best Fertilizers For Endless Summer Hydrangeas [And How To Use Them]
Best Soil For Weeping Fig & Recommended Pots And Containers
Pesticides Vs. Insecticide – Which Is Best For Your Home Vegetable Garden?