
Are you dreaming of juicy tomatoes in November or crisp lettuce in early spring? Let's turn that dream into reality with DIY cold frames!
These little structures are more than just boxes; they're like cozy winter coats for your plants, keeping them snug and happy during the chillier months.
So grab your tools and get ready to enjoy fresh, home-grown produce, even when it's cold outside!
Understanding Cold Frames
Cold frames use the sun's warmth to create a stable, warm environment for plants. This is especially helpful during early spring and late autumn, when the weather can be unpredictable.
The clear top of a cold frame lets in sunlight and keeps the heat inside. This warmth is essential for seeds to sprout and for young plants to grow.
Besides warmth, cold frames also protect plants from cold winds, frost, and heavy rain. This shield is essential for plants that don't do well in harsh weather.
Materials Needed for DIY Cold Frames
To build a DIY cold frame, you'll need some essential materials. This section lists the necessary frame and covering materials.
Frame Materials
The frame is the backbone of your cold frame, so it's important to choose sturdy, durable materials that can withstand the elements. Here are some common frame materials to consider:
- Wood: Wood is a popular choice for cold frame frames because it's affordable, accessible to work with, and provides sound insulation. Cedar is a perfect choice because it's naturally resistant to rot and insects.
- PVC: PVC pipes are another popular frame material because they're lightweight, inexpensive, and easy to work with. They're also weather-resistant and won't rust or corrode.
- Metal: Metal frames are solid and durable but expensive and heavy. Aluminum is a good choice because it's lightweight and won't rust.
Covering Materials
The covering protects your plants from the elements and helps regulate the temperature inside the cold frame. Here are some common covering materials to consider:
- Glass: Glass is a traditional cold frame covering because it's precise, durable, and provides sound insulation. However, it can be heavy and breakable.
- Polycarbonate: Polycarbonate is a lightweight, shatterproof plastic that provides good insulation and UV protection. It's also more affordable than glass.
- Plastic sheeting: Plastic sheeting is an affordable and lightweight option, but it's not as durable as glass or polycarbonate. It's best used for short-term projects or in mild climates.
Step-by-Step Guide to Building a Cold Frame
Building your cold frame can be a fun and rewarding DIY project to help you extend your growing season. Here is a step-by-step guide to building your own cold frame:
1. Planning the Frame
Before building your cold frame, you need to plan out the design. Consider the size of the frame, the materials you will use, and the location where you will place it.
You will also need to decide on the size of the frame, depending on the number of plants you want to grow.
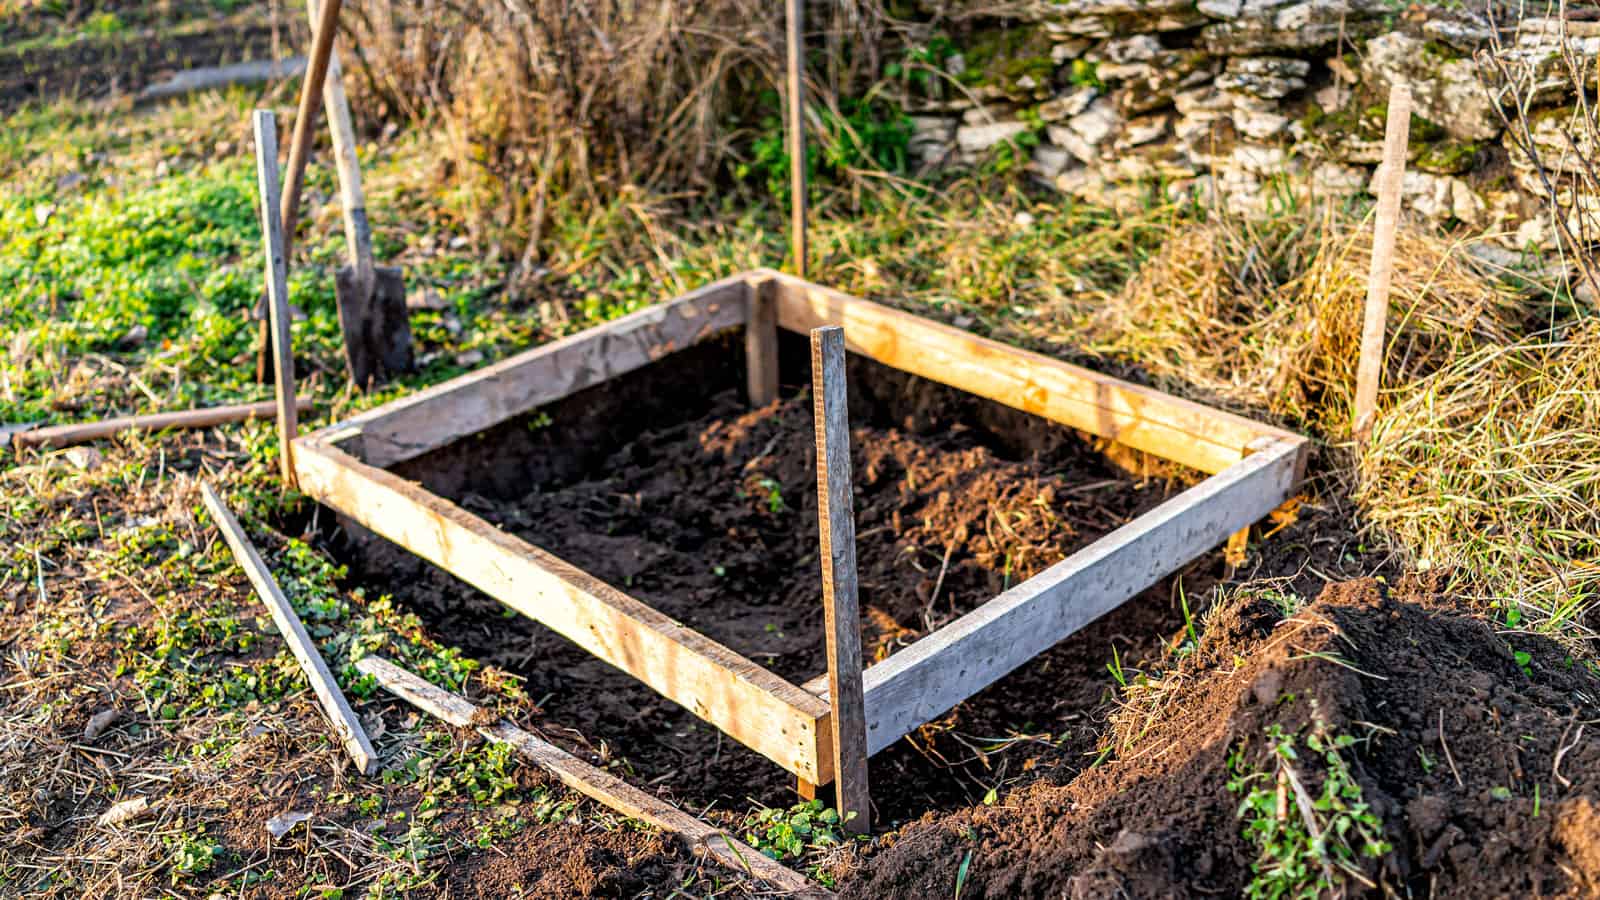
2. Assembling the Frame
Once you have planned out the design, it's time to assemble the frame. If you are using wood, cut the pieces to size and attach them together using screws.
If you use PVC pipes, cut them to size and connect them using elbow joints. If you use cinder blocks, stack them on top of each other to create the frame.
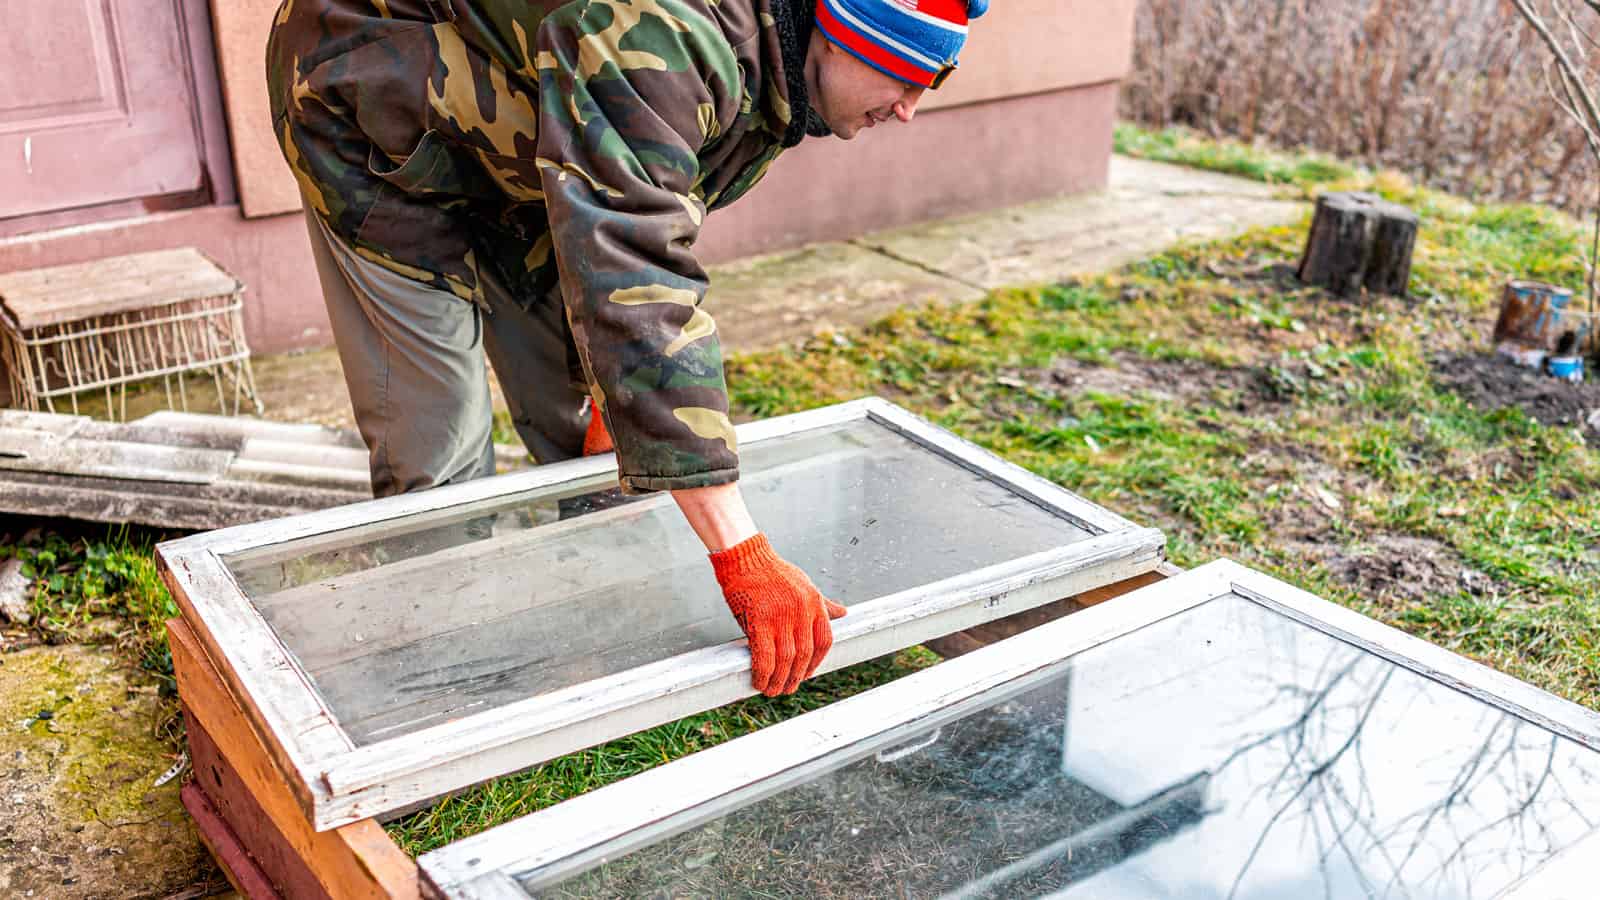
3. Attaching the Cover
The cover is essential to the cold frame, as it helps trap heat and protect your plants from the elements. You can use various materials for the cover, including plastic, glass, or even old windows.
Cut the cover to size and attach it to the frame using hinges or clips. Make sure the cover is secure and can be easily opened and closed.
Maintaining Your Cold Frame
Effective maintenance of your cold frame is critical to its success. Here are the main aspects to focus on:
Temperature Control
The internal temperature of your cold frame is crucial. On sunny days, open the lid to prevent overheating.
During colder nights, insulation is vital to retain heat. Use materials like non-plastic cloth or blanket for added insulation. Regularly check the temperature and adjust the opening or insulation accordingly.
Watering and Ventilation
Ensure your plants receive the right amount of water; too much can lead to diseases, while too little can hinder growth.
Also, adequate ventilation is necessary to prevent fungal issues and promote healthy plant growth. Open the lid for air circulation and adjust your watering schedule as needed.
Common Mistakes to Avoid
While building and maintaining a cold frame can significantly benefit your garden, it's crucial to be aware of common pitfalls:
Avoid Overheating
Always ensure proper ventilation, especially on sunny days, to prevent your plants from getting too hot.
Be Mindful of Watering
Overwatering can be as harmful as underwatering. Regularly check soil moisture and adjust your watering routine.
Choose the Right Location
The location of your cold frame is crucial. Choose a spot that gets plenty of sunlight and is protected from strong winds. Avoid placing it in a low-lying area that is prone to flooding.
Stay Vigilant Against Pests
Pests can be a problem in a cold frame, especially if you're growing vegetables. Keep an eye out for pests such as aphids and slugs, and take steps to control them if necessary.
You can use organic methods such as hand-picking or spraying with insecticidal soap.
Final Thoughts
Embracing DIY cold frames can transform your gardening experience, offering a longer growing season and healthier plants.
Success lies in careful construction, regular maintenance, and avoiding common mistakes. Enjoy your gardening journey and relish the abundant harvest from your extended growing season!
Don't miss out on our other creative and fun DIY projects.
Check out our articles: DIY Bird Baths To Bring Feathered Friends To Your Yard and How To Waterproof A Planter: Tips And Tricks For A Successful DIY Project for more!