
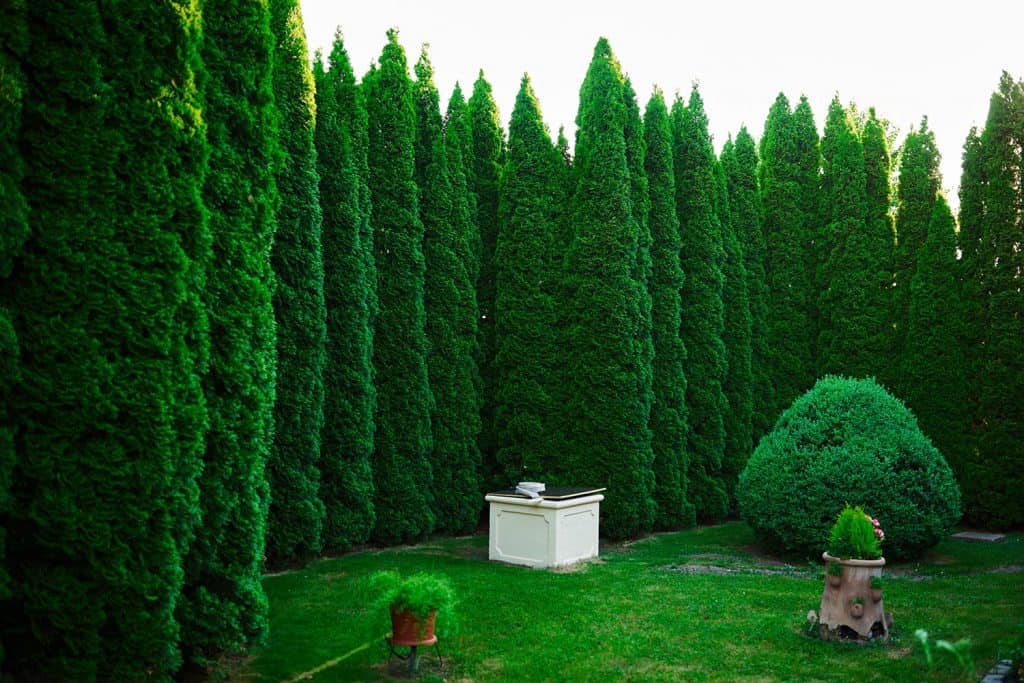
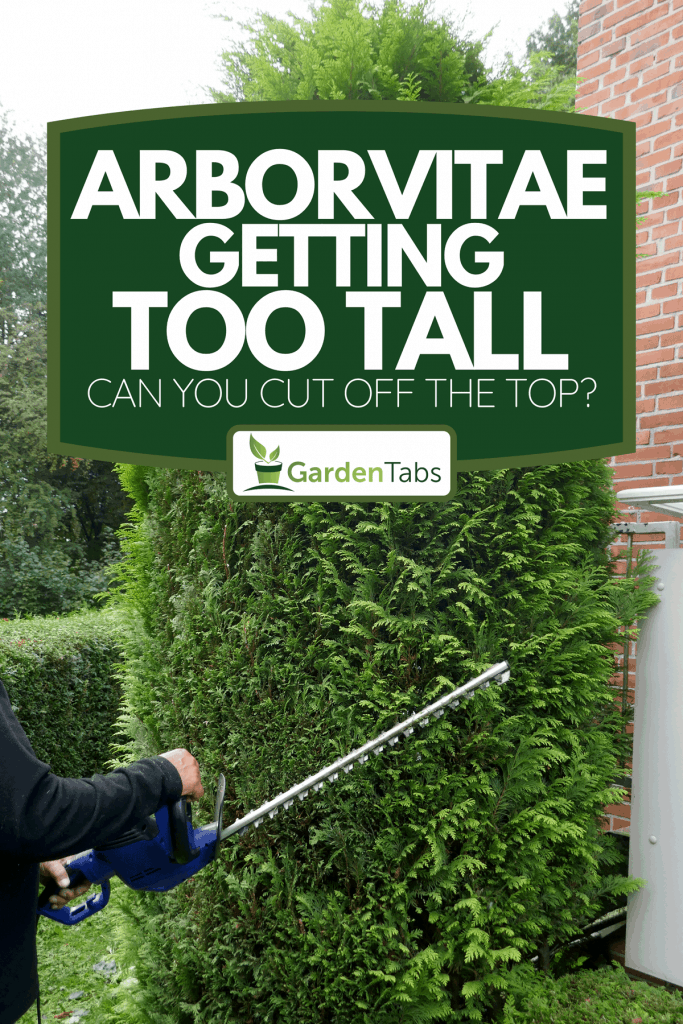
Arborvitae makes for popular and attractive landscaping additions. These cedar relatives are commonly used as hedge components and stand-alone features.
Either way, your arborvitae is getting too tall, and you wonder if you can top it and how to proceed.
In this post, you will get the answers using up-to-date research and techniques.
Yes, if done correctly, topping arborvitae is possible. While this process forever changes the shape of arborvitae, healthy plants are likely to survive.
Most arborists agree that routinely pruning arborvitae is preferable to topping. However, to correctly top arborvitae, follow these steps:
- Wait until late winter or early spring
- Carefully choose your top location
- Using a sharp saw, cut off the arborvitae's top
- Monitor after topping
Read the rest of this post for details on the pros and cons of topping your arborvitae.
We also go over detailed step-by-step directions on how to accomplish this task. To conclude, we introduce how to prune arborvitae and answer a related question.
What happens if you top arborvitae?
The most common growth pattern for arborvitae is one main trunk and several smaller leader trunks. These all point up. Topping arborvitae means cutting all of these vertical elements off at a uniform height.
No additional leaders will grow if you top an arborvitae's main trunk.
This creates a boxy shape and means that the classic tall pyramidal shape of the arborvitae will never return.
Further, topping arborvitae can lead to a bald or brown patch on the top of the plant.
For this reason, most gardeners recommend pruning an arborvitae if the size or the height is a concern.
Keeping your arborvitae at a specific size or height using pruning and no topping involves yearly care.
How to Top An Arborvitae
While topping arborvitae is not the preferred method for changing the stature of these conifers, it is sometimes the only feasible option.
In that case, it is essential to follow these steps to ensure that your tree or shrub will survive this rather significant loss of mass.
1. Wait Until Late Winter or Early Spring
Even though arborvitaes do not lose their leaves or needles during the winter, they still undergo metabolic changes.
Arborvitae and conifers go dormant during the cold winter, as discussed in this article from Cashman Nursery & Landscaping.
As soon as spring returns, the plant and roots proliferate. In fact, according to Northern Woodlands, the roots even begin to function before the above-ground parts of the plant.
Topping in late winter maximizes your arborvitae's growing time to recover from topping.
If you topped in late summer instead, your arborvitae would have to both recover from the topping damage and enter full dormancy with far fewer days of growth.
This shorter period means fewer hours of sunlight to build up the energy and nutrients required for overwintering.
2. Choose your Top Location
It might seem obvious that it is essential to choose the desired height for topping thoughtfully.
However, it is essential to think this step through carefully.
First, the arborvitae will likely not get taller once you top it.
While keeping the height consistent is the goal, this lack of additional growth also means the brown inner branches are exposed, a condition that may never heal.
So, consider where you can see this scar and adjust the height accordingly.
Further, you may be topping more than one arborvitae, such as in a hedge.
In this case, having a stick or board cut the desired length is efficient to easily match the height of all the trees in the hedge.
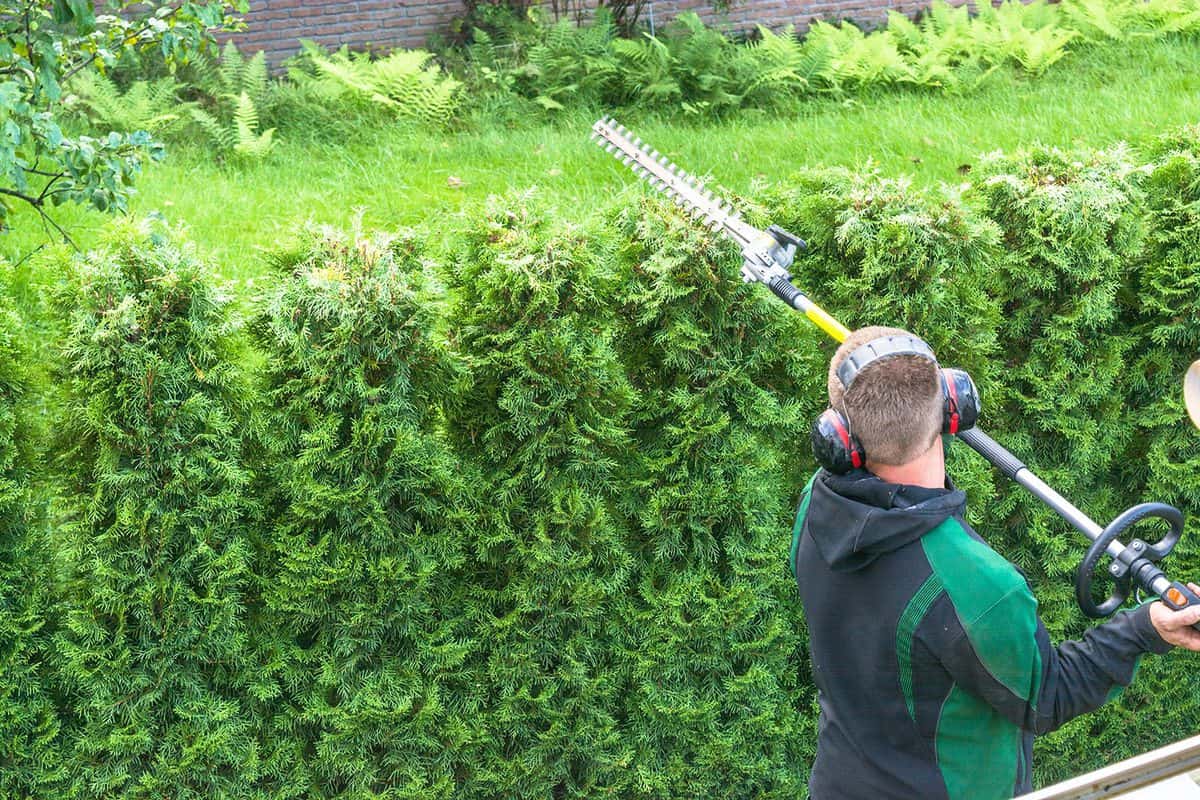
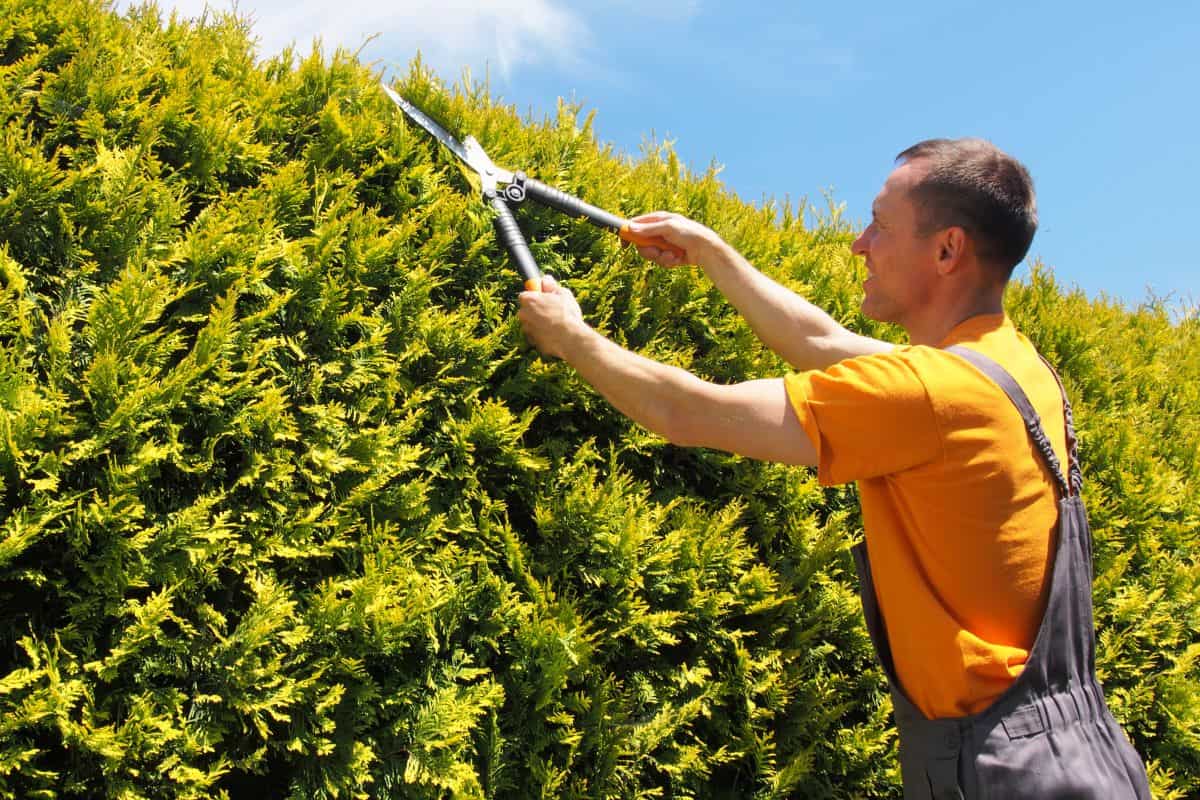
3. Use a Sharp, Clean Saw
For best results, whenever you are performing pruning or topping, always use sharp, clean implements.
Dirty cutting tools can introduce bacteria and other contaminants to the wound you are creating.
In the same way, dull tools create a more jagged cut which is more difficult for the plant to heal.

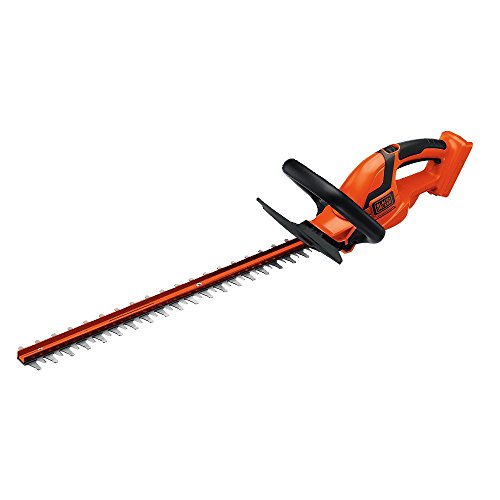
Click here for a battery-powered pruning saw from Amazon.
The tool of choice for arborvitae topping is usually a handheld pruning saw. These tools are appropriate for medium-sized cuts.
For massive trunks, you might want to use a chainsaw. Pruning shears may be appropriate for very small or young arborvitae you wish to cut.

Click here for a hand-operated pruning saw from Amazon.
To clean your saw, wash it in soap and water, rinse, apply rubbing alcohol, and allow it to dry.
Often it is difficult to sharpen saws, but it is not expensive to replace a dull blade.
Alternatively, some specialty shops will sharpen saws to a level even better than new ones.
4. Monitor After Topping
Since arborvitaes are hardy, healthy trees, they often recover from topping without additional care.
However, sometimes the topping creates too much stress on the plant. When this happens, you might notice the remaining green turning brown, wilting, or severe or new pest infestations.
Provide your tree with what it needs. This might be additional fertilizer or compost, it might be extra water during the hottest summer months, or it might be pesticides.
Take the time to research the condition and fix it accordingly. Your local extension office or nursery are both excellent resources.

Click here for tree wound sealer from Amazon.
Suppose you are worried about your arborvitae healing. Applying tree wound care to the topped trunk might be worth it.
This product provides an artificial barrier to prevent bacteria, fungus, and other contaminants from entering your tree.
Pruning an Arborvitae
Step 1: Choose the Right Time for Pruning
Pruning is best performed in late spring to early summer when the arborvitae is actively growing.
This timing ensures that the plant has enough time to recover and regrow during the rest of the growing season.
Step 2: Gather the Right Tools
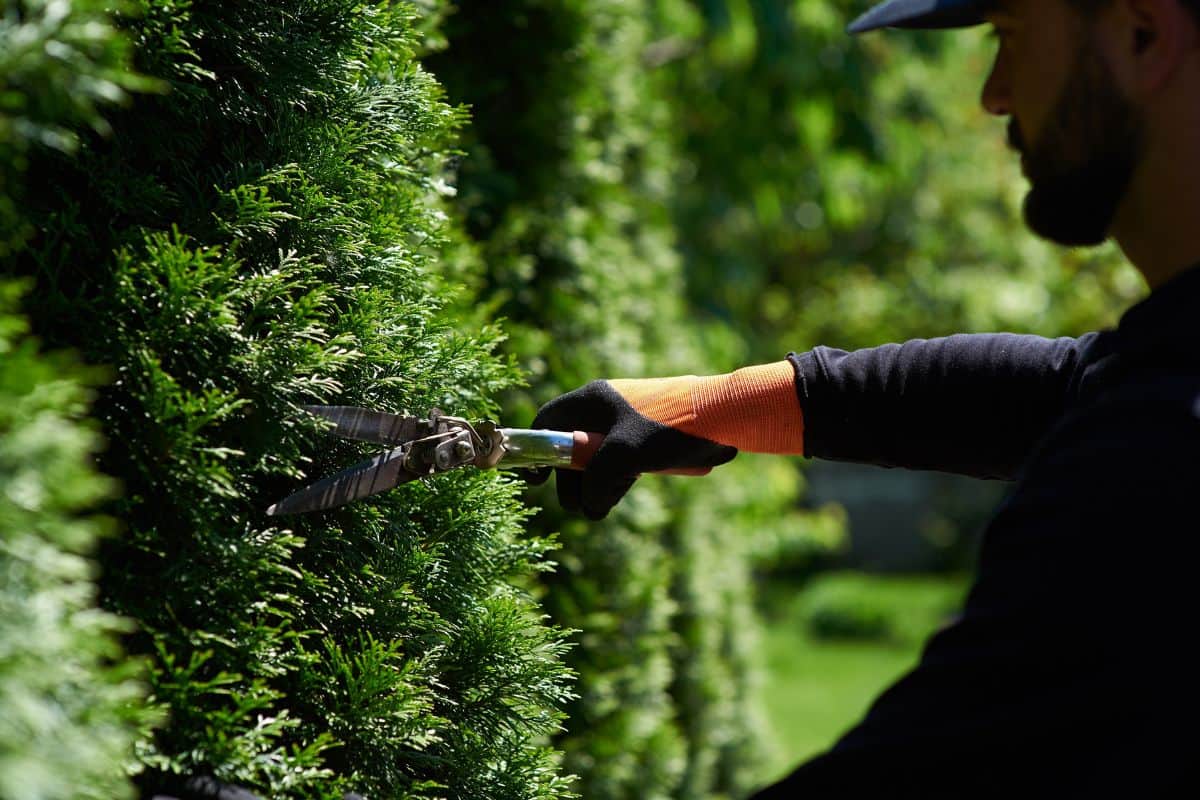
To begin, ensure you have the necessary tools. Sharp and clean shears are essential for a clean and precise cut.
Dull or dirty tools can lead to jagged cuts and potential damage to the plant.
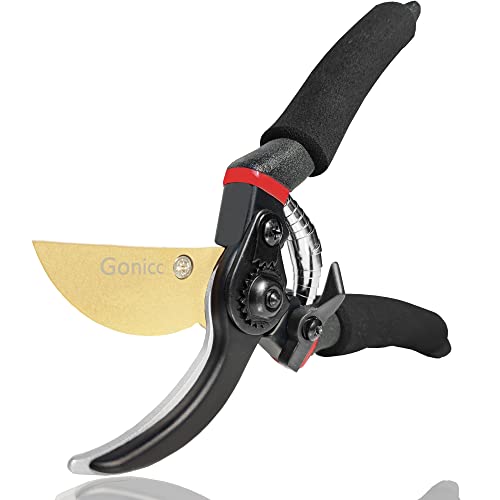
Click here for well-reviewed pruning shears from Amazon.
Step 3: Avoid Over-Cutting
The most important rule to follow is to avoid cutting off more than 1 foot of a branch at any given time.
Cutting off too much can lead to cutting into the brown, non-living part of the branch instead of the green, living part.
This is crucial because while the green part will continue to grow after being cut, the brown part will not.
Click here for a battery-powered hedge trimmer from Amazon.
Step 4: Check Branch Color
To determine whether you're cutting into a branch's green or brown part, lightly scratch the surface.
The green inner color indicates a healthy, living branch that can be safely pruned. Brown or dead inner color suggests you should avoid cutting there.
Step 5: Begin Pruning
Using your sharp and clean shears, start pruning the arborvitae.
Focus on the branches you want to shorten to maintain the desired height and spread.
Remember to stick to the 1-foot rule and prioritize the green parts of the branches.
Step 6: Regular Maintenance
Regularly prune your arborvitae to keep its growth in check. This prevents the need for drastic cuts that could damage the plant.
Routine pruning helps maintain a neat and aesthetically pleasing appearance.
Pruning Techniques for Healthy Arborvitae Maintenance
Effective arborvitae pruning techniques ensure optimal plant health and aesthetics:
- Thinning Cuts: Remove full branches to enhance air circulation and light penetration, promoting balanced growth.
- Heading Cuts: Trim a portion of a branch just above a bud or lateral, guiding growth and maintaining size.
- Directional Pruning: Trim above outward-facing buds to encourage proper growth direction and prevent overcrowding.
- Natural Form: Work with the plant's natural shape, avoiding excessive pruning that can stress the plant.
- Clean Cuts: Use sharp tools for precise cuts, reducing damage and promoting quick healing.
- Branch Collar: Keep a small part of the branch collar when cutting to aid healing.
Mastering these techniques maintains arborvitae health while achieving desired appearances.
Common Pruning Mistakes to Avoid
Pruning arborvitae is a skill that demands precision and care. By steering clear of these frequent pruning pitfalls, you'll safeguard your plants' vitality and appearance:
1. Selecting the Wrong Tools
The tools you use can significantly impact the outcome. Employing blunt or incorrect tools can result in messy, uneven cuts that invite disease and hinder healing.
Opt for well-maintained, sharp tools appropriate for the size of branches you're trimming.
2. Miscalculating Timing
Timing matters. Pruning at the wrong season can place undue stress on the plant, potentially leading to stunted growth or other issues.
Follow the recommended time frames – typically late spring to early summer – to capitalize on the plant's natural growth patterns and resilience.
3. Overzealous Cutting
While pruning is essential for maintaining shape and health, over-pruning can be detrimental. Aggressive cutting might weaken the arborvitae and result in sparse foliage.
Practice moderation by adhering to the "one-third rule": avoid removing more than one-third of the plant's total foliage in a single pruning session.
4. Creating Unnatural Shapes
Shaping your arborvitae is an art and over-enthusiastic sculpting can strain the plant's resources.
Respect its inherent growth pattern and avoid forcing it into unnatural shapes.
Instead, let its form guide your pruning decisions, allowing it to thrive gracefully.
5. Neglecting Proper Cuts
Leaving ragged or uneven cuts behind can hinder healing and expose the plant to potential diseases and pests.
Make sure your cuts are clean and precise, aiming to keep them as close to the branch collar as possible for quicker recovery.
Effective Aftercare and Maintenance for Pruned Arborvitae
After pruning your arborvitae, providing appropriate aftercare and ongoing maintenance is crucial for the plant's continued health and vigor. Follow these steps to ensure a successful recovery:
1. Watering
Adequate hydration is paramount for healing. Regularly water the arborvitae, ensuring the soil remains consistently moist.
This supports the plant's ability to redirect resources toward recovery and growth.
A well-hydrated plant is more equipped to withstand the stress of pruning and adapt to its altered form.
2. Fertilization
Encourage robust regrowth by introducing balanced nutrients. Choose a slow-release fertilizer to deliver essential elements gradually over time.
This sustained nutrient availability fosters steady development, aiding the plant in replenishing its resources post-pruning.
3. Monitoring
Vigilance is key to identifying potential setbacks early on. Regularly inspect the plant for signs of stress, such as browning leaves, wilting, or pest infestations.
Swift detection enables you to implement timely interventions and rectify any emerging issues before they escalate.
4. Nutrient Boost
Should your arborvitae exhibit signs of slow recovery, consider supplementing with organic matter like compost.
This nutrient-rich addition can boost the healing process, aiding the plant's rejuvenation and reinforcing its ability to rebound.
5. Pruning Young Growth
As new growth emerges, selectively prune to guide its direction and maintain the desired shape.
This proactive approach prevents overcrowding and ensures even growth distribution, contributing to the plant's overall resilience.
6. Winter Preparation
Preparing your arborvitae for the challenges of winter is essential for long-term health. Apply a layer of mulch around the base of the plant to insulate the roots and protect them from extreme temperatures.
This protective measure minimizes potential winter damage.
How do you stop evergreens from growing taller?
Unfortunately, pruning or cutting your evergreen tree is the only reliable way to keep your tree from growing taller.
While it is possible to stunt growth by starving the tree for nutrients and water, it will also produce an unhealthy, ugly-looking tree.

Click here for a growth inhibitor from Amazon.
Applying growth inhibitors to recently pruned limbs can slow your evergreen from getting taller. However, this still requires pruning the stems and will only delay the upwards growth of your tree; it will not stop it.
Hire an Expert
Pruning and topping trees can be both dangerous and challenging. While this article provides most of the information you need to top your arborvitae, there are always additional trade tricks.
Consider hiring a local arborist expert to ensure a quality finished product that is a positive addition to your yard.
Additional Reading
Garden Tabs has a wide selection of reading on many gardening topics. Consider these articles: 7 Best Arborvitae Fertilizers, 17 Best Privacy Bushes And Shrubs, and 19 Fast Growing Shrubs For Screening Purposes.
In Closing
In this article, we answered the question of whether or not you can top arborvitae. To follow this, we provided step-by-step instructions on accomplishing this task.
We also include advice on prune arborvitae and the answer to a related question. Good luck!
Can you cut off all but the main trunk?
Hello Rachel and thank you for your question! If you cut off all of the branches but the main trunk you would end up with bald and brown spots where you have made your pruning cuts – only the top of the tree would exhibit significant growth moving forward. Therefore, it is usually inadvisable to cut off all but the main trunk.
Can I shorten a 15 foot tall arborvitae to 4 feet tall by removing the tall inner branches, then retrain the shorter remaining outer branches to form the pyramid shape again?
(P.S. I thought we bought Golden Globes so they would remain small, but apparently not.)
I have four peaks to my arborvitae tree can I cut the three tallest ones and leave the shortest one as top of my tree or how exactly should I go about stopping my tree from growing above 54” or so height
So with four different height peaks how do I stop that three at 5 foot