Patio pavers help enhance the ground's surface. But what if there's water pooling on your patio? What could be wrong, and how do you fix this? You don't have to worry! We've researched the answers to your questions.
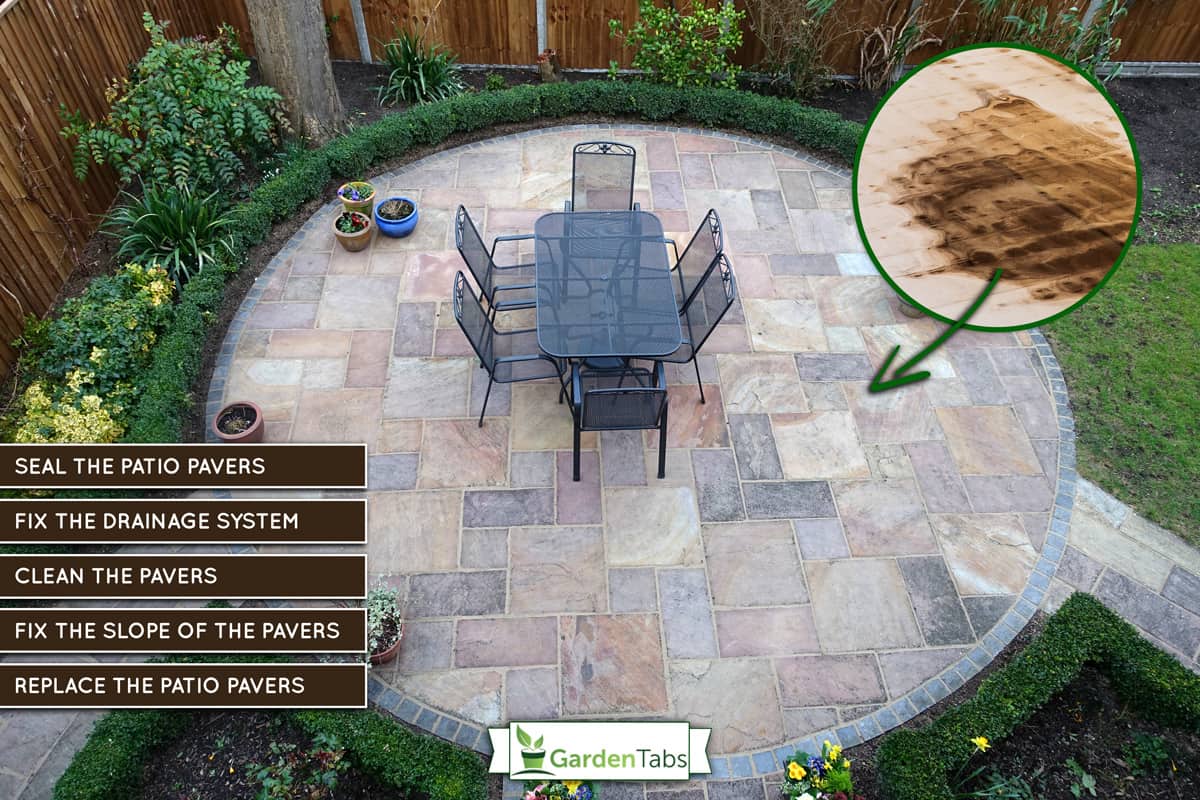
Water collecting in patio pavers causes an inconvenience and ruins the quality of pavers. You can prevent the water from pooling by doing these techniques:
- Seal the patio pavers.
- Fix the drainage system.
- Clean the pavers.
- Fix the slope of the pavers.
- Replace the patio pavers.
Throughout this article, you'll learn why there's water pooling in your patio pavers. We'll help you with steps on how to fix this problem. We'll discuss more about relevant matters to talk about. There's no time to waste! So, join us in reading!
What to Do When Water Is Pooling On Patio Pavers?
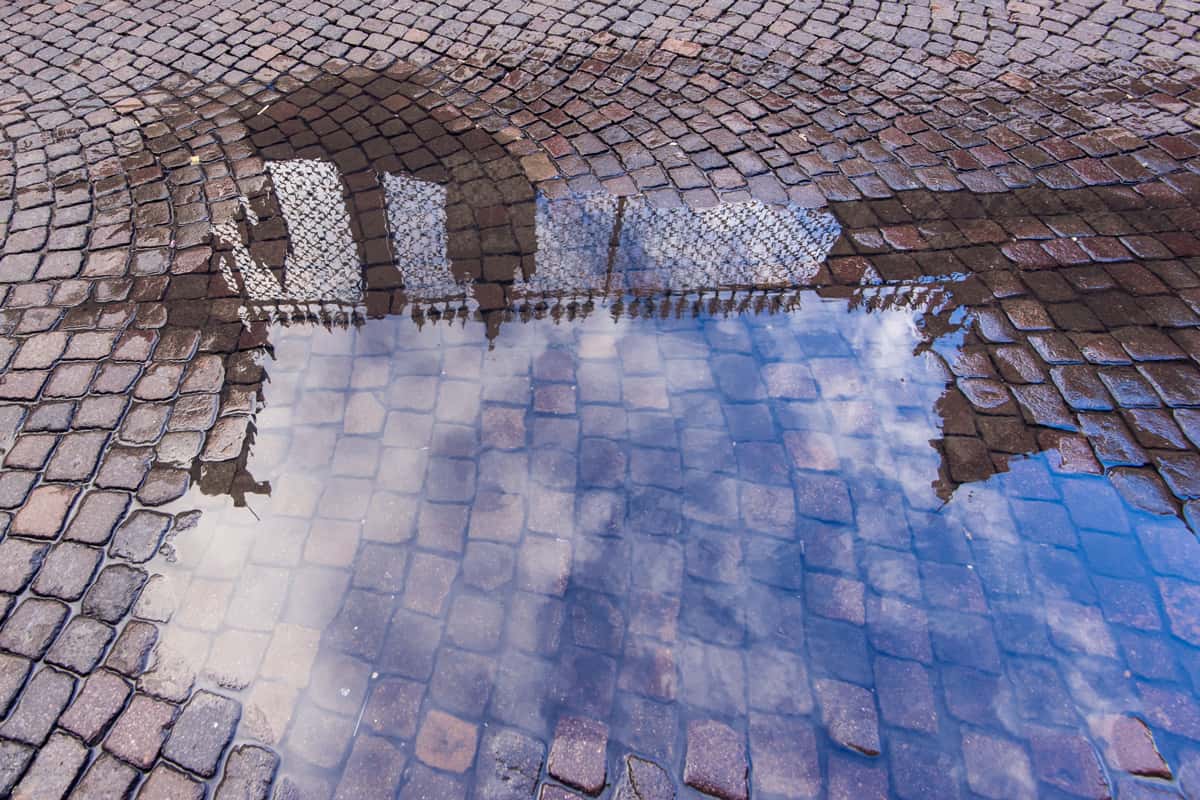
Water pooling, or creating puddles, is common during rain. The puddles should naturally dry out after the rain. But if the water stays in place until you dry it out, then there's a problem in this area.
We've listed down some ways you can solve puddle issues. See below these techniques and find out what would be best depending on your case.
1. Seal the Patio Pavers
Sealing your patio pavers helps prevent water from collecting. Since the soil beneath the pavers is a source of moisture, the moisture will then trigger a pool of water once it rains. If this is your case, then it's recommended to seal the pavers.
Before we proceed, you need to understand what sealant to use on your patio pavers. See below for the list of common sealants.
Liquid Rubber
Usually, liquid rubber sealant is used on highways and roads to increase friction for a less-slippery road surface. So, applying a liquid rubber on your patio pavers will increase friction and activate the ability to resist water. However, it's side effect could be a hotter surface since rubber does not absorb moisture.

See this liquid rubber sealant on Amazon.
Acrylic Paint
Acrylic paint is based on a chemical mixture compared to latex paint, which is water-based. The main difference between the two is that acrylic is more elastic and can expand on a surface. Acrylic paint is also highly resistant to the sun's heat.
You can use acrylic paint to seal the patio pavers. However, acrylic paint may have a strong odor during use. You will need a apply paint thinly since acrylic alone will be too sticky and can cost you more of it.

See this acrylic paint on Amazon.
Latex Paint
As mentioned, latex paint is water-based. It's a lot easier to apply and dries out faster than acrylic. The remarkable quality of latex paint is that it becomes water-resistant upon drying. As a result, it can redirect water away from the pavers. Unlike acrylic, latex paint has a mild smell. You can apply it to either new or old pavers.
Now that you know the common types of sealants, you can now seal the patio pavers by following these steps:
- Then wash and clean the pavers to remove the dust.
- Apply the sealant throughout the pavers based on product instructions. Let the sealant dry.
- Spread sand and with an outdoor broom all over the pavers to fill in the gaps.
- Gently spill water to harden the sand. Let the pavers dry.
- Reapply sand every 10 years or every time the pavers get loose.
2. Fix the Drainage System
Another reason why water pools in pavers is the poor drainage system. You need to assess where the drainage starts and ends so that you'll find if there's a leak. Also, the outdoor canal should collect all the water when it rains. You should remove obstacles blocking the sewer.
This method may require major repair. However, you can try to extend the downspout of the gutter to reach the drainage directly. See if there's a hole in the gutter that allows rainwater to pool. Also, check and observe the quality of the soil surrounding the patio. There might be soft soil caused by faulty drainage.
3. Clean the Pavers
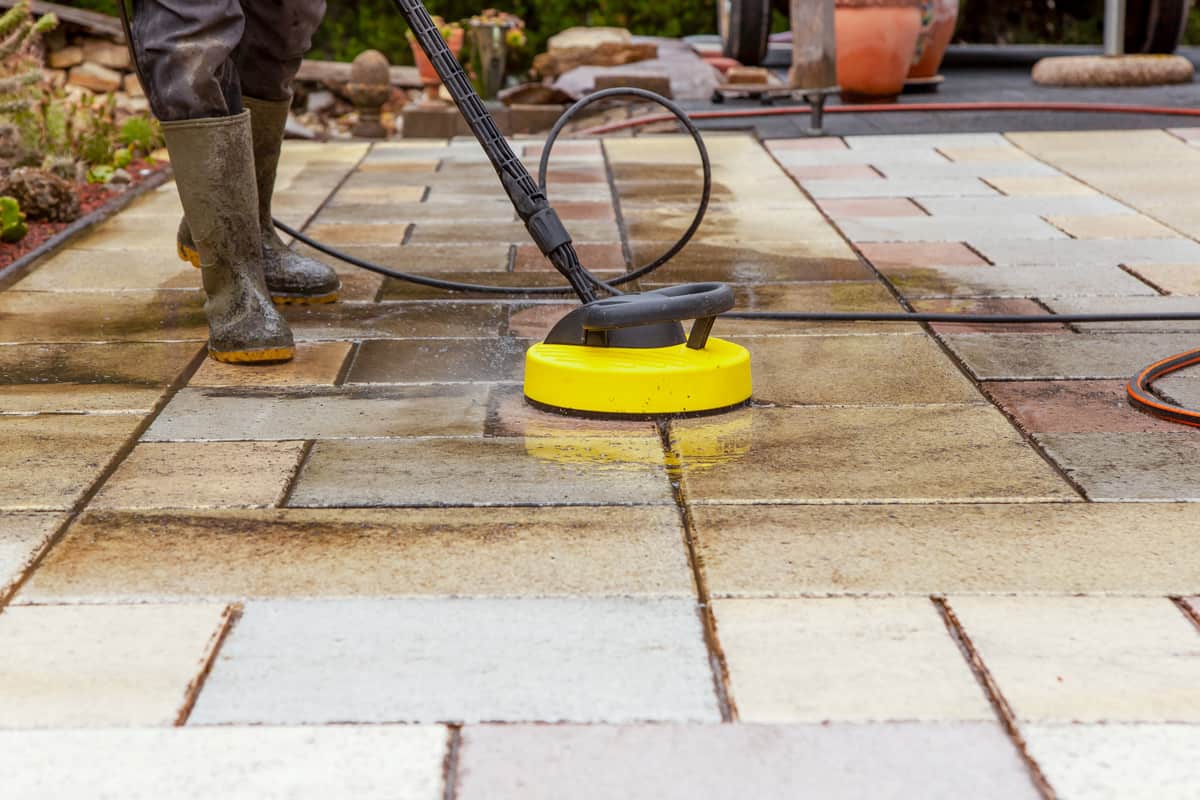
It's ideal to clean the pavers on a regular basis, at least once a week. If the pavers are starting to attract algae or mold, then the area is absorbing too much water. Continuous algae growth will generate moisture in the area.
Unwanted grass or weeds could also grow between pavers if there are too many nutrients from wet soil. You'll want to kill the grass before they collect more water and spread it on other pavers.
See instructions below on how to clean and remove grass between pavers:
- Wear your gloves. Using a weed picker or a knife, pull the weeds or grass that grow between the pavers. You can spray a vinegar or bleach solution to kill the remaining nutrients in the soil.
- Wash the pavers with water. Spread a cleaning solution, then brush the pavers with a scrubbing broom.
- Using a stronger solution like bleach, scrub the algae and mold. Wash the pavers with soap and water until the surface is clean.
- Let the pavers dry. Spread polymeric sand over the gaps between them.
- Gently splash water between the pavers to hold them together.
It's ideal to fill in the gaps with sand after cleaning the pavers. This is to ensure that grass will not grow back. Polymeric sand is a popular filler between pavers. It's composed of silica and other chemicals that can stabilize hard surfaces.
4. Adjust the Paver Slope
The patio pavers might be misaligned. It's important that the pavers are laid flat to maintain a good flow of rainwater. On the other hand, you might increase the slope of the pavers to let the water slide far from your house.
This technique requires proper assessment as you'll modify the existing pavers. It can be difficult if the patio pavers are in firm hold already.
5. Replace the Patio Pavers
You may need to replace the patio pavers, specifically if they're broken. It is important for the pavers to hold weight and withstand pressure when you walk past them.
Some signs you need a replacement for patio pavers include sinking, misaligning, and puddling. Replacing damaged pavers keeps the ground's surface safer and less slippery. However, replacing pavers may be costly and take time depending on how wide the damaged area is. You can ask a professional to evaluate specific areas that need replacement.
Simply follow these steps on how to replace patio pavers on your own:
- Wear gloves and make sure the weather is sunny or dry.
- Use a chisel or a grinder to remove the pavers from the ground.
- Clean and dry the spot. If the soil is too soft, then harden it with sand or cement. It is critical to keep the paving stable.
- Measure the area and cut the excess edges if necessary.
- Put the pavers in place. Leave at least a quarter inch of space on all sides.
- Thump the pavers with a rubber mallet to level them with each other.
- Spread sand to fill in the gaps.
- Wash the pavers with water to harden the sand.

How to Stop Water From Pooling On Covered Patio Furniture
If water continues to pool on patio furniture, it will cause damage to furniture. However, there are some ways to prevent this from happening. See below some options.
Use Some Buckets
The simplest way to resolve pooling water on furniture is to put some buckets in the center of table. This method works to avoid water backing up on covered furniture, in particular. After centering the bucket, cover the furniture, and you'll see a slope that will allow water to drain off.
Add Weight to Furniture
You can repurpose some bag clips or put some sand or stones in a pouch that will add weight to the edges of furniture covers. This prevents the cover from wrinkling, where pools of stagnant water can form. Water will roll right off the tightly secured edges.
Install a Water Shredding Pole
Similar to a DIY placing a bucket method, this product elevates a furniture cover from beneath and redirects water away. It's usually installed at the back of high chairs. Simply refer to product instruction of use.

See this water shredding pole on Amazon.
How to Make Patio Pavers Less Slippery?
It's normal for patio pavers to get slippery when it's raining. But there are ways you can deal with it to maintain safety. Consider these techniques below:
Use an Anti-Slip Mat
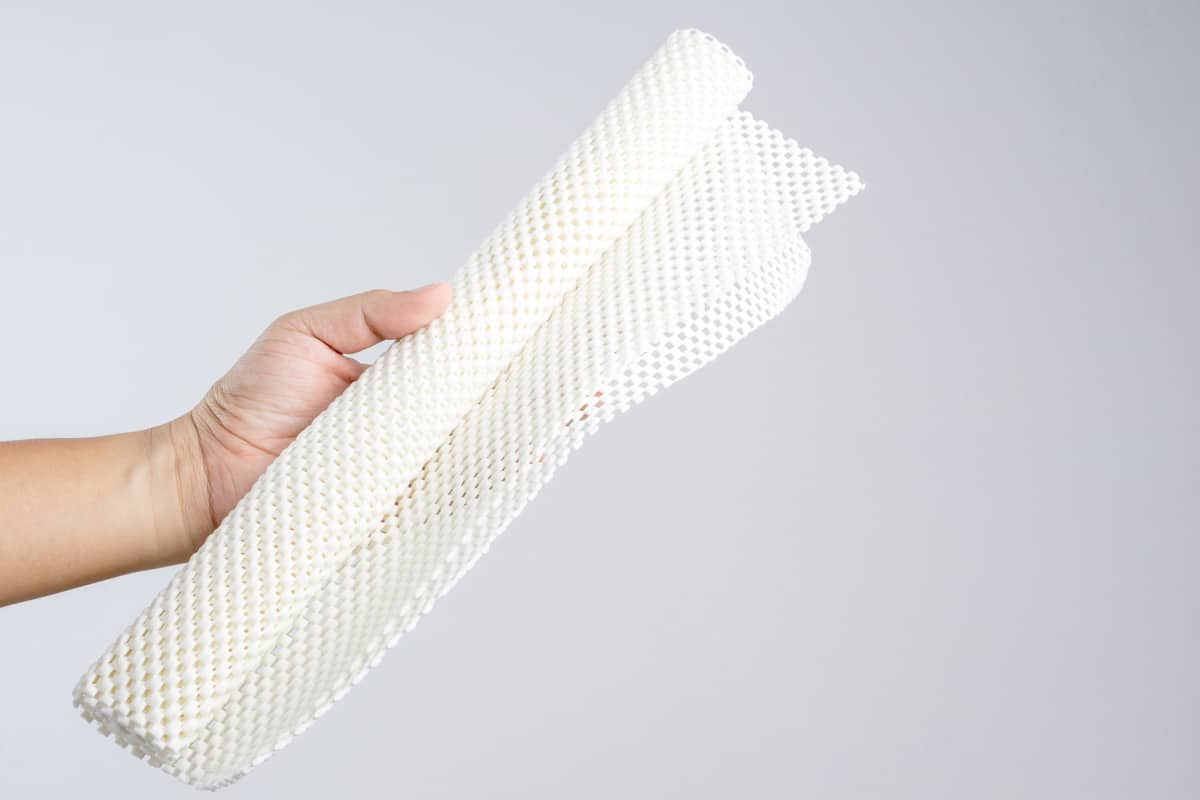
An anti-slip mat is usually made of rubber designed to increase friction against the ground. It keeps you safe from sudden movements in wet areas. This is good for slippery pavers like marble or natural stone.

See this anti-slip mat on Amazon.
Make a Roof
You can hide patio pavers from the rain by installing a roof on top of them. You'll avoid puddling by redirecting the rainwater onto the canal or drainage. This technique will take time to finish and requires roof assessment.
Conclusion
In this article, we explained why water pools on patio pavers and shared ways to fix it. We discovered the causes of the puddles, such as broken drainage or an uneven slope of the ground.
You learned how to clean the pavers and why it's important. We also shared steps for replacing broken pavers.
Of course, wet areas can be slippery. That's why we provided some techniques to make paving stones less slippery.
Are you ready to learn more from us? Check these articles out:
What To Do With An Unwanted Pond? [7 Awesome Ideas!]
Compost Or Topsoil For Overseeding? [Which Is Best?]