
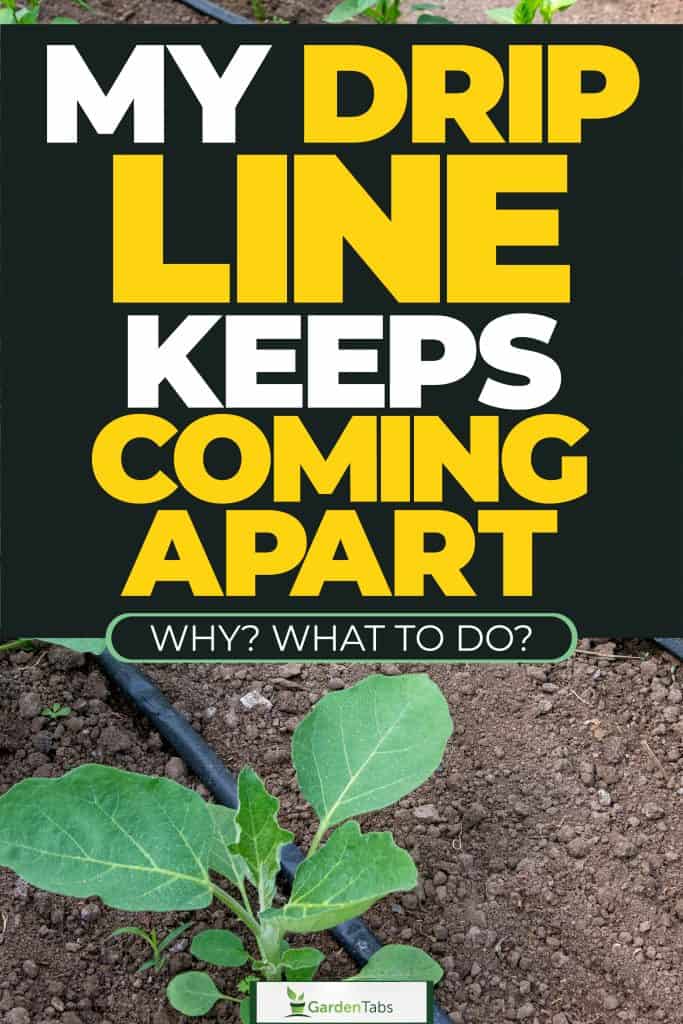
Like any other machine, drip irrigation systems "age" over time. The vegetation and dirt cause difficulty detecting problems not until your plants appear worn-out and droopy or your water bills start to rise. As the PVC system undergoes wear and tear, the tiny emitters and tubes may eventually pop off irrigation lines. To help you with this problem, we have thoroughly researched the underlying issues. These are the solutions we discovered.
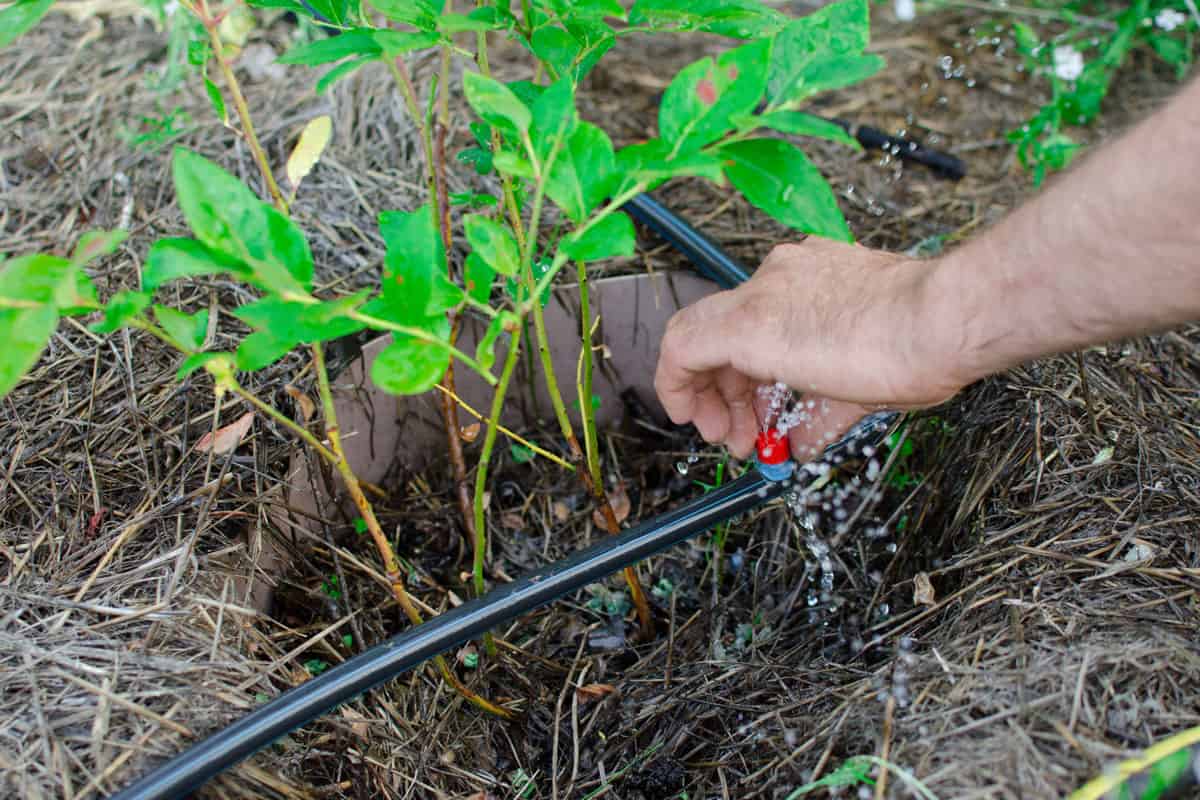
Drip lines in your irrigation system may show signs of breaking apart. If you install a pressure regulator before the timer, the water may leak from the hole or nozzle if there aren't enough drippers on the zone or dirt below the pressure regulator washer. Water may also pop out the opening if the static water pressure is 100 psi. Consider the following list to fix broken drip lines:
- Inspect the pressure regulator.
- Clean the regulator.
- Attach a pressure gauge.
- Inspect the pressure.
- Examine the filter.
- Flush the lines.
Identifying the problems on a drip line is a bit technical. You have to know the causes to fix the issue. Keep reading to discern when addressing the issue and how to solve these underlying drip problems.
Why Do Your Drippers Keep Breaking?
Do your drippers consistently fail? Have you attempted to figure it out but are still a bit perplexed? Find out why your drippers keep breaking and how to fix them. Take into account the following fixes to solve your drippers issues.

Inspect The Pressure Regulator
The main goal of a pressure regulator is to improve a drip system's overall performance by lowering the inlet water pressure from the main water supply. This device maintains a constant low water pressure throughout the system. You can determine the condition of a pressure regulator through visual inspection.

Check out these water pressure regulators on Amazon.
Clean The Regulator
Soak the water pressure regulator in a small basin with calcium lime remover. Calcium or lime deposits are present on pressure regulators that stop working. Give the valve several hours to soak in the solution.
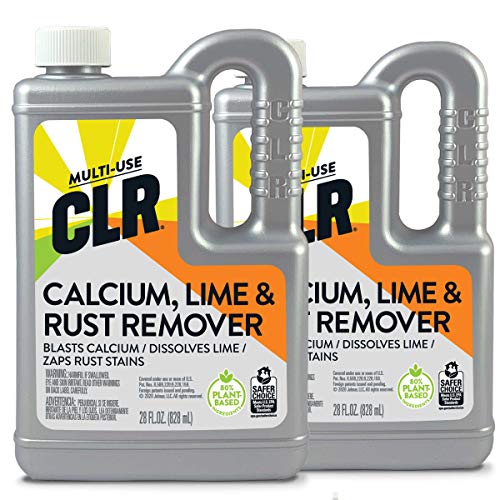
Check out this calcium, lime, and rust remover on Amazon.
Attach A Pressure Gauge
The pressure can be checked by fastening a pressure gauge to the line's end. You can monitor the amount of water you use with gauges and meters, which can also point out ways to operate the system more effectively.
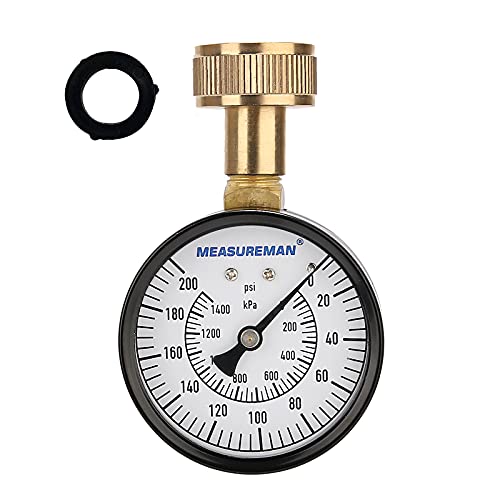
Check out this water pressure gauge on Amazon.
Inspect The Pressure
If the pressure rises above the pressure regulator's predetermined limit of 25 psi, there is a problem. You might have installed the drippers or micro sprinklers incorrectly if you utilized a punch tool that was flawed, imprecise, or worn out.
Examine The Filter
Install a filter with at least 150 mesh to stop the drippers or micro sprinklers from clogging. Check for clogged drippers or broken pressure regulators, then determine whether the drip line has an excess number of drippers micro-sprinklers.

Check out this backflow preventer on Amazon.
Flush The Lines
After adding a filter, open the line's terminus and flush it. Then you can install a pressurized system and turn on the water. Keep your finger slightly above the dripper exit. Usually, "back flushing" will be successful.
How To Maintain Drip Irrigation
While a subsurface drip irrigation system can survive for 15 years if well maintained, some components may need to be replaced or repaired periodically. Regular maintenance can lengthen the lifespan of an irrigation system.
You must plan preventive maintenance to guarantee optimal drip irrigation system operation. Maintenance still takes precedence even with a well-planned system design, which includes making drip lines resistant to weather and failures caused by clogging. Consider the following maintenance procedures:
- Check the micro tubing, micro-sprinklers, and drippers regularly to be on alert for minor damages before they begin to blow up.
- Depending on the water quality, filter screens must be flushed and cleaned at least once a month. One week following installation, you should check the filter to determine the frequency of cleaning intervals.
- Flush the drip tubing regularly, depending on the water quality.
- Remove the battery-operated controller, if present, during freezing weather and store indoors.
How To Keep Drip Irrigation Systems In Good Condition
Keep your irrigation system in good condition using the following steps:
Protect Water Controller
A controller is vulnerable to UV damage when installed outside. You can seal controllers to prevent moisture from corroding the system's parts. Older models of controllers might be hard to set up and have limited watering options. Since they are more efficient, you can use controllers that make use of Water Sense Smart Technology.

Check out this irrigation timer/controller on Amazon.
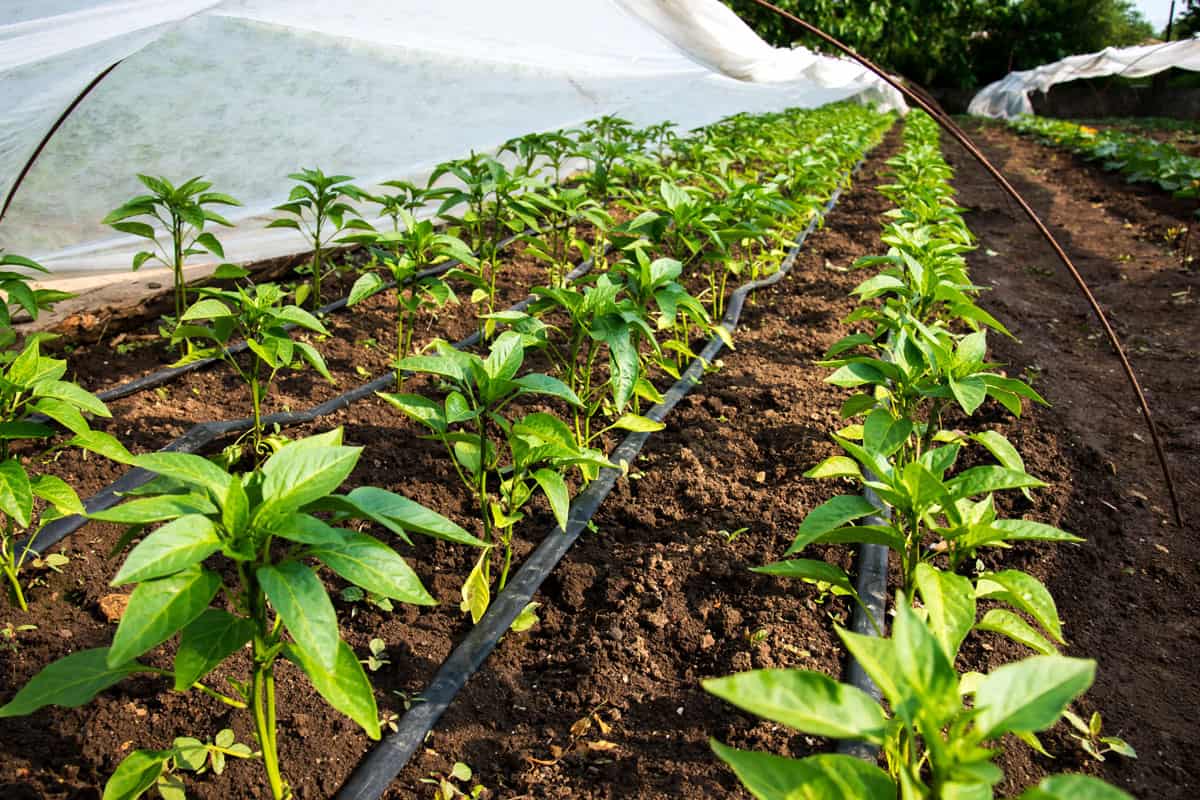
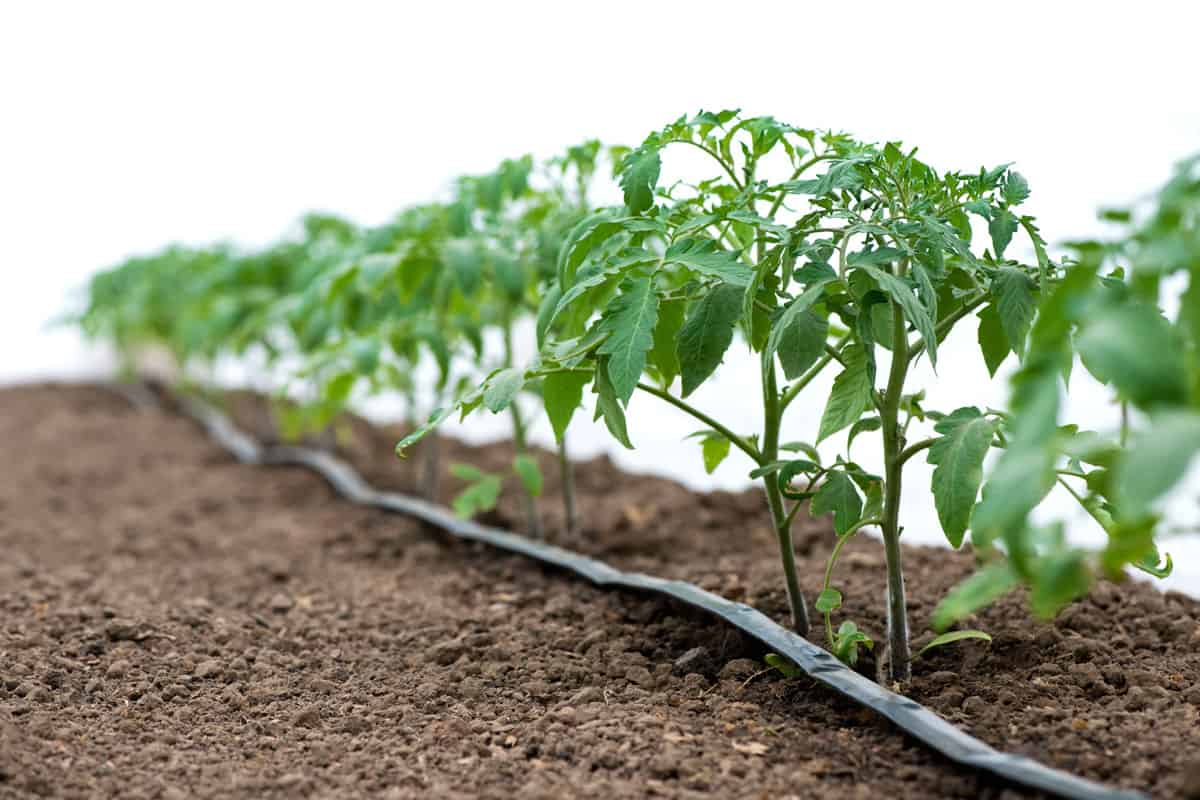
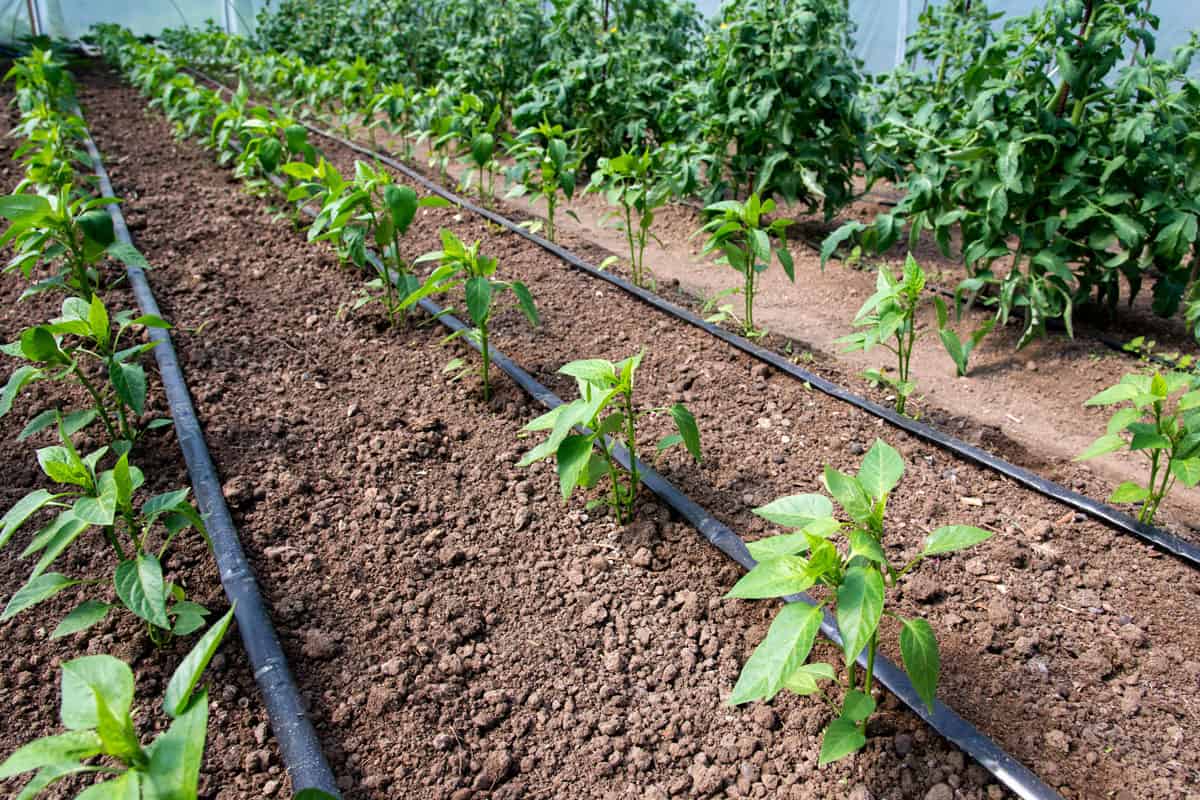
Bury Drip Tubings
UV rays are known to cause the degradation of drip irrigation tubing as well. Exposure to UV rays and more prone to freezing and splitting, tubing on the ground's surface typically doesn't survive ten years. However, landscape experts estimate that underground tubing will endure for roughly 10 years.

Check out this distribution tubing on Amazon.
Replace Clogged Emitters
Different emitters have different lifetimes. However, when they do, you must replace button emitters. Flag emitters can be cleansed but clog more frequently due to mineralization.
Can PVC Adhesive Be Applicable To Drip Irrigation?
A waterproof seal is created on pipe thread connections using thread sealant tape and sealant pipe dope. Pipe dope shouldn't be used upstream or close to automated valves because it could clog or harm them. The PVC glue/cement is used to seal and does not need priming.
What Fittings To Use On Irrigation Systems?
The difference between fittings with "hose" type threads and those with "pipe" type threads should be understood before discussing Teflon tape or any other thread-sealing products utilized in the household irrigation business.
Hose-like Threads
A garden hose, hose-end timer, Y splitter, hose-end sprinkler, and a domestic outdoor faucet all have what are known as "hose" threads. These threads screw together and seal against a washer that must be present in the female fitting for it to be leak-free, even though they are spaced apart from one another more than pipe threads are. Hose thread connections should not have Teflon tape or thread sealant used. Wrenches or pliers are often not required to attain a leak-free; typically, they are tightened (clockwise) by hand.
Threaded Pipe
The threads of PVC fittings, irrigation valves, sprinkler heads, and risers are known as "pipe" threads. They come in a range of outer diameters, and unlike "hose threads," they have tapered threads that are closer together. These fittings don't need washers to seal; instead, Teflon tape (applied to the male threads) and tightening the two fittings with pliers between the male and female threads. Never attempt to connect 34" female pipe threads to male hose threads or vice versa; although they may seem to fit, they will leak in the process.
Teflon Tape
If thread sealant materials are not applied, pipe thread fittings will leak. Pipe thread fittings can be treated with different materials to stop any leakage. The plumbing industry frequently uses pipe dope; thread sealant pastes on brass and copper fittings. But over time, they might harm some polymers. Always use teflon tape on pipe-threaded plastic irrigation goods, PVC fittings, and nipples, always use Teflon tape.

Check out this thread tape on Amazon.
How Much Does it Cost to Install a Drip Irrigation System?
You can use residential drip irrigation systems in landscaping and gardens and employ a network of pipes or hoses with perforations to enable grown-level watering without a spray. Residential drip irrigation systems typically cost between $225 and $415.
Small-scale or agricultural systems can cost up to $500-$1,200 per acre. You can choose between surface-level and subsurface irrigation, with the latter being slightly more expensive.
In Closing
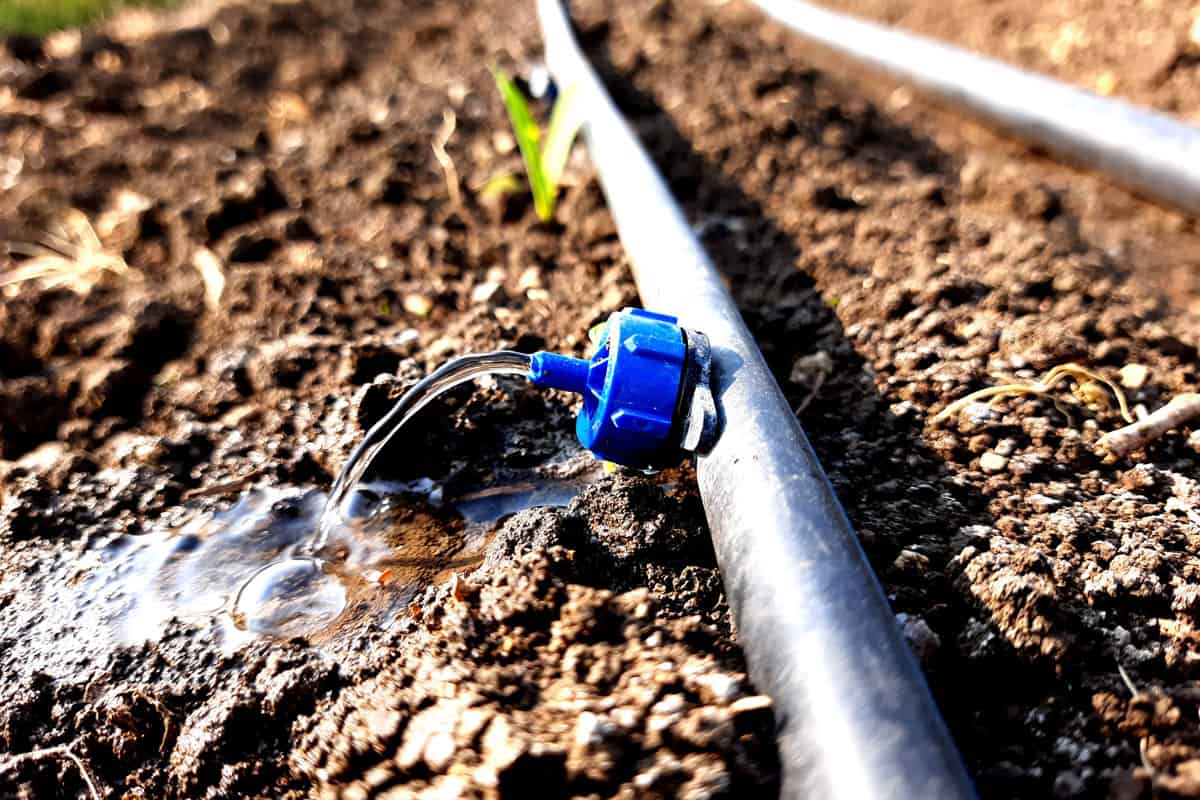
Insufficient drippers on the zone or dirt below the pressure regulator washer might cause water to leak from the hole or nozzle, which results in an issue with your drip lines. If the static water pressure is 100 psi, water may seep out of the hole. You need to undertake routine maintenance on your drip irrigation system if this problem persists so that you can discover a long-term solution to the problem. You carefully inspect the pressure regulator, filter, and drip lines and flush out any clogged dirt.
If you wish to learn more about drip irrigation systems, you may read the following posts in the series: