Would you like to know why your skimmia leaves are turning yellow? Well, we have researched this topic and have the answers for you. It's vital to understand why your skimmia leaves are turning yellow to help them.
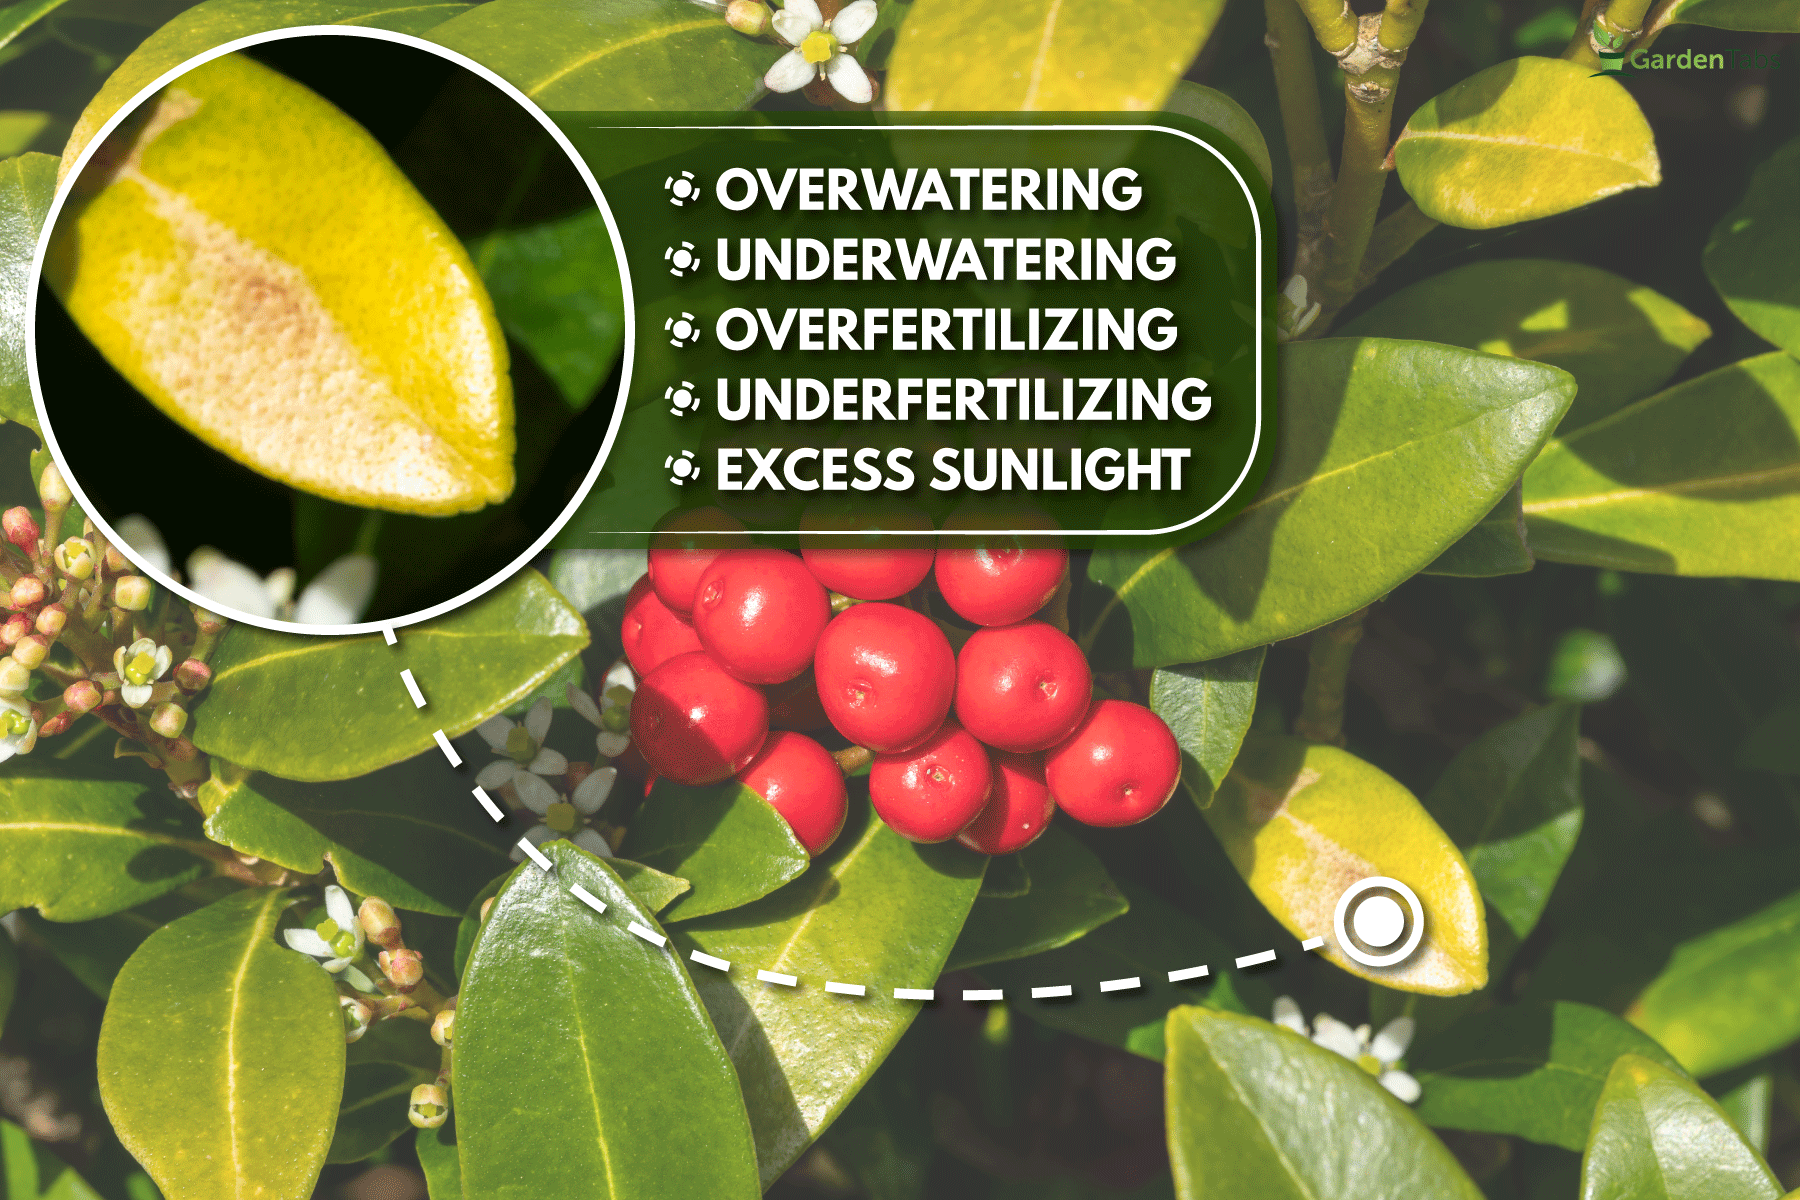
There are a few reasons your skimmia leaves may turn yellow—overwatering, underwatering, overfertilizing, underfertilizing, or excess sunlight. Identifying the cause of your skimmia leaves turning yellow is vital to remedy the problem.
In this article, we will learn why your skimmia leaves are turning yellow. We will also learn the answers to other interesting related questions, such as how do you transplant skimmia, and can you grow skimmia in a pot? Keep reading to learn more.

Why Are My Skimmia Leaves Turning Yellow?
When your skimmia's leaves turn yellow, the plant is stressed and dying. To keep your skimmia from dying, you must identify what is causing the stress and remedy it. Let's look at the most common causes of your skimmia leaves turning yellow and learn how to identify and fix them.
Overwatering
Check the soil for moisture to learn if you are overwatering your skimmia. While it's good for the soil to be damp, you don't want it soaked. If the soil is too wet, it will prevent the plant from breathing.
As your skimmia struggles to breathe, it will become weaker and yellow. While the plant weakens, it becomes susceptible to many fungal and bacterial infections. These infections can be recognized by black or white spots on the leaves.
If you find signs of overwatering, you will want to reduce how much you water. Start by not watering for two or three days to allow the soil to dry at least two inches below the surface. Once the soil is dry, you can begin rewatering.
Shorten the time you water during watering days and reduce how many watering days you water each week. If your skimmia is wilting, you can increase watering times, but it's best to err towards less water than more.
If your skimmia has an infection, you will need to treat it before your plant can fully recover. Fungal infections need a fungicide, and bacterial infections need a bactericide.
While fungal infections typically have white spots and bacterial infections have black spots, there are exceptions, so it's best to use a spray that treats both. If you want to try a spray that treats fungal and bacterial infections, here are two of the best available on Amazon.

Garden Safe Fungicide 3
You can find this product here on Amazon.
Monterey Fungicide & Bactericide
You can find this product here on Amazon.
Underwatering
To identify if you're underwatering your skimmia, check if the soil around them is dry. If you are, you will also find your skimmia leaves wilting. The wilting is due to the plant's cells using all their stored water and losing structure.
If you see signs of underwatering your skimmia, you need to increase watering times. Start by increasing the watering times by five minutes. See how your skimmia responds after a week before increasing watering times again.
It's crucial to increase watering times gradually to avoid the myriad of issues caused by overwatering.
Overfertilizing
Identifying if you have overfertilized your skimmia is easy due to how your skimmia's leaves will turn yellow a day or two after fertilizing. There will also be a characteristic browning of the edges of its leaves known as fertilizer burn.
The best way to help your skimmia after overfertilizing is to flush the soil. Take a hose and soak the ground around your skimmia for one to two hours. The excess fertilizer will dissolve into the water and be flushed away.
After flushing the soil, allow the ground to dry for two days to prevent problems associated with overwatering.
Underfertilizing
It can be harder to identify if your skimmia's leaves are turning yellow due to underfertilizing. If the soil is damp but not soaked, your skimmia isn't receiving excess sunlight, and you have fertilized within the last year, then underfertilizing may be the culprit.
To help your skimmia return to full health, apply a small handful of granular fertilizer around the base of your skimmia. It's critical that you don't use too much and that your fertilizer contains all three essential nutrients for plant growth.
Plants require nitrogen, phosphorous, and potassium to grow. As long as your fertilizer contains a close to even mix of these three nutrients, it will help your skimmia. If you want to try a fertilizer with all three essential nutrients for plant growth, here are two of the best available on Amazon.
Southern Ag Fertilizer
You can find this product here on Amazon.
GreenView Fertilizer
You can find this product here on Amazon.
Excess Sunlight
Skimmias prefer partial or full shade and can become stressed in full sunlight. If your skimmia has only been fertilized lightly and watering times are managed, then its leaves may be turning yellow due to stress from excess sunlight.
There are two primary solutions to help skimmia exposed to excess sunlight—planting a bush or tree to block sunlight or transplanting to a more shady location.
How Do You Transplant Skimmia?

To transplant skimmia, start by locating a new home. Find a location with partial or full shade to ensure your skimmia thrives.
Now dig a hole between eight and 12 inches wide and six to 10 inches deep depending on the size of your skimmia. Ensure your hole is big enough to contain the plant's primary root mass.
Next, it's time to dig up the skimmia using a spade shovel. Insert the shovel around the skimmia in a circle the same size as the hole you prepared. Once the circle has been cut out, use the shovel to lift the skimmia and the plug of dirt out of the hole.
Take the skimmia and gently lower it into its new hole. You can use some excess dirt from digging the hole to fill the gaps around the skimmia. Use the rest of the extra dirt to fill the hole left by removing the skimmia.
To ensure your skimmia won't lean as the dirt settles, it's crucial to compact the soil around the base of the skimmia. Use the handle of a shovel to tap the ground compact gently. The small surface area of the end of a shovel applies enough pressure to compact the soil effectively.
After transplanting your skimmia, it's vital to give it water to reduce the stress of transplanting. After a week, you should also apply fertilizer to encourage new root growth. It's best to wait a week because introducing fertilizer too early can cause stress.
Can You Grow Skimmia In A Pot?

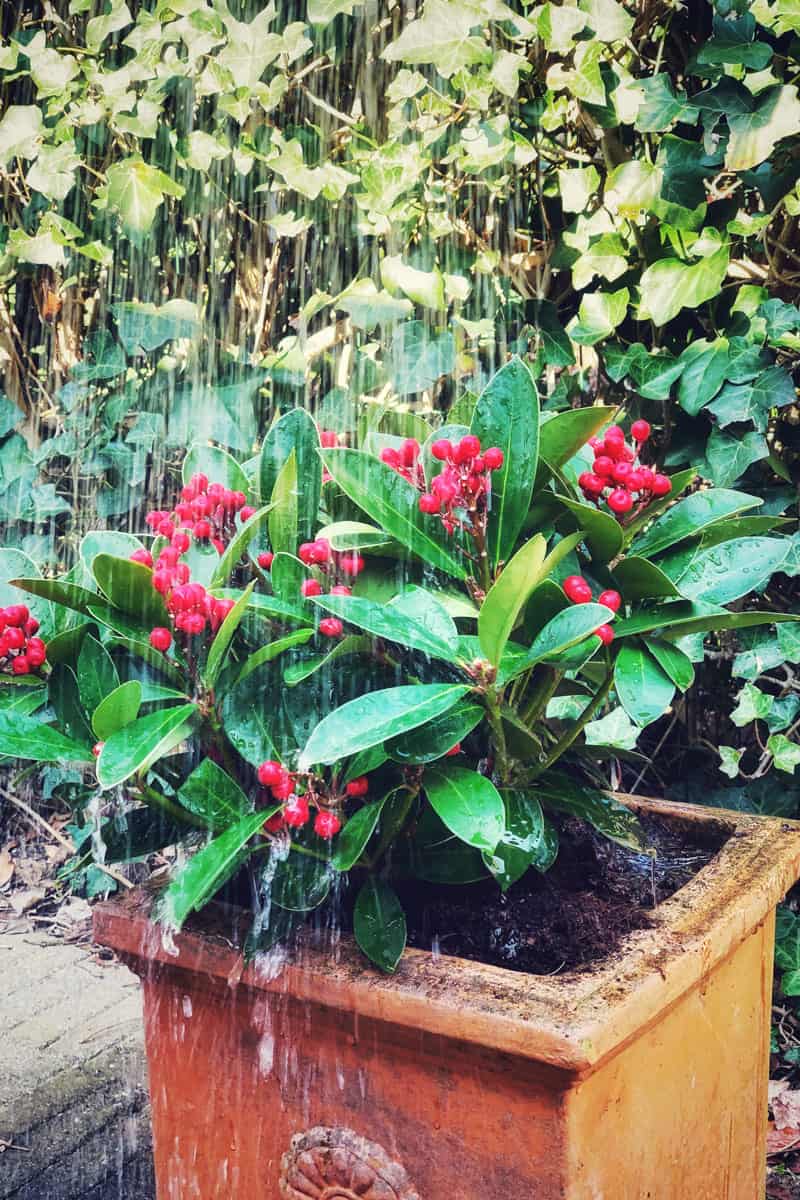
Skimmia can be grown successfully in a pot. The slow-speed skimmia grows, and their shallow root system makes skimmia perfect for contained growth.
If you grow your skimmia in a pot, you must keep getting a larger pot or prune it. If you want to get a larger pot, then ensure it's four to six inches larger than its current pot.
It's best to transplant skimmia to a new pot in the fall or early spring. Transplanting skimmia to a new pot during the summer can be done, but it puts a lot of stress on the plant.
The other option is to prune away part of the skimmia so that it can continue to thrive. When pruning skimmia, it must be done in the early spring. Cutting skimmia in the summer can cause it not to grow berries the following winter.
How Do You Prune Skimmia In A Pot?
To prune skimmia in a pot, take a pair of hand pruners and begin cutting six to 12 inches off the top of each stock just above a node. While cutting, keep the heights of the stocks uniform in a gentle curve. If you don't curve the cutting height correctly, your skimmia will have a flat top.
While pruning it's best to cut and remove any dead wood to allow more growing space. If your skimmia is too thick, you can cut a few stocks to the ground to help thin it and encourage new growth.
Final Thoughts

In this article, we learned about the common causes of skimmia leaves turning yellow and how to remedy them. We also learned to transplant skimmia. Remember, it's best to transplant skimmia in the early spring to avoid causing it stress.
We hope you enjoyed this article. If you want to learn more, check out some of these other posts:


