
Elderberry is an interesting plant that can bear fruit with many health benefits. This plant, however, does require a bit of knowledge on what time of year is best for it to be transplanted. After researching, the answer to when and how to transplant elderberry has been found.
Elderberry should be transplanted in the fall. This is the best time because it is just as the plant enters its dormant period for the winter. By transplanting during this time, you give the plant its best chance of survival and the greatest chance at success.
Knowing when to transplant elderberry is important, but there is still so much more knowledge to gain on how to transplant and where to plant your elderberry. Keep reading to find out more information about elderberry.
![Up close photo of a cluster of elderberries, When To Transplant Elderberry [And How To]](https://gardentabs.com/wp-content/uploads/2022/01/When-To-Transplant-Elderberry-And-How-To-683x1024.png)
When Is It Best To Transplant Elderberry?
As stated before, the best time to transplant elderberry is in the fall, when the plant drops its leaves. Being sure to transplant during this time will cause your elderberry plant much less stress than attempting to transplant during a different season when the plant is actively growing berries and blooming.
However, if you are planting elderberry, you must do that in early spring, but be sure there will not be any chance of frost. Frost will stress the elderberry out, and the cold may be too harsh for the plant to live through.
To understand which of these two times to choose for your plant, you must understand the difference between planting and transplanting. Planting is when you start with seeds, while transplanting begins with a fully germinated plant and moves it from one place to another.
Where Is The Best Place To Transplant Elderberry?
Before getting the plant ready for transplanting, you will need to figure out exactly where you plan to place the plant in the ground. There are a few things you will need to consider before choosing a site.
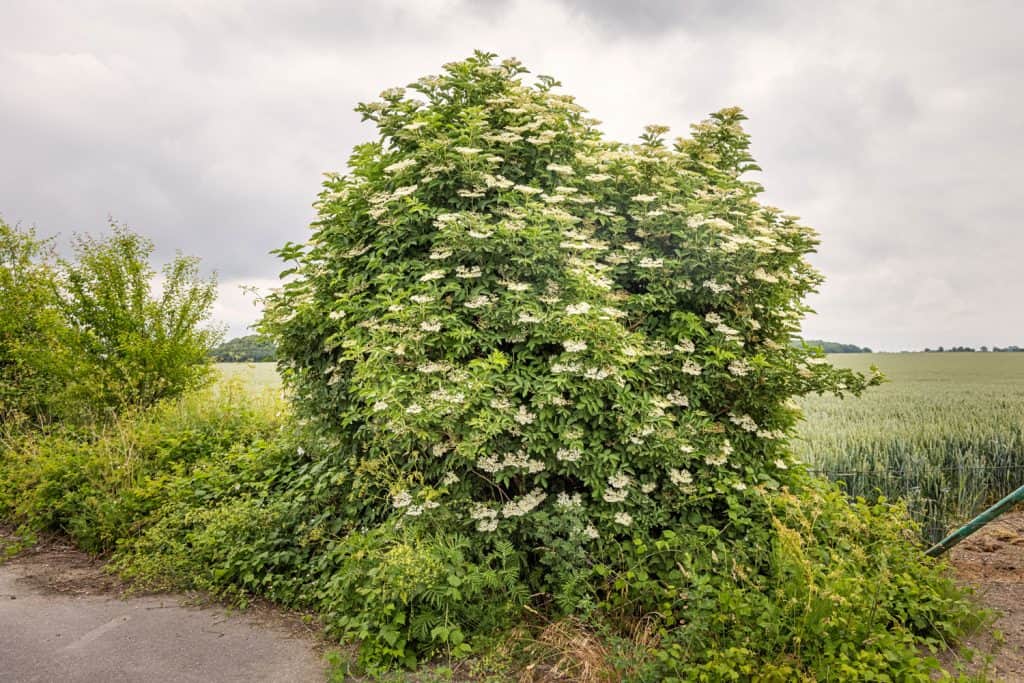
First, you need to find a spot with full sun for the best outcome, although the plant can survive in partial shade. Elderberry plants do not do well in full shade. Make sure there is plenty of space for your elderberry plant. They need the space to grow and thrive.
Next, check the soil. Does it drain well? Elderberry plants need to be in soil with good drainage to ensure they get enough but not too much water. While you are checking the soil for drainage, you can also check the pH of the soil.
Elderberry plants do best when the pH is between 5.5 and 6.5. You can do this by buying a soil test, and this is to ensure you are giving your plant its greatest chance at survival.
Getting Your Site Ready For Transplanting
After finding an excellent site for your elderberry plant, you will need to get the site ready for transplanting. To do this, you will need to start by digging a hole. The hole should be two to three times the size of the expected root ball. You will need to have some compost ready, water, and some of the soil you just dug up.
It is essential to mention that if you transplant more than one elderberry plant, they need to be about eight feet apart from each other. It is important to give the elderberry plant enough space to grow. Elderberry plants can grow anywhere from five to ten feet tall, so space is a must.
How To Transplant The Elderberry Bush
First, you will need to look at your plant and assess the size. You will want to cut it back a bit, mainly for handling purposes as you move it. You can either cut the plant down to about six feet or cut it to about half the size.
After cutting the plant down in size, you will need to dig up the roots. Elderberry roots are not usually deep into the ground, so that this step can be easy. Take a shovel and dig into the ground about 8 inches around the plant.
Once you do, you should be able to pick up the plant and find the root ball, removing the excess soil and loosening the roots a little bit. You can place the root ball in burlap for easy transportation to the new site.
Now, you will need to place the root ball into the hole. First, put one part compost and one part of the dug-up soil into the hole, then the root ball, and then continue to fill with one part compost to two parts soil. Once the plant is in the ground and the hole is filled, be sure to water the plant well. Do not drown the plant, but be sure to moisten the ground thoroughly.
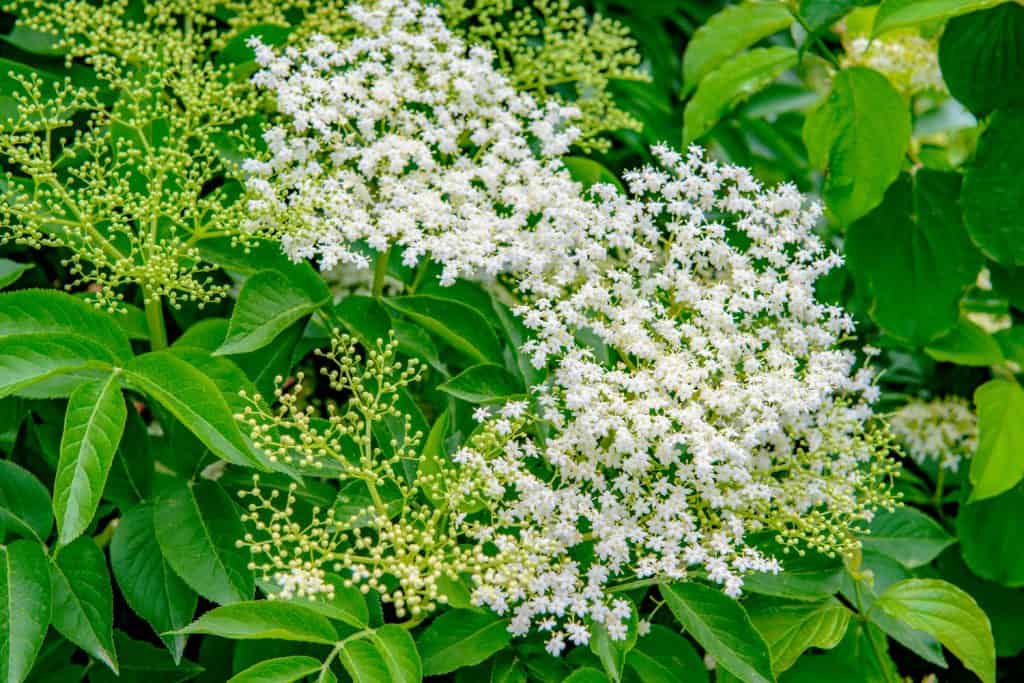
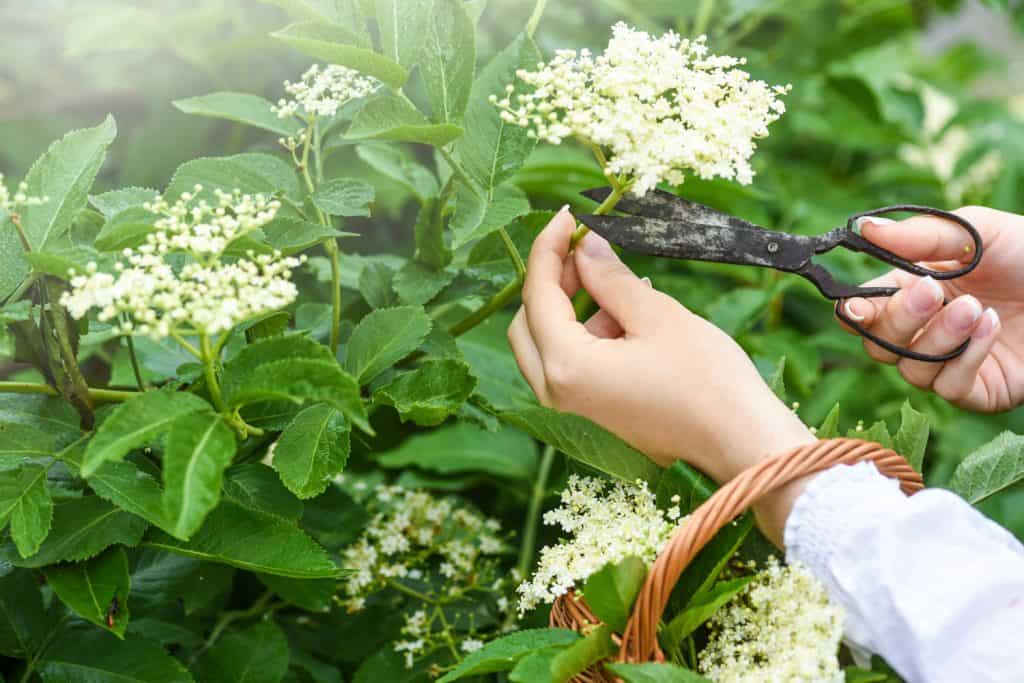
Here is an image of the elderberry flower when it is in bloom.
Mature Elderberry Bushes
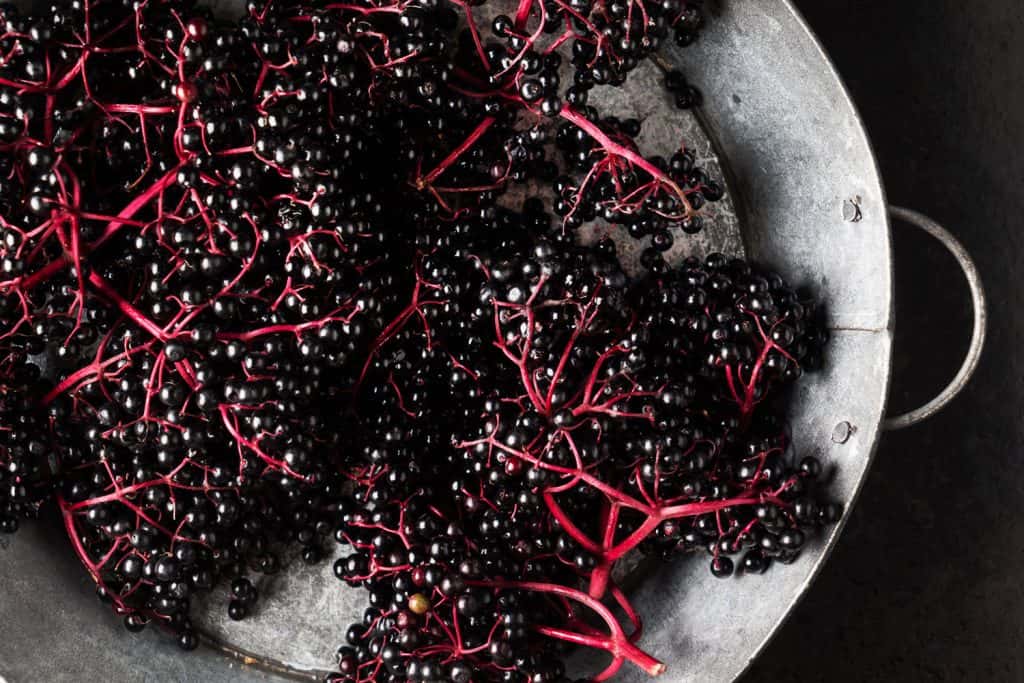
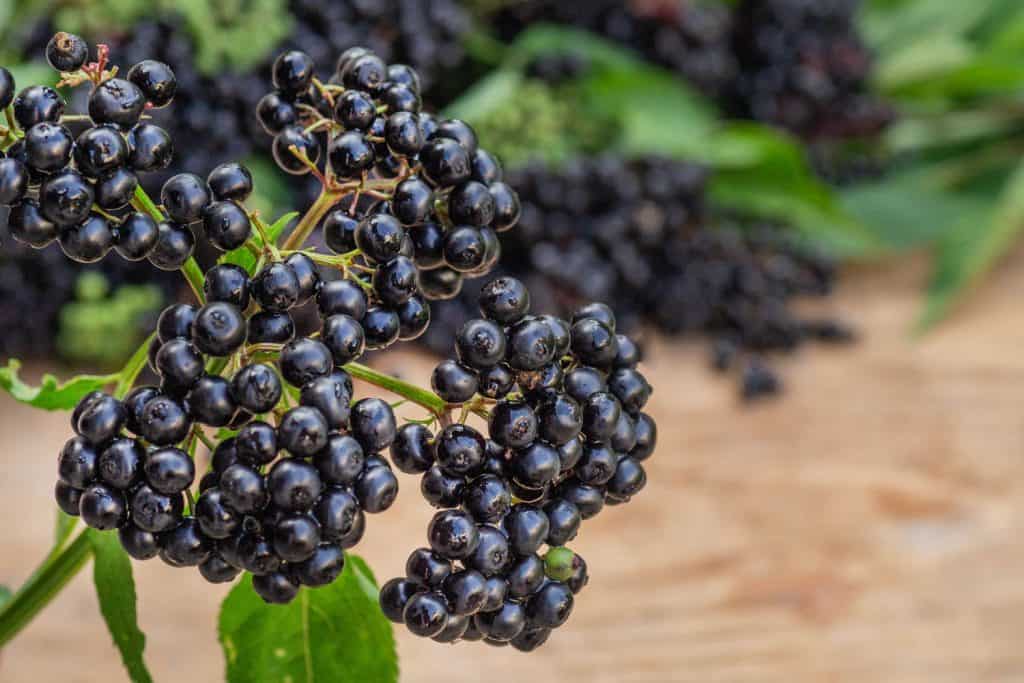
An elderberry bush takes two to three years to mature fully. When it matures, it will grow many berries. These berries are edible; however, they need to be cooked or dried before being eaten. Many parts of an elderberry bush are poisonous when consumed, so be careful.
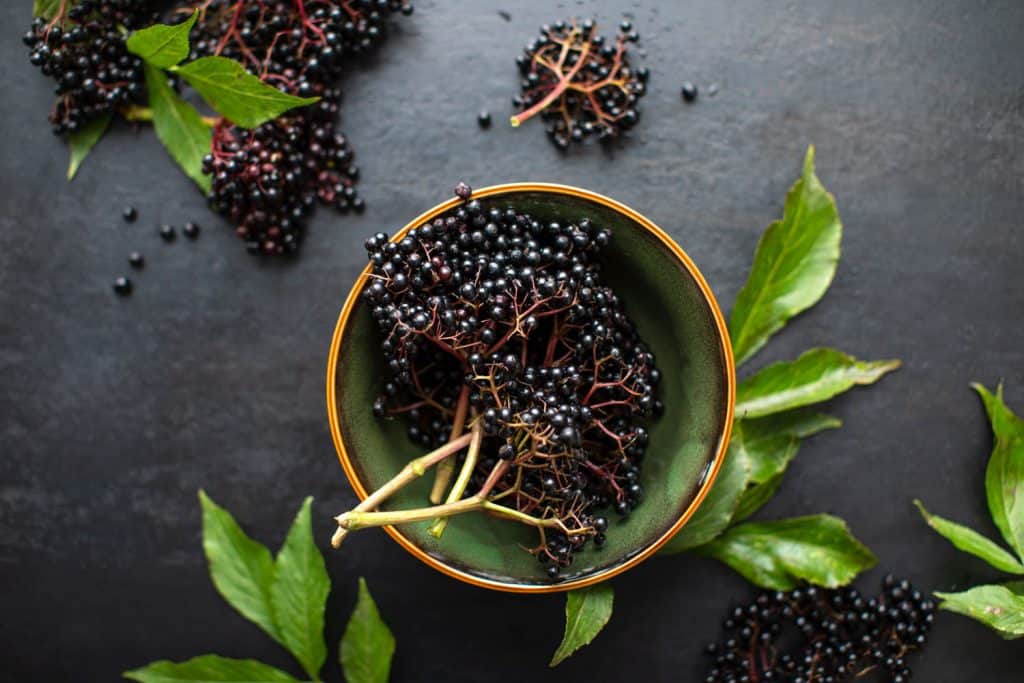
The berries are ready when they are nearly black. Do not pick them before they are very dark-colored. The best way to pick them is to cut the entire berry cluster from the plant. Elderberry spoils very quickly, so it is imperative to refrigerate, freeze, or dry immediately after being picked.
Elderberries are extremely good to eat or use for medicinal purposes. They are high in vitamins A and C and high in phosphorous, iron, and potassium. They are well known in supplements for the immune system as they are great boosters for immunity.
This article on why an elderberry bush may be dying can provide much-needed insight into taking care of your plant.
Can You Divide Elderberry Bushes?
Yes, elderberry bushes can be divided up. The best way to do this is to take cuttings from the mature plant and then grow the cuttings into larger elderberry plants. This is called propagating cuttings.
There is a specific way to get cuttings off of an elderberry plant, and that begins with choosing the best time of year to complete this process. You will want to get cuttings in spring, as they will give adequate time to allow for root growth before being transplanted in the fall. There is more information on this in the next section.
How Do You Split Elderberry?
To split an elderberry plant, you will need to take a cutting of the plant. To do this, you will want to find one or more young branches; it is best if they have a few buds on them. Make sure the branch is at least a foot long for best results.
Now it is time to cut, find where you want to cut the branch, about an inch from the main branch, and make sure to cut at a diagonal, not straight.
Elderberry cuttings can be propagated in one of two ways, either in soil or water.
Can You Plant An Elderberry Bush From A Cutting?
Yes. As mentioned, there are two ways to grow an elderberry plant from a cutting. The first way is growing it in soil. To do this, you will first need to soak the cut end in water for about 48 hours. After that, you will need to place the cutting in soil, keep it in sunlight and water well. This will allow the cutting to grow roots and be ready for transplanting in the fall.
The other way to grow a cutting is to root it in water. You will need a glass of water and a sunny space for it. Submerge the cutting in the water, place it in said sunny space for about eight weeks, and you should be able to watch the roots grow through the glass.
To keep the plant healthy, mist with more water two or three times a week. With this method, roots may look grown but will be very fragile. Make sure they are stronger before transplanting.
Be sure to check out this article on transplanting blueberries to learn more about other plants.
You can click here for more information on elderberry plants.
To Conclude
Elderberry bushes can be a rewarding plant to have and take care of. They are pretty easy to transplant with a bit of knowledge before you begin. Be sure to transplant during the correct season, during the plant's dormant period in the fall. Your elderberries can be incredibly useful in the kitchen or the medicine cabinet as long as they are handled correctly and cooked before being used.