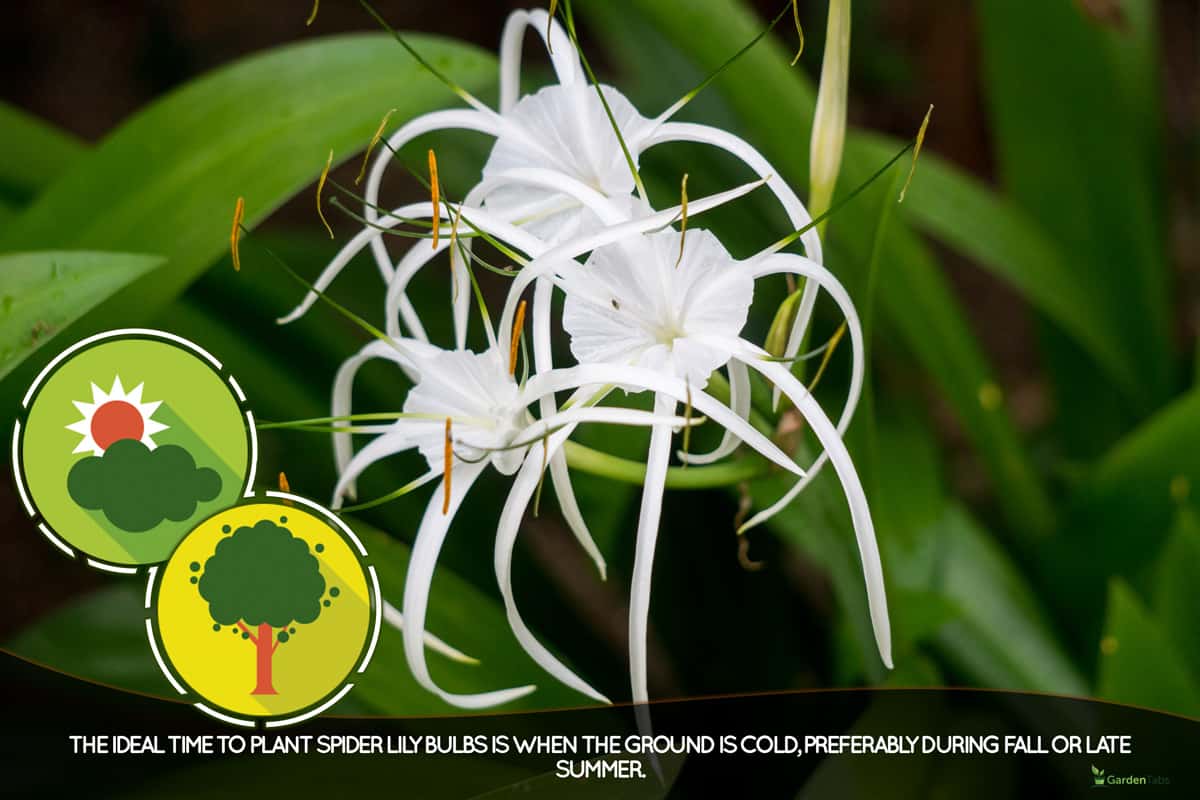
As its name suggests, spider lilies produce flowers that look like spiders. And this perennial plant provides no foliage as it starts to bloom. But do you know when the ideal time to plant it is? Well, we have thoroughly researched the internet to find your answer!
Generally, the best time to plant spider lily bulbs is when the ground is cold, preferably during fall or late summer.
Aside from knowing when to plant spider lilies, it would be best to know how to do it properly and take care of this perennial plant. Additionally, learning the pruning and propagating process is also a must. With that said, let's dive into this topic!
Planting Spider Lily Bulbs
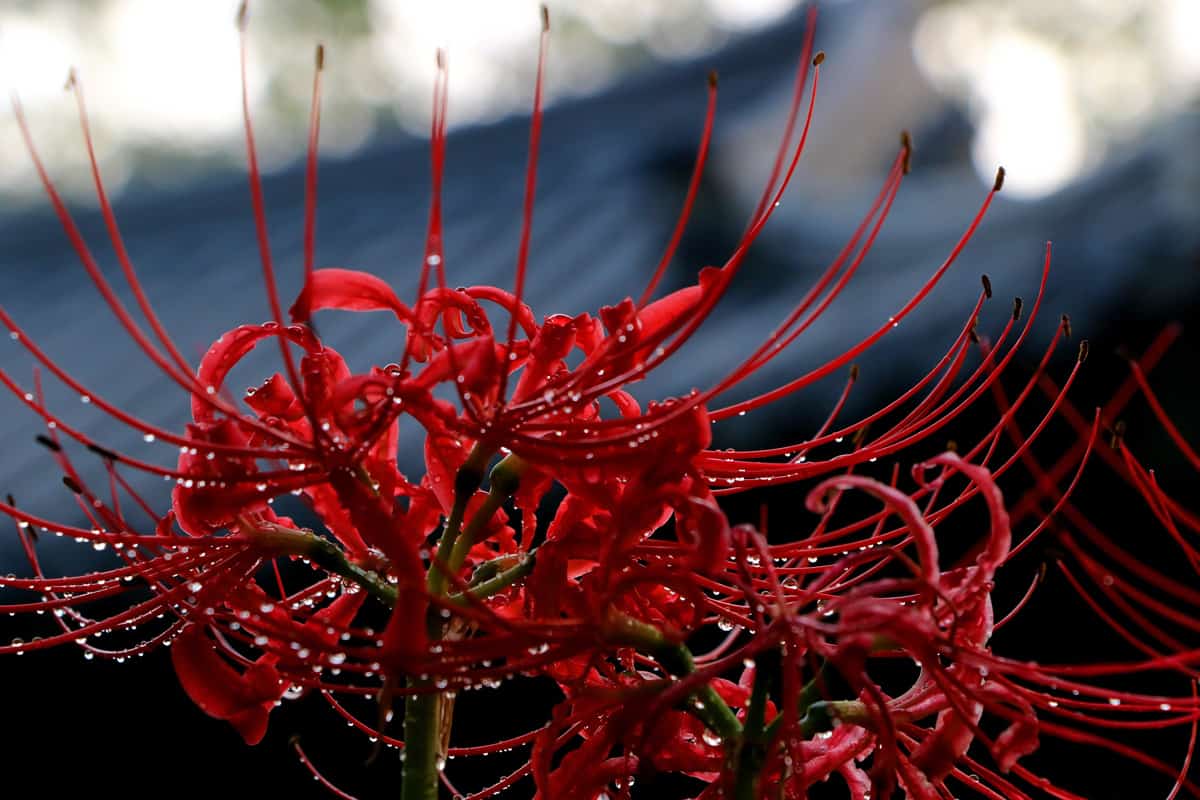
Spider lily bulbs are hardy in USDA zones 6 to 10. You can plant these perennials anywhere in your garden and lawns as long as the surroundings meet their growing requirements.
The larger the bulb, the bigger the flower will grow. You should also check the spider lily bulbs for mold. Ensure that it is firm and contains no mold before planting it to ensure successful growth.
When To Plant Spider Lily Bulbs
Plant spider lily bulbs between fall and early spring. However, the most advisable time to plant the bulbs is during fall since you can divide them in the spring when the leaves begin getting yellow.
How To Plant Spider Lily Bulbs
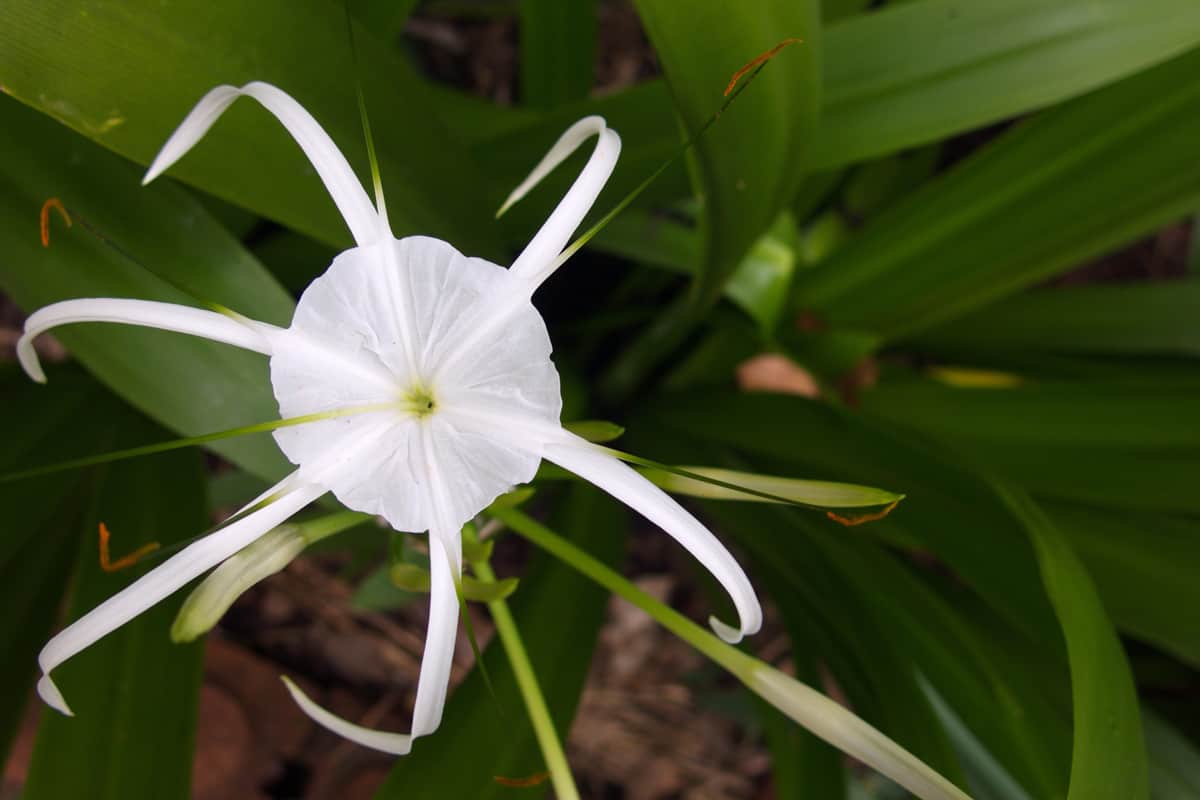
Spider lilies are highly noticeable because of their unique feature, such as:
- has red or white blooms
- the flowers appear to be like a spider
- long stems with a dark-green color
- can draw butterflies and hummingbirds
- during winter, it can produce a silver-colored foliage
- each spider lily bulb can create up to four flower stems
Follow these steps to plant spider lily bulbs properly:
1. Select An Appropriate Location
Select a spot that acquires full sun. Additionally, avoid planting in an area where your spider lily bulbs can receive water automatically.
2. Prep The Ground
There are several things you should keep in mind when preparing the soil to use for planting. Ensure that the ground contains a pH level of at least seven and drains well.
Furthermore, it would be best to incorporate woodchips, compost, and mulch to improve the draining capacity of the soil.
3. Excavate A Hole
Get the bulbs you are to plant and check their sizes. Excavate holes that are the same as their measurement. In addition, space the holes at least 6 inches apart or a maximum of 12 inches.
4. Plant The Spider Lily Bulbs
When planting the bulb, leave a quarter size, poking to the soil's surface. After that, carefully backfill the spot. Ensure that you properly secured the spider lily bulb into the hole.
5. Water The Bulbs
After planting each bulb, it would be best to water them immediately. Keep watering them until they establish themselves.
How To Care For Spider Lilies
One main advantage of planting spider lily bulbs in your yard or garden is that they require little maintenance.
In addition, it is highly advisable to prevent excavating around them - disturbing the roots of spider lilies may lead to their death.
So, as much as possible, remember the areas where you have planted your spider lilies. Lastly, know that this plant doesn't produce flowers in its first year.
Give Adequate Watering
Frequently moisten the soil where you plant Spider lilies until they become established. However, do not soak the ground to keep them from rotting.
This colorful plant is inactive from the middle of the spring season to mid-summer. So, stop watering as soon as the foliage declines during spring. Don't start watering again until late summer or fall, when flowering typically resumes.
Provide Enough Sunlight
As mentioned, spider lilies need to receive full sun or at least six hours of direct sunlight daily. If you can provide your plant with this amount of sunlight, expect it to produce brightly-colored flowers and stems.
Plant It In The Appropriate Soil
The key to quickly growing a spider lily bulb is to plant it in soil that drains sufficiently. This plant can quickly rot if planted in excessively moist soil without drainage.
As mentioned above, you should use soil with a pH level of seven, preferably loamy or sandy but organically rich.
Adding a layer of mulch, compost, and woodchips would be an excellent combination.
View this soil pH testing kit on Amazon.
Observe Temperature And Humidity
For a spider lily plant, you don't have to worry about humidity as long as the soil's moisture level is enough and it drains well.
However, spider lilies are vulnerable to cold temperatures. They can die, especially if temperatures hit below-freezing levels.
Feed Spider Lilies With Fertilizer
Feeding your spider lilies with fertilizer is highly advisable to help them grow healthy and survive each season.
High Nitrogen Fertilizer
Add a fertilizer containing high-nitrogen levels in early spring. An 8-2-4 fertilizer would be best to use to promote blooming after being inactive.
See this 8-2-4 fertilizer on Amazon.
High Phosphorus Fertilizer
Spider lilies need fertilizer high in phosphorus after blooming, usually in autumn. Phosphorus can aid spider lilies in surviving cold weather. 3-5-4 is the ideal fertilizer to use.
See this high-phosphorus fertilizer on Amazon.
What Can I Use Spider Lilies For?
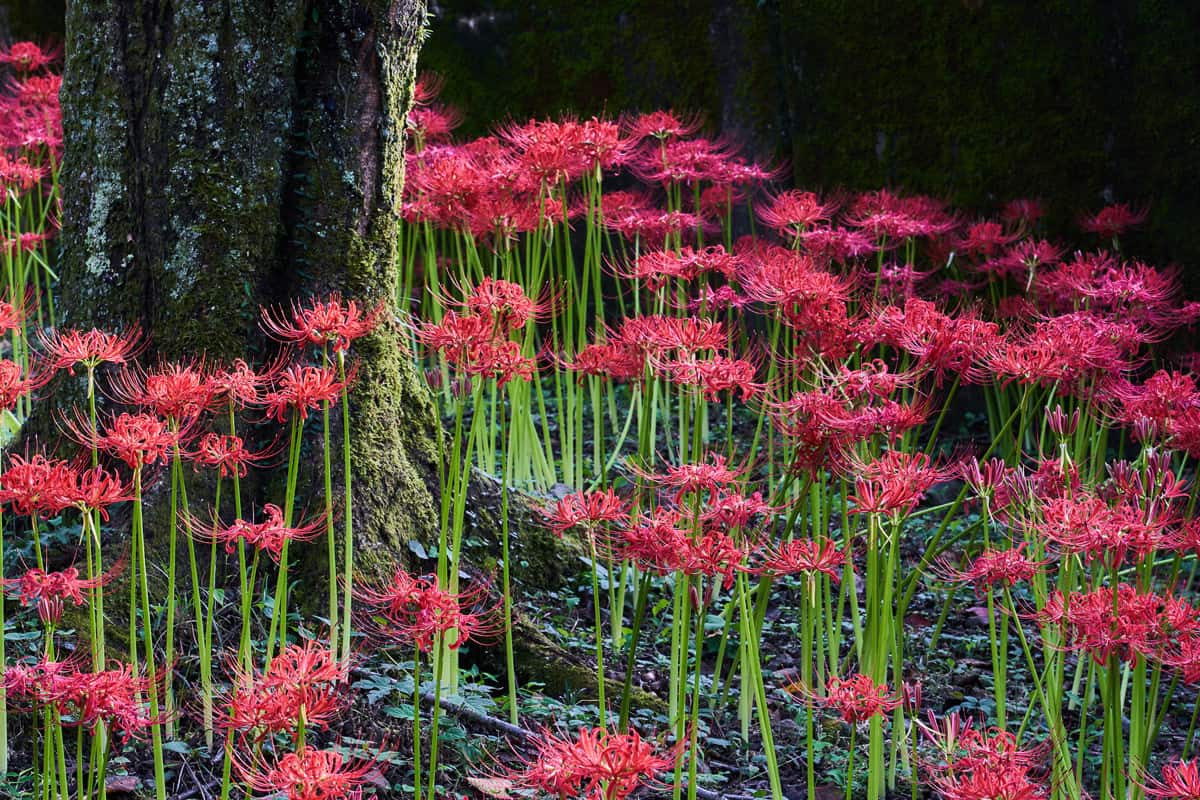
There are several uses a spider lily plant can offer. These are:
- It is a good idea to utilize spider lilies in transitional spaces between a lawn and a wooded area.
- It can provide an aesthetically pleasing pathway when planted there.
- Spider lilies are perfect for adding some drama to a container garden.
- Plants with leaves look well with spider lilies because they complement their textural and color qualities.
- You can use this plant to incorporate near shrubs and perennial borders.
- Grow spider lilies in pots if you live in a colder climate than the USDA hardiness zone allows.
- Spider lilies are pleasing to see when added to a bouquet.
How Do You Propagate Spider Lilies?
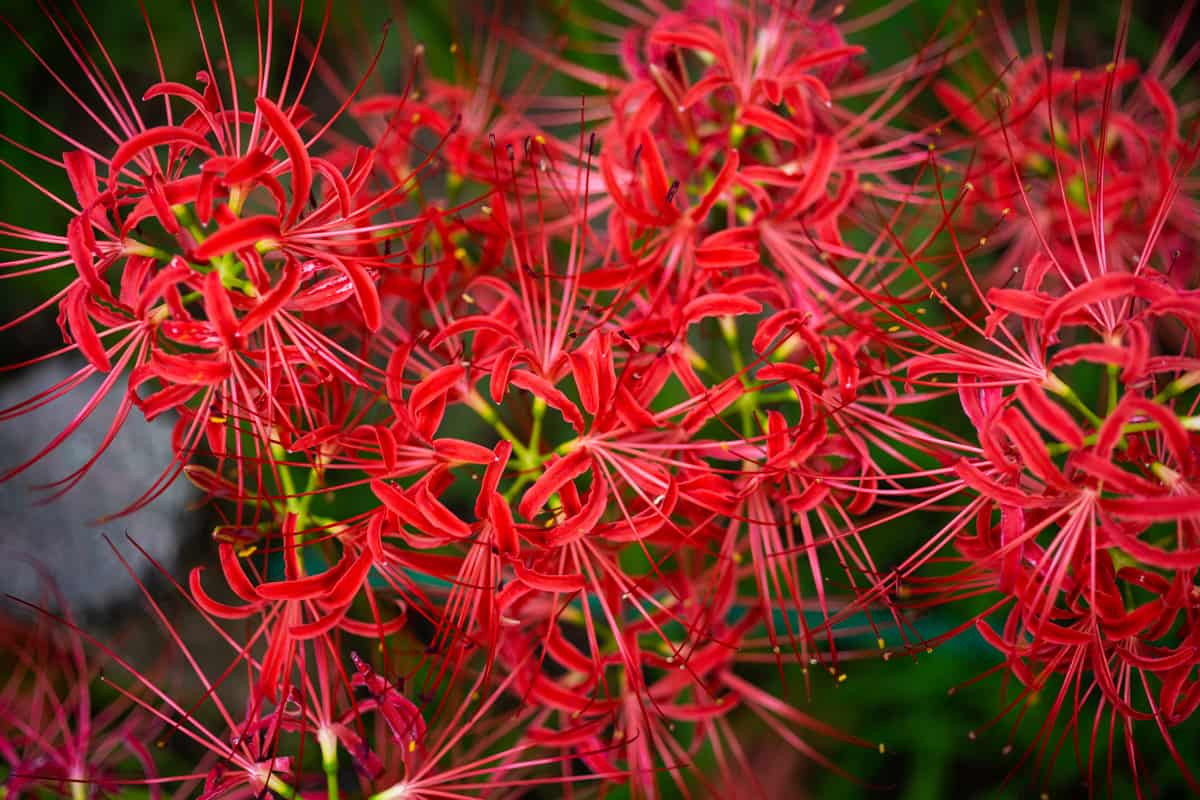
As the years go by, spider lilies can increase their numbers or clumps if they are healthy and meet the requirements for rapid growth.
This perennial plant requires division in propagation. And it would be best to do it when they are at least a few years old. The ideal time to propagate is during the start of the summer season, usually after being inactive.
Aside from producing new spider lily plants by this propagation method, you can also control the clumps from getting leggy and congested.
- Pour enough water into the spider lilies to make the ground loosen up.
- Dig around the plants as carefully as possible using a trowel.
- Gently detach the spider lilies from each other.
- Replant each in their new locations.
How To Re-Pot Spider Lilies
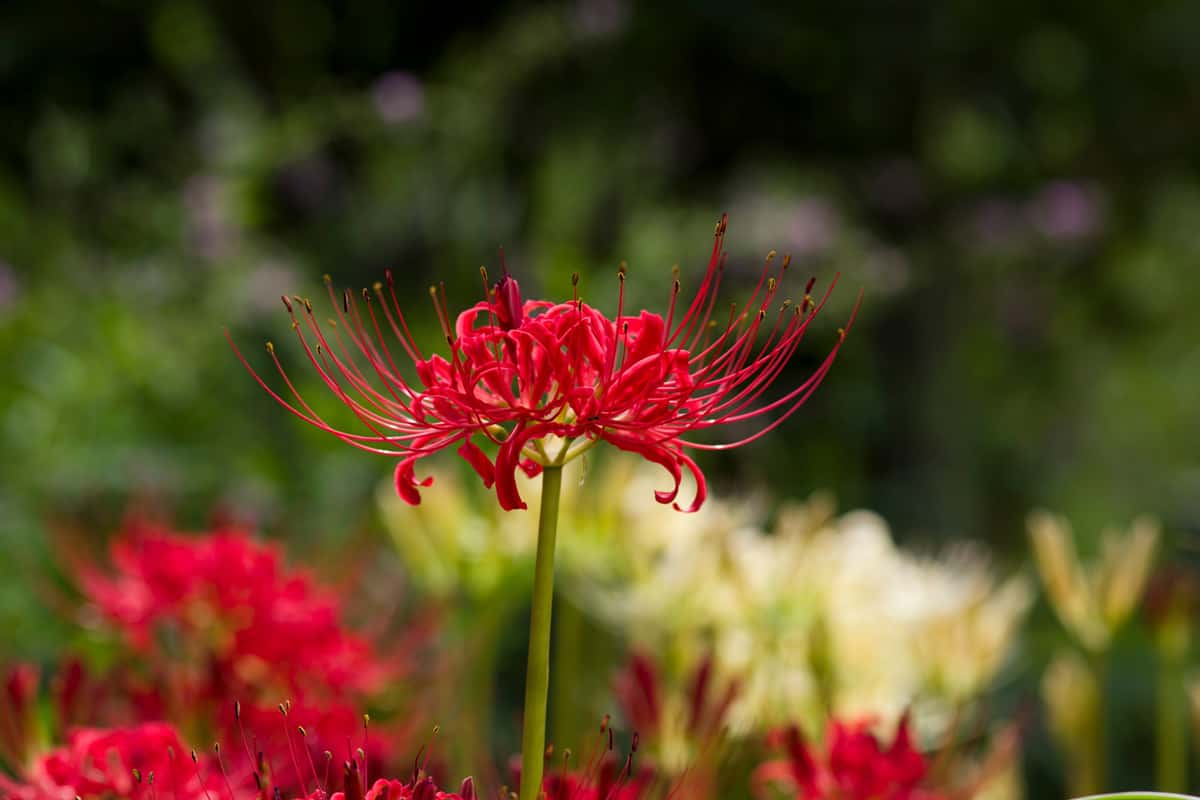
You can pot or re-pot your spider lilies in pots or containers. However, ensure that you use big enough pots to house their extensive root system.
It would be best to prepare a pot with a minimum size of 12 inches, both in-depth and width. Additionally, ensure that it is an unglazed clay container with numerous holes.
This container type will contribute to the prevention of rotting bulbs.
That said, avoiding transplanting or re-potting this perennial plant would be best to avoid disrupting its root system.
View these unglazed clay pots on Amazon.
How To Overwinter Spider Lilies
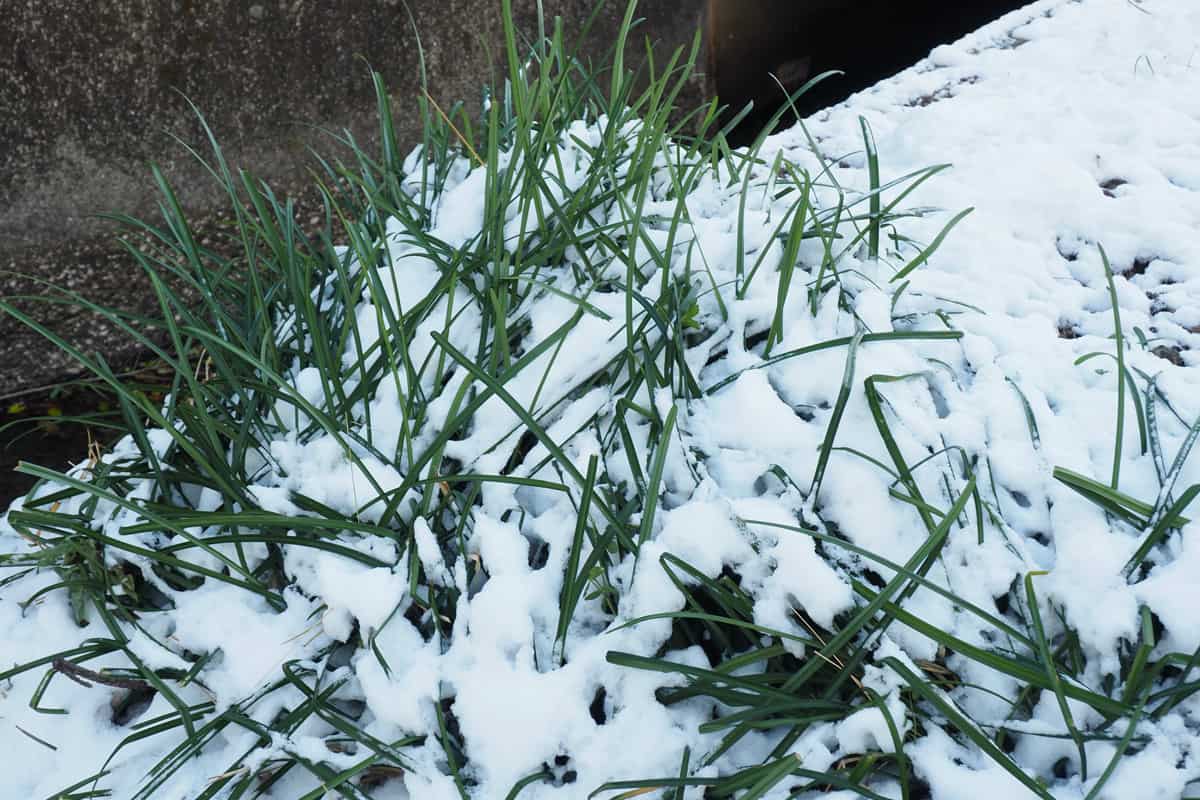
When the cold season approaches, remember to cover your spider lilies with a generous layer of mulch to protect them from freezing. With this technique, the mulch can insulate the spider lilies.
Additionally, the other method is to report them and store them indoors.
It's A Wrap!
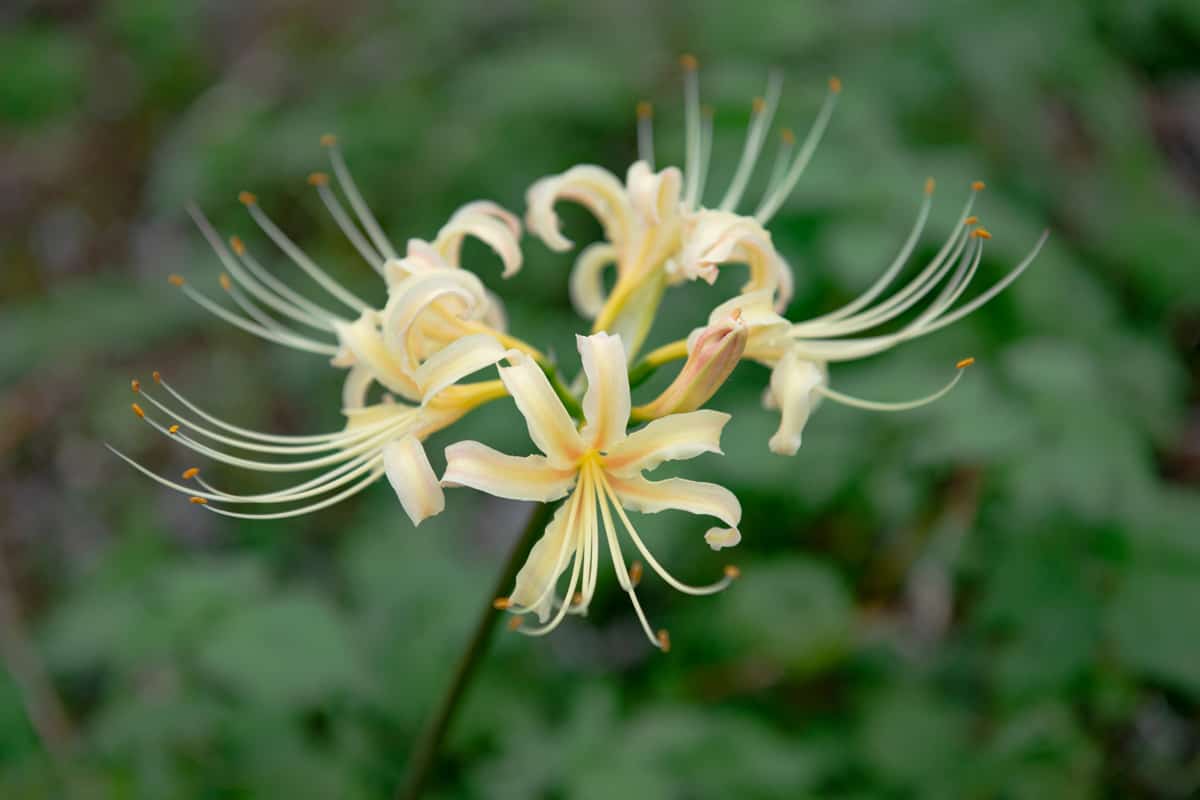
Planting spider lilies is easy, especially if you know how and when to plant them. Now that you know the answer to your concerns, you can try to plant one or a variety of spider lilies in your yard.
All you have to do is take care of them properly to make them produce brightly-colored blooms.
We hope you find this post helpful. If you still have additional questions, please feel free to reach out in the comments. We'd love to hear from you!
Made it to the end? Check out these helpful related posts below!
16 Zone 6 Perennials That Are Full Sun And Drought Tolerant
Are Geraniums Annuals Or Perennials? [The answer will surprise you!]


