
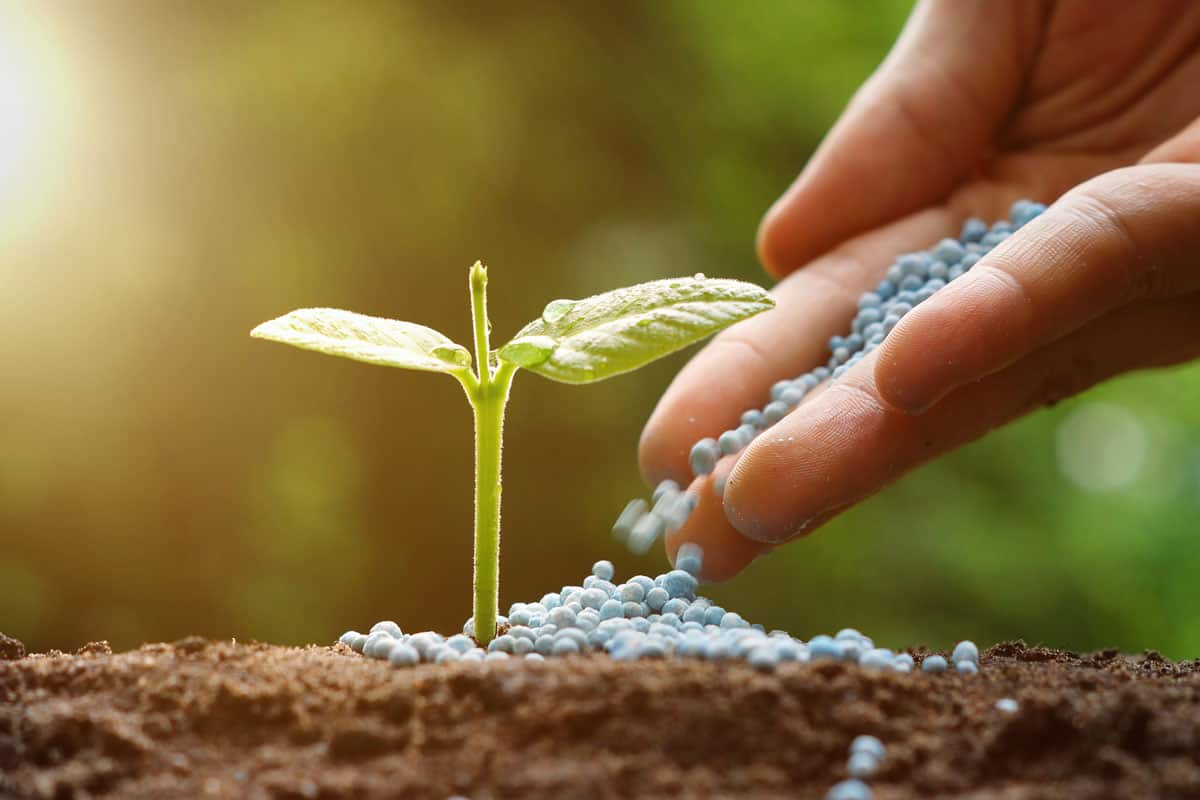
Most of us want a lush, healthy garden when the growing season starts. Many fertilizers available can help your garden look its best all year long. One of these fertilizers is bone meal. Do you want to know when to use it and how to apply it to your garden? We've covered it! We’ve sifted through the internet and researched the answers to share with you.
Apply bone meal fertilizer when your soil pH is 7 or lesser. This is due to plants only being able to access the nutrients of this fertilizer if the soil is acidic. You can apply it before planting the plants or at other times during its growing season as it is not required for frequent application.
For proper application of bone meal, the steps are:
- Prepare materials needed.
- Select the ideal location for your plant.
- Test the soil.
- Measure the proper amount of bone meal and soil.
- Apply the bone meal.
- Rake the area where you applied bone meal fertilizer.
- Look after the plants.
Further in this topic, we’ll discuss in detail the bone meal fertilizer. This will cover the meaning, benefits, and drawbacks of this fertilizer. Also, we'll thoroughly explain each step in applying the bone meal for successful plant growth outcomes. So let’s quickly dive in!
![a picture of a garden, healthy soil, garden tools, garden pots, When To Apply Bone Meal To Your Garden [And How To]](https://gardentabs.com/wp-content/uploads/2022/08/When-To-Apply-Bone-Meal-To-Your-Garden-And-How-Tovisuals.png)
What Is Bone Meal?
A bone meal is a powdered fertilizer created from finely powdered animal bones. The most widely utilized bones are those from beef supplied from farms or slaughterhouses.
However, you can also find bone meals made from other kinds of common livestock, including pigs or chickens. You don't need to be concerned about sanitation because the animals are examined for sickness, and the bones are boiled or steam-cooked before being pulverized.
The nutrients and minerals found in bones help your plants grow stronger and healthier. However, not every case calls for bone meal fertilizer.
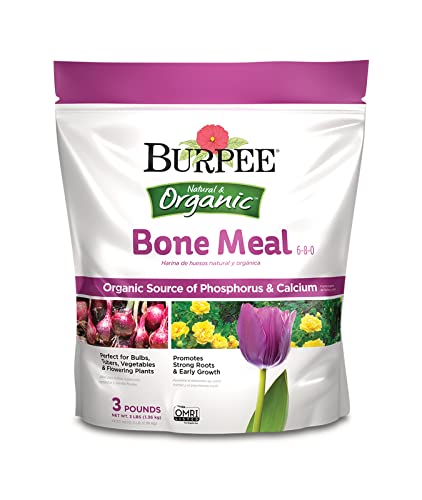
Click here to see this bone meal fertilizer on Amazon.
When To Apply Bone Meal To Your Garden?
Apply a multipurpose fertilizer containing bone meal close to the plants but not directly on them once you have determined that the pH level of the soil is balanced (pH7).
You can apply bone meal to plants as needed before planting or at other times during the growing season. However, applying organic, natural bone meal repeatedly throughout the growing season is not advised because it takes a while for it to take effect.
In order to improve the soil before spring planting, some fertilizers containing bone meal are intended to be applied in the fall.
Bone Meal Fertilizer: Pros & Cons
As previously said, bone meal is excellent for promoting plant growth. But aside from the advantages, you should be mindful of any potential risks too. The following is a list of pros and cons of using bone meal fertilizer in your garden:
Pros
Great Source Of Calcium
In addition to being good for humans, calcium is also good for plants. This crucial mineral is abundant in bone meal fertilizer. It encourages sturdy development and keeps your plants' cell walls firm and healthy.
Great Source Of Phosphorus
Another essential component present in bone meal fertilizer is phosphorus. This mineral is essential for photosynthesis, the growth of roots, flowers, and seeds, and the energy transfer within plants, among other crucial processes.
The "P" in NPK, which is usually seen on fertilizer, stands for phosphorus. It encourages flowering, increases pest and disease resistance, and results in better fruit and seed yield.
No Regular Applications Required
Bone meal fertilizer decomposes gradually, making it the ideal long-term fertilizer that only needs annual application. The bone meal will continue to nourish your plants as it slowly decomposes throughout the season.
100% Organic
Bone meal fertilizer is a fantastic choice if you use organic gardening techniques. In addition to being entirely chemical-free, the natural breakdown process supports the soil's bacteria.
It has micronutrients like magnesium, iron, and zinc that improve plant health and aid in the development of soil microorganisms. This enhances the soil's general composition and quality, which benefits your plants and produce in turn. In addition, even if too much is unintentionally applied, plants are not burned.
Cons
Possibly Draws Animals
Because of the smell of bones, animals may come to your yard looking for trouble and try to dig it up. Since all dogs like chewing on a good bone, this can also worry dog owners.
In the worst-case scenario, if too much is consumed, surgery may be required to remove a significant amount of bone meal and soil.
Not Ideal For Every Soil pH Level
According to the research, plants can only access phosphorus from organic fertilizer like a bone meal in acidic soil with a pH of 7 or lower. Bone meal fertilizer has little effect if your soil is leaning toward alkalinity. Before amending the soil, make sure you are aware of its pH.
Potentially Transmit Diseases
Concerns grew in 2011 over the possibility that handling bone meal fertilizer could expose people to animal diseases such as Mad Cow Disease. The good news is that before being placed on the shelves of garden supply stores, all commercially available bone meal fertilizer is put through a thorough testing process to ensure it is free of disease.
How To Apply Bone Meal?
Following are the steps in applying bone meal fertilizer to your garden:
1. Prepare Your Materials Needed
As with every tutorial, the first step is to always prepare the necessary materials. To that end, the supplies you gardeners will require are bone meal fertilizer, garden tools, and plants that need the bone meal's nutrients.
2. Select The Ideal Location For Your Plant
It's crucial to choose the best location for your plants and to use organic meal bone fertilizer. Locate a location in your garden with sufficient sunlight and room for root development. Then dig a hole there for planting. This is the area where you will apply organic fertilizer.
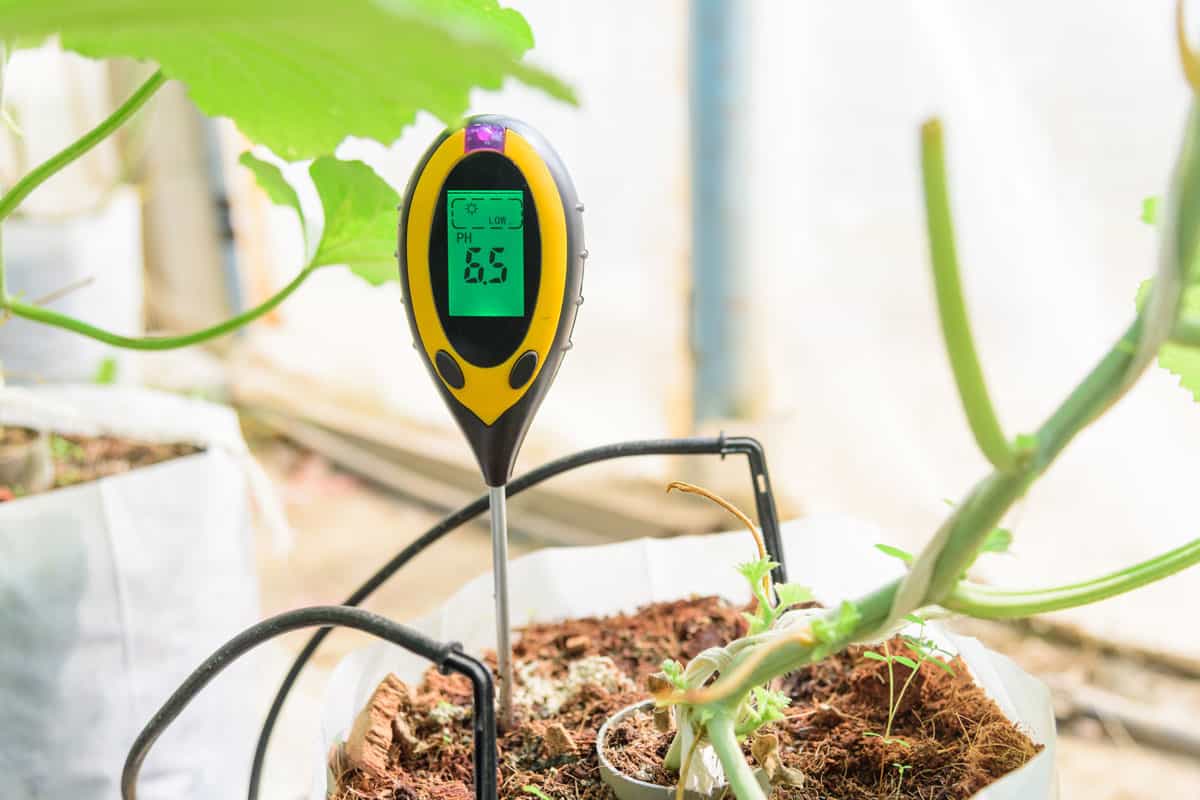
3. Test The Soil
The quality of your soil will determine how effective the bone meal is. Your bone meal won't work as well in the soil if the pH level is higher than 7. If the soil's pH is higher than 7, the phosphorus from the bone meal will be too tightly bound in the ground.
By adding aluminum, sulfate, or sulfur you can decrease the pH of the soil. However, if these chemicals are spilled on, they can burn right through your plant, so be careful. You can use a soil pH meter for this job.
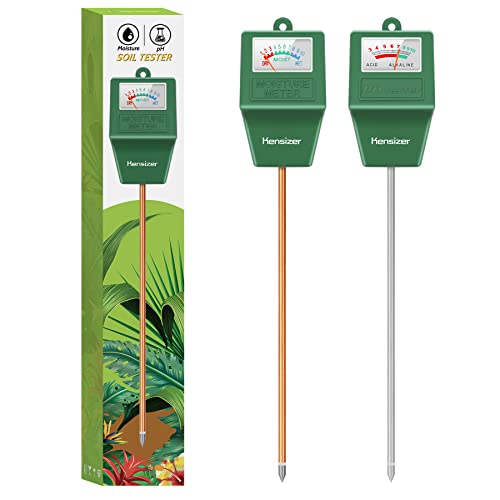
Click here to see this soil pH meter on Amazon.
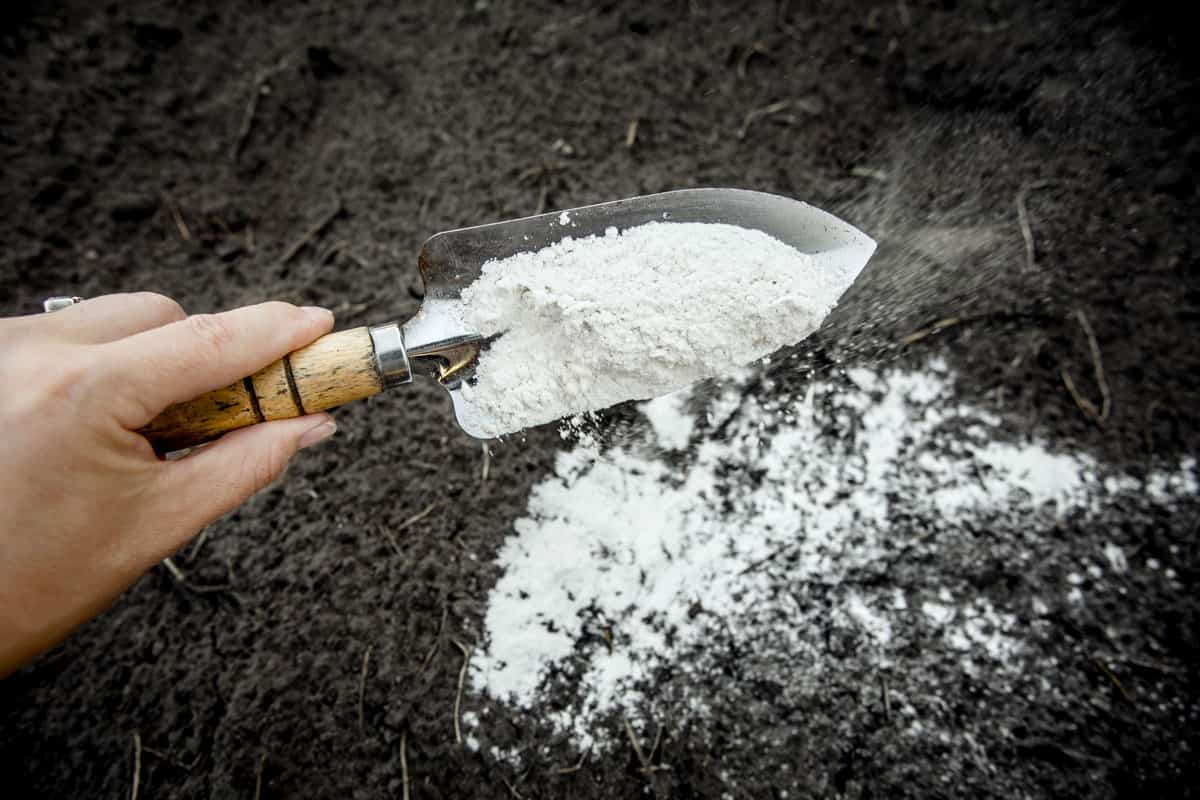
4. Measure The Proper Amount Of Bone Meal And Soil
The key to a successful garden is properly combining the soil with bone meal. The nutrients in the bone meal will be used by soil bacteria to feed the plants.
If you apply too much bone meal to your soil, the outcomes will be different. Your plants will produce less chlorophyll if you use too much organic fertilizer (with phosphorus) or bone meal. However, your plant's leaves will become yellow as a result of the excess soil amendments.
On the other side, your plant roots won't have enough of the nutrition it requires to produce flowers or fruits if your source of phosphorus is too low. Your plants' roots won't be able to grow and produce fruit as easily without phosphorus.
For your garden soil, 10 pounds per square foot (lbft2) of bone meal fertilizer is the recommended application rate. You can choose to utilize 1,000 lbs per 100 ft2 when conducting extensive organic farming.
Financially speaking, buying 1,000 lbs fertilizer made from the bone meal for 100 ft2 is pricey. But of all the lovely crops you could one day harvest and sell from your plants, it's worth every penny!
5. Apply The Bone Meal
It's time to add bone meal fertilizers to your soil now that you understand how to calculate the amount of phosphorus in bone meal. It's fairly easy. Prior to planting, you must first spread some bone meal over the planting holes you produced.
Then, put the roots of the plants you intend to grow there and cover all of the roots with soil. Finally, you add a little extra bone meal to the soil's surface. Make sure to apply the correct amount of bone meal fertilizer to your plants—10 lbft2.
6. Rake The Area Where Bone Meal Fertilizer Was Applied
You must rake the area where you placed your meal's bone and root. This is done to safeguard your plant from both harmful animals and the rainy season.
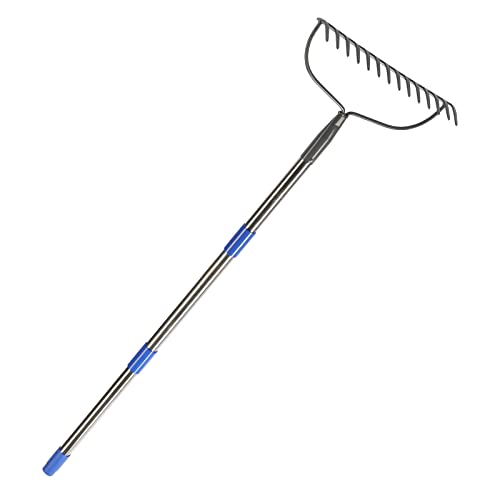
Click here to see this rake on Amazon.
7. Look After The Plants
Flowering plants require a lot of attention and water. When neglected for a brief period, plants can easily perish.
The final step can be the most challenging of all because you must care for it and water the plant for at least four months. The soil amendments would have completed releasing all of the phosphorus into the roots after the four months of the growing season.
If you want your garden crops, vegetables, fruits, or flowers to grow properly, you may have to wait a very long time for this delayed release of phosphorus, but it will be worth it.
Wrap Up
![a picture of a garden, healthy soil, garden tools, garden pots, When To Apply Bone Meal To Your Garden [And How To]](https://gardentabs.com/wp-content/uploads/2022/08/a-picture-of-a-garden-healthy-soil-garden-tools-garden-pots.jpg)
A terrific strategy to enhance your garden is to know when and how to use bone meal fertilizer. Your plants' chances of blooming will increase, and bone meal will strengthen their root systems if you use it correctly.
It's time to utilize bone meal fertilizer in your garden now that you are knowledgeable about this substance. We sincerely hope that this post has been able to teach you when and how to use bone meal efficiently for improved yield outcomes!
For more information on fertilizers, you might check them below before you leave.