
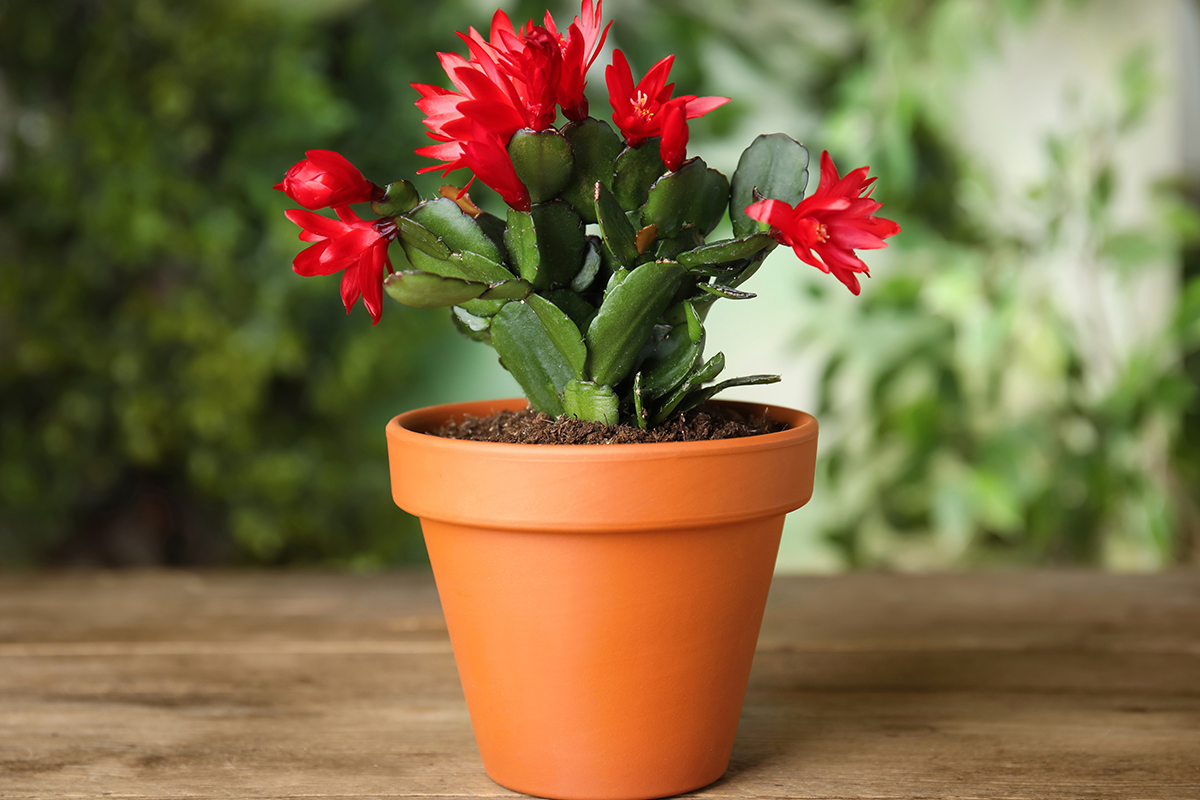
With their big, beautiful blooms of magenta and scarlet, the Christmas cactus is almost synonymous with the holidays. Plus, they're an easy-to-grow succulent that can add fresh greenery to your home all year. However, if you're thinking about buying one, you might be wondering what the best pot size is. Well, you're in the right place! We've done the research and will tell you everything you need to know about potting your Christmas cactus right here in this article.
If you're growing new Christmas cacti from cuttings, use a 4- to 5-inch pot. After that, Christmas cacti should be re-potted about once every four years in a pot that is 2 inches bigger than the previous pot. This means that if your Christmas cactus started growing in a 4-inch pot, you should re-pot it in a 6-inch pot four years later. Then, four years after that, re-pot it in an 8-inch pot. They prefer snug pots, so don't go too much bigger than the previous pot size.
You might have other questions about potting Christmas cacti, and we'll answer them right here in this article. So keep reading to learn more about caring for this festive plant!
What Size Pot Is Best For Christmas Cactus?
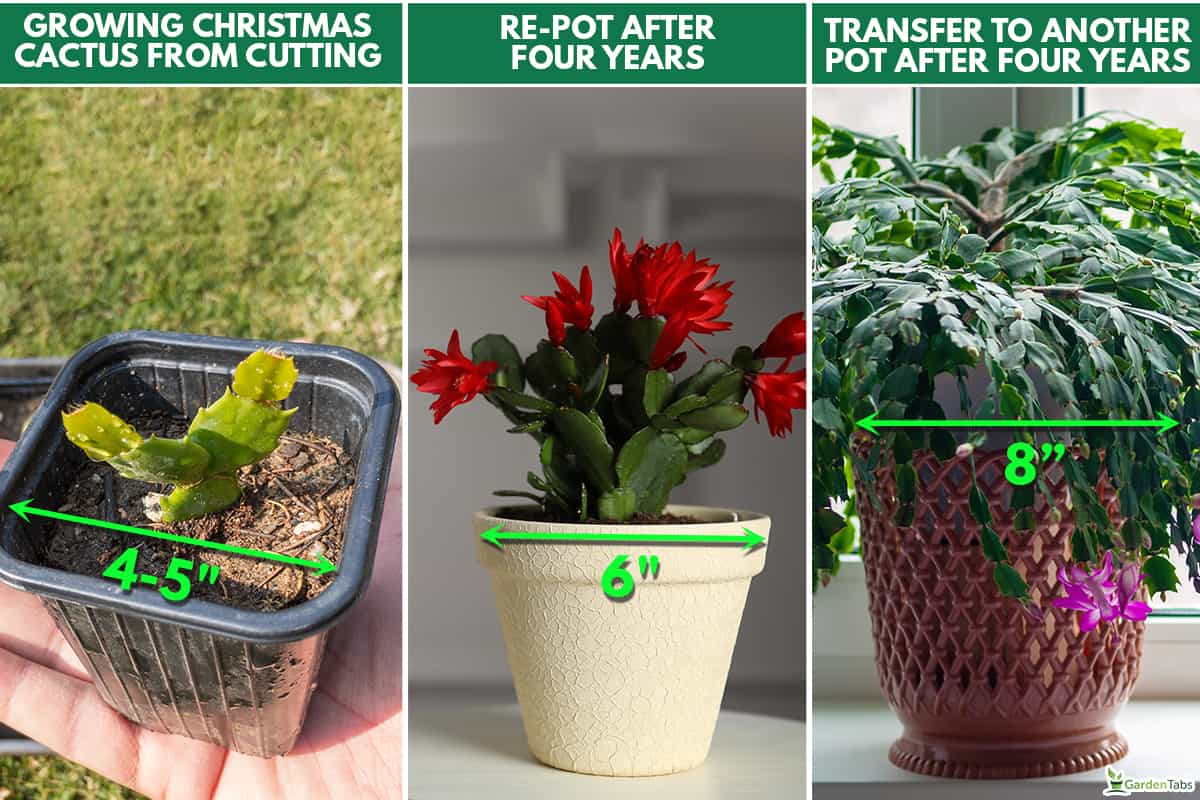
Since Christmas cacti prefer a pot that fits snugly around their roots, it's best to err on the side of too small rather than too large. If you're growing a Christmas cactus from a cutting, this usually means a pot that is 4 to 5 inches large. Very petite cuttings might need an even smaller pot of 2 or 3 inches.
However, if you're re-potting a more established plant you purchased at a store, choose a pot that is the same size as its current pot or just one size bigger. This will give your plant some growing room, but not too much.
For a Christmas cactus you've had for a number of years, plan to size the pot up every four years or so. This means that if your Christmas has been growing in a 4-inch pot, re-pot it in a 6-inch pot after four years.
Then, four years later, size it up to an 8-inch pot. Continue in this pattern for the rest of the Christmas cactus's lifespan.
Christmas cacti are actual cacti, so they need plenty of drainage. This means that your pot will also need at least one drainage hole on the bottom.
What Kind Of Pot Is Best For Christmas Cacti?
Because Christmas cacti need their roots to stay well drained, clay pots are the best choice. That's because clay is porous, which allows for plenty of airflow and even helps absorb some of the excess water.
Just keep an eye on your plant's water levels, especially in the summer. The pot can potentially soak up too much water, particularly if it's in the sun.
If you're looking for clay pots to purchase, D'vine Dev offers a set of 3-inch, 4.5-inch, 5-inch, and 6-inch pots. That's the perfect selection to get your Christmas cactus through at least a decade of growth!
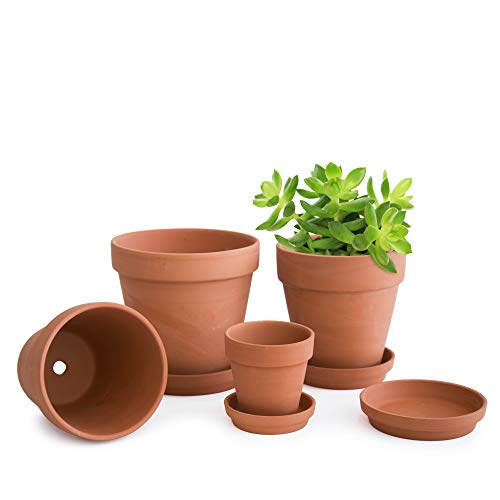
Check them out on Amazon by clicking here.
How To Re-Pot A Christmas Cactus
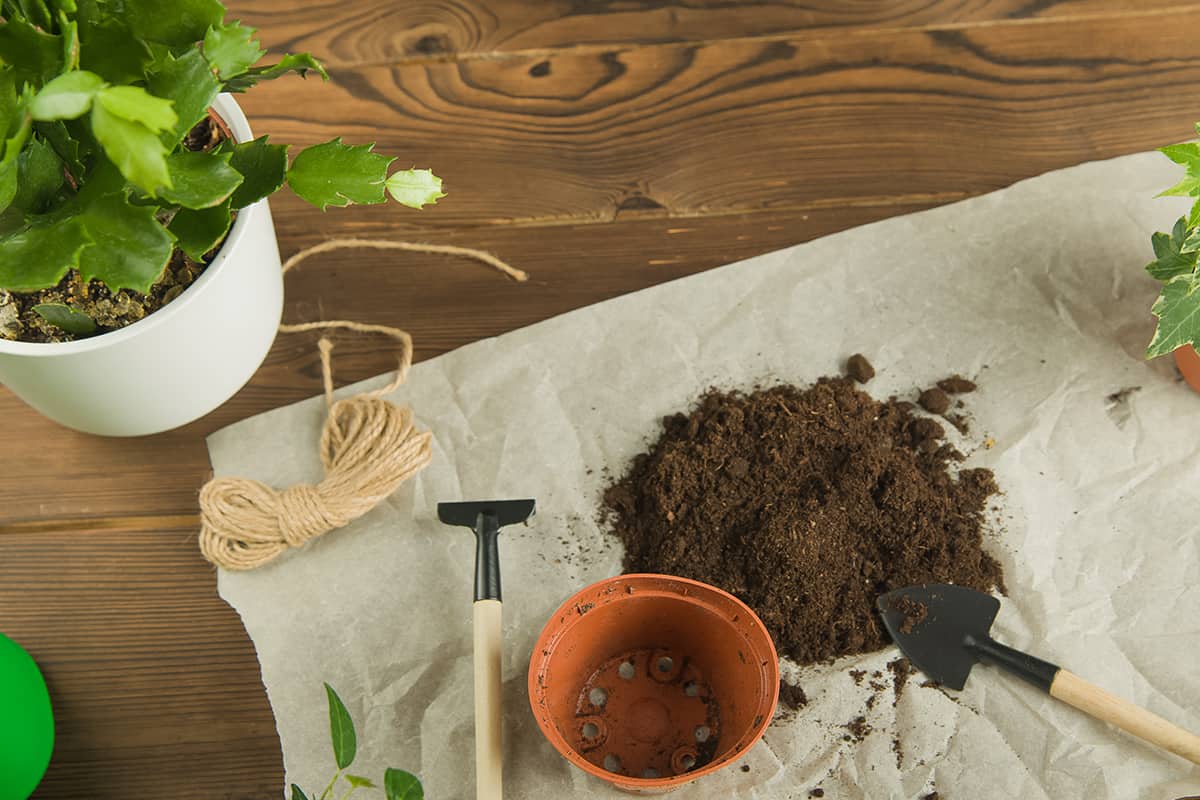
Before you begin, collect everything you need so the process is quick and smooth. Here's what is required for re-potting a Christmas cactus:
- Potting soil
- Pot with drainage holes (one size or two inches larger than the current pot)
- Butter knife or small trowel
- Newspaper or cardboard
1. Prepare The New Pot
The first thing you'll need to do is prepare your cactus's new home. That way, you'll minimize stressing the roots. Pour some potting soil into the new pot, filling it about two-thirds of the way to the top. Then, make a small hole in the soil with your hand.
Since Christmas cacti are actual cacti, yours will appreciate cactus potting soil. Harris makes a great cactus and succulent potting soil mix that encourages water to drain quickly.
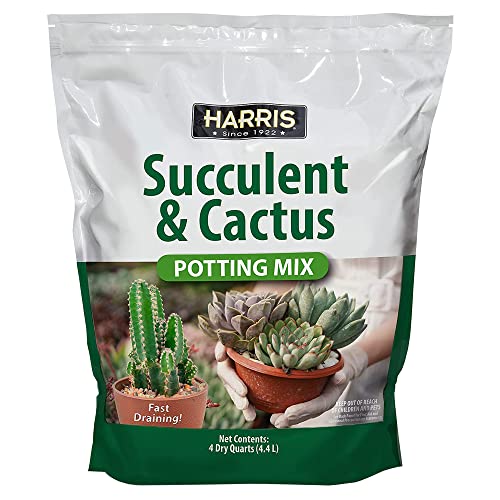
Click here to check it out on Amazon.
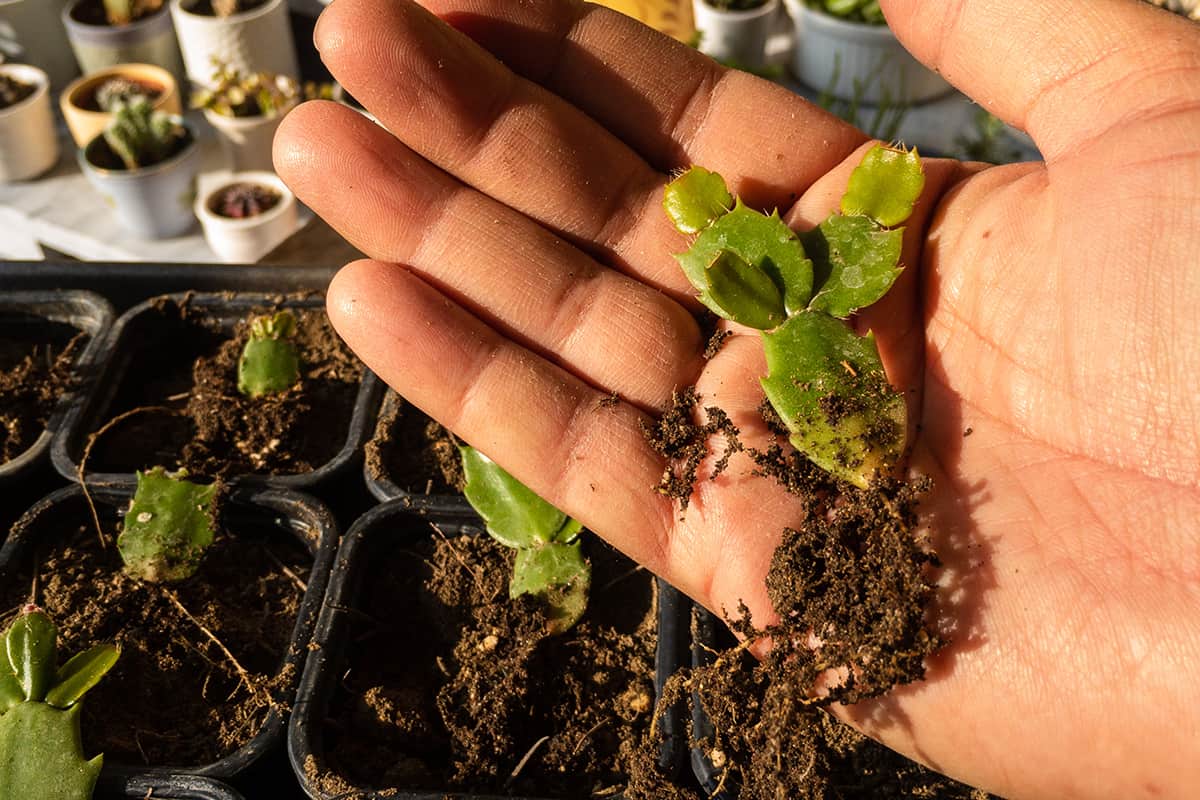
2. Remove The Cactus
Now, gently remove the Christmas cactus from its old pot. Slip the butter knife or trowel in between the soil and the pot, then cautiously shimmy the blade back and forth. This should loosen the roots enough to allow them to slip free from the pot.
As you do this, be very careful not to damage the cactus's roots, especially if it has become root bound. If its roots are coming through the drainage holes, it might be best to just carefully break the pot or cut it away. If the root ball is very tight, you can gently massage it into a looser shape. Again, be careful to not damage the roots.
3. Introduce The Cactus To Its New Home
Brush off any excess dirt that's clinging to the roots. Then, place your cactus's root ball in the hole you made in the new pot. Add a little bit of extra soil to cover the roots and pat it down firmly. You can also take this opportunity to remove any stems or leaves that are yellow.
Finally, give your Christmas cactus a long drink of water, then put it in a shady spot for several days. This gives it time to quietly adjust to its new soil.
How To Grow A Christmas Cactus From A Cutting
One of the easiest and best ways to grow a Christmas cactus is by propagating cuttings. This is an easy way to grow new Christmas cacti for yourself or to share with family and friends!
The best time to harvest cuttings for propagation is late spring to mid-summer, which is the beginning of the growing season. You should also wait at least one month after your Christmas cactus blooms to collect cuttings.
Here's what you'll need:
- Sharp scissors or gardening shears
For rooting in water:
- Glass or jar
- Pebbles or small stones
For rooting in soil:
- Small pot with drainage holes or egg carton
- Coarse sand
- Perlite or peat
1. Take Your Cuttings
To harvest the cuttings, use sharp scissors or gardening shears to remove two to five segments (the flat "leaves" of the cactus) at the joint. You can also remove the cuttings with your fingers by pinching at a joint and twisting it off.
Collect multiple segments since they might not all successfully root. Make sure to collect them evenly around the Christmas cactus to avoid giving it a lopsided look.
2. Let The Cuttings Heal
Lay your cuttings out on a piece of paper towel or other clean, flat surface and place it in a cool, dry place. Leave them for at least two days or until the cut edges heal.
This step is important because if you try to plant the unhealed segments, they could end up rotting. You'll know that they've finished healing when the cuts are sealed over and feel dry to the touch.
3. Root Your Cuttings
Next, it's time to let your cuttings grow roots. You have two options for this—rooting in water or rooting in soil. Both can have good results, so it's up to your personal preference.
To Root In Water
To root your cuttings in water, add at least two inches of small pebbles to a small glass or jar. Then, pour in just enough water to cover the pebbles completely.
Now, put your cuttings in the jar with the end that was removed from the plant going in first. Use the pebbles to prop them up, and make sure that only the tips are submerged.
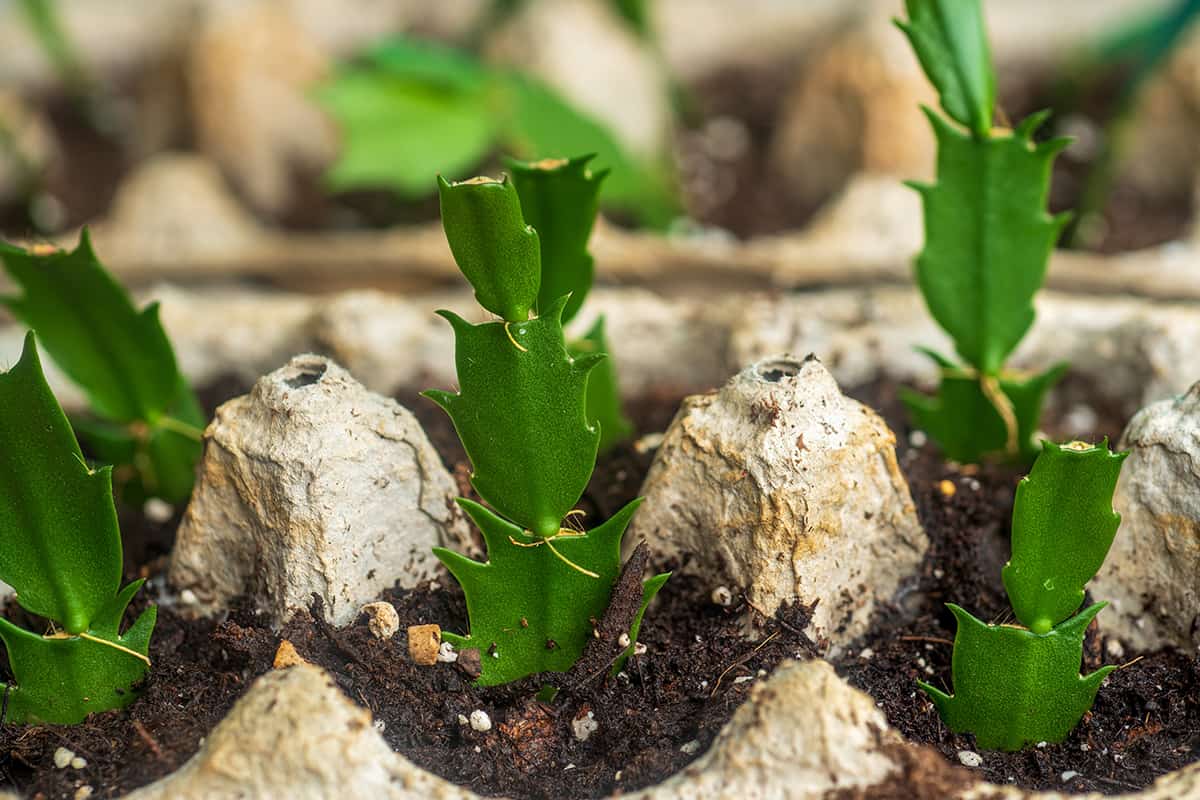
To Root In Soil
If you want to root your cuttings in soil, mix coarse sand with perlite or peat and add it to a small pot. Alternatively, you could use an egg carton if you have lots of cuttings to propagate. Then, pour in enough water to soak the potting mix and wait for the extra water to drain completely.
Now, insert the cuttings about half an inch into the soil. This should be deep enough to keep them standing upright, but feel free to pack the soil around them a little more securely for extra support.
You can learn more about propagating in perlite from our article How To Propagate In Perlite [Step-By-Step Guide].
4. Let The Roots Grow
For either method, put the cuttings in a place that gets bright, but indirect sunlight. Let them sit for about six to eight weeks, or however long it takes for the roots to grow to half an inch long.
Keep an eye on the water levels. Maintain a consistent amount if rooting in water, and water when the soil is completely dry if rooting in soil.
5. Transplant To A New Pot
Finally, it's time to transplant your cuttings to their permanent pot. Use a 2-inch or 4-inch clay pot with drainage holes, and follow the directions above for transplanting a Christmas cactus.
For the best results, keep your Christmas cactus in high levels of humidity and bright but indirect light. You can encourage it to bloom more quickly by keeping the temperature around 60 to 65 degrees Fahrenheit.
In Closing
We hope this article answered all your questions about what size pot to use for a Christmas cactus! Additionally, we hope it helped you learn some other ways to pot and propagate your Christmas so it grows happy and healthy for many years to come.
If you'd like to learn more about Christmas cacti, check out our article Is Christmas Cactus A Succulent? [What's The Difference?]