
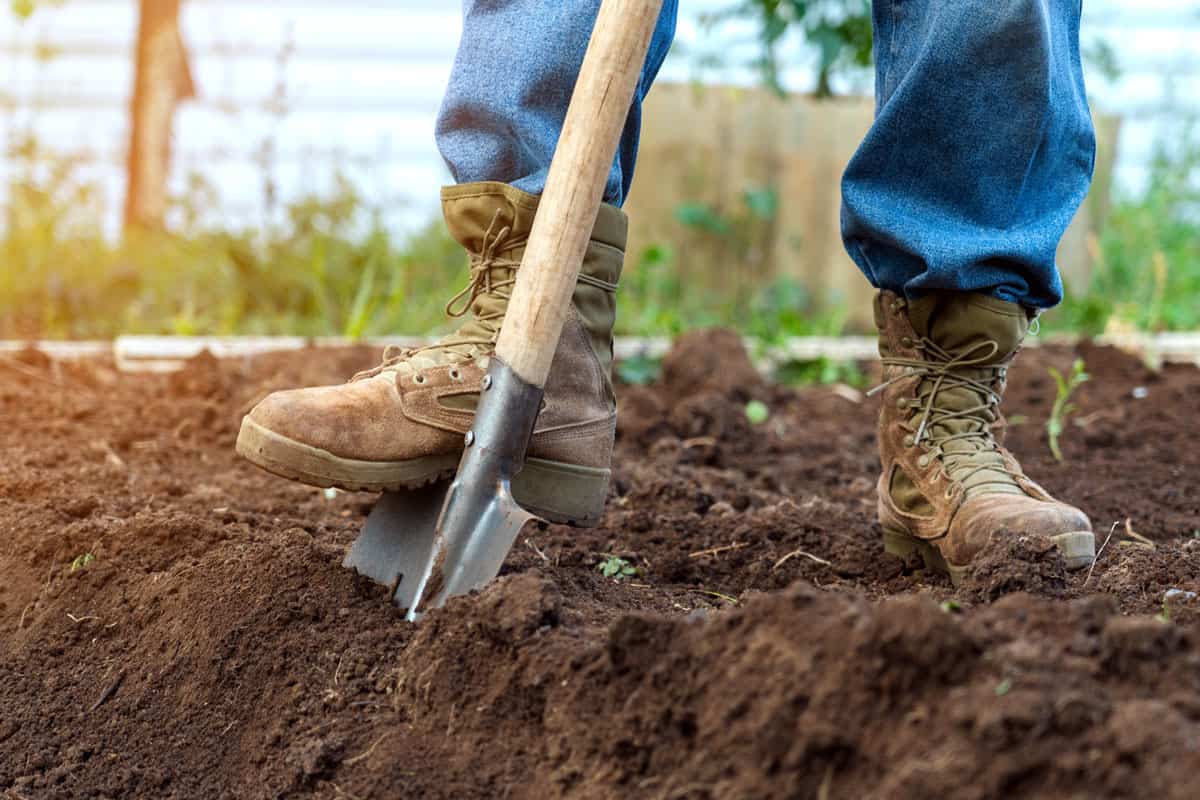
Digging the ground is required while planting, whether it be a tree, seeds, plants, or creating a fence in your backyard. But have you ever thought about digging in wet soil? Fortunately, we're here to tell you whether you need wet your soil before digging.
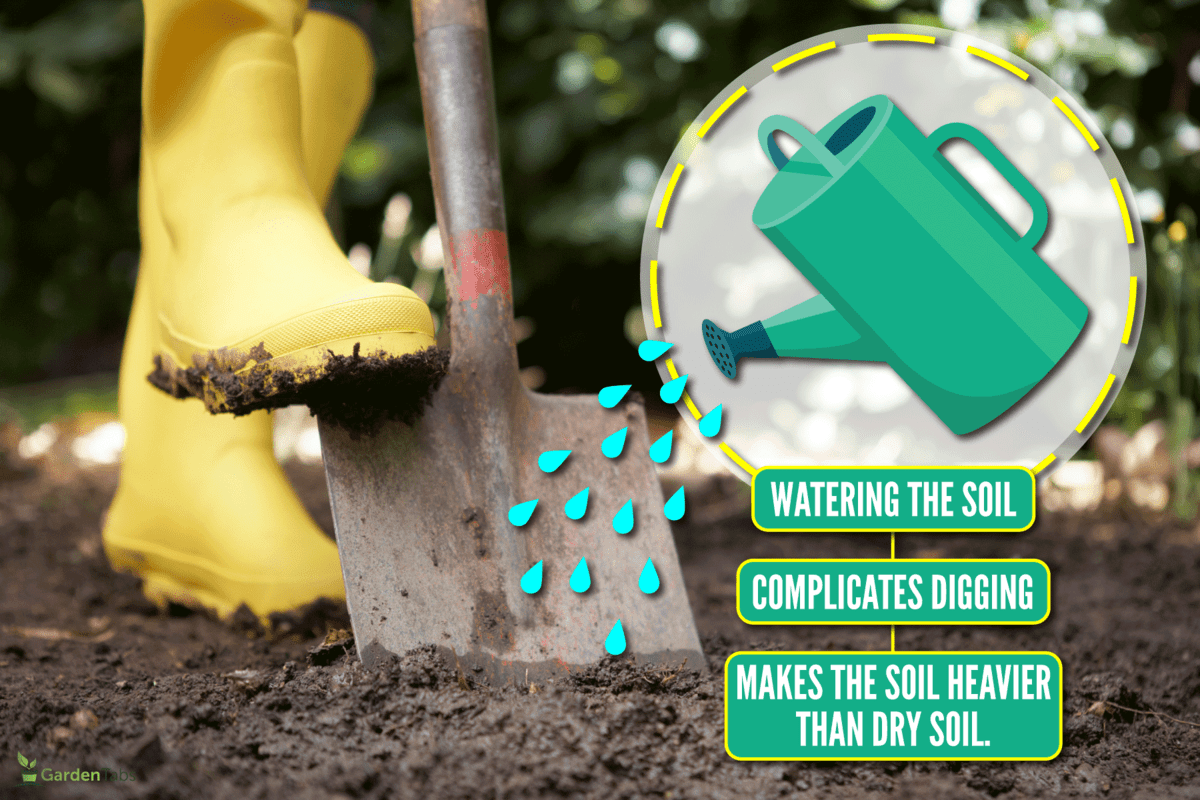
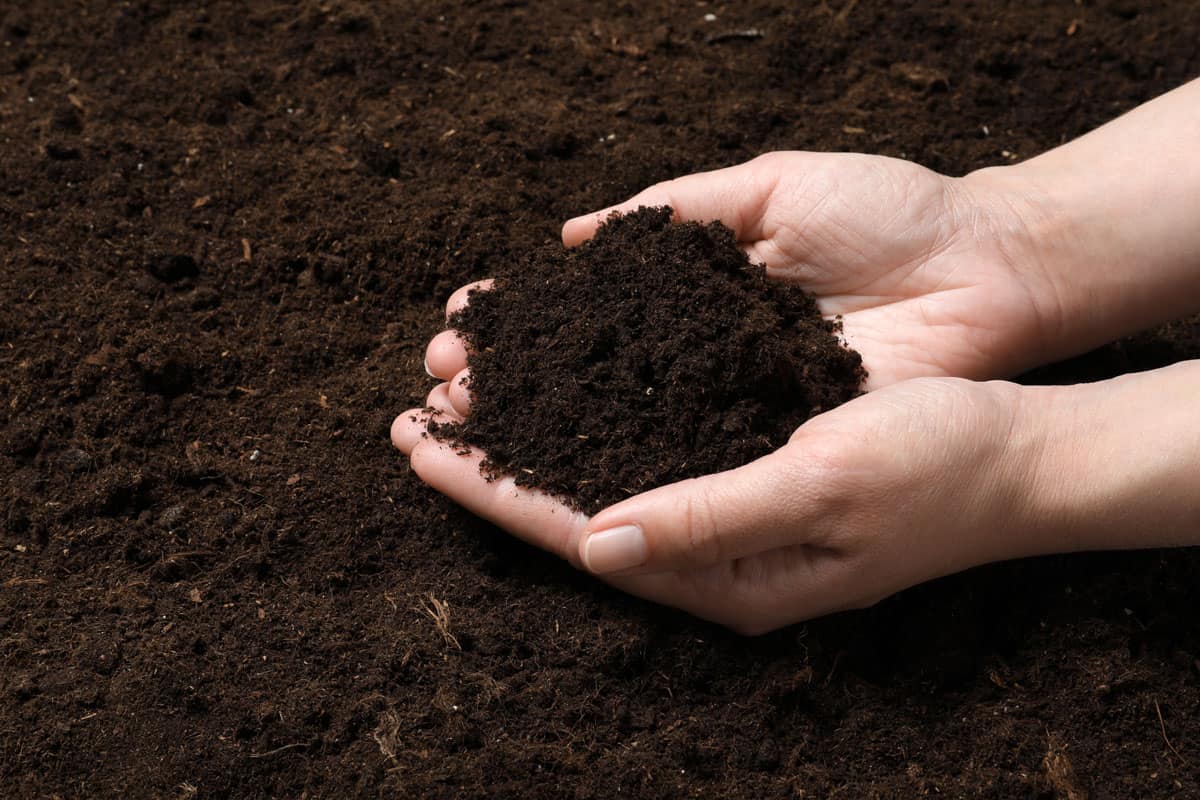
No, it is not necessary to wet the ground when digging. Watering the soil complicates digging and makes the soil heavier than dry soil.
Continue reading to find out what happens if you dig in wet ground. We'll also go over soil kinds, how to recognize them, and when and how to dig holes properly.
Should You Wet The Soil When Digging?
Some assume that wetting the soil before digging makes the entire process easier, notably lifting the dirt. This logic, however, is baseless. Wet soil clumps together and weighs more.
As a result, your shovel blade will struggle to dig deep into wet soil, necessitating additional effort.
Furthermore, after wetting your soil, it adheres to the surface of your shovel. You'll have to bash your shovel against a nearby wall to remove dirt clumps.
Click to see this Shovel on Amazon.
What Are The Different Types Of Soil?
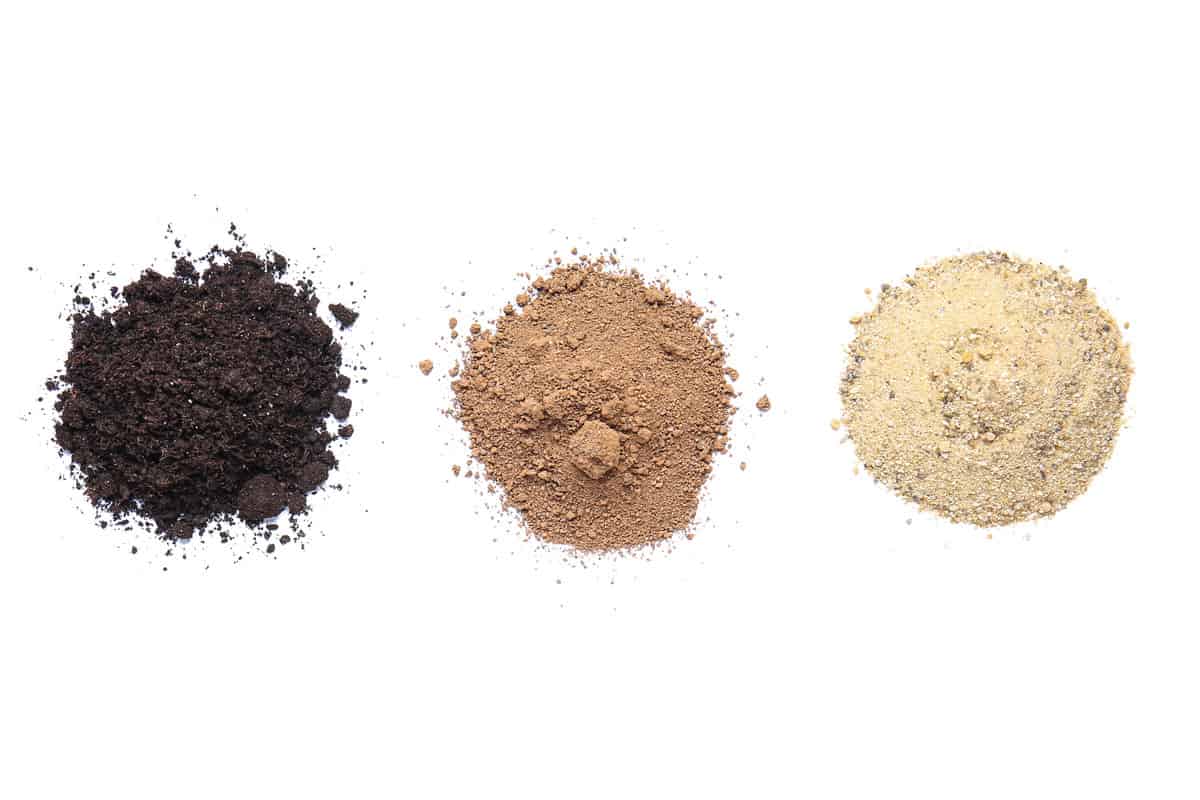
Knowing if your soil is sand, clay, silt, or loam will help you select and maintain the plants for your garden. Let's cover each of these ground types below:
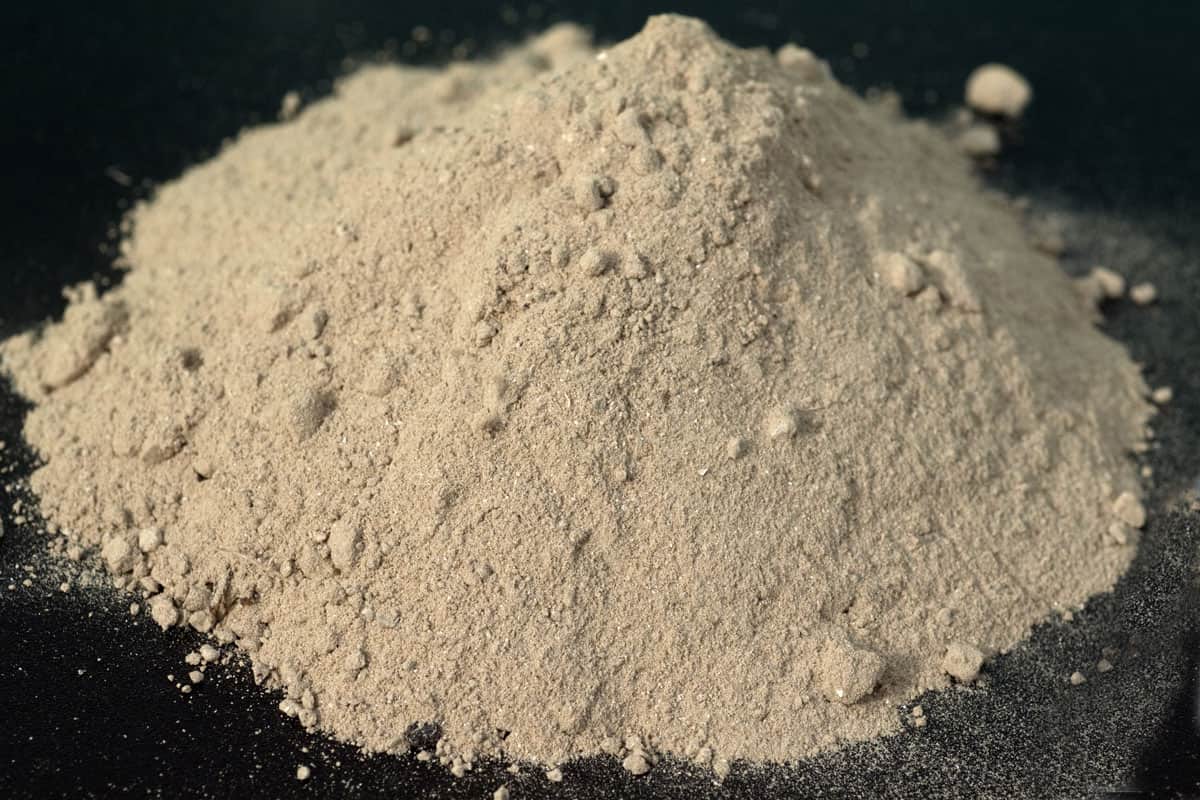
Sandy Soil

This soil has a high amount of sand and relatively little clay. These soils, often called "light soils," drain rapidly after watering or rain and are easy to develop and deal with.
Sandy soils are among the poorest types of soil for plant growth because they contain few nutrients and have a limited water retention capacity, making it difficult for plant roots to absorb water.
This soil is appropriate for drainage systems. Sandy soil is frequently formed due to the disintegration or fragmentation of rocks such as quartz, granite, and limestone.
Clay Soil
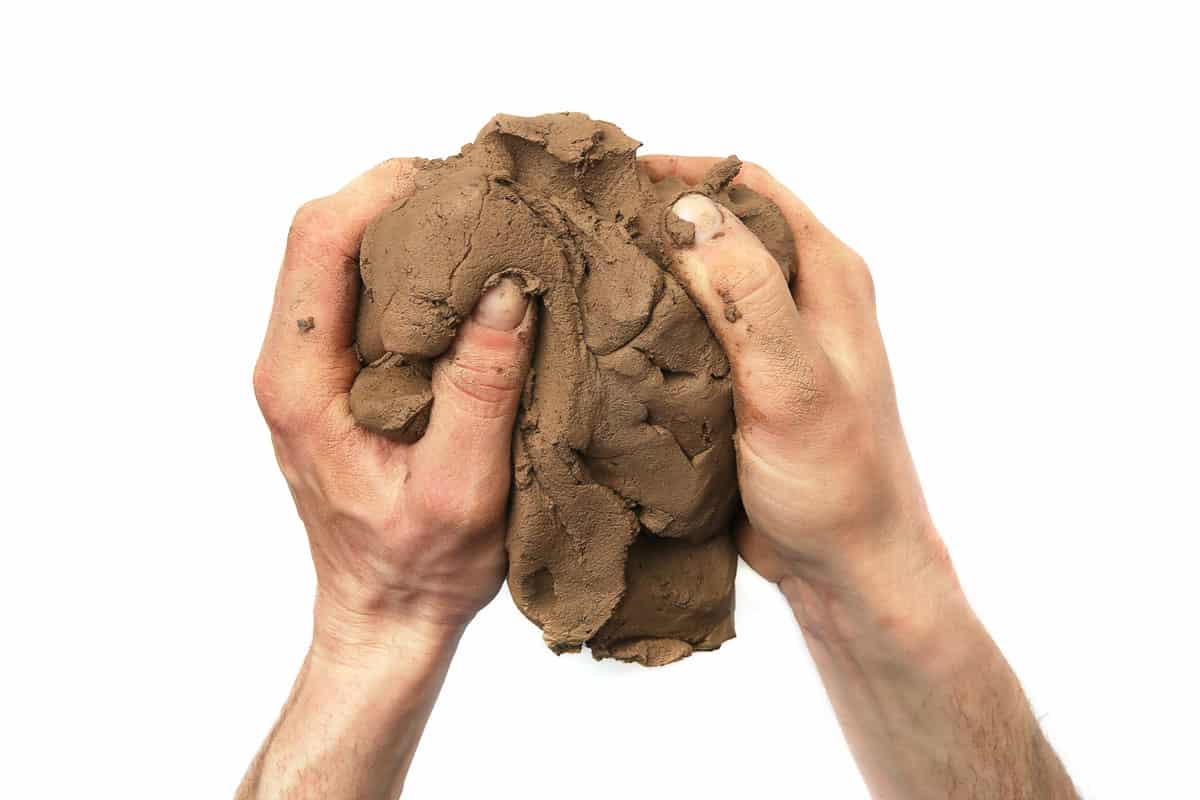
They are also called "heavy soils" because they contain nutrients bound to the soil's clay minerals.
However, due to the capillary attraction of the narrow spaces between the many clay particles, they also contain a significant proportion of water.
This soil has excellent water storage properties, making it difficult for moisture and air to penetrate. Clay is the densest and heaviest soil and does not drain effectively or allow plant roots to grow.
These soils frequently put the gardener to the challenge, but they can be pretty gratifying to deal with if correctly managed through cultivation and plant selection.
Silt Soil
Silt is formed of rock and other mineral particles smaller than sand but larger than clay and has significantly finer particles than sandy soil. The soil's smooth and fine texture holds water better than sand.
They are prone to erosion and sweeping away if left exposed to the elements without plant cover, and they are mostly found near lakes, rivers, and other bodies of water.
However, they are more fertile because they contain more nutrients and water than sandy soils. As a result, it is also used to improve soil fertility in agricultural practices.
Loamy Soil
This soil has a composition of clay, sand, and silt, all of which have positive qualities. It is ideal for farming since it can hold moisture and minerals.
Since it can hold water, loam soil is ideal for agriculture. Even though these are excellent soils, it is critical to add organic matter regularly, especially if you dig or cultivate these soils.
How Can I Tell What Soil My Yard Has?
Identifying your soil type is simpler than it seems. You can perform a few tests at home to get a general idea of the type of soil you have.
Squish Soil Test
Make sure your soil is wet but not soaked before performing this test. Take a small amount of dirt in your hand. " data-lasso-id="28170">Smear your hands with some soil.
If it feels gritty, it most likely contains a high percentage of sand. It has a high silt percentage if it feels smooth and slightly slimy; if it is sticky and lumpy, it consists of a significant portion of clay.
Ball Soil Test
This is very efficient in identifying soils with a high clay concentration.
To make a ball, moisten a tiny quantity of garden soil with water and roll it between your hands. Allow it to set for about 10 minutes after you've formed a ball before pinching it between your fingers.
If it sticks together when flattened, it contains a lot of clay. If it crumbles and falls apart easily in your palm, it includes a lot of sand and a high silt content if it breaks up into a few tiny bits that stick together.
Jar Soil Test
The jar test takes a little longer to complete, yet it is more accurate. To perform this test, collect soil from various locations around your garden and combine the samples in a bucket.
Scoop a cup of soil and proceed as follows:
Step 1-Collect And Dry Out The Soil
Collect soil from various parts of your garden, mix it, and spread it on a flat surface. Dry the ground on a level surface until it is crumbly.
Step 2-Fill The Jar
Get rid of any roots, stones, foreign objects, or large chunks of organic matter. Fill a glass mason jar halfway with soil, then fill partially with water and a spritz of liquid dish soap.
Provide about an inch of clearance at the jar's top. Tighten the lid and vigorously shake the jar for a few minutes.
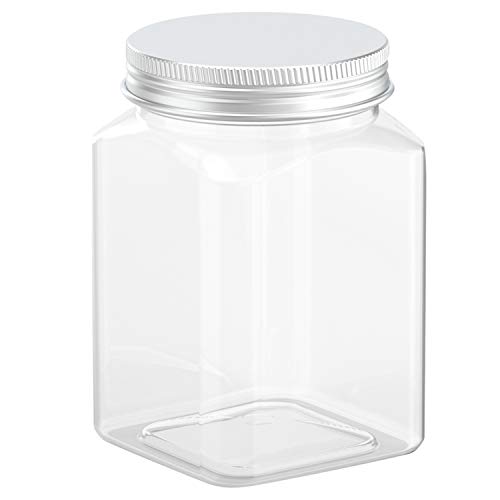
Click here to see this Jar on Amazon.
Step 3-Let It Settle
The sand will settle quickly, forming the bottom layer within a few minutes. The silt will settle in a few hours. The large sand particles and the smaller silt particles should be distinguishable visually.
It may take several days for the clay to settle.
Step 4-Measure Each Layer
After everything has settled, you can measure the thickness of each layer and calculate the percentage of each element you have.
A little math is required to calculate the percentage of each soil type. For instance, if the entire depth of your soil is one inch and you have 1/2-inch sand, your soil is 50% sand.
If the following silt layer is 1/4 inch, the silt content is 25%. The remaining 25% is then clay.
What Is The Correct Way To Dig A Hole?
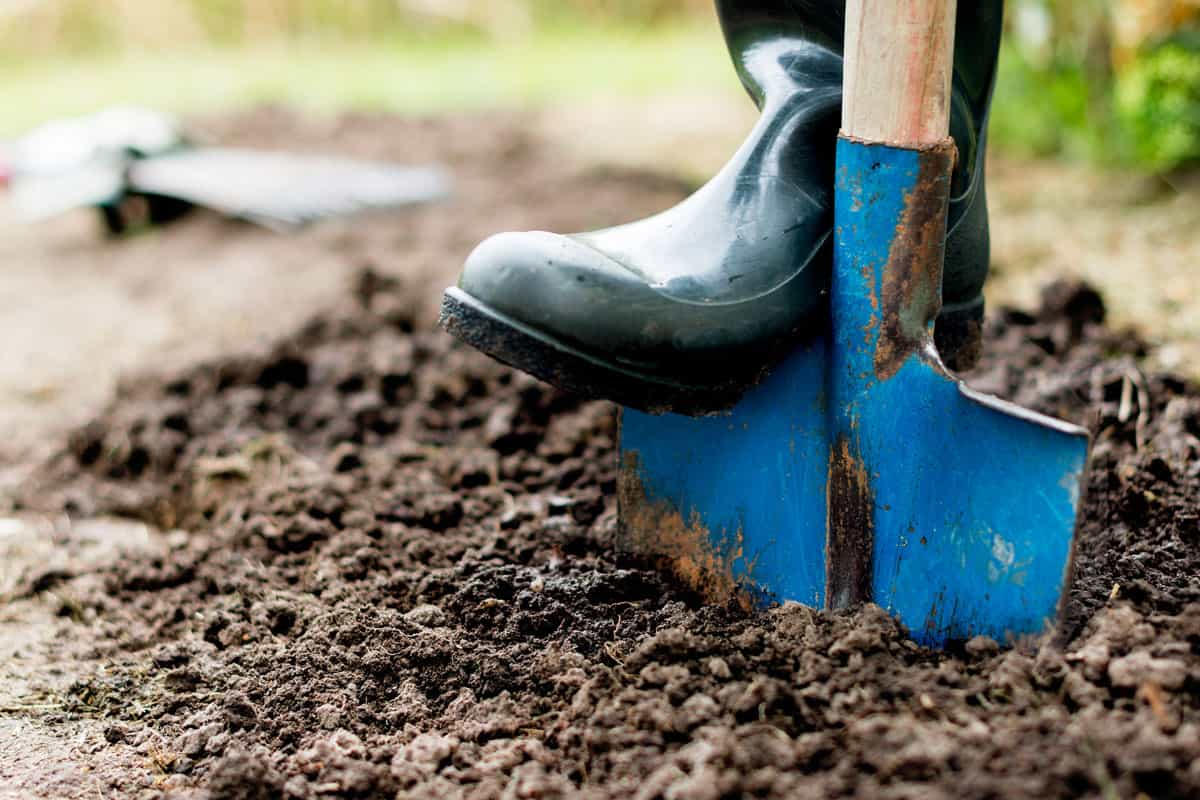
Almost every planting and landscaping activity involves digging. The hole you dig may be essential to the success of your task. Ensure that you dig it correctly.
Holes For Your Plants
The depth and width of the hole you dig while planting a tree, shrub, or garden bed might make the difference between life and death for your new plant.
If you plant too deeply, you will create a basin collecting excessive water. Root rot can occur, and the plant may die as a result.
During winter freezes and thaws in colder climates, plants with shallow roots may dry out, or the earth may drive a tree or shrub out of the ground.
Holes For Your Fences
When working on projects like fences or decks, ensure the hole is vertical rather than slanted.
The hole's bottom should be flat. The hole must be large enough to accommodate the project's structural needs while meeting code requirements.
Use the appropriate concrete mix, gravel, and other fill material for the hole. Allow the concrete to cure before moving on to the next step.
Tamping and leveling are required when digging out the footing area for a patio, retaining wall, or concrete pad to ensure a stable foundation.
Excavations for pond liners, particularly flexible liners, must be smooth and free of sharp projections.
Extra Tips For Digging
Other considerations should be made while digging a hole for planting or another outside operation.
- Take into consideration the location of septic fields and tree roots.
- Check for property lines and easements before digging for fences or privacy hedges.
- Before planting trees near overhead utilities, ensure the plant you chose will not interfere with the poles or wires.
What Is The Best Time To Dig In A Garden?
Soil preparation is vital for good plant growth. Organic matter can be added to the soil when digging if it is lacking.
When the soil is frost-free and can be left to overwinter, the optimal time to dig is from spring through autumn. The ground is typically damp or frozen from midwinter through early spring, making labor difficult.
Heavy soil should never be dug while wet since it might damage the soil structure and cause poor aeration and drainage.
To Finish Up
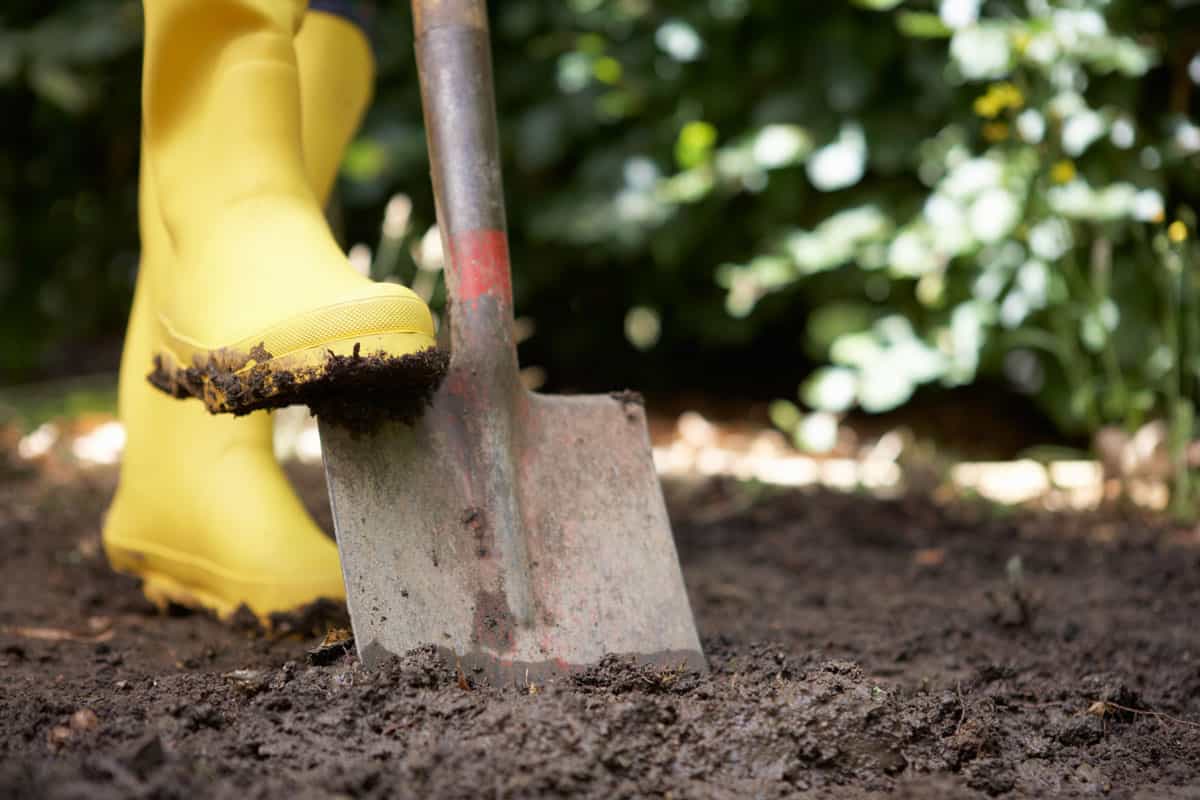
Digging is never fun, especially when digging in wet soil. When you dig in damp soil, the soil clumps together and sticks to your shovel; it also weighs heavier. This task will also take some time to complete.
Digging on ideal neither dry nor damp soil can benefit you and make digging much easier and faster.
Made it to the end? Check out some of these helpful related articles below!
How Long Do Pallet Raised Beds Last? [With Tips To Make Them Last Longer!]
How To Build A Freestanding Privacy Screen [Step By Step Guide]