You start your tiller, but it doesn’t work for more than a few seconds or minutes. What could be wrong with it? Also, what can you do to fix it? We researched and consulted with different industry experts regarding this concern, and here’s what we found.
A tiller may not run continuously if it has an underlying problem like a clogged carburetor or a faulty ignition coil. Don’t try to turn on the machine after it stops suddenly. Instead, troubleshoot it to find the source of the issue. Then, use the appropriate solutions based on your findings.
Keep reading as we talk about the possible reasons why your tiller doesn’t work for extended periods. We’ll also tackle some potential solutions to help restore this gardening machine’s normal operations.
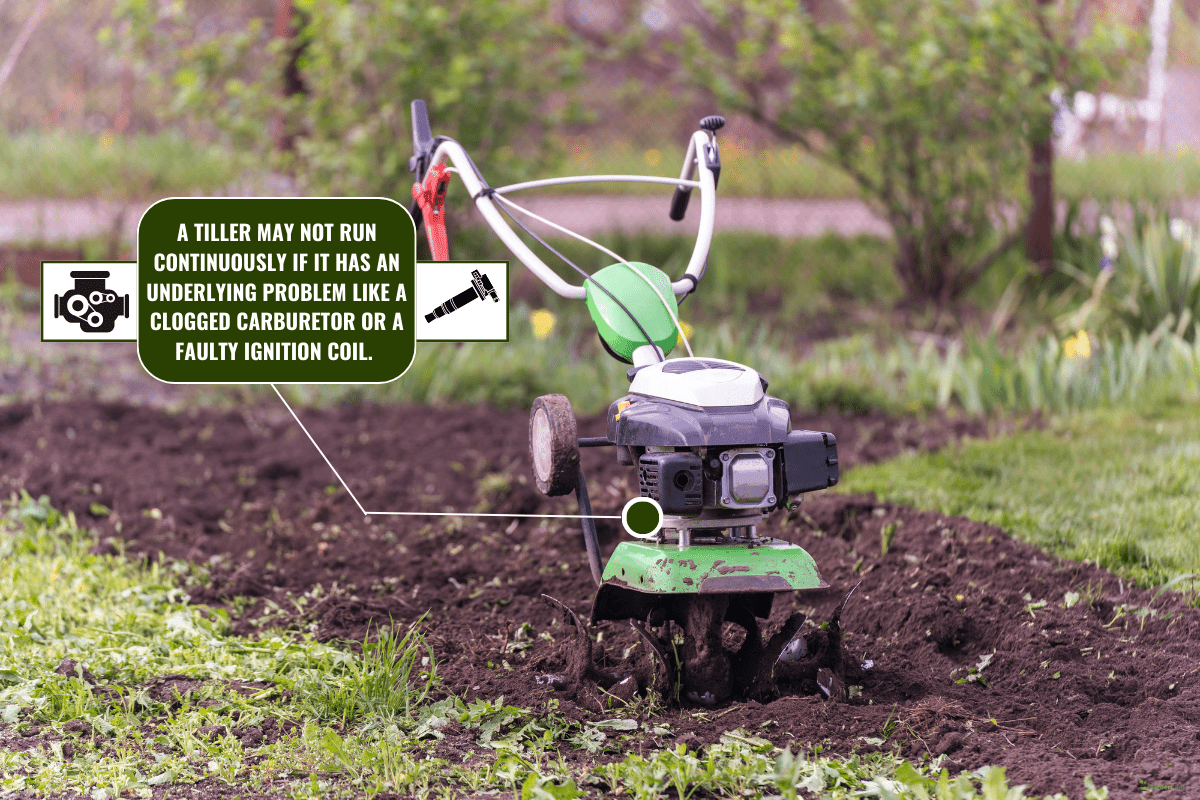
Reasons Why Tiller Keeps Shutting Off
Clogged Carburetor
A tiller’s carburetor is responsible for measuring the amount of fuel and air entering the machine’s engine. It's an important job that requires precision for the tiller to work properly. However, dirt and debris may enter this assembly, causing the machine to only work for a few moments before shutting off.
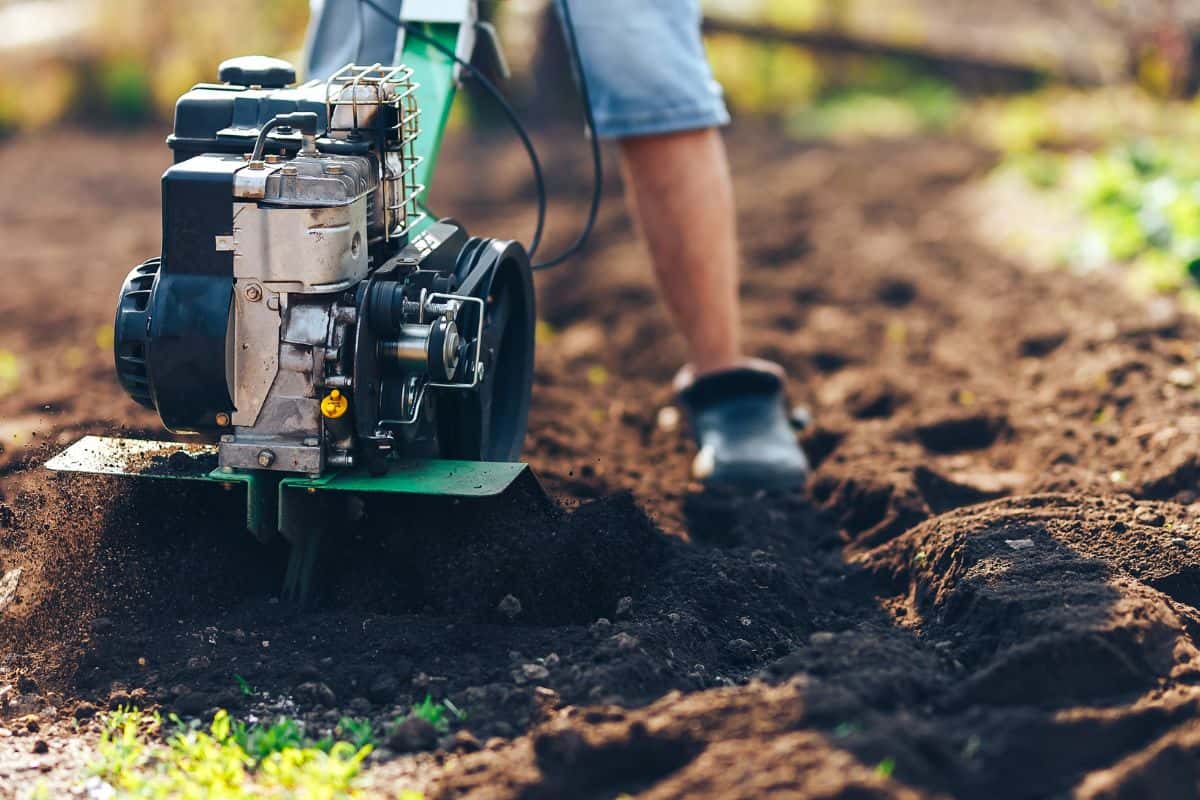
Blocked Fuel Cap
A tiller runs by moving its fuel through different lines. With the help of the fuel cap, the amount of fuel going through the machine’s pipes allows it to work optimally. Blockage in the fuel cap’s vent may not allow the tiller to work for extended periods. Another term for this problem is vapor lock, because a vacuum occurred within the tiller’s lines thanks to the clog.
Expired Fuel
Gasoline can expire, and it usually lasts about 3 to 6 months before it stales. After that period, the gas inside the tiller may transform into a different viscosity, making it difficult to go through the machine’s internal lines. This additional stress brought to the tiller may cause it to stop abruptly.
Faulty Spark Plug
Generally, a spark plug is a component used by different machines, including cars and tillers, to ignite the air-fuel mixture. Carbon deposits may accumulate on this part over time. This issue results in a degradation of the engine’s efficiency, which might eventually lead to frequent stalls.
Bad Ignition Coil
Also called a spark coil, this part works with the spark plug in combusting the air-fuel mixture in the tiller’s motor. In particular, the ignition coil is responsible for sending voltage to the spark plug, allowing the tiller’s engine to start.
However, insufficient energy delivered by a malfunctioning ignition coil may not allow the tiller’s motor to run continuously. Take note that a faulty ignition coil usually means that you have to replace it to restore the tiller to working order.
How To Clean A Tiller Carburetor?
Take note that gaining access to your tiller’s carburetor is often different for each model. In particular, hand tillers may have different locations for their carburetors than models that you attach behind cultivators and tractors.
So read your tiller’s owner’s manual first to know the location of the machine’s carburetor. Once found, you may proceed by following these steps:
What You’ll Need
- Screwdriver
- Socket and ratchet
- Wrench set
- Needlenose pliers
- Carburetor cleaner
- Clean cloth, rag, or towel
Step-By-Step Guide
Step #1: Expose The Carburetor
Turn off and ensure that the tiller’s engine isn’t running. Then, remove the screws that secure the cover hiding the carburetor. Pull out the cover afterward and set it aside temporarily.
Note: You may also clean or replace the filter that should come with the cover that you removed in this step.
Step #2: Remove The Carburetor
Remove the screws and gaskets holding the carburetor in place. Make sure to place those objects in a safe yet fairly obvious place because you’re going to need them for the reassembly. With the fasteners removed, pull the carburetor out of its mount.
Step #3: Clean The Carburetor
Disassemble the carburetor and place the parts on a clean and flat surface. Next, tilt the carburetor’s components to their sides to allow the leftover gas in them to escape. Ensure that you have another container ready to catch the draining fuel.
Use your carburetor cleaning solution on the exposed parts. Make sure you're following the manufacturer's instructions for a proper clean. Then, wipe the excess with a clean cloth, rag, or towel.
Step #4: Reassemble The Parts
Once cleaned, reassemble the carburetor and return it to its original location in the tiller. Secure the carburetor in the tiller afterward.
After completing the reinstallation, turn on the tiller and allow it to idle for a few minutes. Check if the motor doesn’t stall during this period.
Warning: Certain components, such as a needle in the carburetor’s gas receptacle, are fragile. Be careful when handling them as they might break easily.
Check out this carburetor and choke cleaner on Amazon.
You can also watch the video below if you need a visual guide for this procedure. Note that the user that recorded this video is holding his camera handheld. That means some parts of the clip are quite shaky, which might not be comfortable for some viewers:
What To Do To Replace Tiller Spark Plug?
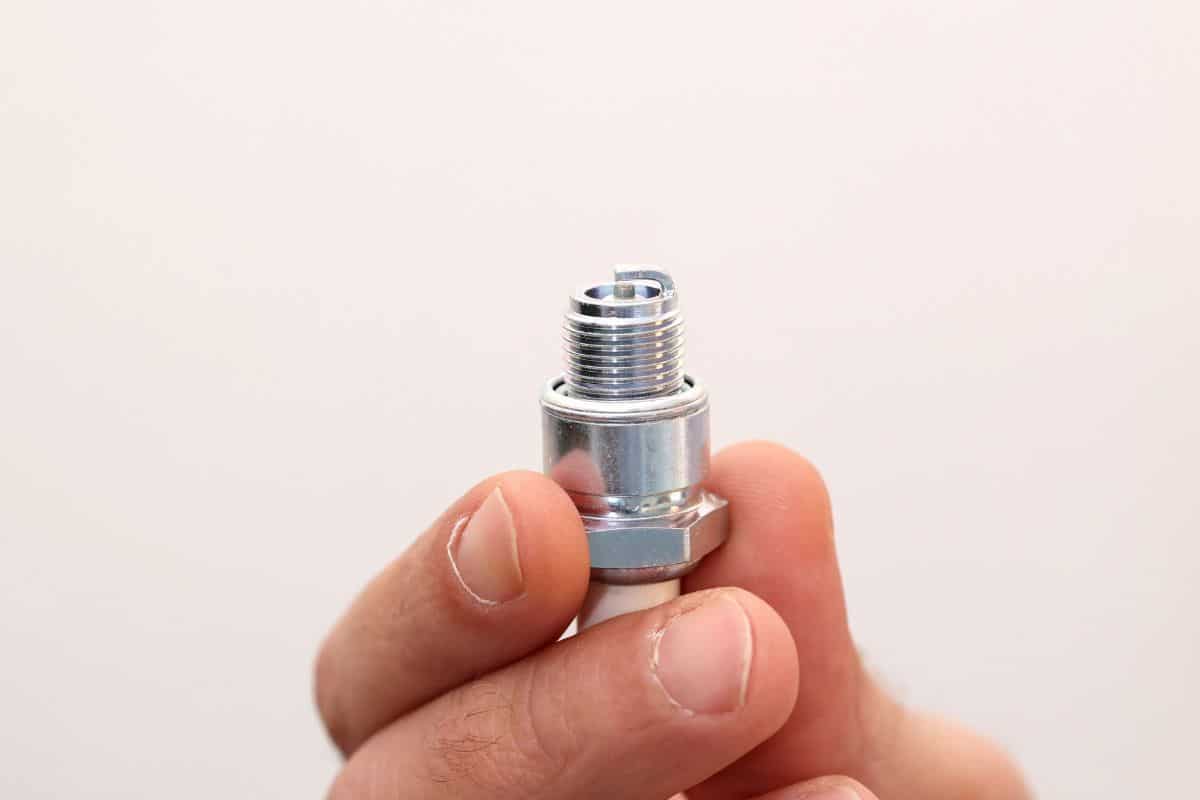
Replacing a tiller’s spark plug is generally an easy-to-complete job. But you need a compatible spark plug for your specific tiller model. Don’t install a random spark plug in your tiller as it may cause the machine to encounter more problems than before.
Once you have the right spark plug, continue this procedure by following these steps:
What You’ll Need
- Replacement spark plug
- Allen wrench
- Spark plug wrench
Step-By-Step Guide
- Remove the screw securing the fan cover. Pull out the fan cover afterward and set it aside.
- Disconnect the wire attached to the spark plug.
- Use the spark plug wrench to loosen and remove the old spark plug.
- Screw the new spark plug into the same location as the old unit.
- Attach the wire you disconnected in step 2 to the new spark plug.
- Reinstall and secure the fan cover.
- Turn on the tiller and check if it now works without its engine stalling.
Check out this replacement tiller spark plug kit on Amazon.
This video will also show you a visual reference for the steps mentioned above if you need it:
What’s The Best Tiller For Lawn?
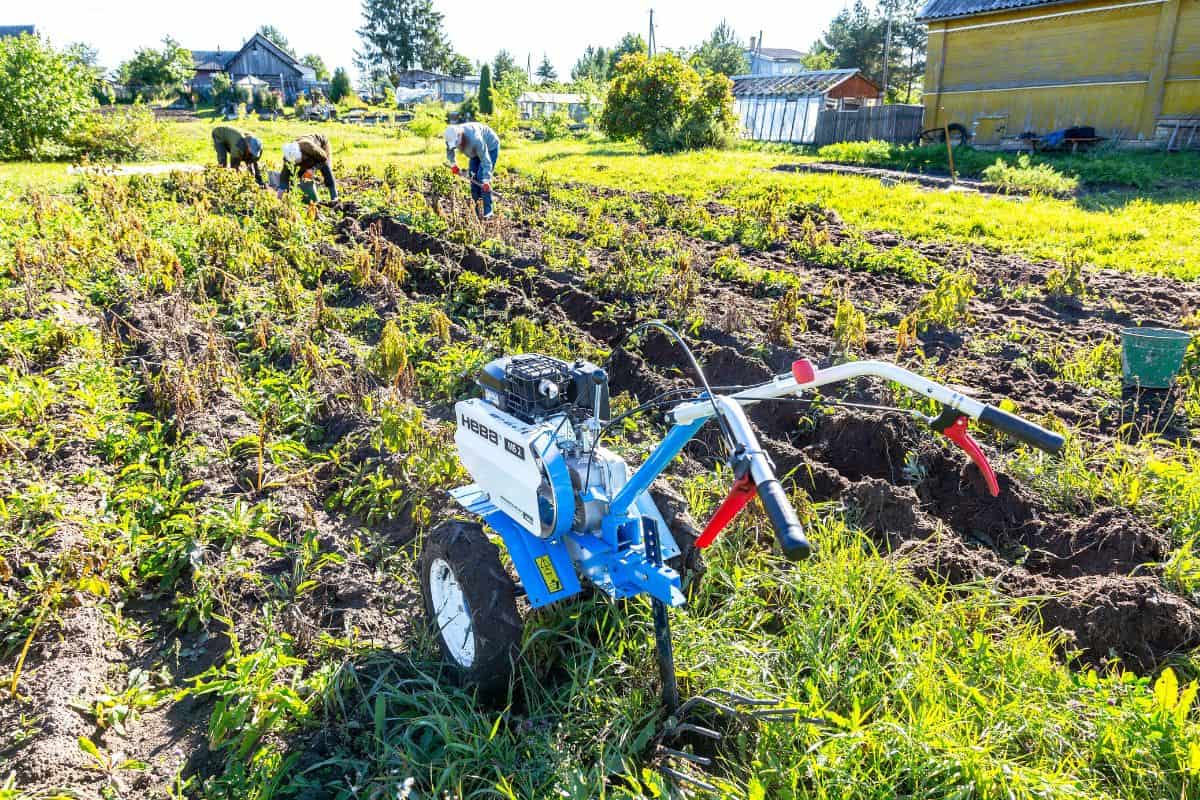
If troubleshooting and attempting repairs on your tiller didn’t fix its motor stopping frequently, perhaps it’s time to replace the old machine with a new model. Here are some ideal candidates that you may want to check out:
1. Honda FG110 Mini Tiller
This reasonably small tiller can be an ideal option for tilling in tight spaces. Although it comes with a reasonably small engine, it still provides sufficient power to till fine ground efficiently. Its fairly compact design also makes storage convenient, particularly for those with limited storage space.
Check out this product on Amazon.
2. Earthquake 33970 Victory Tiller
Unlike the previous model, this tiller can be great for tilling large patches of land. It also has an instant reverse lever, allowing you to till in reverse conveniently. But bear in mind that this unit is large and heavy. That means that you may need extra pairs of hands to attach it to compatible cultivators and tractors.
Check out this product on Amazon.
3. Sun Joe TH604E Garden Tiller
Storage problems might become things of the past with this garden tiller model. Its handle is collapsible, and the wheels have three height adjustments. Its price is also reasonably inexpensive, especially when compared to larger units like the Earthquake 33970.
Check out this product on Amazon.
4. Greenworks 27062 Cordless Tiller
Think about getting this tiller if you find it annoying to use a long cord to power tilling machines. With this cordless model, you can be far from a wall outlet and the machine can still function as intended. But bear in mind that this device has a smaller motor, which means its tilling prowess is slightly weaker than wired models.
Check out this product on Amazon.
Final Thoughts
Remember, don’t force your tiller to work if its engine stops shortly after engaging it. Instead, inspect the machine’s parts to find the source of the problem. Once found, use the appropriate solution based on the results of your troubleshooting. But prepare yourself as you may still need to replace your tiller if none of your attempts to fix it delivered satisfactory results.
If you're looking for answers to concerns about other garden machines, check out these other great reads:


