
Starting seeds indoors gives you more control over your plants and can extend their harvest. While starting corn seeds indoors is difficult, it is possible. If you've been having trouble growing this crop, look no further. We've done the research and can tell you how to grow corn from seeds indoors!
Sow corn seeds in peat pots at a depth of one inch. You can start seeds indoors between three and four weeks before transplanting.
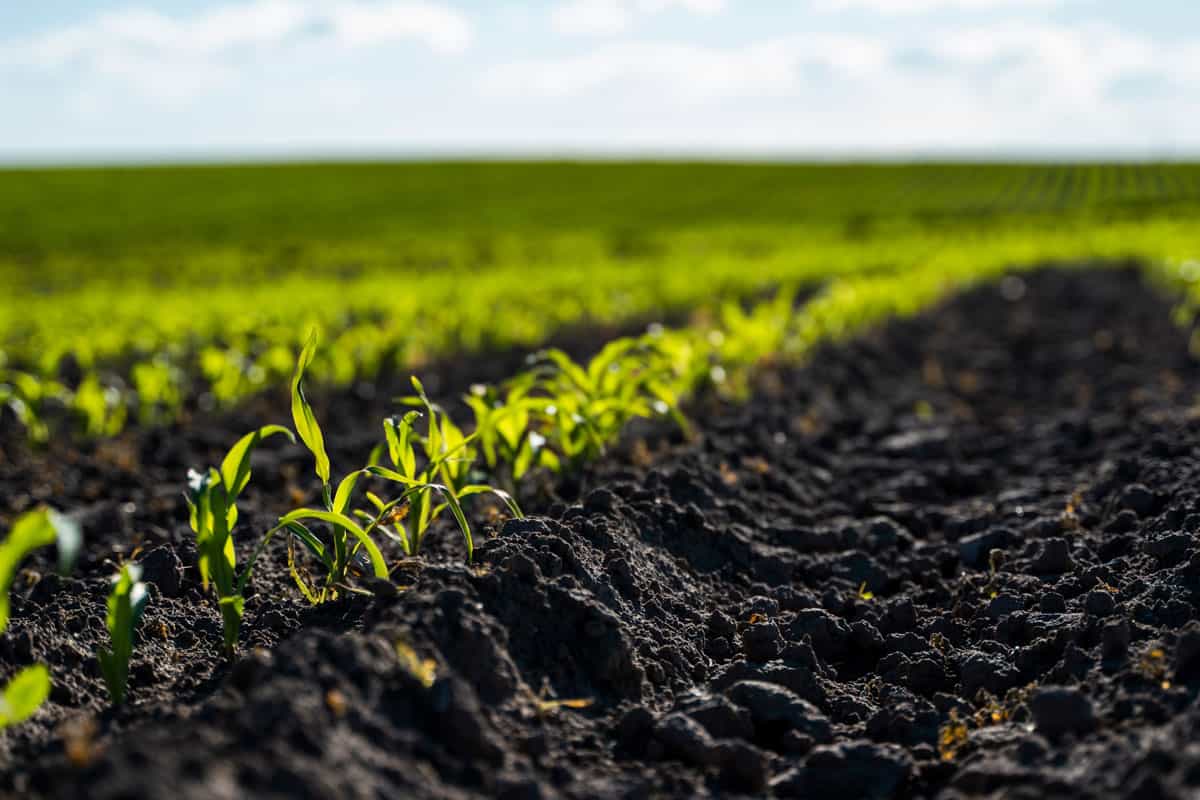
Keep the indoor soil temperature around 70 degrees Fahrenheit for best germination. The outdoor soil should be at least 60 degrees Fahrenheit before transplanting.
As long as you are gentle during transplanting, starting corn indoors can be very beneficial. Keep reading to learn more about how to start these seeds, transplant the seedlings, and more!
![Corn growth photographed in detail, How To Start Corn From Seeds Indoors [Beginners Guide]](https://gardentabs.com/wp-content/uploads/2023/01/How-To-Start-Corn-From-Seeds-Indoors-Beginners-Guide-02-683x1024.jpg)
![Corn growth photographed in detail, How To Start Corn From Seeds Indoors [Beginners Guide]](https://gardentabs.com/wp-content/uploads/2023/01/How-To-Start-Corn-From-Seeds-Indoors-Beginners-Guide-03-683x1024.jpg)
![Corn growth photographed in detail, How To Start Corn From Seeds Indoors [Beginners Guide]](https://gardentabs.com/wp-content/uploads/2023/01/How-To-Start-Corn-From-Seeds-Indoors-Beginners-Guide-04-683x1024.jpg)
How To Start Corn Seeds Indoors
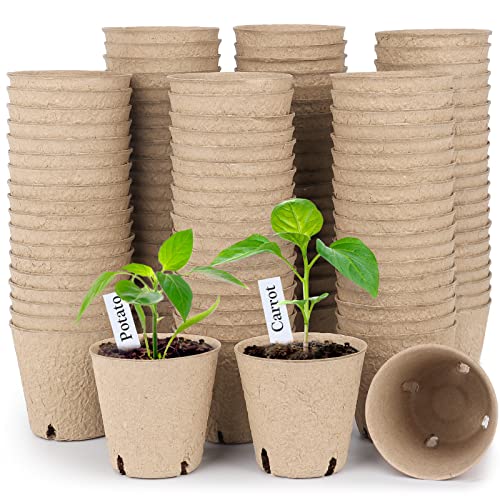
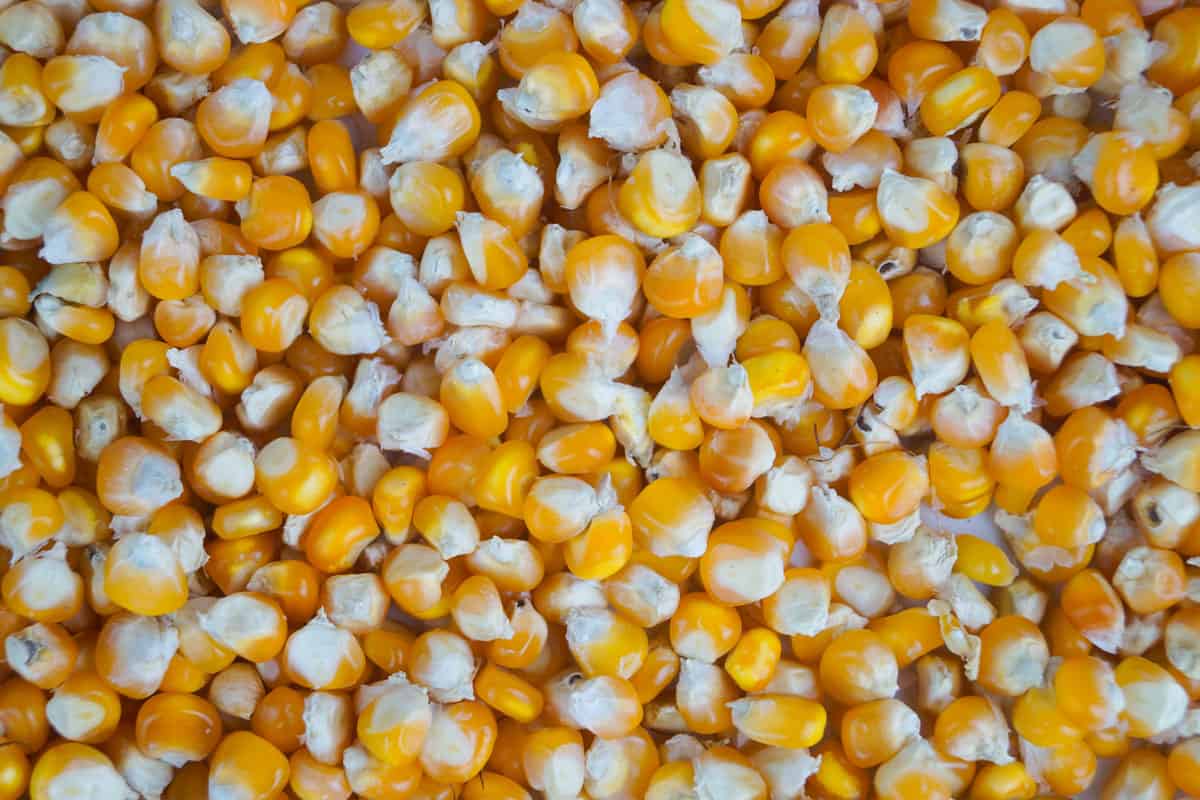
You'll need peat containers, soil, and corn seeds to sow these seeds indoors. If you're concerned about how much light your seeds will get, a grow light will also be beneficial.
Start corn seeds indoors between three and four weeks before you want to move them outdoors. Remember, the outdoor soil should be at least 60 degrees Fahrenheit. So, plan accordingly.
To start corn indoors, you'll first fill your peat containers with a seed-starting mix. Then, put up to two seeds around one inch deep in each pot.
Water your seeds. Then, move them to a sunny and warm location.
![Corn growth photographed in detail, How To Start Corn From Seeds Indoors [Beginners Guide]](https://gardentabs.com/wp-content/uploads/2023/01/How-To-Start-Corn-From-Seeds-Indoors-Beginners-Guide.png)
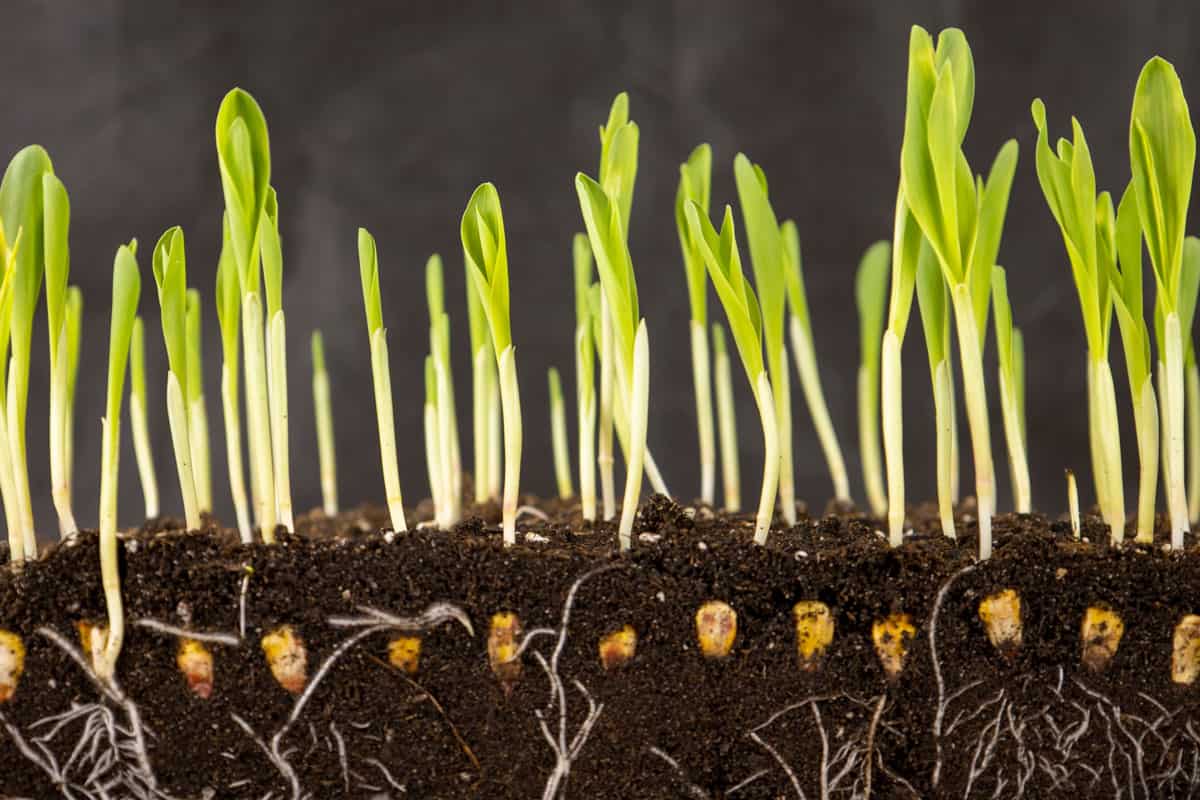
You'll need to ensure the soil temperature stays between 65 and 85 degrees Fahrenheit. Typically, these seeds germinate best when the temperature is around 70 degrees Fahrenheit.
Your seeds should sprout in four to ten days.
Once you have seedlings, they'll need at least 12 hours of sunlight daily. You can use a grow light to help supplement light. The lamp can also help warm the soil for your seeds during germination.
It's also essential to keep the soil moist. You shouldn't let the soil dry out because it can interfere with the seed's growth.
Have fresh corn already? Check out "Can You Grow Corn From Fresh Kernels?" to see if you can use them to grow corn.
Check out these biodegradable pots on Amazon!
Take a look at this potting mix on Amazon!

Moving Your Seeds Outdoors
Your corn seedlings are almost ready to be transplanted once they reach two inches in height and the outdoor soil is at least 60 degrees Fahrenheit.
You should also harden your seedlings off before moving them outdoors. Your plants will have a better chance of surviving if you give them a chance to get acclimated to the outdoor weather.
Harden your seeds off over a three- to five-day period. On the first day, put your seedlings in an area that only receives a little bit of morning sun. You'll increase the amount of sun exposure each day.
Make sure to bring your seeds indoors each night until you're ready to plant. It's also crucial that the outside temperature is greater than 40 degrees Fahrenheit.
Wondering where to put your corn? Take a look at "Does Corn Need Full Sun To Grow? [Can It Grow In The Shade?]" for more information!
Check out this soil thermometer on Amazon!

Preparing Soil
Another important step before transplanting is ensuring that the soil drainage, composition, and nutrients are good. Do a soil test to check that you have well-drained, sandy, or loamy soil with a 6.0 to 6.8 pH level.
If necessary, use fertilizer to add nutrients. A 10-10-10 fertilizer is usually sufficient. However, your soil test can tell you if you need to add a different nutrient.
Work the fertilizer into the soil, water it well, and ensure the area is clear of any weeds.
Now you can plan your rows. You should space corn rows between two and three feet apart.
Corn is wind pollinated, so you must plant them in short block-shaped groups. Typically, four rows will pollinate the best.
Check out this fertilizer on Amazon!

Transplant Corn
Dig holes that are as wide and deep as your peat pots. Then, prepare the peat pots.
Moisten the peat pot to help it decompose in the ground. Then, tear off the top portion of the pot. You want to avoid having any parts of the pot exposed to the air.
Next, remove the bottom of the pot. Skip this step if the roots have already started growing through it.
Put the peat pot and seedlings into the ground. Finally, be sure to water your plants. Don't mulch or thin your plants until they are approximately five inches tall.
Caring For Corn Outdoors
Keep your plants well-watered. Corn needs an inch of water each week. Supplement watering if your location doesn't get that amount of rain.
Once your seedlings are between four and five inches, you should thin them. Remove weaker plants until your corn is spaced between 12 and 24 inches apart, depending on the variety of corn.
At this size, you can also use a light layer of mulch. The mulch will help keep weeds away and help the soil retain moisture.
Side-dressing Corn
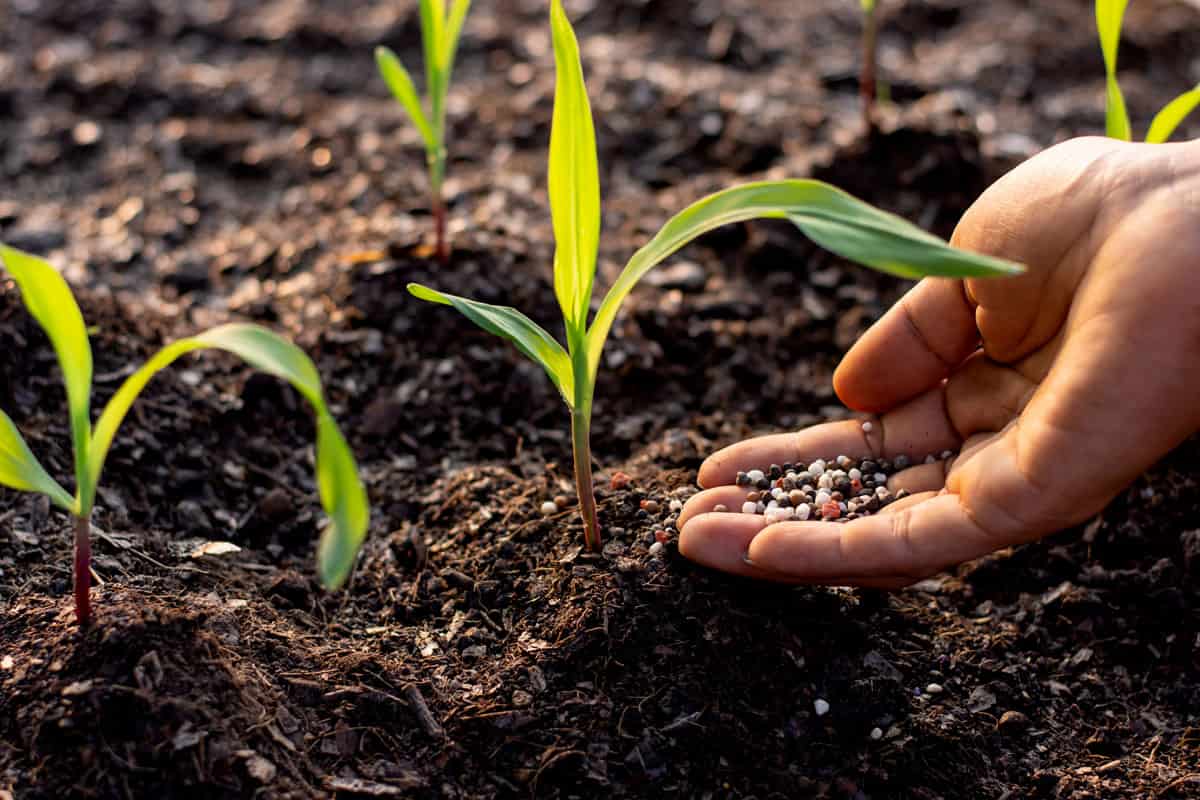
Corn is a heavy nitrogen feeder. In many cases, it will do best from a couple of nitrogen treatments.
The best time to side-dress corn is once it is in the V6 stage of growth. A corn plant needs nitrogen the most in the V12 stage. So, any side-dressing starting during this time won't be as effective.
How To Tell Corn Is Ready For Harvest
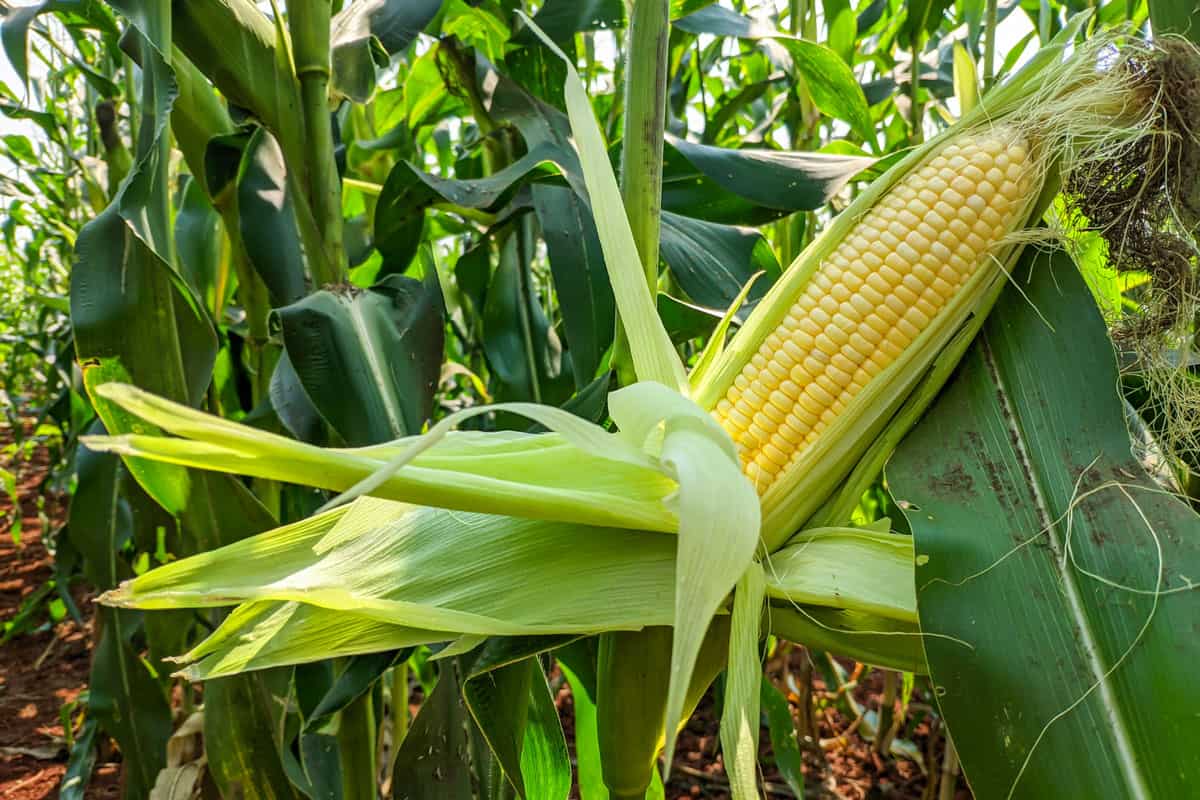
Your corn is ready for harvest once the silks begin turning brown. This is approximately 20 days after the silks first emerged.
Before removing your ears of corn, test the kernels to see if they're ready. Gently open the husk of corn and pierce a kernel with your fingernail.
The corn is ready for harvest if the liquid looks milky and white. If the fluid is clear, your corn isn't ready yet. Carefully close the husk and check in a couple of days.
If there isn't any liquid, your corn is old. You may still be able to eat it if harvested. However, it will lack a lot of the flavor that ripe corn has.
How To Harvest Corn
Grab the corn ear firmly with one and use the other to steady the stalk. Gently but firmly twist the ear. Then, pull it down and off. Be careful not to damage the stem while removing the ears.
Corn spoils very quickly once it's harvested. If stored at room temperature, it will lose up to 50% of its sugar after 24 hours. If stored in the refrigerator, corn will last up to four days.
You should try only to harvest the amount of corn that you can eat within three days. However, you must also be mindful of the rest of your crops. Corn is only harvestable for a few days.
How To Store Corn
To store corn in the refrigerator, you should keep it in the husk. Then, place it in a plastic bag and remove as much air as possible. Store in the vegetable drawer of the appliance.
To freeze your corn on the cob, first, remove the husks. Then, blanch the ears. To do this, place the ears in boiling water for up to 11 minutes. Then, dump them into an ice bath for 30 seconds.
Place the ears into a freezer-safe container and store them for up to 12 months.
You can also store corn kernels instead of the ears. To do this, boil the ears for approximately 3 minutes. Then, dump them into an ice bath.
Remove from the cold water and use a knife to remove the kernels. Move to a freezer-safe container and store.
In Conclusion
Corn root systems don't take well to transplanting. So, most people prefer to start these plants directly in the ground. However, using biodegradable pots can make starting corn indoors easy! When starting plants indoors, be careful to provide enough light and make sure to harden them off before moving.