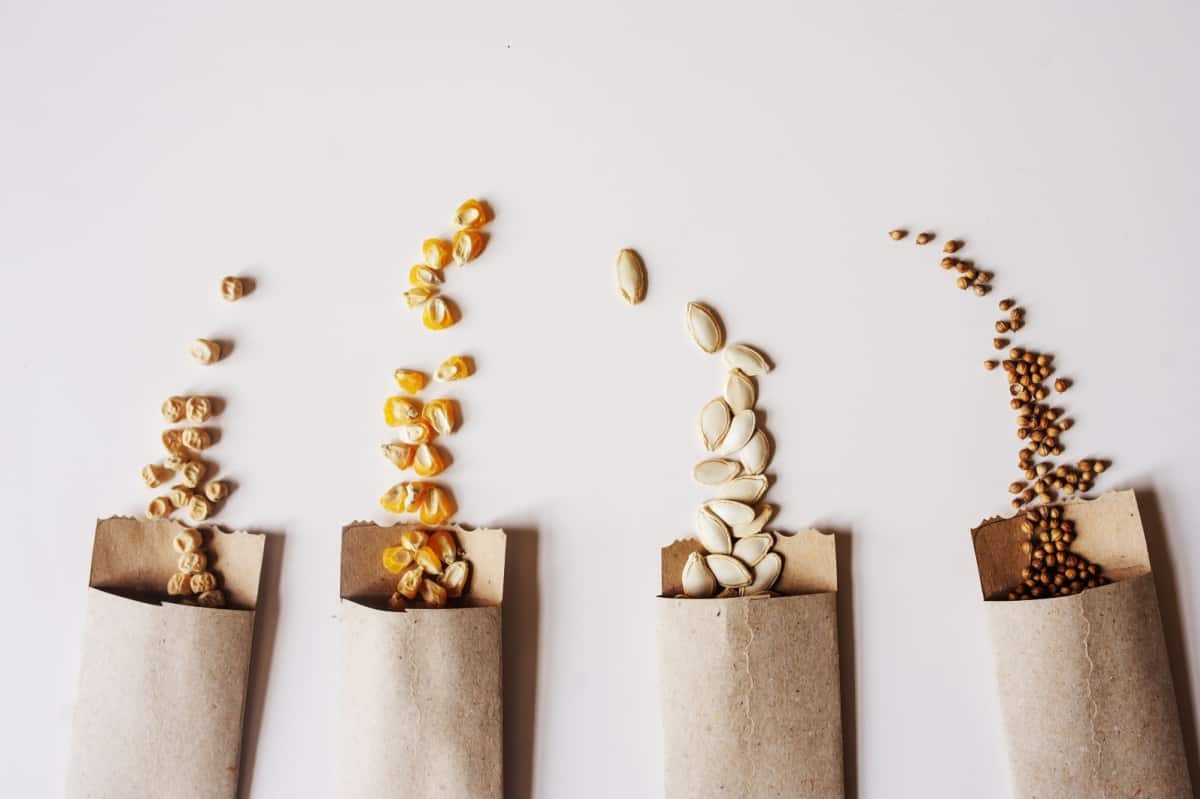
Saving seeds from one year's harvest to the next is fun and cost-effective. But before you start saving those seeds, you need to get organized! Envelopes are the perfect way to store and label your seeds while ensuring they stay safe and sound until the next season arrives.
Label The Envelopes

When you're ready to start storing your seeds in envelopes, it's important to make sure each envelope is labeled correctly so that you know what type of seed it contains and when it was harvested.
The label should include the variety of seed (for example, "Heirloom Tomato"), the date of harvest (for example, "July 2022”), and any additional information about the crop, such as fertilizer or soil amendments used during growth or other special conditions that might affect germination.
It’s also helpful to add a brief description of how large or small the fruit or vegetable was when harvested so that you can compare results over time.
For best results, use a permanent marker for labeling the envelopes so that your labels won't fade over time. If possible, use archival quality markers/pens. Hint: Sharpie archival ink pens are designed specifically for archival use.
Store Your Envelopes Properly
Once your envelopes are labeled properly, you can think about storage! The best place to store your labeled envelopes is away from direct sunlight and in a cool, dry location such as a basement or closet shelf.
This will help protect your seeds from heat damage, which could reduce their viability over time.
Additionally, try to keep them away from sources of moisture, such as bathrooms or laundry rooms. Even small amounts of humidity can cause mold or mildew to grow on paper products like envelopes, which could ruin your stored seeds!
You can try putting the seeds in sealable plastic bags inside each envelope before storing them away to safeguard against moisture.
Storing your garden seeds properly is essential if you want them to stay viable for future planting seasons!
