
Ignoring a non-functioning water sprinkler may lead to patches of dead grass and an unsightly yard. If your Rain Bird sprinkler is not working, it may need a new sprinkler head. How do you replace the sprinkler head? Keep reading, because we did research to bring you an answer.
To replace a Rain Bird sprinkler head, follow these simple steps:
- Dig up the sprinkler head.
- Unscrew the broken sprinkler head.
- Install the new sprinkler head.
- Test the new sprinkler head.
- Refill the hole.
The instructions are straightforward, but we will discuss them in detail as you go through this post. So, let's get right into it below!
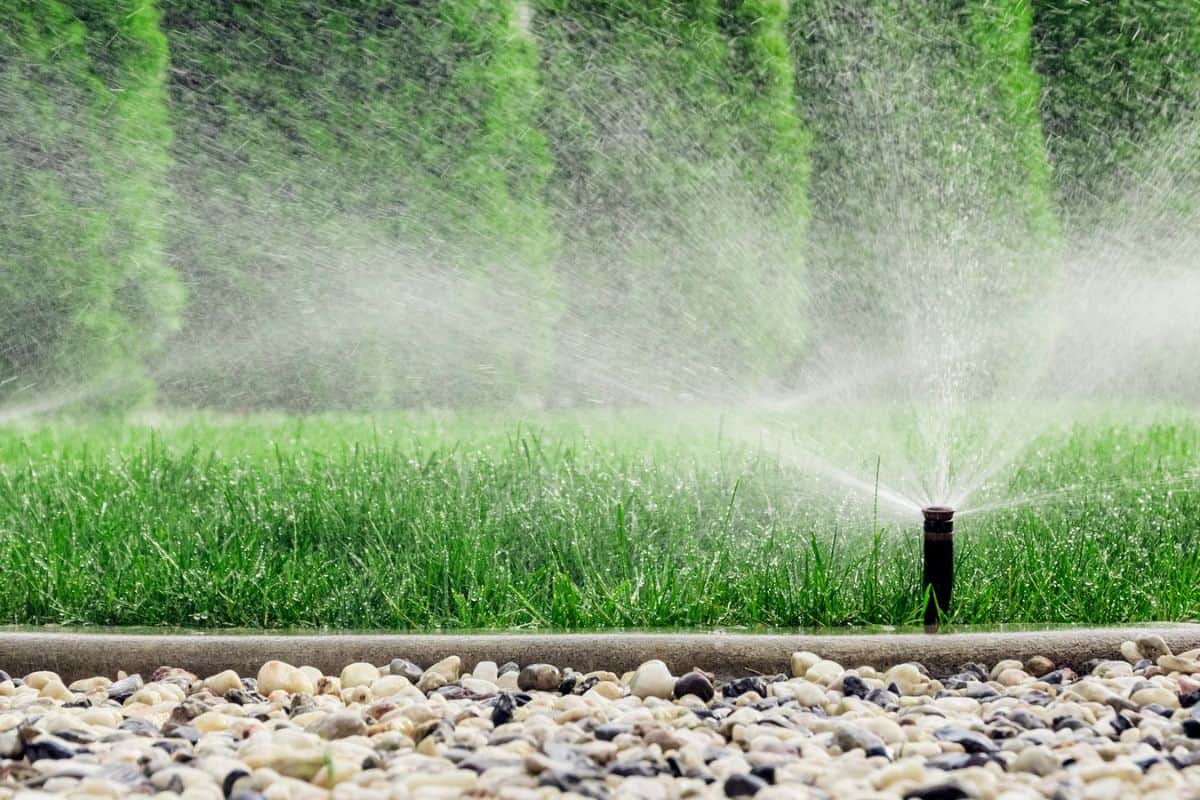
![Irrigation of the green grass with sprinkler system. - How To Replace A Rain Bird Sprinkler Head [Quickly & Easily]](https://gardentabs.com/wp-content/uploads/2022/10/Irrigation-of-the-green-grass-with-sprinkler-system.-How-To-Replace-A-Rain-Bird-Sprinkler-Head-Quickly-Easily.png)
Replacing A Rain Bird Sprinkler Head
If you happen have a broken sprinkler head, you need to replace it quickly to prevent your grass from dying. Here are the steps on how to replace a Rain Bird sprinkler head quickly and easily.
1. Dig Up The Sprinkler Head
Before replacing a sprinkler head, you must locate it on the lawn. Dig up a few inches of soil away from the sprinkler to give you access to the broken sprinkler head.
You can use a sturdy trowel to do this, but be careful not to damage the sprinkler.
2. Unscrew The Broken Sprinkler Head
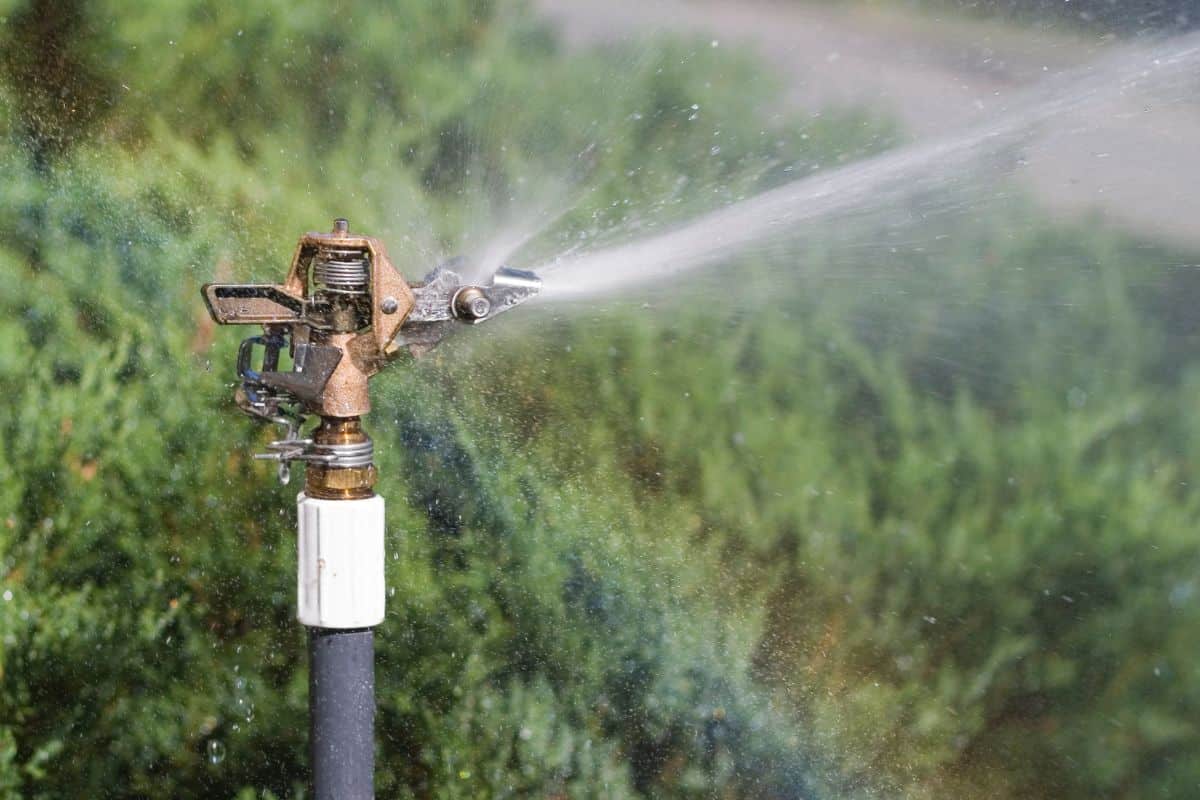
A sprinkler head is connected to a conduit that extends from the building to a dependable water source.
Once you have access to the sprinkler head, you need to unscrew it by turning it to the left. This may be difficult, especially if it's old. Continue turning it to the left until the sprinkler head is loosened. Finally, lift it out of the hole.
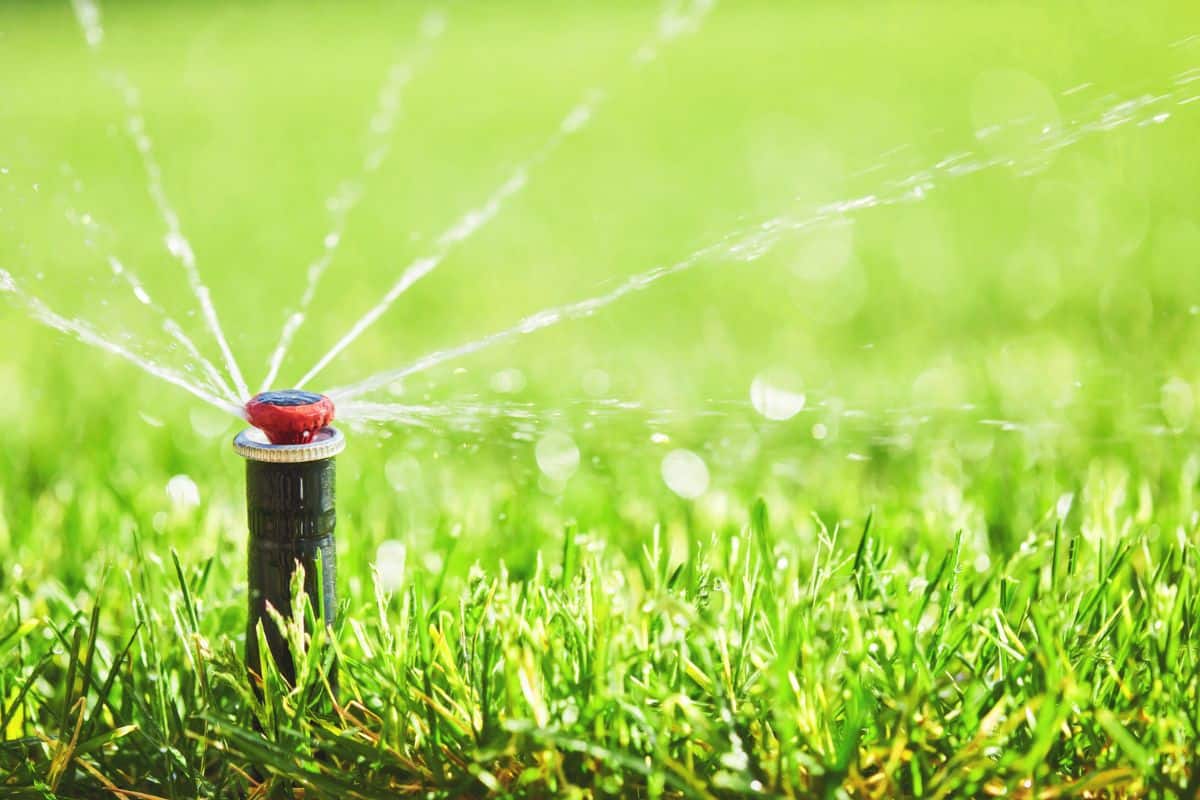
3. Install The New Sprinkler Head
The next step is to install the new sprinkler head. Make sure that you have the correct replacement head to prevent over-watering or under-watering you lawn.
Gently slide the replacement back into the hole and turn the sprinkler head to the right to rethread it.

Click here to see this Rain Bird sprinkler on Amazon.
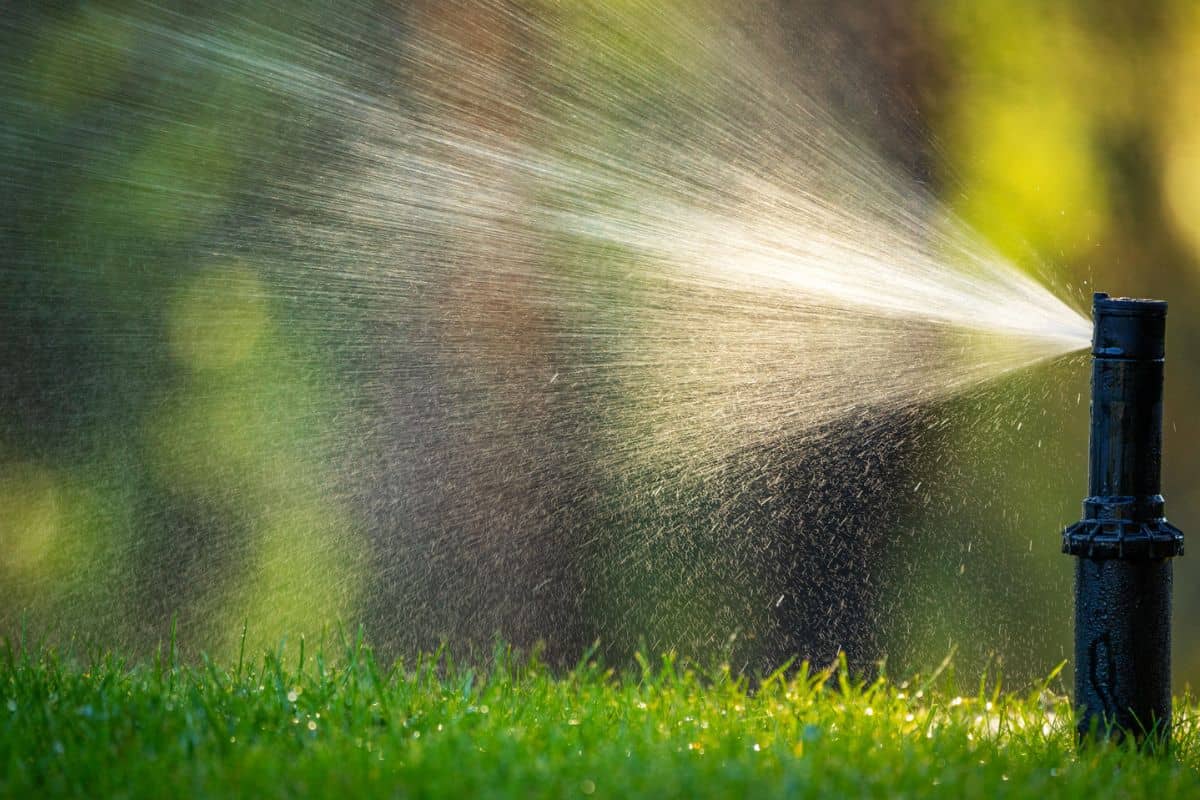
4. Test The New Sprinkler Head
This is an important step. Turn the system on and check for issues. If there is a leak, you must retighten the new head or put seal tape over it.
You may need to make adjustments to the sprinkler head. Set the spray in any direction and distance you plan to water your lawn.
5. Refill The Hole
The last step is to put back the soil and block of turf you dug up in the first step. If the sod was removed entirely, adding it back should be simple.
Set the sod on top of the soil surrounding the irrigation fixture. To assist the lawn in reestablishing its roots, tamp it down and water it right away.
Best Tools For Underground Sprinkler Head Removal
If you're new to removing and replacing sprinkler heads, then the process could be difficult for you. You can use tools to remove your old sprinkler heads from the ground. Here are some of them:
Orbital Sod Cutter
Orbital " data-lasso-id="25130">sod cutters are great for sprinkler head removal without digging up the ground.
They can be used to cut a small hole around the sprinkler head. Position the sod cutter at the top of the ground where the sprinkler head is lying.
Then carefully rotate the cutter back and forth to loosen the turf. Remove the cutter; you'll see that the soil is loosened so you can remove them by hand. Clean the sod cutter after use.
Sprinkler Head Wrench
This is another excellent tool for sprinkler head removal. It is specially designed to free the head from the pipe without any digging.
After cleaning the grass and soil around the sprinkler head, you can just put the wrench to the head, turn it to the left and lift it from the ground.

Click here to see this sprinkler head wrench on Amazon.
Channel Lock Pliers
This tool can also remove a sprinkler head from the ground. All you need to do is clear the area around the head, clip the channel lock pliers, unthread, and lift.

See these channel lock pliers on Amazon.
What Causes Sprinkler Head Damage?
Sprinkler heads are the main part of your sprinkler system. They make the task of watering the lawn easier. However, a broken sprinkler head can be an inconvenience.
If you're wondering what damages sprinkler heads, here are some of the causes:
Use Of Lawnmowers And Trimmers
These are the most common cause of a broken sprinkler head. If you frequently mow the lawn and are careless about sprinkler head locations, you risk running into them and breaking them.
Clogging And Blockage
If you turn on your irrigation system and observe that water is not flowing out evenly or is not flowing out at all, your sprinkler heads may be clogged.
Clogging and blockage are usually caused by the accumulation of dirt and debris inside the sprinkler head. Make sure to clean them regularly to prevent them from damaging the whole sprinkler.
Leaky Pipes
You will know if you have a leaky pipe if you notice that the lawn is flooded without water from the sprinkler head. If this situation continues, it will cause damage to the sprinkler head itself since dirt and mud will accumulate.
How Do You Protect A Sprinkler Head From Damage?
If you want a well-kept lawn, you must ensure that your sprinkler system is also well-kept. One of its most essential parts is the sprinkler head. Here's how you can protect it from damage.
1. Install A Sprinkler Head Guard
A sprinkler head guard is a donut-shaped device that helps protect your sprinkler heads from damage caused while mowing the law. You can install it around your sprinkler head.
Sprinkler head guards will make it easier for you to determine the location of your sprinkler heads and avoid damaging them when you mow the lawn.

Click here to see this sprinkler guard on Amazon.
When you trim the grass, it is better to use a sprinkler head trimmer around a sprinkler head. This device will cut the grass that has grown around or over your sprinkler without damaging it.

See this sprinkler head trimmer on Amazon.
2. Clean The Sprinkler Head
Sprinkler heads are not exempt from dirt accumulation, so cleaning them is crucial.
You can lift the sprinkler tip, clean the filter with a towel, and flush the sprinkler system to remove the dirt, debris, and other things that can clog the sprinkler head.
3. Keep Sprinkler Heads Safe From Cold Weather
One threat in damaging the sprinkler heads is freezing temperatures. During cold weather, there is a tendency for the sprinkler head to freeze.
To avoid this, ensure all the water on the sprinkler heads is removed and thoroughly dried. Covering the sprinkler head during cold weather is also essential to prevent damage.
How Often Should Sprinkler Heads Be Replaced?
Sprinkler heads do not last forever, even if they are well maintained.
The average lifespan of a sprinkler head is 20 years. Depending on the quality and maintenance of your sprinkler heads, they can malfunction frequently.
You should inspect and take care of your sprinkler heads. If there is no chance of restoring them by simply cleaning them, you may need to replace them
To Wrap It Up
One key to a healthy lawn is a well-functioning sprinkler. Sprinkler heads are one of the most essential parts of the sprinkler system. If this part fails to do its job, the grass around it will dry out and eventually die.
This is why maintaining it is important. If fixing a sprinkler head won't work, replacement is the best option. Follow the steps mentioned above for easy replacement of your Rain Bird sprinkler head.
If you found this post helpful, check out the related articles below: