Railway sleepers offer a timeless and versatile edging option for any garden design. They are available in styles from rustic to modern and can be treated or left natural, depending on the desired aesthetic.
Use railway sleepers for edging, retaining walls, or creating raised flowerbeds to enhance your garden's functionality and appearance. Their organic, wooden composition is built to last, with each sleeper weighing several hundred pounds for sturdy support.
In this article, we'll explore various uses for railway sleepers, such as garden edging, provide a detailed installation tutorial, and offer design inspiration to integrate these robust elements beautifully into your landscape.
Reclaimed Railroad Ties
Reclaimed railroad ties mean that they were once used on a railway somewhere in the world. They served their time on the railroads and are now available to meet your landscaping vision.
When it comes to genuine reclaimed railroad ties, there is something important to consider. Real railroad ties are treated with a chemical called creosote to preserve and protect them from the elements.
After all, railroad ties are subjected to the harshest conditions for decades at a time. Have you ever noticed the tar-like substance covering railroad ties? That tar is creosote.
The Environmental Protection Agency (EPA) considers creosote a toxic chemical. If you opt for reclaimed railroad ties, you must treat it and seal them to prevent the creosote from harming the surrounding environment.
Click here to see more on Hunker.
This planter is supported by a stack of repurposed railway sleepers. Although they are old, they contribute a vintage aesthetic appeal to the garden.
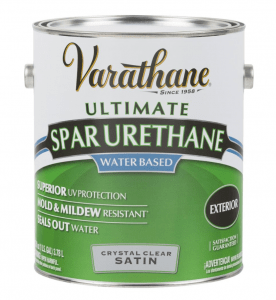
Varathane Spar Urethane
Luckily, sealing old railroad ties is easy. Simply use a paintbrush to apply urethane that is made for exterior use to the entire surface of the railroad tie and allow it to completely dry.
It is recommended to apply at least two coats to ensure that the entire railroad tie is sealed.
Click here to see more from Home Depot.
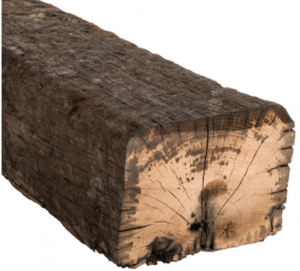
Reclaimed Railroad Tie
Lowes offers reclaimed railroad ties at an affordable price!
Click here to see more from Lowes.
Treated Timber Garden Railway Sleepers
Treating railroad sleepers with stain and lacquer is a great way to give them a vintage but timeless aesthetic and protect them from the elements.
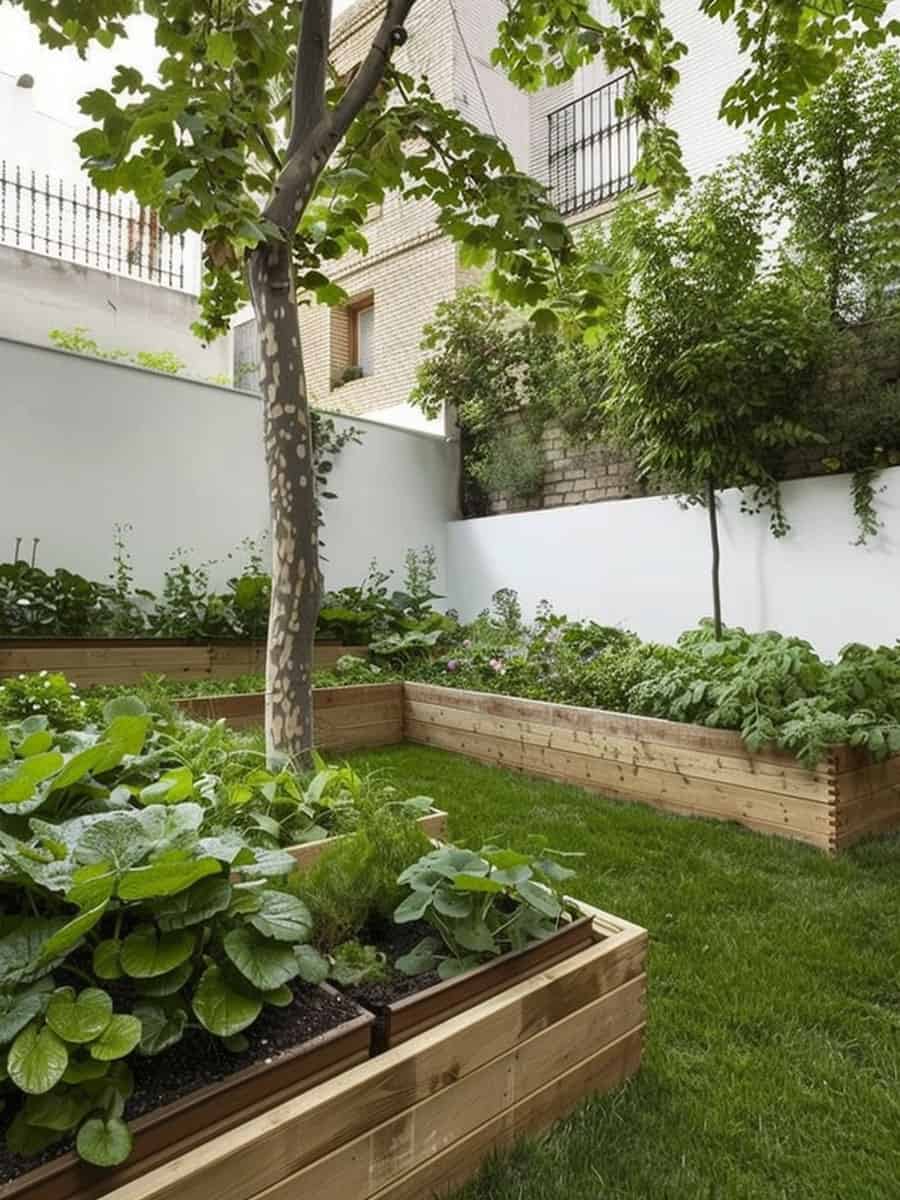
This concept uses new railway sleepers to edge the perimeter of planters.
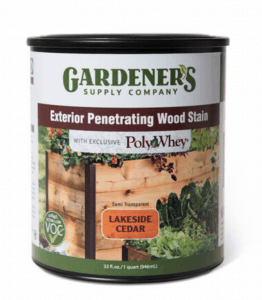
Gardener's Exterior Wood Stain
This wood stain from Gardener's is intended for outdoor use, which means that it is perfect for your railroad sleepers. It is available in several colors — cloud white, graphite gray, lakeside cedar, and moss green.
Click here to see more on Gardener's.
Watco Crystal Clear Lacquer
After the stain is applied, apply a few coats of lacquer for added protection!
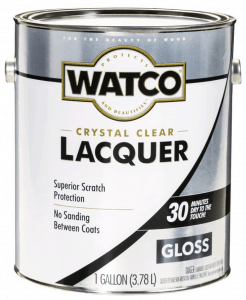
Click here to see more from Home Depot.
Pros and Cons of Using Railway Sleepers
Railway sleepers have a lot going for them. One of the pros of using railway sleepers for garden edging is that they are extremely strong and durable.
Railway sleepers can endure extreme climates, so you need not worry about harsh winters and hot summers adversely affecting them.
Another pro of using railway sleepers in your garden is that they can often double as either steps or seats. This makes them remarkably useful as a garden edger.
One of the downsides to using railway sleepers for garden edging is that they can be difficult to install depending on the terrain.
If the terrain slopes, digging might be required in order to make the sleepers level, making it a time and labor-intensive process.
Another downside to using railway sleepers is that, while they can last decades, they will eventually rot. This will attract termites, and it will make the sleepers lose their functionality.
Once this happens and the railway sleepers need to be replaced, the removal process can be long and arduous depending on how many sleepers there are and how they are joined together.
How Much Does Railway Sleeper Edging Cost?
Believe it or not, incorporating railway sleepers as edging in your garden is not particularly expensive compared to other edging options. Take a look at some of the costs associated with using railroad ties.
The railroad ties themselves run about $20 for an eight-foot section. Consider the length of railroad sleepers you will need, and be sure to account for how high they will be stacked.
If you will be staining and sealing the railway timbers, that is another cost to factor in. The stain will cost around $30 or possibly more, depending on how many timbers you need stained.
If you plan on sealing your railroad ties with lacquer, the lacquer itself will run about $50 for one gallon.
If you buy reclaimed railroad ties that have been treated with creosote at some point, you will need to apply polyurethane to them in order to comply with the EPA.
Polyurethane can be a bit pricey depending on how much is needed. The can we mentioned runs for about $100.
How Do You Install Railway Sleeper Edging?
The process is mostly straightforward; setting the sleepers themselves is fairly simple. But when it comes to attaching two sleepers together, a small process is involved.
Watch this video for a visual walkthrough of how to install railway sleepers.
- Before you begin, you will need a broomstick or wooden dowel that measures 25 millimeters in diameter, a 25-millimeter flat wood drill bit, a long drill bit, wood adhesive, a four-inch wood screw, a rubber mallet, wax, and a hand saw.
- Start by using the 25-millimeter flat drill bit to drill a hole at the junction of two sleepers. Make sure to drill through the sleeper perpendicular to you and into the sleeper running parallel away from you. Drill about two and a half inches directly into the sleeper.
- Use a standard drill bit to drill a pilot hole into the railway sleeper inside the 25-millimeter hole. The goal of the pilot hole is to make it easier for the screw to be driven into the wood.
- Drive the four-inch wood screw into the pilot hole. This will start to snug the two sleepers together.
- Repeat the previous steps so that there are two 25-millimeter holes and two long wood screws joining the sleepers together. If the railway sleepers are particularly large, feel free to add more holes and screws if needed.
- Cut a section of the broom handle or wooden dowel to a length of two and a half inches. Apply wood adhesive around the outside of the dowel, and insert the length of the wooden dowel into the 25-millimeter hole. If need be, use the rubber mallet to hammer it into place.
- Once the dowel is fully inserted, use a saw to remove any part protruding from the sleeper.
- Use a little bit of wax to rub over the end of the sleeper to cover any part of the wooden dowel that might be protruding.
- Repeat this process at everywhere railway sleepers meet each other.
Railway Sleeper Inspiration
Now that we have gone over some of the specifics about integrating railway sleepers as edging in your garden, check out some photos that will inspire you!
Built-in Bench Garden Edger
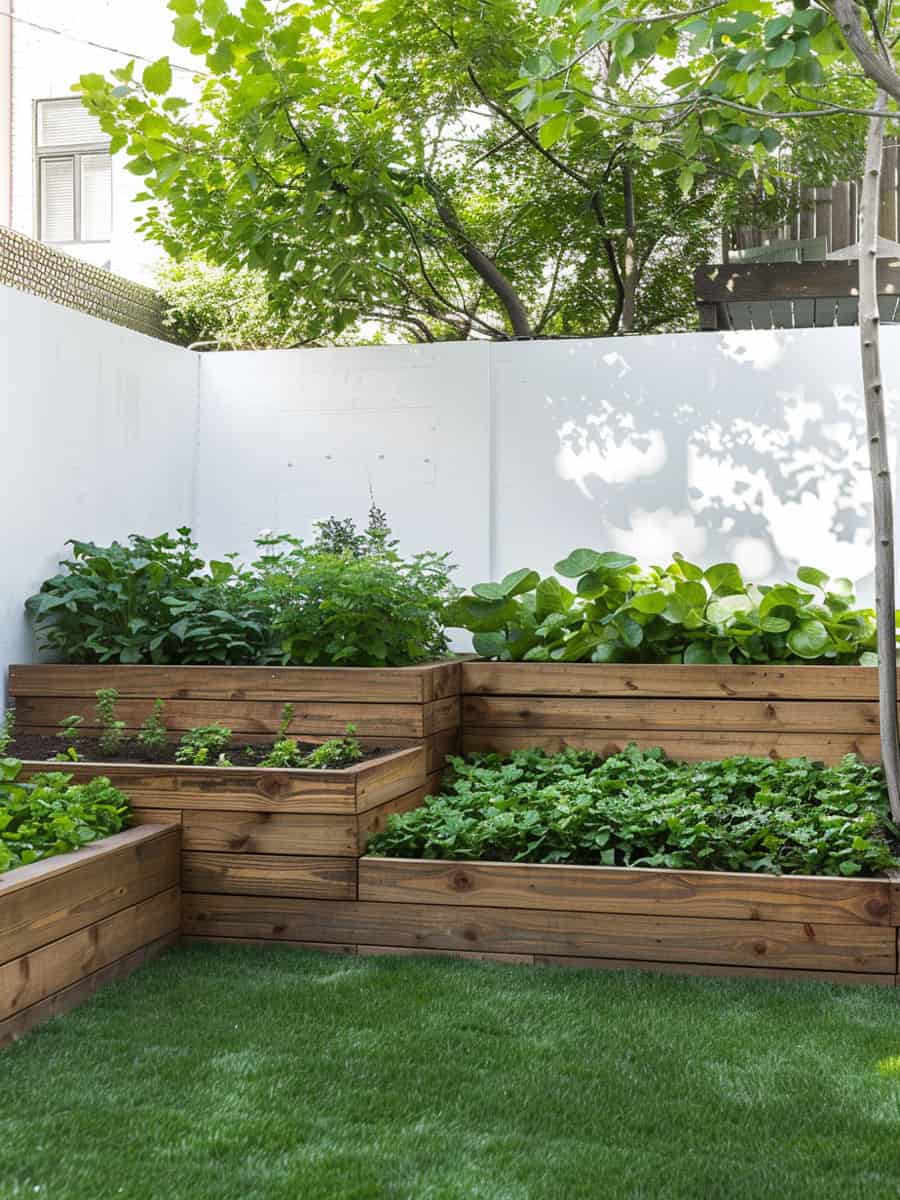
One of the great things about using railway sleepers for garden edging is that you can do things like this — make a functional, built-in seat into the flower bed.
This setup contains dirt and mulch while giving the garden a crisp look and a beautiful woody aesthetic.
Multi-level Railway Sleeper Setup
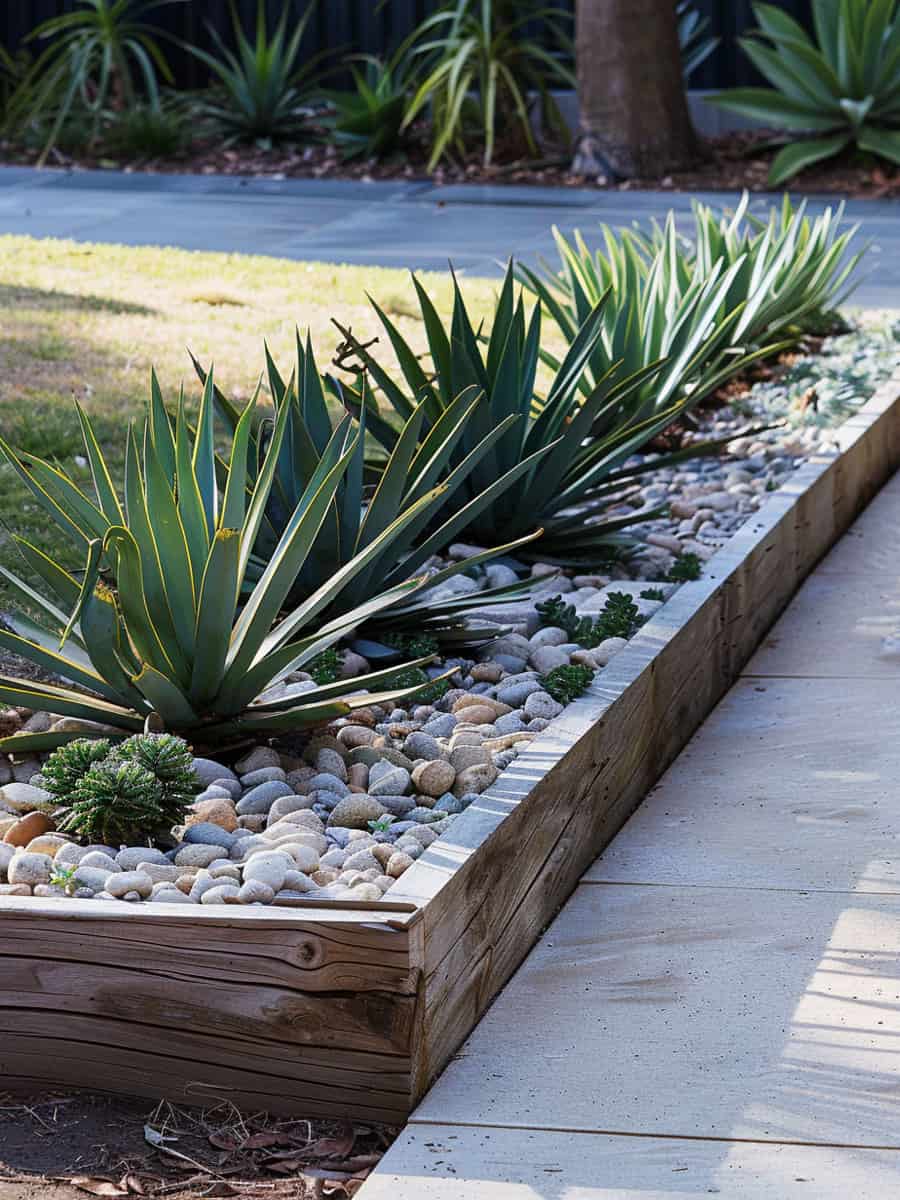
In this garden, railway sleepers are used to make a cozy lower nook underneath the main flower bed.
The wood adds aesthetic value to the scene without detracting from the beauty of the surrounding plants and foliage. It also serves as a small retaining wall, giving your landscape shape and structure.
Railway Sleeper Stepped Border
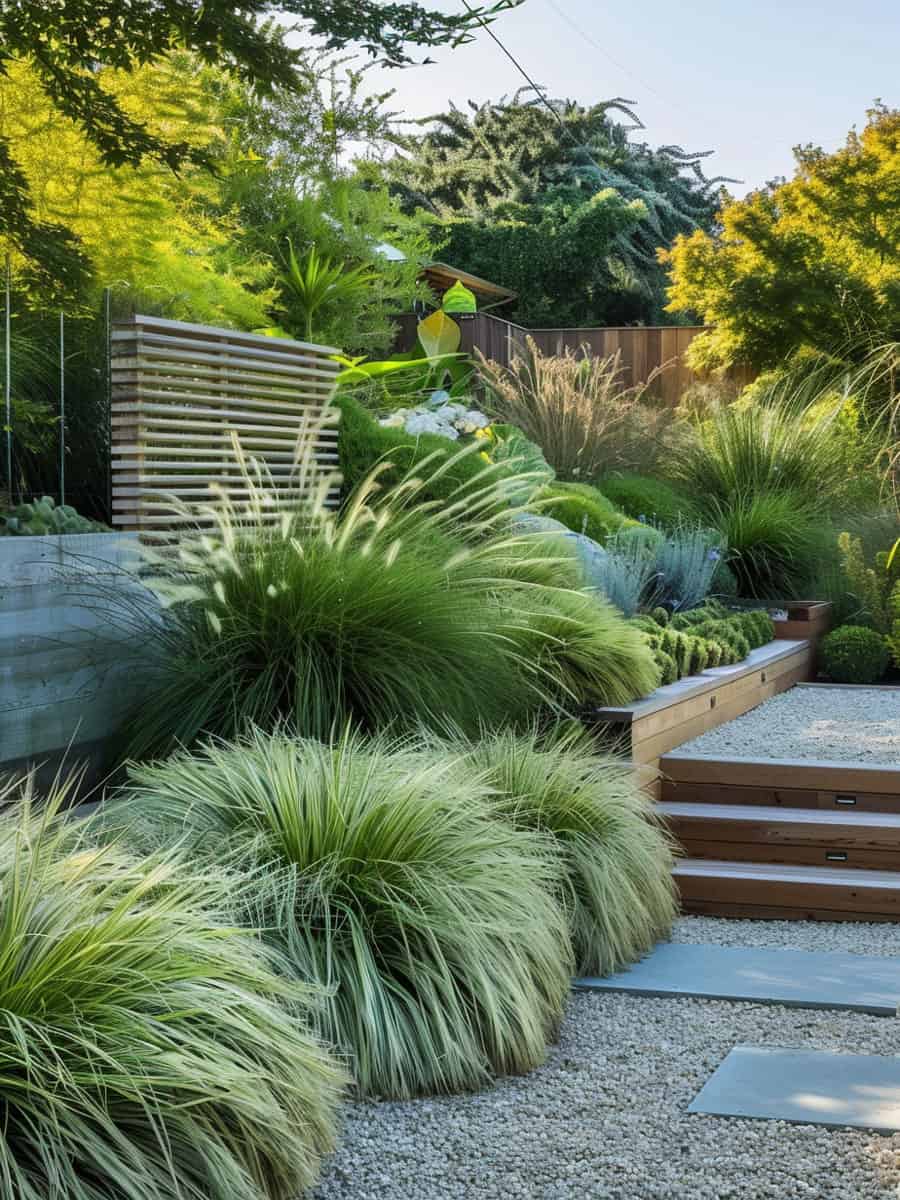
If your back patio sits below your yard, railroad ties are a great way to make a small retaining wall that functions as a border between the patio and the yard.
Railroad ties can easily be turned into a small set of steps for your convenience.
Railroad Ties with Geometric Intrigue
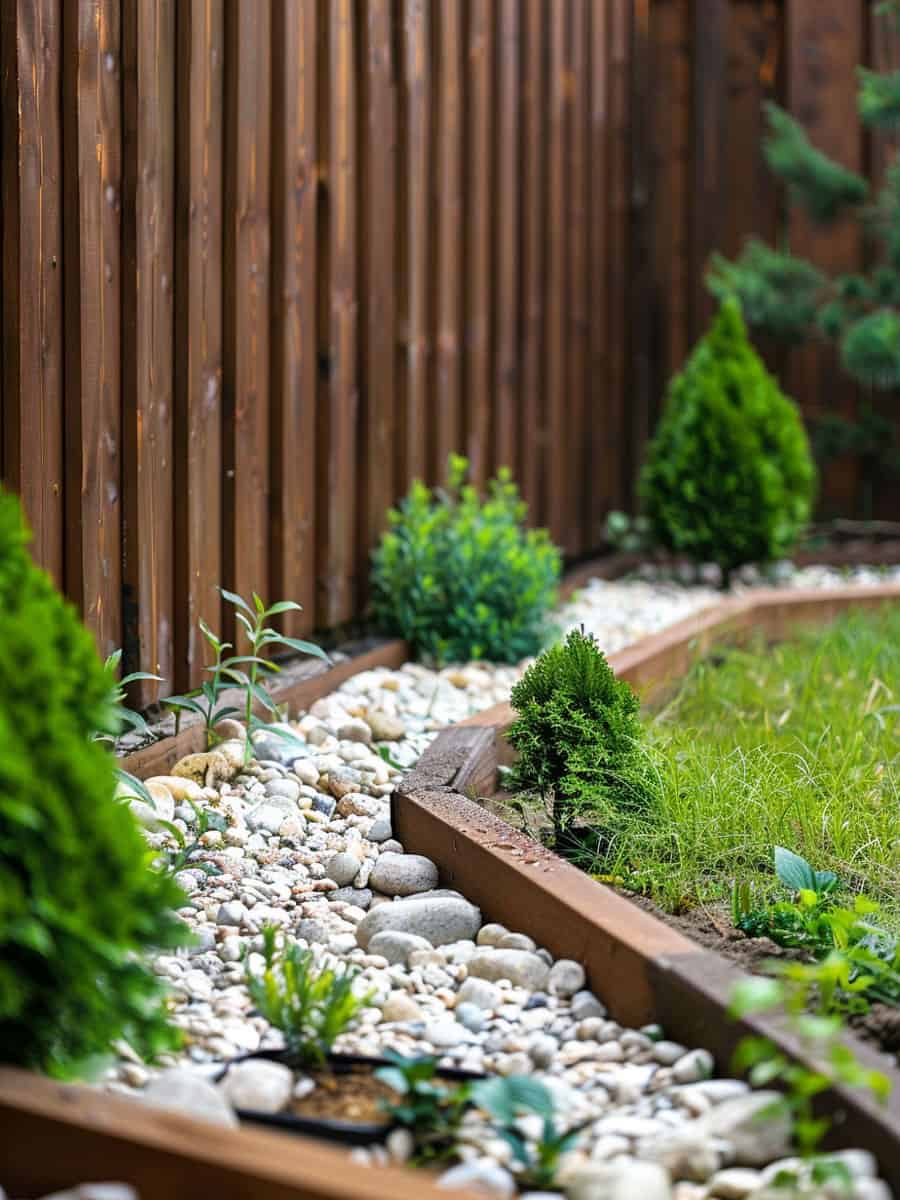
Railway sleepers do not have to be set in a typical rectangular orientation; feel free to get creative with it!
In this yard, the railway sleepers are arranged to create several triangular sections. A design like this is sure to make your garden unique!
Tiered Railroad Tie Stairway
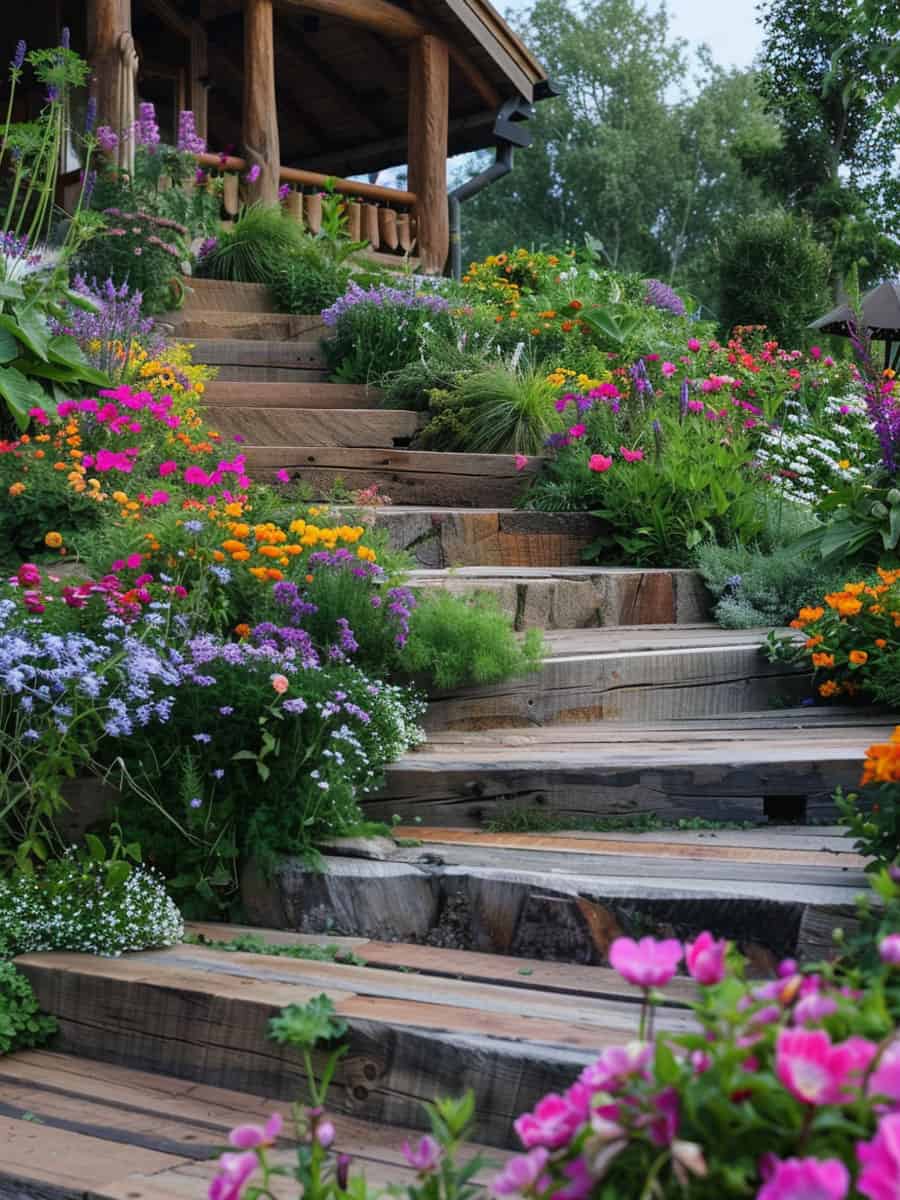
This garden is hands down an incredible sight, and the railway sleepers play a big role in making it so. The sleepers transform the sloped lawn into a three-tiered garden with a ton of dimension.
Railway sleepers are a great way to delineate sections to create depth. As an added bonus, the sleepers form an elegant stairway all the way to the top!
Neat and Orderly Flower Bed Border
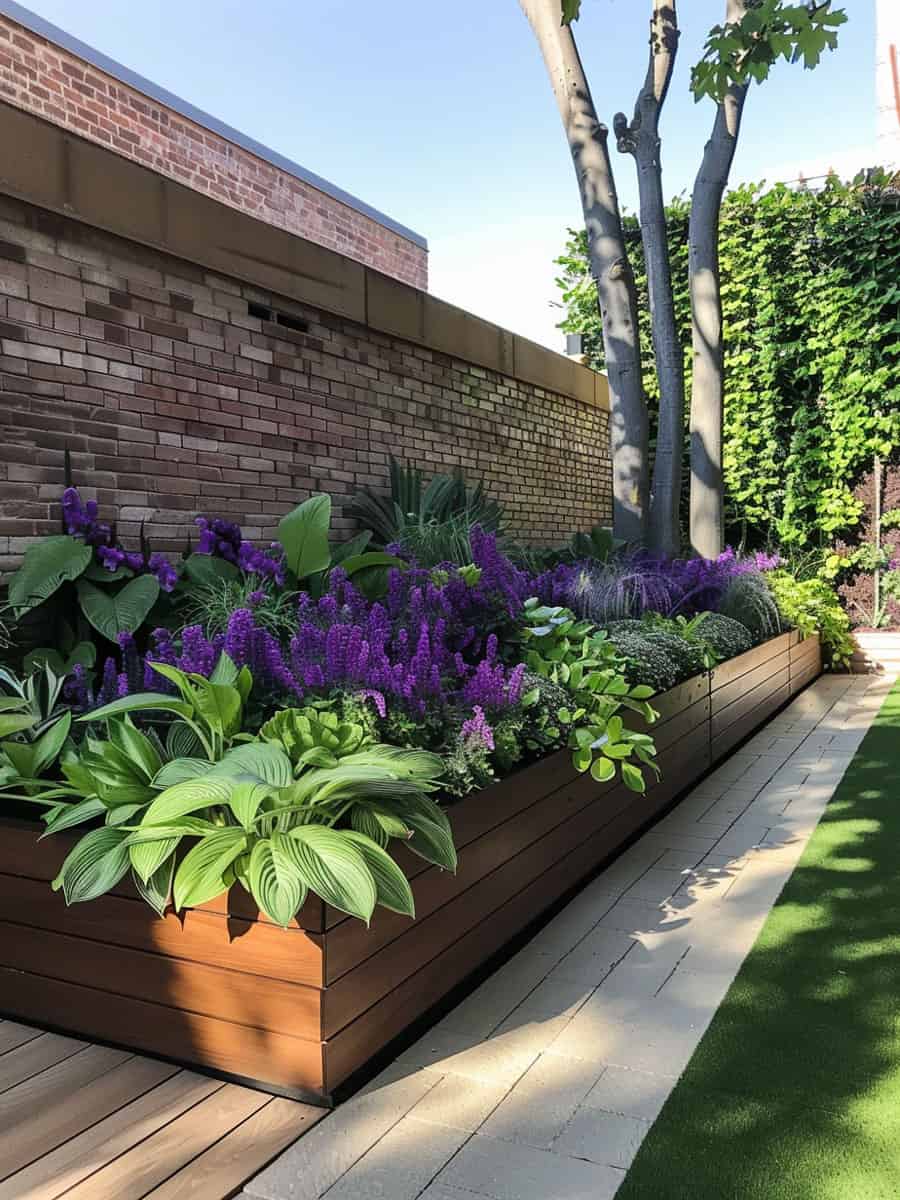
Sometimes, simplicity is great. Railway sleepers do a great job edging flower beds that are connected to structures.
One of the good things about using them as edging is that they can be stacked to attain the desired height. This gives you a lot of flexibility to design and create.
Rustic Vibes
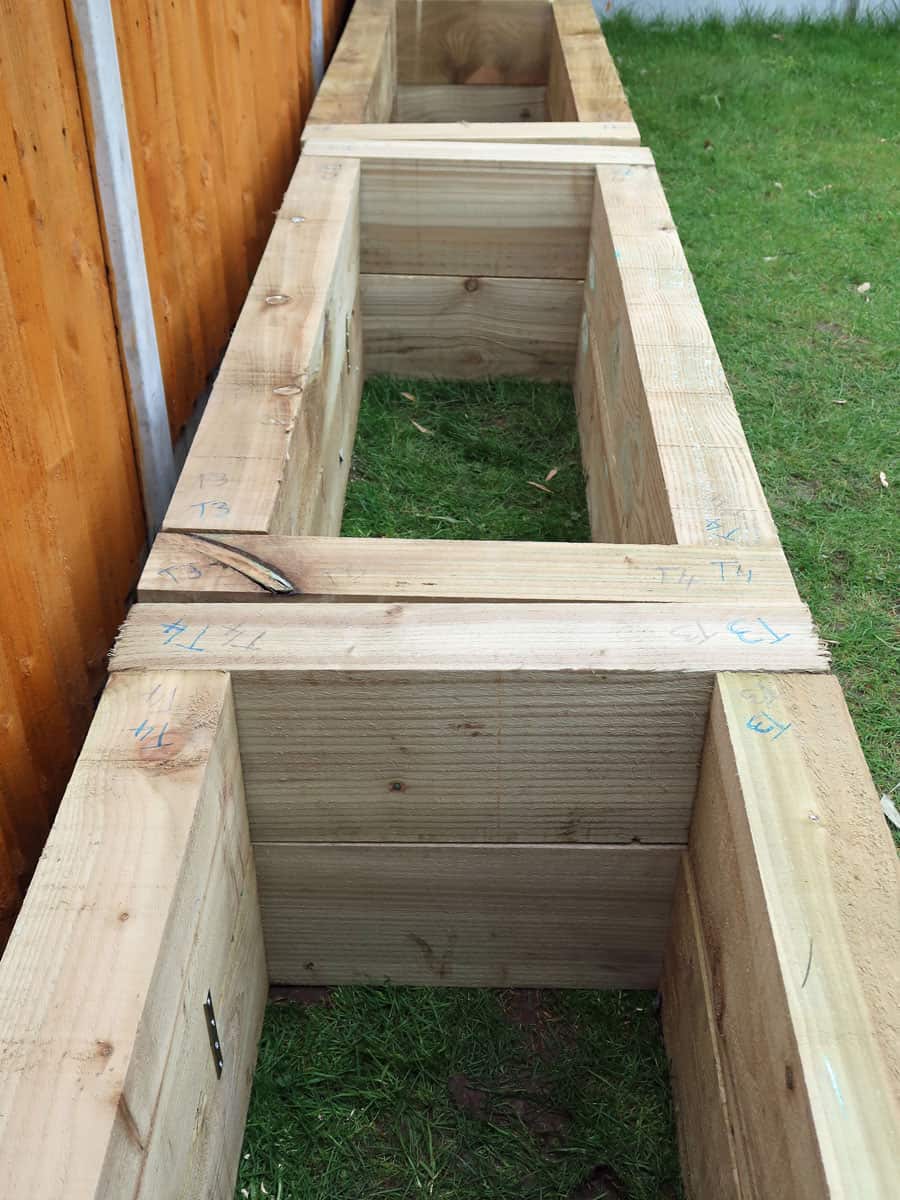
Reclaimed railway sleepers are a great way to add an old rustic vibe to your garden. The dark patina that these pieces develop will complement the color scheme of virtually any garden.
Their immense size and bulk are perfect for defining the landscape. As a bonus, because of their size, they'll stay in place.
Railroad Tie Flower Bed
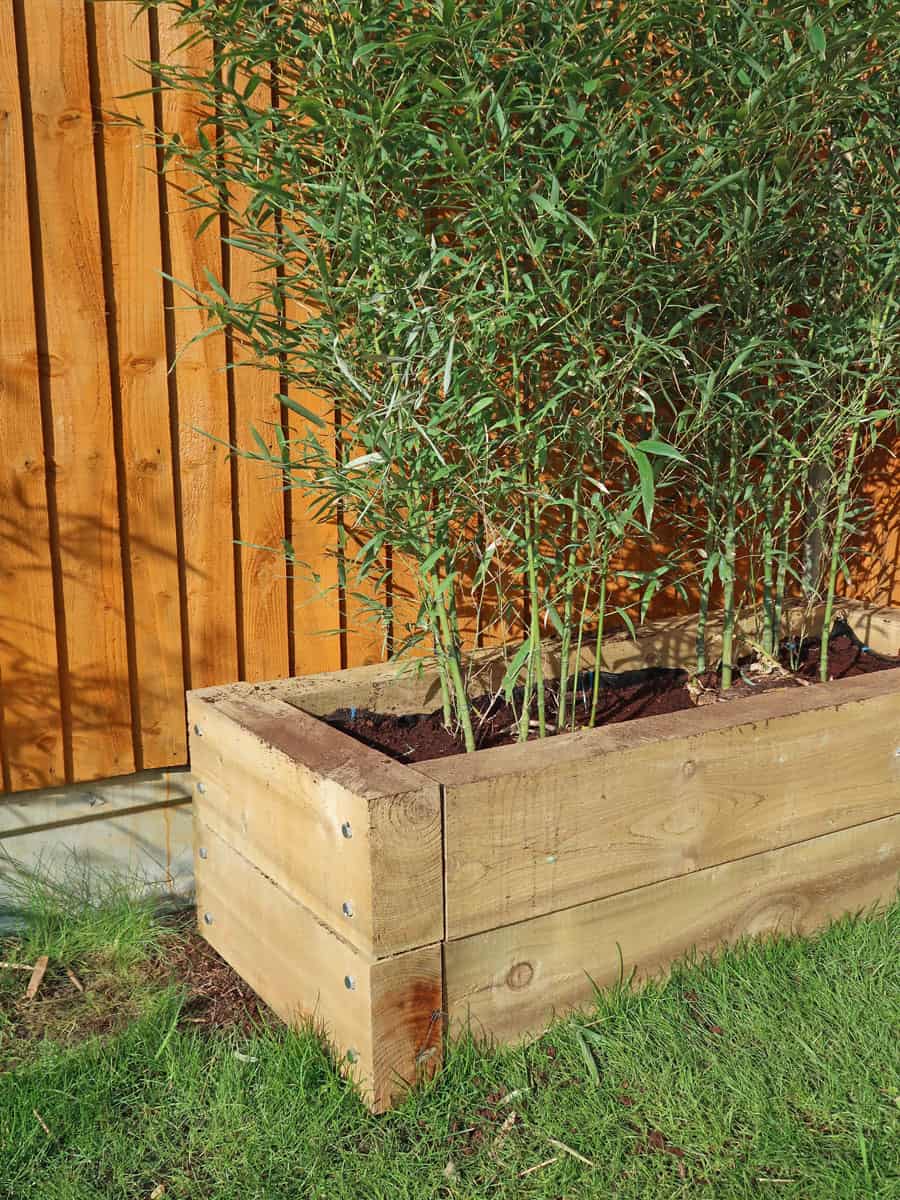
One of the best uses of railway sleepers is for elevated trough-style flower beds. The thick wood acts as a great barrier surrounding the flower bed.
Simply stack more sleepers on top of each other to get the flower bed to the desired height. This option is great for building a raised vegetable garden.
Treated Vintage Flower Bed Edger
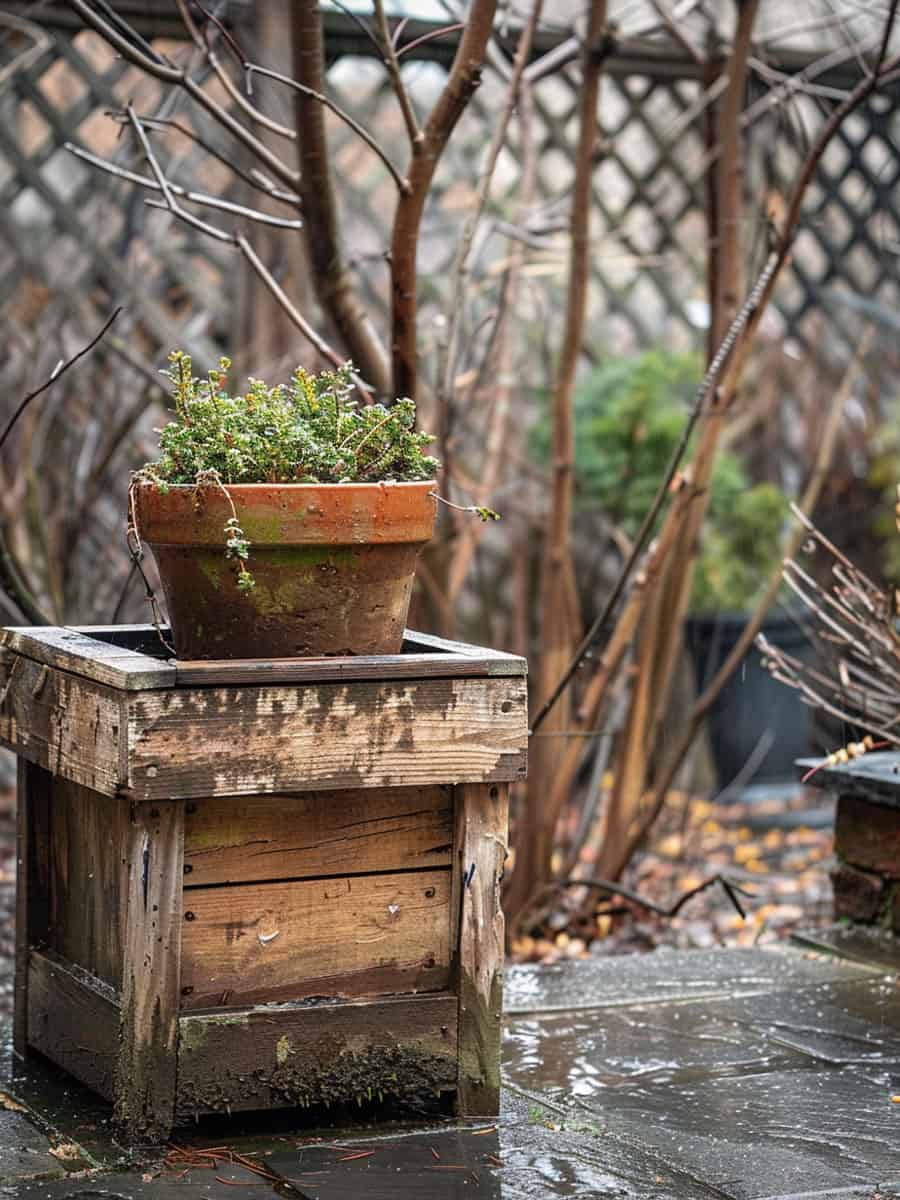
This flower bed showcases the added aesthetic appeal of railway sleepers that have been treated. Stain and lacquer can make a world of difference in terms of visual appeal.
Treating the wood will not only make it look cool and vintage, but it will keep it protected so that it can be the pride and joy of your garden for years to come.
Dark Wood Accent
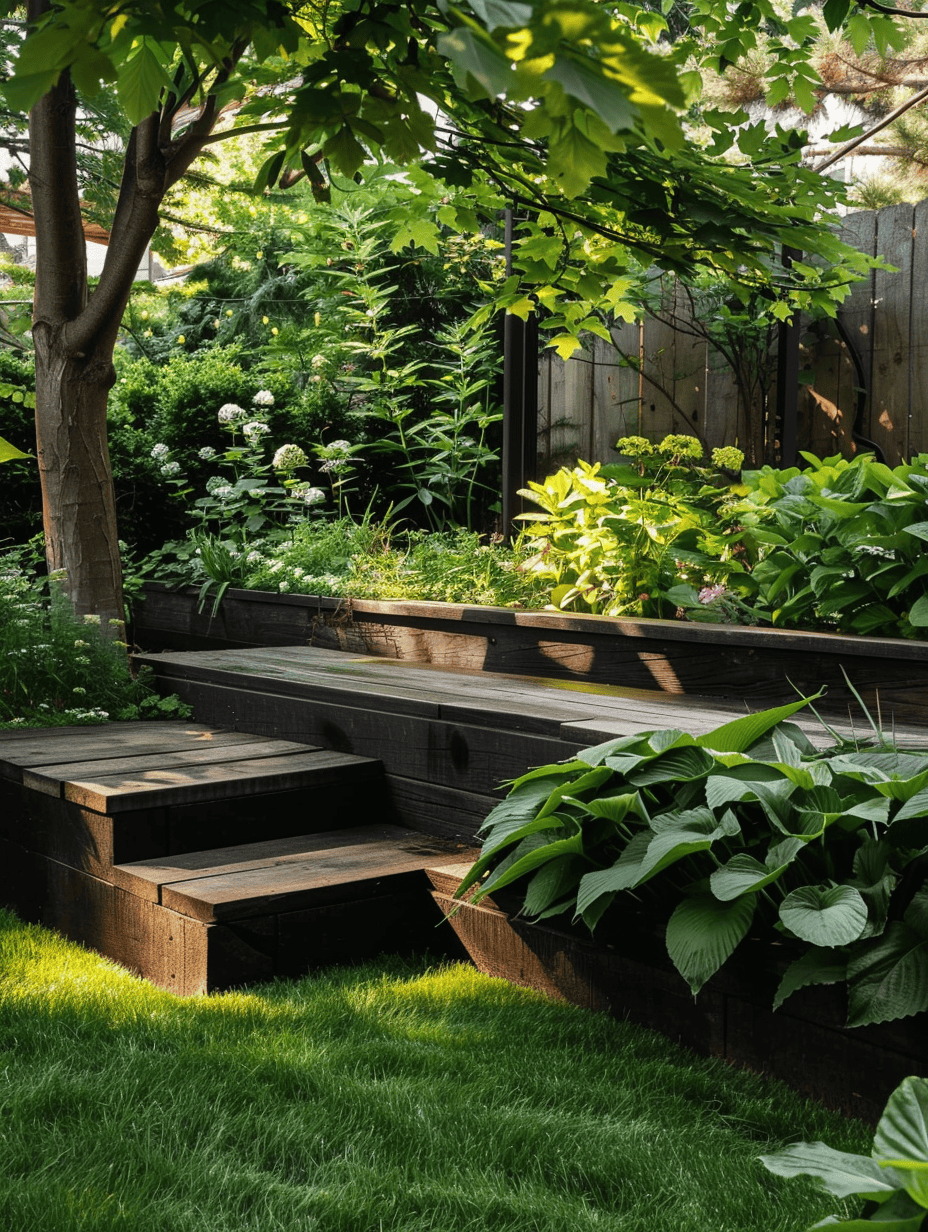
Railway sleepers can be used to edge small flower beds too! A single sleeper perimeter can complement the foliage. Dark wood like this really makes vibrant greens pop.
Here are some insights about the types of Edging for gardens.
![Railway Sleepers Garden Edging Guide [How-to, Tips and Pictures]](https://gardentabs.com/wp-content/uploads/2019/11/Railway-Sleepers-Garden-Edging-Guide-How-to-Tips-and-Pictures-1.jpg)
