
You've got your lawn looking gorgeous and green. Flower beds are scattered beautifully throughout the yard. It just needs one thing and it'll be perfect. Garden edging to the rescue!
Garden edging is a nifty tool that clearly defines the boundaries between lawn and bed. It makes everything look neat and polished. However, it comes in quite a few options that you'll have to decide between. One of the most affordable options available is plastic edging.
Even once you've decided on plastic as your material of choice, you'll still need to choose one specific look. That's where we come in. Keep reading to get all the information you need about plastic garden edging.
Different Types of Plastic Garden Edging
When deciding on a plastic edging type, it can be hard to tell from the first glance what each kind is all about. Is it easy to install? Can it curve around edges? How do you make it stay in place?
No worries. We did some research and gathered info on the six different types of plastic garden edging just for you.
No-Dig Edging
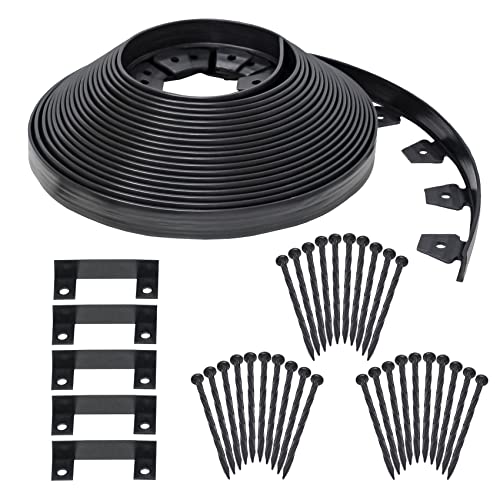
No-dig garden edging is a great choice. It's quick and easy to install in just about any space. It easily works around even the curviest of spaces due to its super flexible build.
This option will only last a few years, however, and can fall victim to your lawnmower if you aren't mindful when installing it.
To find the no-dig edging above on Amazon click here.
Decorative Plastic Brick
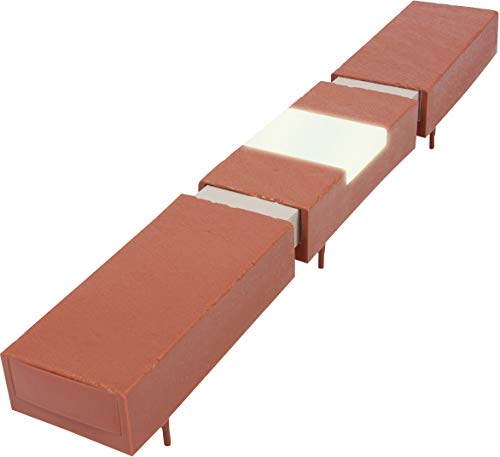
If you want something with a little more spark than plain black edging, check this out. This option looks like brick pavers lined around your garden. Some brands even have solar-powered lights installed between each brick.
This brick is a bit more durable, depending on the brand you buy and are fairly easy to install. However, they can be challenging to maneuver around curves, so keep this in mind before making a purchase.
To find the brick edging above on Amazon click here.
Terrace Board
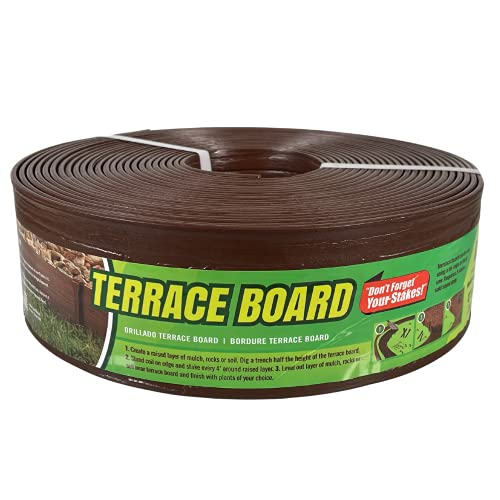
Terrace board stands out among garden edging options with its wood-like appearance. Beyond the cool look of this edging, it also is great for keeping weed from growing up along the edge of your garden.
However, its appearance can be compromised if not installed correctly. Extreme temperatures may cause the terrace board to warp, leading to a wobbly appearance if proper installation measures aren't taken into account.
Paying attention during installation will go a long way to making sure your terrace board stays looking good.
To find this terrace board on Amazon click here.
Black Plastic Edging

This is a super inexpensive option for your landscaping needs. It's fairly easy to install and works great in both sharp corners and curves.
You do have to be careful when installing it, though. If not done correctly, you can create some pretty serious drainage problems, though.
Dig deep, dig smooth, and pay attention to those instructions for a simple yet pretty edge.
To find this edging on Amazon click here.
Interlocking Poundable Plastic Edging
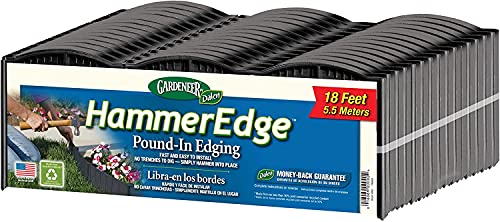
The installation for this edging is super simple. Place the section where you want it, pound it into the ground, lock in the next section, rinse and repeat.
You may want to wet down the soil so it's a bit softer for installation, but that's as hard as it gets. The interlocking aspect of this makes it a great choice for both straight and curved designs.
To find the interlocking edging above on Amazon click here.
Decorative Plastic Fence Edging

The fencing option is a great way to add some charm to your gardens. It comes with plastic or metal stakes for installation.
A good idea for making installation a bit easier is to break up your soil with a hand trowel so that your stakes go in smoothly.
This sticks up a bit from the ground, too, so making sure there's a border of soil between the fence and grass will save it from that lawnmower.
To find this fence edging on Amazon click here.
Pros and Cons of Using Plastic Edging
We know what you're thinking: Is it worth it? How does it hold up? Here are all the best (and worst) features of plastic garden edging.
Pros
- Easily the most affordable option on the market
- Can be easy to install (no-dig, brick, interlocking poundable, and fencing)
Cons
- Plastic edging can be hard to install if you go with a black plastic or terrace board.
- Can be cheap looking depending on the brand you choose
- Warps easily in extreme temperatures (which can make it lift out of the ground, too)
- Dries and cracks in heavy sun
- Breaks and chips if hit by lawnmowers
- Needs frequent replacement
How Much Does Plastic Edging Cost?
Plastic edging is easily the most affordable edging on the market. We found it tends to average at around $2-5 per 50 feet of edging.
If you want installation done for you, you'll add another $50-60 per 50 feet. Plastic edging can be difficult to place correctly, so consider carefully if you want to save some cash by doing it yourself or if it would be worth it to hire the installation out.
How Do You Install Plastic Edging?
Plastic edging that's installed without digging, like no-dig or the bricks, comes with stakes to keep it firmly in place.
Edging that needs digging can be a bit trickier. Here's a step-by-step guide to help you install your edging perfectly every time.
1. Measure
A big step is to measure the outer edge of your garden bed. This allows you to be totally sure you have plenty of edging without having to make multiple trips to the store.
One of the easiest ways to do this is to start with a rope. Place the rope exactly where you want your edging. Once you have it outlined you can measure the rope you used to find out how much you need to buy.
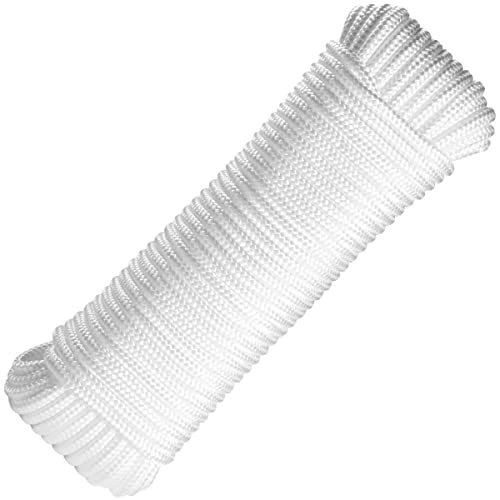
To find this rope on Amazon click here.
2. Unroll Your Plastic Edging
Plastic edging that's rolled up will want to stay rolled up. A good way to fix that is to unroll it and let it rest.
Let it sit for a day or so in the sun. The sun warms the plastic which allows it to relax so it'll be easier to manipulate.
Otherwise, you'll be out there wrestling with it and breaking your back. Even though it sets you back a whole day, trust us. This isn't a step to skip.
3. Dig a Trench
While your plastic edging is resting, grab that trowel and go digging. You want a good trench that's 3-6 inches deep, a bit wider than your edging, and fairly level.
You can do this by hand with said trowel or if you're lucky enough to own a tiller, take advantage of it and use that.
Don't toss the soil you dig out. Set it aside close by, you'll be using it later.
Pro-Tip: Before you pick up your rope in step 1, go ahead and dig a rough trench so you know exactly where you wanted it. Then pick the rope up and measure. This will save you a bit of a headache later.

To find this trowel on Amazon, click here.
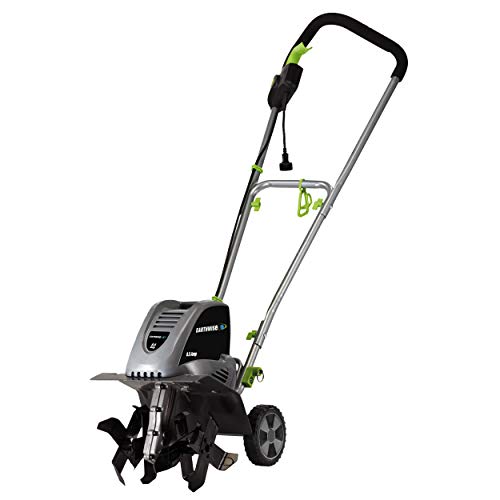
To find this rototiller on Amazon click here.
4. Cut off Roots
If you have mature plants in your garden it's likely you'll have roots that are stretching out into your trench. Use a pair of shears to cut them so they won't be pushing against your edging.
If the roots are large, like from a tree, cut a notch in your edging to allow them to grow through it.
Don't cut your edging more than you absolutely have to, though. This can make your edging less sturdy and allow for drainage issues to develop.
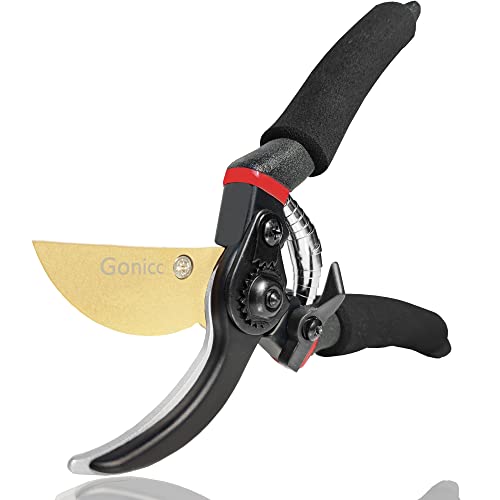
To find these shears on Amazon click here.
5. Place Edging in Trench
Take your edging and place it in the trench. The top of your edging should be at the surface level of the lawn. This will keep it under the blades on your lawnmower as well as allowing for it to move up a bit as the soil under and around it settles.
Make sure you push the edging against the bed and place the lip of the edging on the bottom of the trench facing towards the garden bed. This will keep water from collecting and pressing the edging into the bed.
6. Connect Rolls
If you're having to use more than one roll of edging you'll need to use some connectors. A connector will slide onto the end of each roll. Push the roll endings towards each other so they meet in the middle of the connector.
Once the ends are in place, press down on the connector to make sure it's well attached to the two larger pieces.

To find these connectors on Amazon click here.
7. Fill in With Soil
That extra soil we said to hang on to back in step 3? Now's the time to use it. Use the soil to fill in around the edging in the trench. Pack it in as tightly as possible. Leave 1/2-1/3 inch of the top of your edging visible.
8. Compact Soil
You want that soil packed in there good to keep the edging from wiggling around too much. You can stop on the top of the soil on either side of the edging to do this, or you can use a tamper to get the job done.

To find this tamper on Amazon click here.
9. Install Stakes
Installing stakes along the edging, every 5 or so feet, will help keep the edging in place long-term.
You want to place the tip of the stake right next to the top of the edging with the pointed end pointing down. Hammer the stake down with a mallet or hammer.

To find this mallet on Amazon click here.

To find this hammer on Amazon click here.
10. Fill In Gaps
Once you have your stakes in, walk the perimeter of your garden beds and double-check your edging. If you see any gaps, fill them in by hand and pack the extra soil tightly around the edging.
Wiggle the edging to check for areas that wobble and add extra soil or even a stake in areas that aren't secure.
Installation Video
If you'd rather see some edging being installed, or if you feel it would help you fully understand the steps, we found a helpful video for you to watch.
Photo Gallery
If you still can't decide on exactly what you want for your garden, check out these pictures for some extra inspiration as well as a few examples of installations.
Black Plastic Install
This picture is showing some black plastic edging being installed. As you can see, the gardener is placing it in a pre-dug trench at the edge of the bed.
The soil next to it is tilled and loose and ready to refill the trench once the edging is in place.
Interlocking Garden Edging
The edging being used here is the interlocking poundable plastic edging. If you look at the edge of the section being installed you can see the tab that's used to help lock pieces together.
The installed pieces to the left of the picture resemble stone slabs, a great example of how plastic edging can help you get a luxurious look for less.
Reuse and Recycle
This picture shows a plastic garden edging option we didn't cover above- recycled edging. These soda bottles were painted black and likely filled with gravel or sand to weigh them down.
It's also likely they were glued or attached to one another in a different way to keep them from separating. This eco-friendly edging creates a bold line that clearly defines the garden space from the yard.
Waves and Curves
This picture is a great example of the flexibility of black plastic edging. The curves for this bed are neatly lined by the edging without any gaps or pinched looking places.
This also shows a great example of how your trench should look when you finish placing your edging but before you add soil back to it.
Smaller Sections, Greater Flexibility
This is another example of some interlocking edging. You can see the locks on either side of the sections.
One side has a hollow, open tube while the other has a circular lip that fits inside the tube. The smaller sections of this brand help increase the flexibility of this type of edging, something to consider if you have a curvy garden design.
Colorful and Eco-Friendly
This is another example of some recycled edging. The different colored soda bottles are buried along the outer perimeter of the bed to create an eye-catching raised border.
Be careful with this design, though. Something that stands this far above the surface of the lawn will be at risk of getting damaged from a lawnmower or weed eater.
All About Edging
If you choose to use plastic edging, this post has all the info on types, pros and cons, costs, and installation that you need. While it can be hard to choose just one, we're confident that whatever tickles your fancy will look beautiful in your garden.
We're also confident that your edging will be just as easy on your wallet as it is on your eyes. For a quick and cheap option, plastic edging can't be beat.
![Plastic Garden Edging [How-to, Prices & Pictures]](https://gardentabs.com/wp-content/uploads/2019/11/Plastic-Garden-Edging-How-to-Prices-Pictures-683x1024.jpg)