
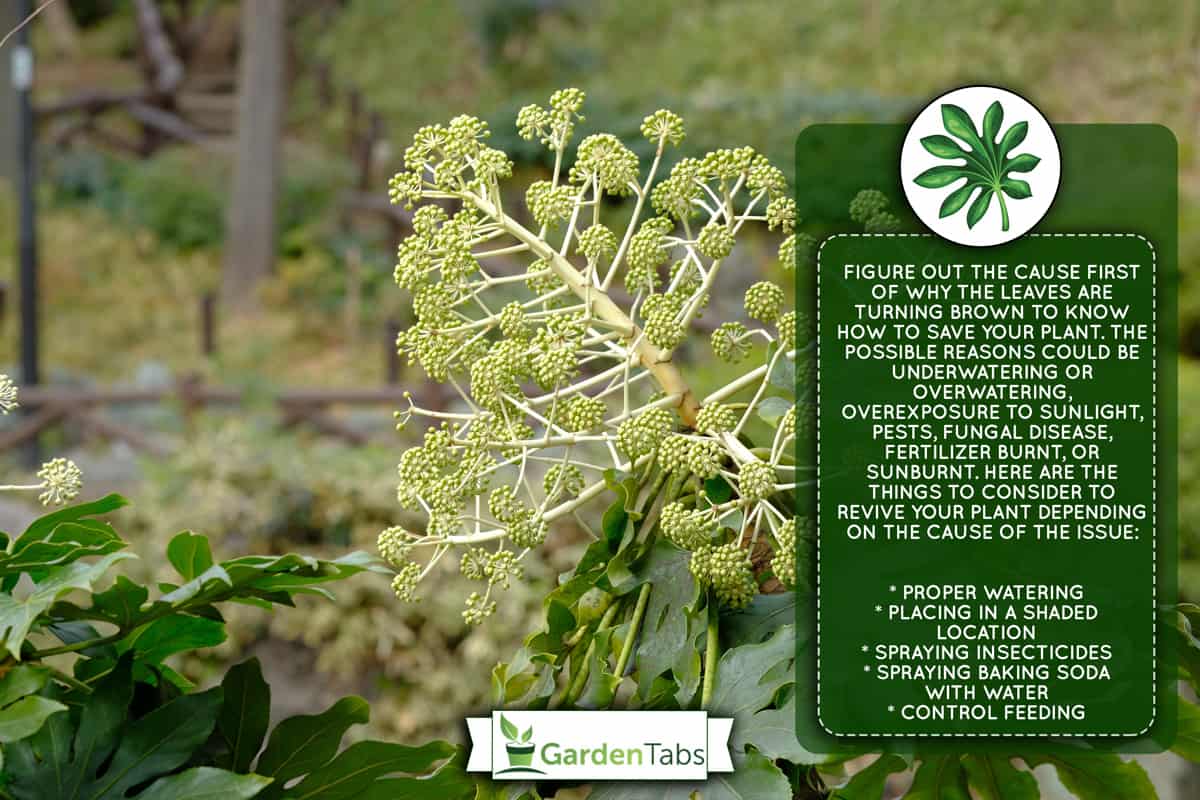
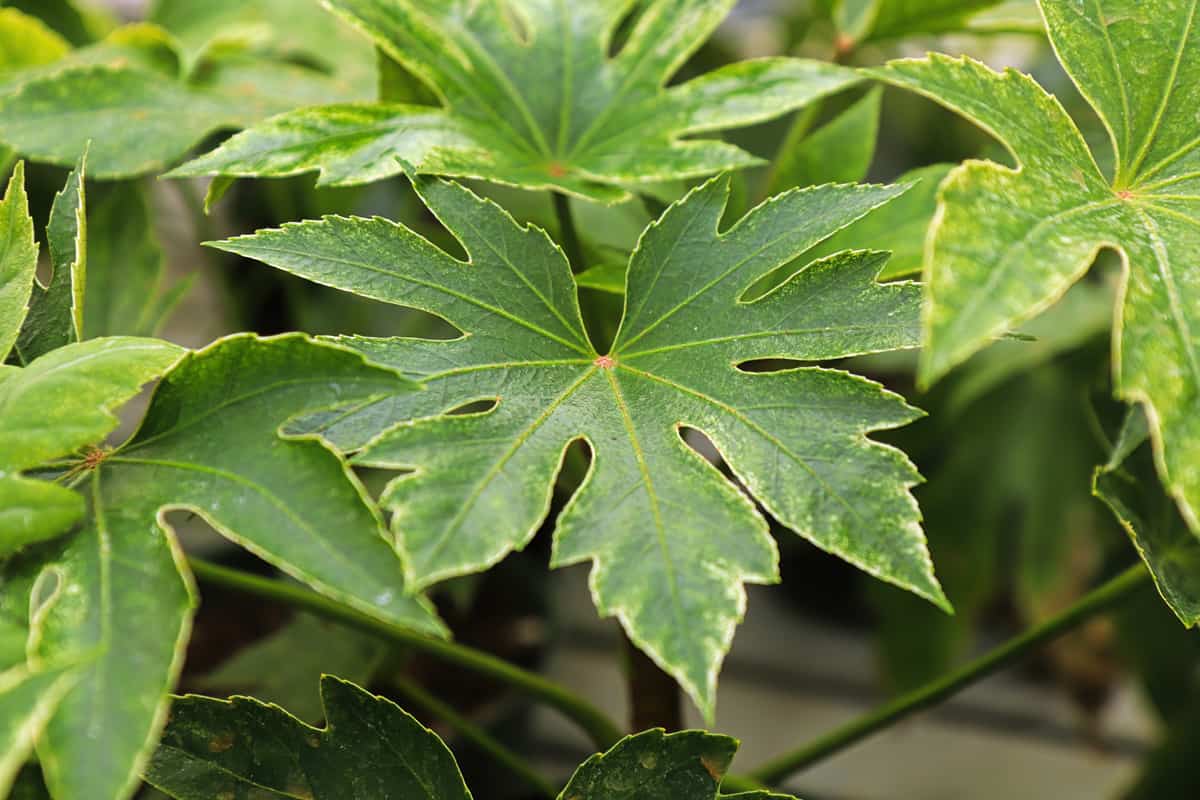
There are times that Fatsia Japonica turns dull and gloomy; the leaves turn brown, and the stems are brittle. The worst that can happen is they could die if the root cause of the issue was not determined at an early stage. You are probably searching for answers to why your plants' leaves are turning brown. Fret not because we searched the net for all the possible causes.
Figure out the cause first of why the leaves are turning brown to know how to save your plant. The possible reasons could be underwatering or overwatering, overexposure to sunlight, pests, fungal disease, fertilizer burnt, or sunburnt. Here are the things to consider to revive your plant depending on the cause of the issue:
- Proper watering
- Placing in a shaded location
- Spraying insecticides
- Spraying baking soda with water
- Control feeding
Would you like to learn more about how to save your plant? Do you want to learn how to multiply your Fatsia Japonica and grow more plants? Continue reading this post because we dug out all the answers for you.
Why Your Fatsia Japonica New Leaves Turning Brown
These are the possible causes why your Fatsia Japonica leaves are turning brown:
Underwatering or Overwatering
Plants need enough water to thrive. Lacking water supply will cause damage to the roots where the plant processes oxygen for respiration. The same goes for overwatering. The root system will not be able to take air because of too much water in the soil.
Overexposure To The Sunlight
Fatsia japonica needs two hours of sunlight. Excessive exposure could lead to the ruin of the leaves turning into earthly color.
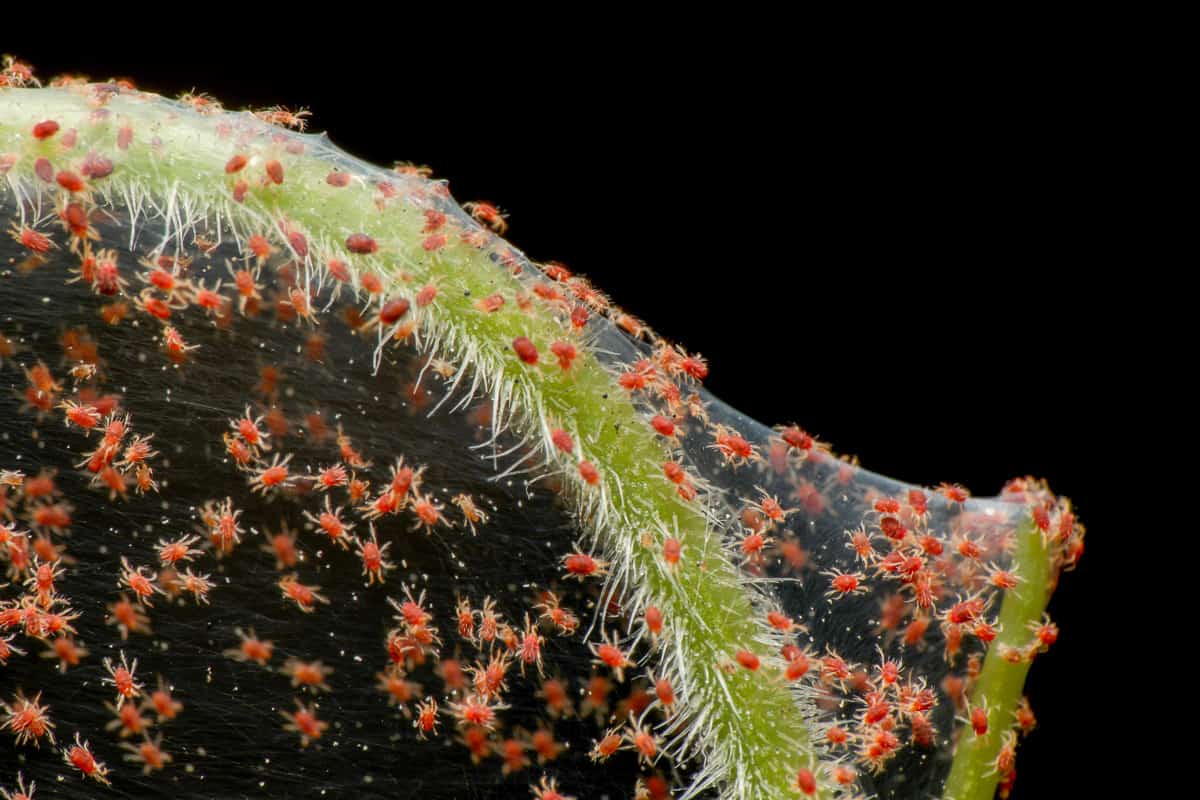
Spider Mites
Spider mites suck chlorophyll from the plant's leaves, making it look streaky green and yellow.
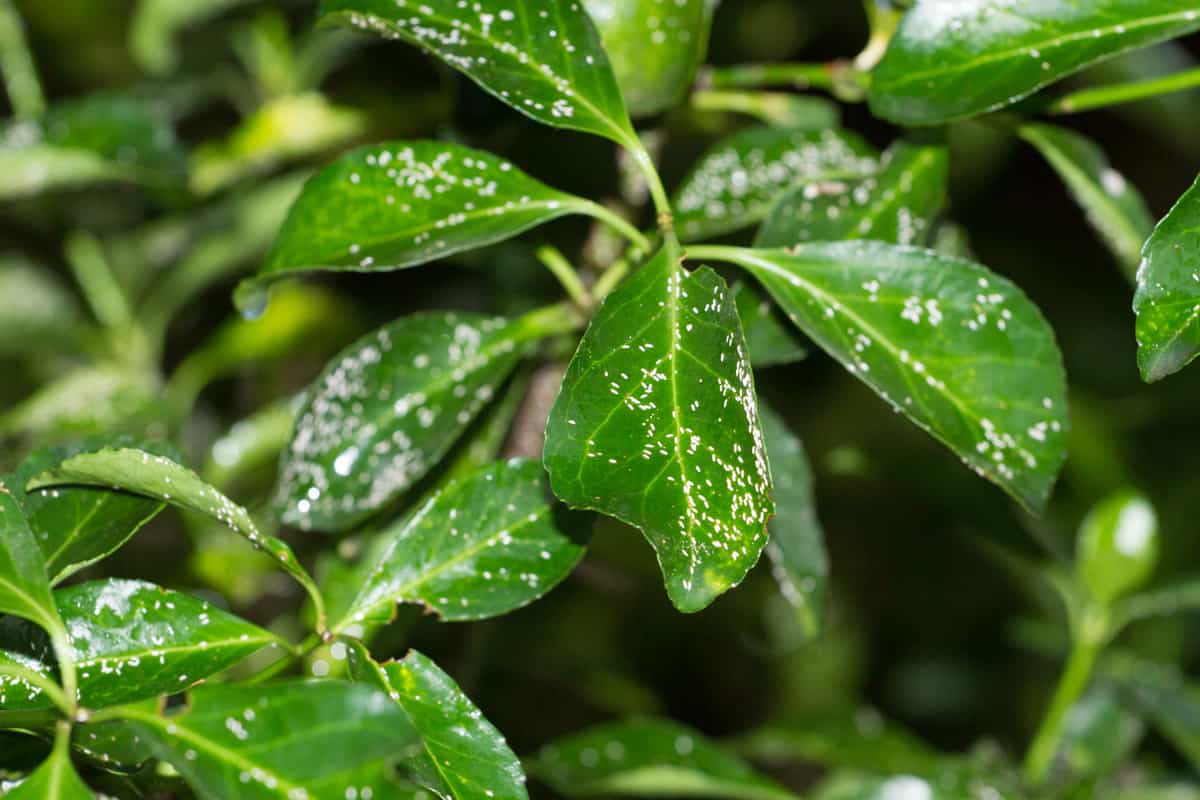
Mealybugs
Mealybugs are sap-sacking small, white insects that cause damage to plants. They produce waxy cotton deposits on plants.
Fungal Disease
Fungi can cause discoloration, and these fungi can transmit from humans and gardening tools to plants and vice versa. Some of the common fungal diseases are listed below:
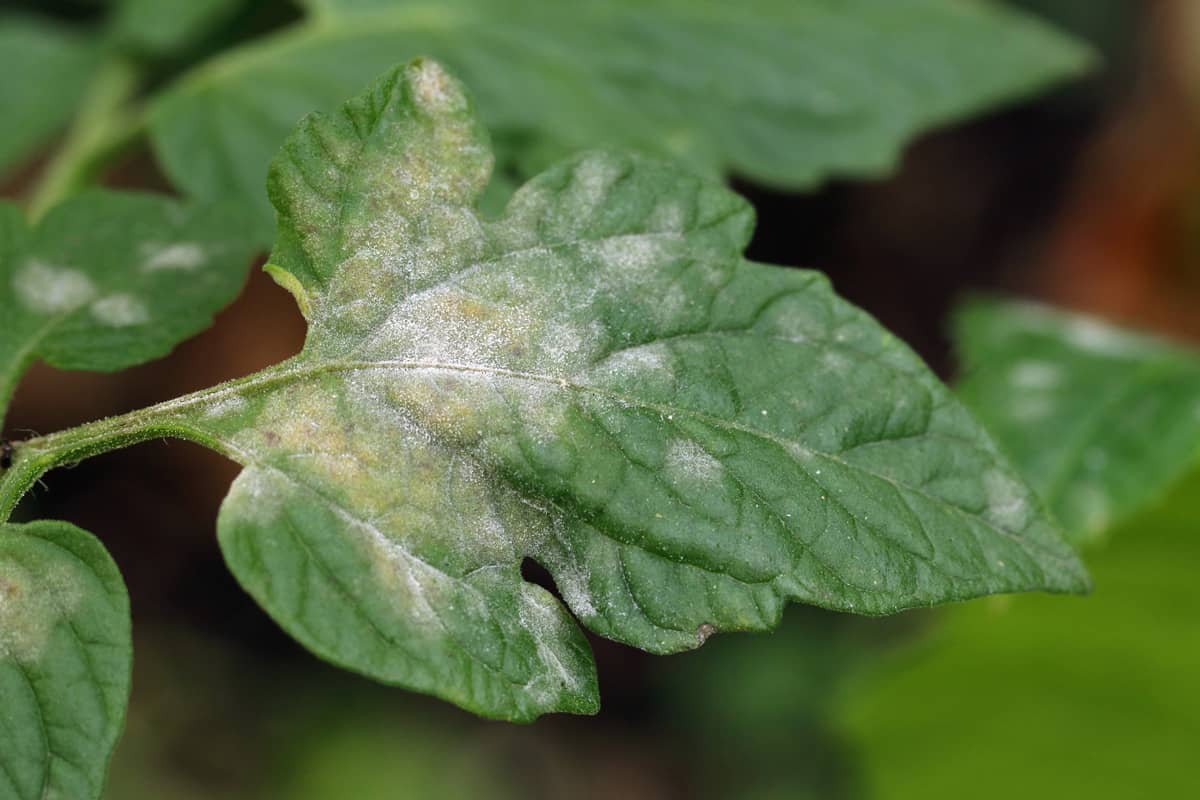
Powdery Mildew
Powdery Mildew is white, powdery fungus on your plants' leaves. It is a common fungal disease in gardens, infecting a lot of plant varieties.
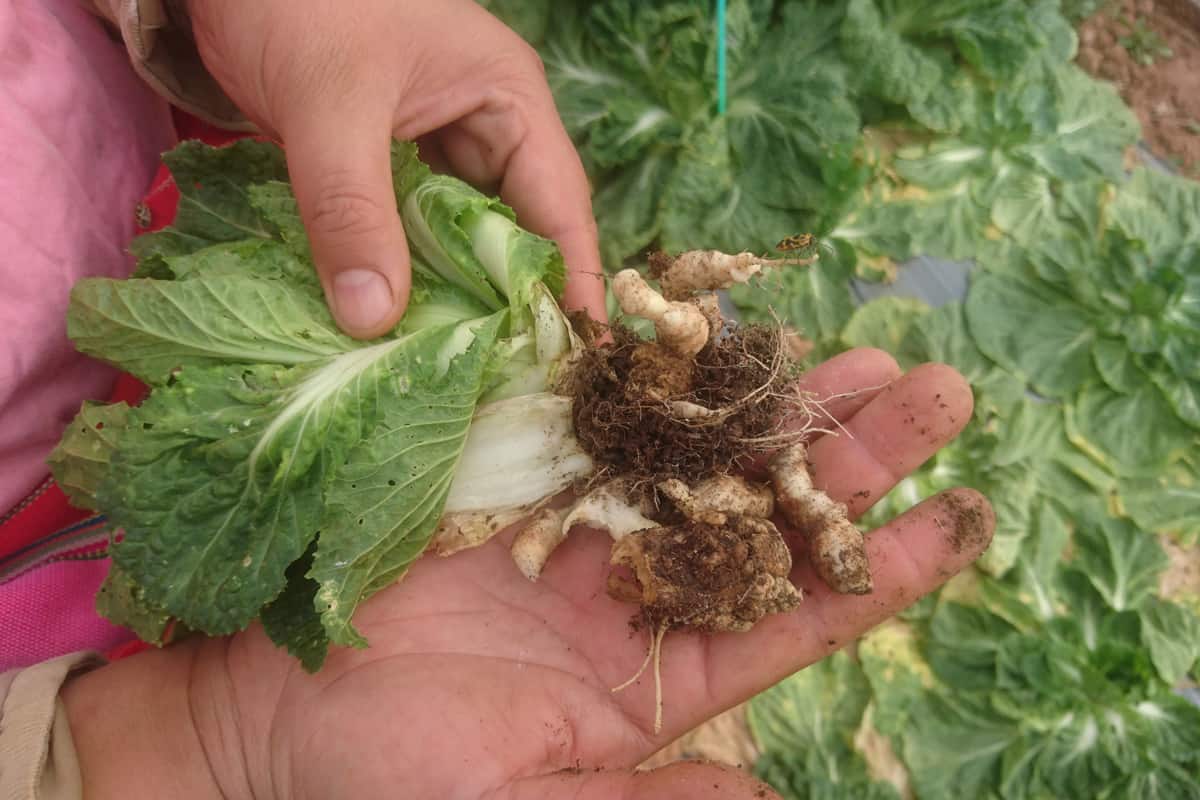
Clubroot Disease
Clubroot disease is a crucial plant disease caused by a soil-borne fungus biotrophic protest, Plasmadiophora brassica. The fungi attack the roots, which become misshapen, swollen, and clubbed. The root system will have difficulty absorbing nutrients and water.
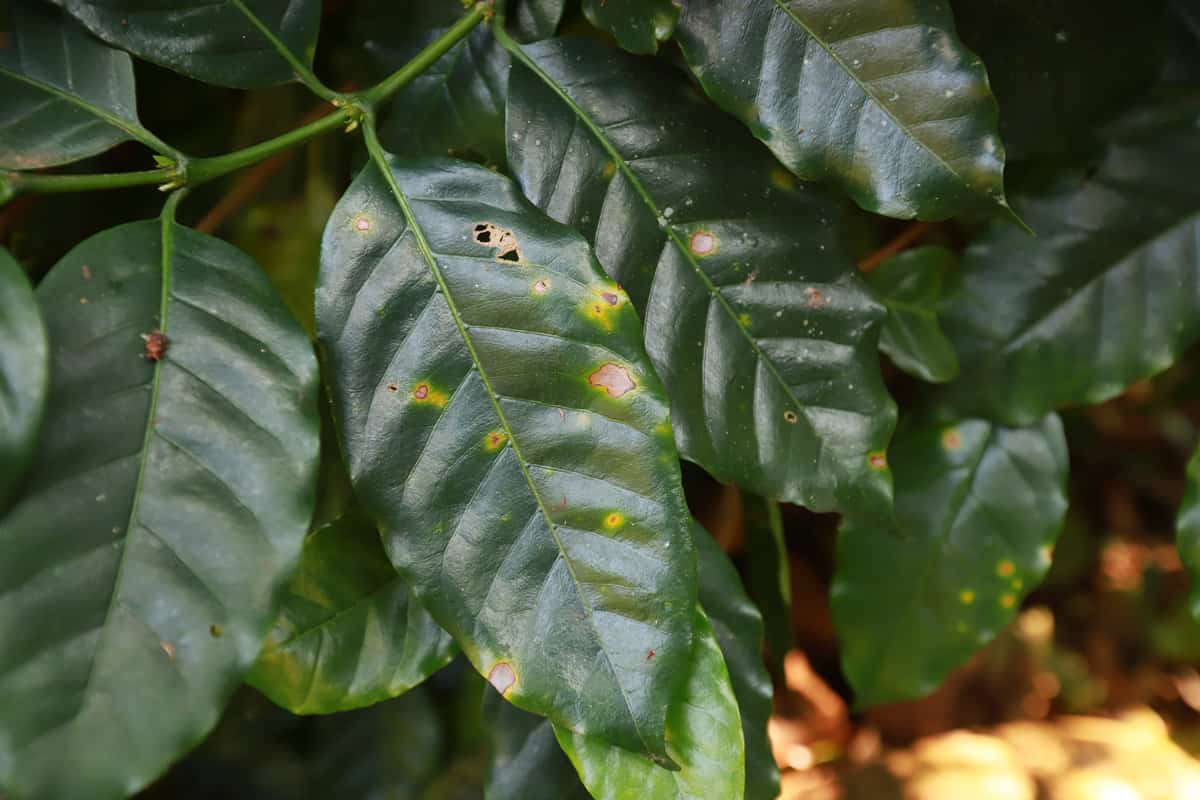
Leaf Rust Disease
Rust disease is a common fungal disease in plants. Check the brown spots on the leaves to see if these spots are on the surface. If it wipes off, it is a rust disease.
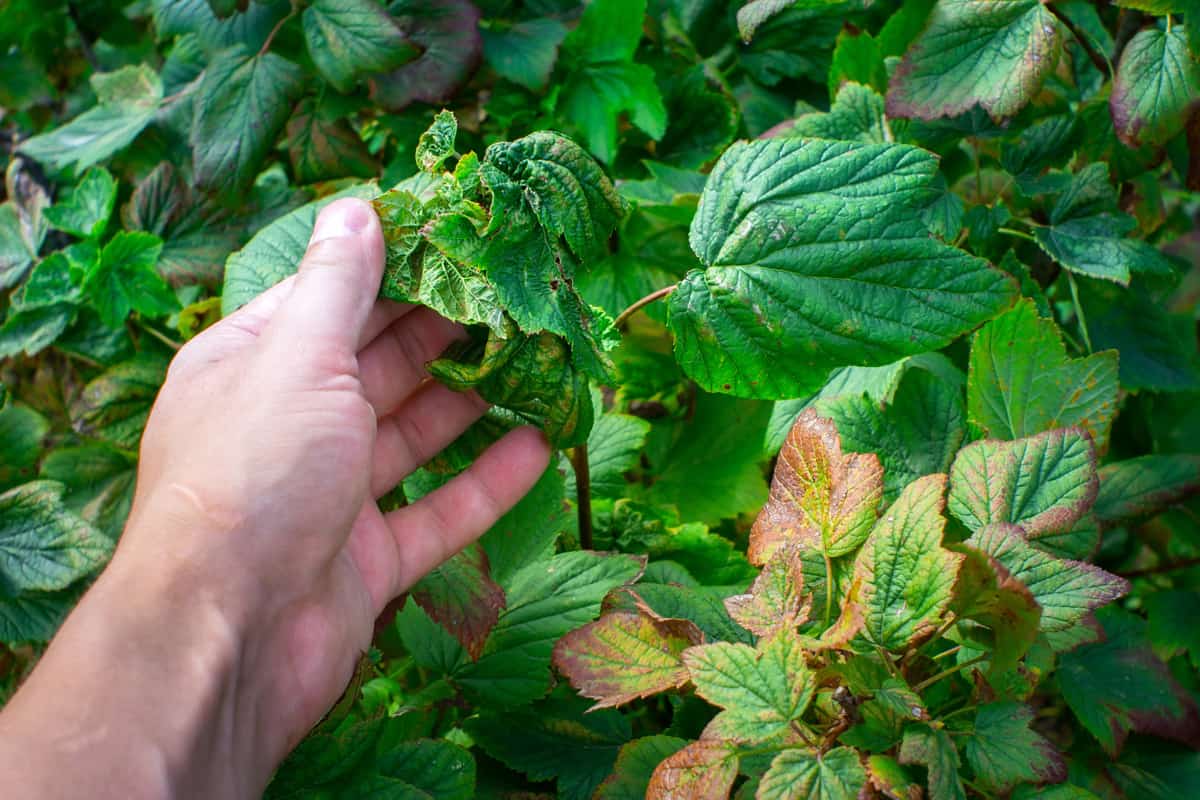
Fungal Wilts
Cutting through the stem, you will see a reddish brown, olive green, or brown in the vascular tissue under the epidermis. Shown in the photo is Verticillium Wilts on leaves.

Phytophthora Fungus
Phytophthora fungi are soil fungi that cause damage to the rooting system and end up in root rot.
Fertilizer Burn or Salt Burn
When your Fatsia Japonica's leaves turn brown with brown edges, they are signs that the plant experienced fertilizer burn. Excessive fertilizer in the soil will burn the roots, and salt builds up because of overfeeding.
What To Do To Save Fatsia Japonica
Listed below are the things you can do to save and take care of Fatsia Japonica.
Underwatering Or Overwatering
This plant doesn't like soggy, wet soil, so overwatering can also kill your plant. Use a well-drained potting soil mix and container to keep the soil moist but not too wet.
Monitor and schedule watering during summer. Ensure the soil is moist but not too soggy. Check the dryness of the soil before watering. Reduce watering during the colder seasons.
Overexposure To Sunlight
Fatsia Japonica loves bright indirect sunlight. Direct sunlight can burn the leaves, so they are best placed in shaded or partially-shaded spots like on the patio. You can also place them indoors if your location has extreme sunlight.
Pests
Pests like spider mites and mealybugs could be a headache because they cause too much damage to plants. You could encounter spider mites and mealybugs on the leaf, showing a patchy appearance. Prune the infested leaves and use insecticide to spray your plant.

Click here to check Neem Oil Spray on Amazon.
Fungal Disease
To solve the fungal disease of your plant or any plant, you can use baking soda. Pour one teaspoon of baking soda in 1 quart of water into the spray bottle. You can also use 1 part of skim milk to mix with 9 part water.
Spray the solution directly to the affected area of plants. There are other options to remove fungal diseases, like cornmeal, sulfur dust, and hydrogen peroxide.
Fertilizer Burn or Salt Burn
Excessive fertilizing is worst because it could burn the roots and kill the plant. Fertilizing twice a month is enough to feed your plant, or refer to the manufacturer's packaging for directions.
- You may contact the local universities in your area to get the soil tested through the Cooperative Extension Service or ask any professional gardener near you.
- If there's too much salt in the soil, water adequately to flush out the salt. Water thoroughly before and after feeding the plant.
Why Are The Leaves On My Fatsia Japonica Turning Yellow
Fatsia Japonica's leaves turn yellow because of alkaline soils. Alkaline soil prevents the plants from absorbing iron. Other possible reasons are underwatering or too much sunlight exposure.
When Should I Plant Fatsia Japonica
Fatsia Japonica needs to be planted during the springtime to allow the roots to develop in the soil before winter arrives. You can also plant it in warm soil during the autumn season.
What Are Fatsia Japonica Varieties
Some famous varieties of Fatsia Japonica are listed below:
Variegata
Variegata is a Fatsia Japonica variety with upright woody stems, large evergreen leaves, and an uneven white border. The flower color is creamy white. The bloom time is during the fall season.
Spider's Web
Spider's Web is a Fatsia Japonica variety known for its broad, lush foliage. Its leaves are dark-green with white speckle. This variety grows from 4 to 5 feet tall.
Aralia sieboldii
Aralia Sieboldii is a Fatsia Japonica variety where its branches are like tiny umbrellas. It can grow up to 20 feet high and produces small, white flowers during summertime.

What are the different methods of Fatsia propagation?
There are several ways to propagate Fatsia Japonica.
Seed Germination
Seed germination is the easiest way to propagate Fatsia Japonica, though the result may not resemble the originating plant.
- Collect the seed after the berries turn black; peel the dark outer skin.
- Sow the seeds in individual well-drained 4-inch pots with moistened potting soil.
- Press the seeds lightly into the soil surface and cover them with a thin layer of vermiculite to clasp in the moisture while allowing them to absorb some sunlight.
- Place the pot near a slightly bright window to keep it growing moist but not too soggy. The turnaround time will take 2 to 4 weeks for Fatsia to germinate if the room temperature remained around 80 degrees Fahrenheit.
- You can grow the seeds in the same pot for 1 to 2 years before repotting them in permanent containers.
Clonal Methods
Cuttings
Propagating Fatsia Japonica through cuttings is best during mid to late summer.
- The ideal cutting is an 8-inch stem with some smaller leaves at the tip and semimature growth at its base.
- Use sanitized pruning shears to cut just below the set of leaves.
- Remove the leaves; use rooting hormone powder to dust the leafless part to encourage rooting.
- Plant the Fatsia Japonica into a draining plastic pot with moist compost.
- Insert half of the cuttings into the compost and press the compost with enough strength around the stem.
- Use a plastic bag to cover the pot.
- Place the pot near the window without direct sunlight.
- Keep the temperature between 60 to 80 degrees Fahrenheit.
- Keep the compost moistened every time the condensation stops forming in the plastic bag. Proceed with adding water to keep the soil damp but not too soggy.
Air Layering
Air layering is another propagating clonal method. This process is more complicated than root cutting though it is effective in growing new plants. It is advisable to propagate through air layering in the active growing season when the stems are slightly mature.
- Get a stem with 1 to 2 small leaves on the tip; measure 4 to 6 inches from the tip.
- Use a sanitized hobby knife to remove a 1-inch wide section of the bark around the stem; this process is called girdling.
- Use a golf ball-sized of moist sphagnum moss to wrap the stem's girdled portion.
- Use a piece of black plastic to cover the sphagnum moss to hold it tight; use twist ties to attach it.
- Open the plastic to add water every couple of days. The Fatsia Japonica usually produces roots from 1 to 2 months. Cut its stem below the roots to transplant it into a pot with potting soil.
Summary
If you observe unusual changes in your plant, take extra precautions and figure out the root cause. Determine the cause to easily find a solution to save the plant. We hope we helped you through this post.
You may leave a comment if you have further questions. Feel free to continue reading through these posts for more information about gardening: