
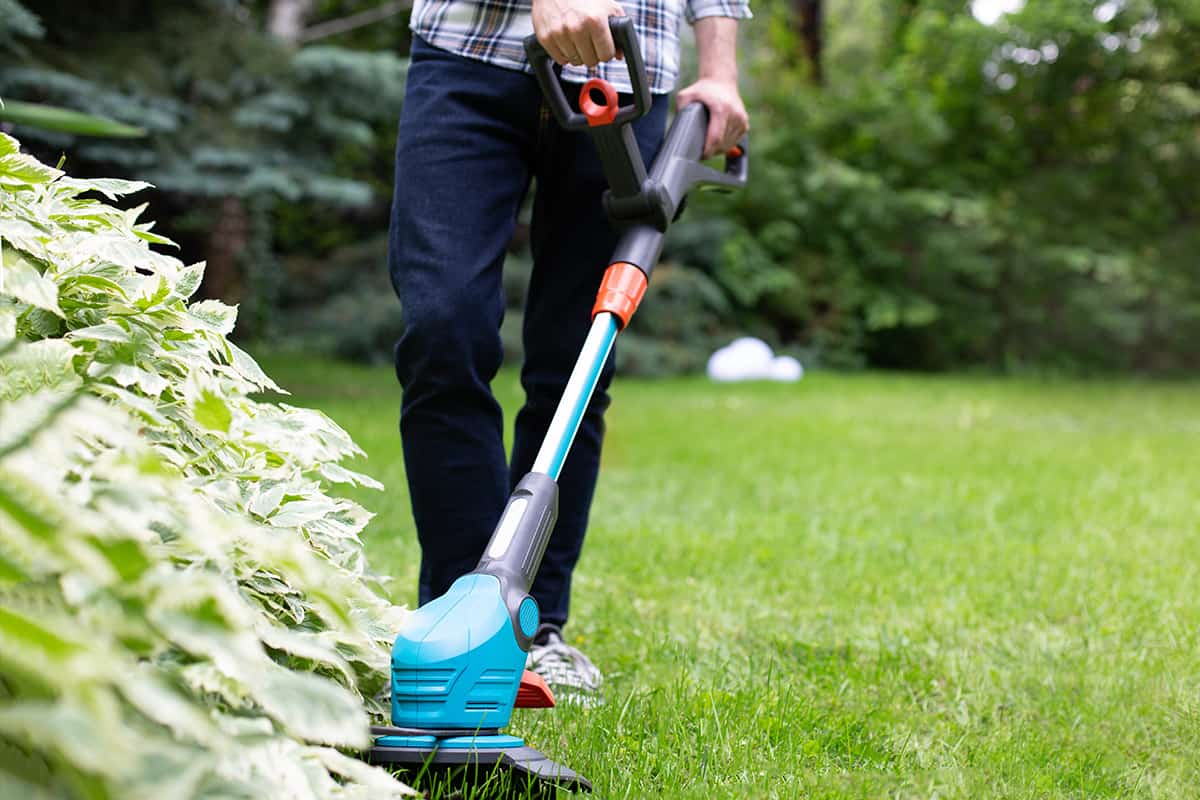
A Black & Decker string trimmer and edger is a device that allows users to cut overgrown grass or weeds easily. You may have purchased one and wonder how you can use the edger feature of the device. Don't worry; we have done the research to provide you with everything you need to know to use the tool in edger mode.
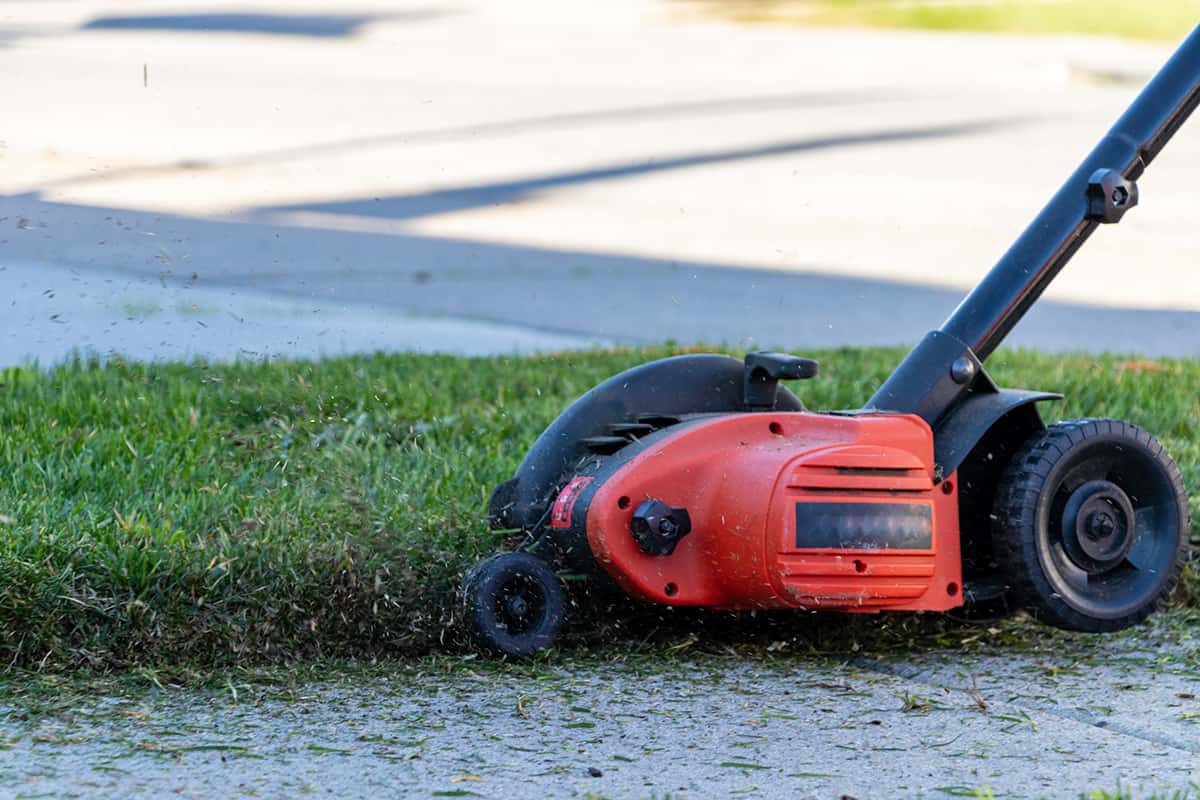
A Black & Decker string trimmer and edger has both trimmer and edger modes. To switch to the edger mode, pull the collar down on the device and twist it to the right until you hear a click. This rotates the motor head to a vertical angle, which will allow the user to trim grass and weeds at the edge of a lawn.
Below are general guidelines on how to use a Black & Decker trimmer/edger in edger mode.
- Assemble the device (situational).
- Adjust the handle.
- Adjust the length of the pole.
- Switch to the edger mode.
- Insert the charged battery.
- Choose the desired motor speed.
- Power up the motor.
You can rotate the head of the device horizontally or vertically. When the head is at a horizontal angle, it becomes a trimmer, and when it is positioned sideways, it can target grass on the edge of a lawn. Continue reading as we discuss in detail how to use the device properly.
How Do I Use The Edger On A Black & Decker Trimmer and Edger?
The Black & Edger trimmer and edger device comes with a user manual. This manual has all the important reminders and precautions that users should observe when using the device.
Keep in mind that the user manual provided to you has the best instructions for the specific model of Black & Decker trimmer and edger you have.
Here are general guidelines you can refer to when using a Black and Decker edger. The same guidelines can be referred to when using the trimmer mode.
Assemble The Device (Situational)
Before using the device, you must assemble it properly. The string guard should be correctly installed before operating the device. Make sure that it is not connected to a power source.
Below is a " target="_blank" rel="noopener" data-lasso-id="27884">guide you can follow to secure the string guard into the motor housing.
- Remove the pre-installed screws on the string guard using a Philips screwdriver.
- Carefully slide the guard into the motor housing. Make sure that the latch on the guard locks into the rectangular opening on the motor housing.
- Return the screw.
There is also a covering on the blade at the upper right corner located at the inner surface of the guard. Remove this cover as well as the adhesive holding the string to the motor housing.
Adjust The Handle
To adjust the handle to your preferred angle, press the orange button located on the right side of the handle. Keep pressing this button while you adjust the handle and release it once you are satisfied with the angle.
Once the button is released you should hear a click. This indicates that the handle has been locked into place.
Adjust The Length Of The Pole
You can also adjust the pole to your preferred height. To adjust the height to your comfort, locate the black height collar at the upper end of the pole. This height collar should have an orange lock with an orange triangular symbol printed at the edge.
To adjust the length of the pole, turn the collar to the right and away from the pointing angle of the orange triangle. This releases the pole from the lock.
Once the pole is unlocked, proceed to pull the pole away from the handle to add length. Otherwise, pull the pole towards the auxiliary handle to reduce the length. Make sure to twist the collar back to the original place once the preferred length is reached.
Switch To Edger Mode
To use the edger on the device, make sure that you are in the edger mode. A clear indicator that you are in the edger mode is if the guard and motor housing are facing upwards. If they are flat and parallel to the ground, then you are in trimmer mode.
The collar is the handle located in between the black height adjustment and the orange auxiliary handle. When propped up, you should see a rotating arrow symbol at the bottom left side of the auxiliary handle.
Directly below this symbol is the handle which you can turn to switch from edger to trimmer mode, and vice versa.
To switch to edger mode, pull the collar down and twist it 180 degrees clockwise until it you hear it click and lock in place. You can always return to trimmer mode by following this process and turning the collar counterclockwise.
Insert The Charged Battery
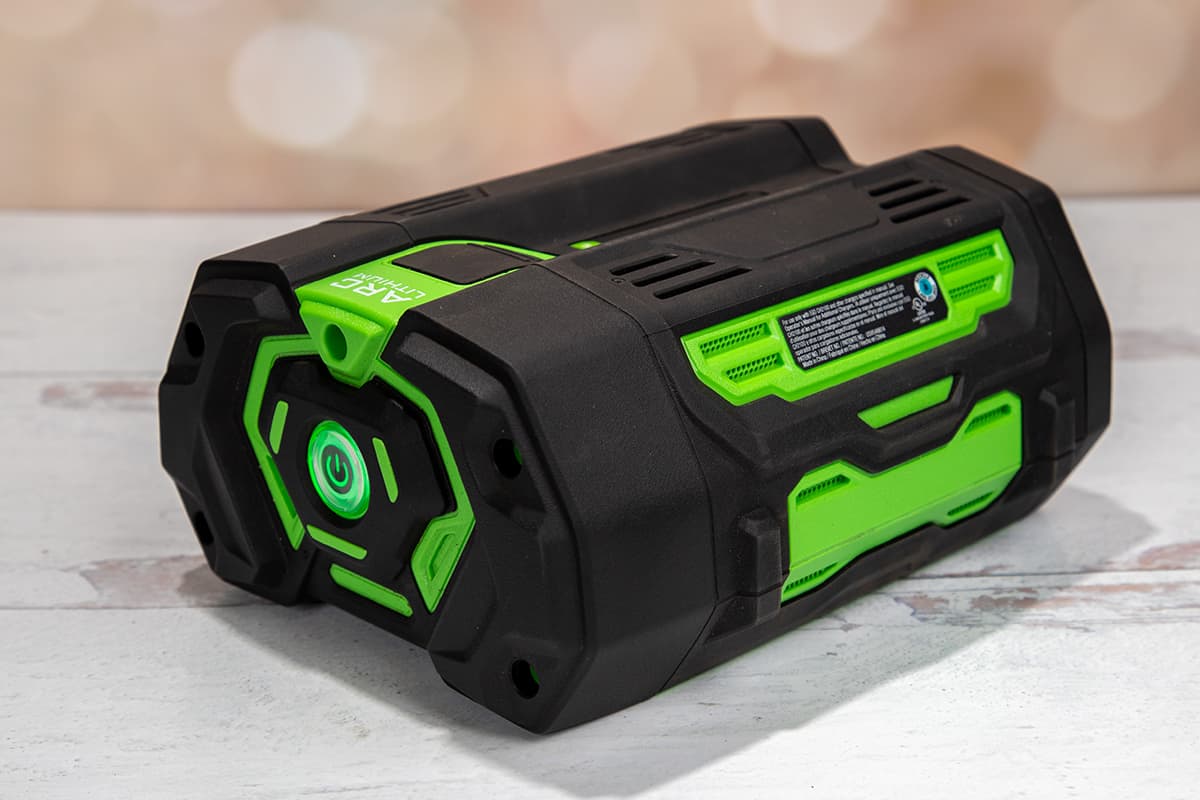
For the device to operate, you must insert the battery. The battery is the direct power source or a cordless Black & Decker trimmer and edger. The battery is not fully charged upon purchase.
If you have not charged the battery, connect the battery to a charger and allow it to charge for nine hours before using it for the first time. The battery can be plugged into a standard 160-volt 60 Hz powered electrical socket.
Below is a simple guide you can follow for charging the Black & Decker trimmer and edger battery for the first time. It is normal for the battery to make a low humming sound or be warm to the touch when charging.
- Insert the provided charger into an outlet.
- Slide the charger head into the charging port situated directly below the orange latch on the battery. A green light should start blinking.
- Wait nine hours for the battery to fully charge, or until the green blinking light disappears. After frequent use, the charging time can range from six to nine hours.
Once you have fully charged the battery, you can connect it to the device. To connect the battery, simply slide it into the battery port at the back of the handle. The orange latch must be properly inserted into the back of the handle to lock it in place.
Choose The Desired Motor Speed
There are two speed options available on a Black & Decker trimmer and edger. The speed options can be changed using the black toggle on the upper front surface of the handle.
To choose the default speed, push the toggle up. This speed option has a longer running time.
You can also choose the faster speed by pushing the toggle downward. However, keep in mind that the faster speed will eat up more electricity in the battery. This means that while it is faster than the default setting, the battery will have a shorter operating time.
Power Up The Motor
Once you have prepared the device, you can power it up and use it. To power up the device, simply push one of the two power buttons on each side of the handle and pull the device's trigger.
You can check out the video below for more information.
How To Use EasyFeed On Black & Decker Trimmer & Edger
The EasyFeed option on a Black & Edger trimmer and edger allows the user to extend the string on the device. Frequent use of the device will wear out the string, which can result in poor cutting performance. The EasyFeed button allows the user to quickly feed a new line into the device.
To use the EasyFeed feature, simply press the white button with the black circle symbol on the front of the device's handle. The button also has an EasyFeed label at the side for easier location.
What String Diameter Should I Use On A Black & Decker Trimmer And Edger?
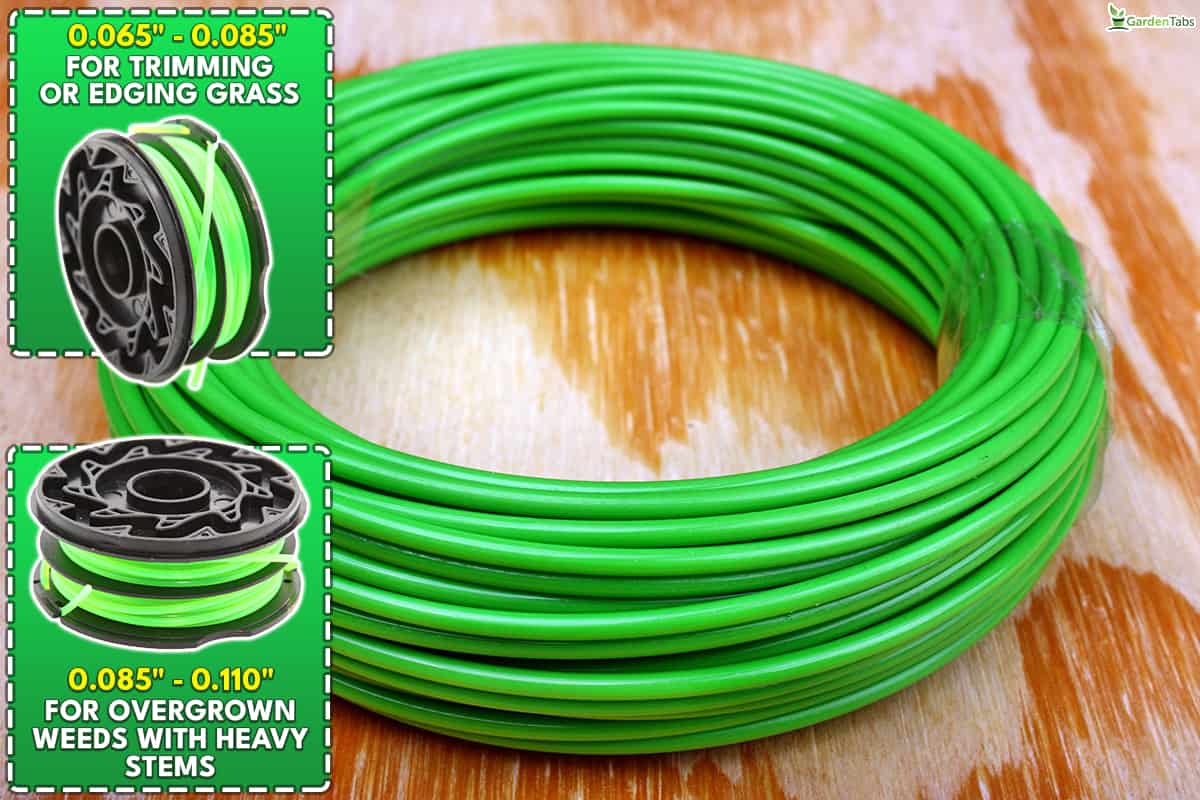
The appropriate string diameter for your trimmer and edger device will depend on the work that you plan to do with it. The power capacity of the motor on your machine will also influence the correct string diameter.
For trimming or edging grass, you can use a string that's 0.065" to 0.085" in thickness. However, if you are trimming a large lawn, you can use a 0.085" to 0.110" string to prevent the line from frequently running out.
Any trimmer and edger string thicker than 0.110" should be used on overgrown weeds with heavy stems. Trimmer strings that are 0.110" are usually used for wide commercial areas and not used on average residential lawns.
To Wrap Up
You can switch from one mode to another on your Black & Decker trimmer and edger using the mode collar located on the pole of the device. The trimmer mode is used for trimming vertically growing grass, and the edger can be used on overgrown plants growing at the edge of a lawn.
In this article, we discussed how you can use the device in edger mode. The same process can be followed for the trimmer mode. Make sure to dress properly and practice safety precautions when using the device.
Made it to the end? Check out some of our other related posts!
Can You Use An Edger Along A Fence [Without Causing Damage]?
Can You Edge Wet Grass? Should You?
![How To Use Black & Decker Edger [Step By Step Guide]](https://gardentabs.com/wp-content/uploads/2024/02/How-To-Use-Black-Decker-Edger-Step-By-Step-Guide_1.jpg)