
Growing mushrooms at home can be fun and easy. One method for growing them involves using an all-in-one mushroom grow bag. If you're wondering how this method works, keep reading. We researched the process to help you get started.
These are the steps for using an all-in-one mushroom grow bag:
- Prepare the needed materials for mycelium cultivation.
- Disinfect the bag before you start.
- Inject the liquid culture and cultivate for one to four weeks.
For more details on the process of using an all-in-one mushroom grow bag and for further discussion on how to grow mushrooms at home, continue reading as we delve into these topics.
How To Use An All-In-One Mushroom Grow Bag
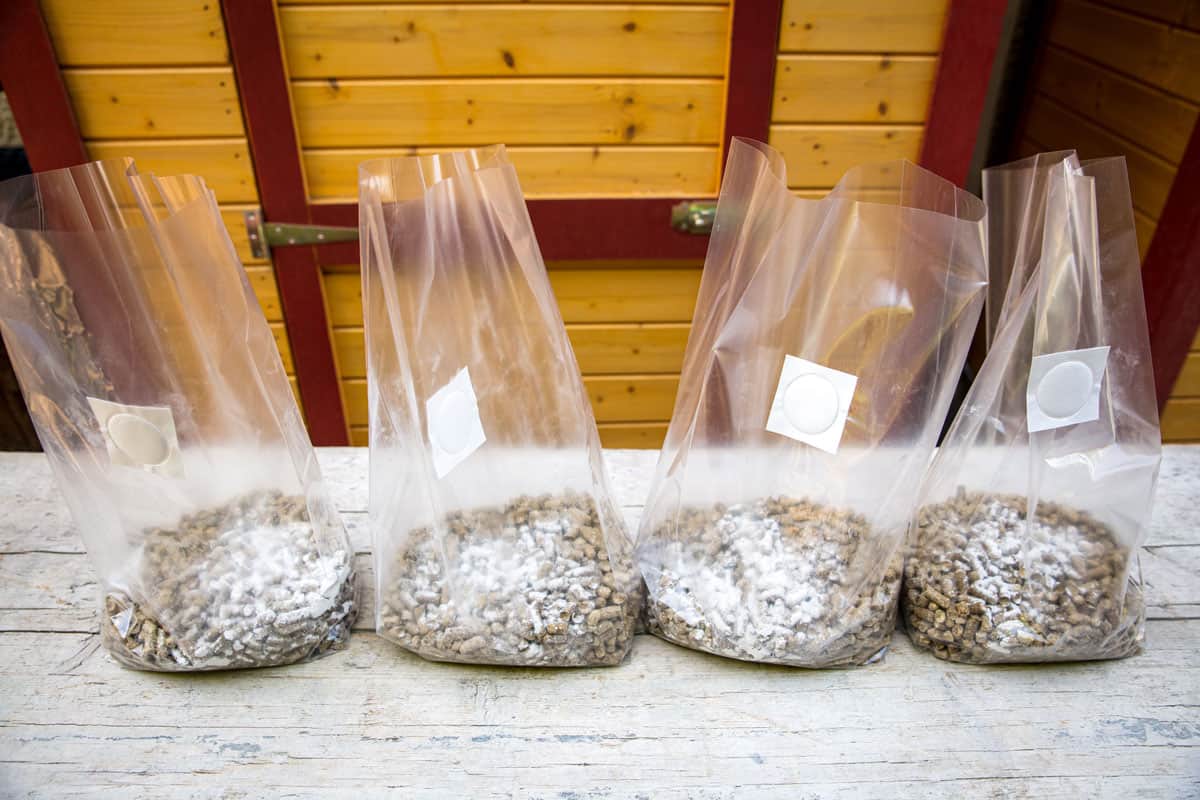
An all-in-one mushroom grow bag is a convenient way of cultivating mushrooms. The grow bag consists of different substrate layers needed for growing mushrooms, so you won't need to move the substrate to another bag.
You only need to inject the liquid culture into the inoculation port and wait for the mycelium to colonize the grow bag. Reducing bag transfers through the growing process means less exposure to the air and contamination.
Here is how to use the all-in-one mushroom grow bag:
Preparation
- Get the all-in-one mushroom grow bag. You will also need Lysol.
- Wear gloves to keep the Lysol off your skin. Make sure your work area is free of dirt and possible contamination.
- Wear a mask to avoid breathing on your work.
- Prepare the syringe of liquid culture to inoculate the bag.
- Spray Lysol on the inoculation port and the needle to disinfect them. Let them sit for at least 10 seconds.
Procedure
- Stick the needle into the inoculation port. Avoid giving the bag an exit wound.
- Rotate the injection to spray the liquid culture around the bag.
- Mix the substrate until the liquid culture has scattered through the bag.
- Ensure that the filter patch and the substrate do not touch each other.
- Place the bag in a warm, dark place for one to four weeks, depending on the mushroom variety.
- Check the bag to see if the mycelium has colonized. You will see a fuzzy-white element spread out in the grow bag.
- Cut one inch at the corner of the grow bag. Place the bag in a spot with ambient light for fruiting.
Watch the video below to learn more about cultivating mushrooms using an all-in-one grow bag.
What's Inside An All-In-One Grow Bag?
The grow bag consists of a ground starter substrate and a hydrated layer of grain mixes such as oats, millet, rye or wheat, coco coir, gypsum, vermiculite, and worm castings.

Click here to see this grow bag on Amazon.
How To Grow Mushrooms In A Container
Aside from growing mushrooms using an all-in-one growing bag, you can cultivate mushrooms in a container at home and use mushroom spawns. Here are the steps for growing mushrooms in a container:
Preparation
- Find a suitable container (plastic container, trash bag, or laundry basket).
- Prepare antiseptic soap and warm water to sterilize the container.
- Get hardwood chips or cereal straws (chopped) to use for the substrate.
- Choose the mushroom spawns you want to grow (oyster, white button, or shitake).

Click here to check out this oyster mushroom spawn on Amazon.
Procedure
- After selecting the container and the mushrooms, sterilize the growing materials.
- Place the substrate in a microwave or boil it in a pan of water for up to three minutes. The substrate must be moist. Note that it may attract mold, which could grow faster than the mushrooms.
- Prepare the container. It should have good drainage. If you're using a plastic bag, poke holes for drainage. Ensure you clean the container and other materials you use to avoid contamination. Sterilize the container using antiseptic soap and warm water.
- Fill the container with the substrate and the mushroom. Mix the materials well using a sterilized spoon or other tool. Cover it well or seal the plastic to prevent accidental contamination.
- Place the container in a dark, dry corner where it won't get any sunlight.
- Check your container after two weeks and see if the colonization went well. You should see white fuzz around the container. If there are any signs of contamination, throw it away.
- Put low heat near the container to help the mushrooms grow faster. Check if the soil is moist. If not, sprinkle some water to keep the substrate moist. Don't let the temperature go higher than 69 degrees Fahrenheit.
- Wait for two to three weeks, and you should see small mushrooms in the container. When the mushrooms grow full caps, you can harvest them.
How To Use Coffee Grounds As A Substrate In Growing Mushrooms
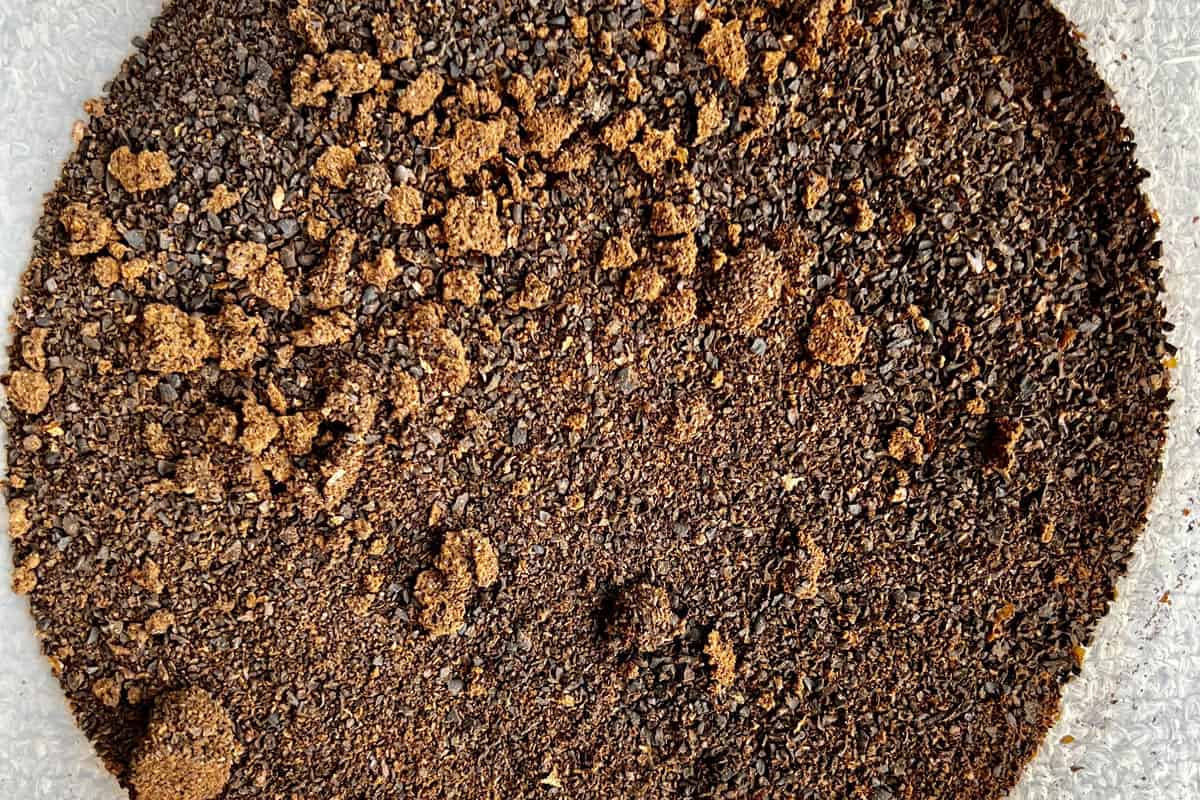
Aside from straw and hardwood pellets, you can use coffee grounds to cultivate mushrooms. Coffee grounds are full of nutrients that oyster mushrooms need to grow. Oyster mushrooms love coffee grounds as their growing environment.
Preparation
- Collect your coffee grounds, and your oyster mushroom spawns.
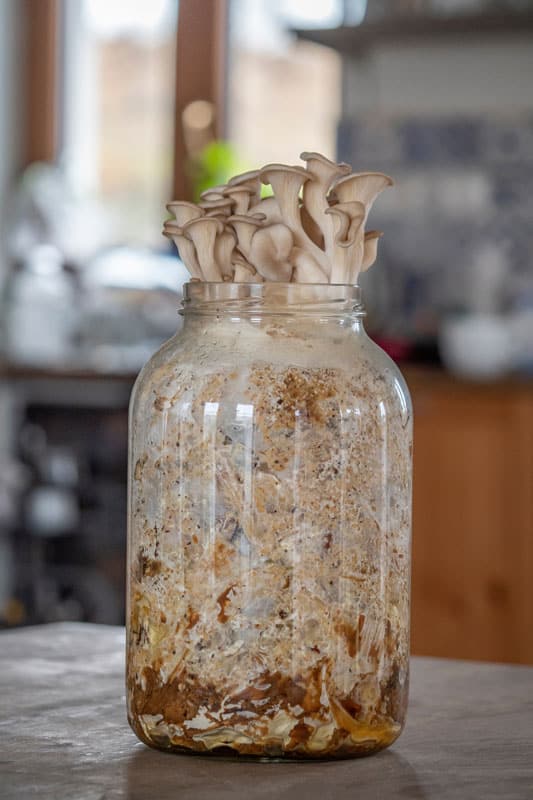
- Pick a container of your choice (glass bottle or plastic bag).
- Prepare a substrate (straw or sawdust) that is 20% more than the coffee grounds.
- Use alcohol or antibacterial soap for sanitation.
Procedure
- Sterilize the container (plastic bag in this example) and all the materials you use to avoid contamination.
- Mix all the ingredients in the container. Straw or sawdust is necessary for good airflow inside the container. Seal the plastic bag.
- Incubate the container in a dark, warm spot for two to three weeks. You may regularly check the development of mycelium colonization.
- After cultivating for a few weeks, cut a small hole in the growing bag. Place the container in a spot with a bit of sunlight and moisten it daily by spraying it with water.
- The mushroom will start to fruit within 10 days. Spray water two times a day for five to seven days.
- You can harvest the mushrooms once the caps materialize from the stems.
How To Use Cardboard As A Substrate In Growing Mushrooms
Cardboard is the best option for beginners who want to cultivate mushrooms at home. Cardboard retains moisture and provides good air circulation. It's easy to find and inexpensive. You can also use paper as an alternative substrate.

Preparation
- Collect any cardboard you have at home.
- Buy oyster mushroom spawns.
- Collect coffee grounds (optional).
- Select a container or bucket.
- Use alcohol to sanitize the container.
- Boiling water to pasteurize the cardboard.
- Find a plastic bag for growing mushrooms.
Procedure
- Sanitize the container using alcohol.
- Drill holes in the container for good airflow.
- Cut or shred the cardboard into small pieces.
- Pasteurize the cardboard by boiling it in water in the container.
- Allow the cardboard to cool down and squeeze it to remove excess water.
- Place the cardboard and mushroom spawns in the growing bag. Tie the bag to secure the mushrooms through the growth cycle.
- Store it in a dark, warm area and let it incubate for two to three weeks.
- Once the grow bag has filled with white, fuzzy spores, you can fruit them. If green or black mold develops in the bag, throw it away.
- Open one side of the grow bag and spray water daily for adequate moisture.
- Check the moisture level regularly, ensuring that the growing bag isn't drying out.
- You will see mushroom caps forming after a few days, and they should be ready to harvest in seven days.
Can You Use Perlite As A Substrate For Mushrooms?
![Oyster mushroom on wooden table, How To Use An All-In-One Mushroom Grow Bag [Step By Step Guide]](https://gardentabs.com/wp-content/uploads/2023/01/How-To-Use-An-All-In-One-Mushroom-Grow-Bag-Step-By-Step-Guide.png)
You can use perlite to grow mushrooms because it is lightweight and promotes good drainage. Just follow these steps.
- Sterilize perlite in boiling water for 30 minutes before using it as a substrate mixture.
- Let it cool before mixing in brown rice flour as your mushroom substrate.
- Mix the substrate and the spawns in a sterilized clear container or jar and close the lid. The mycelium should colonize the container in seven days.
- Loosen the cap to let the water evaporate and allow the mushrooms to fruit.
In Summary

Growing your own mushrooms is easy with an all-in-one mushroom grow bag. In this post, we discussed how to use a grow bag and the importance of growing mushrooms through this cultivation process. We also tackled other options for growing mycelium.
For more helpful advice on growing mushrooms and other gardening tips, you may visit these posts and read:
Do You Need Vermiculite To Grow Mushroom?
How To Clean Grow Bags [Quickly & Easily]