
Rocks are annoying, dangerous, and lower fertility when in your yard. Knowing this, you are wondering how best to remove rocks from your yard soil. In this post, we have scoured the internet to provide an up-to-date and thorough answer to your question.
To remove rocks from your yard soil, follow these steps. If this process seems too labor intensive for you, consider hiring a professional landscaping company.
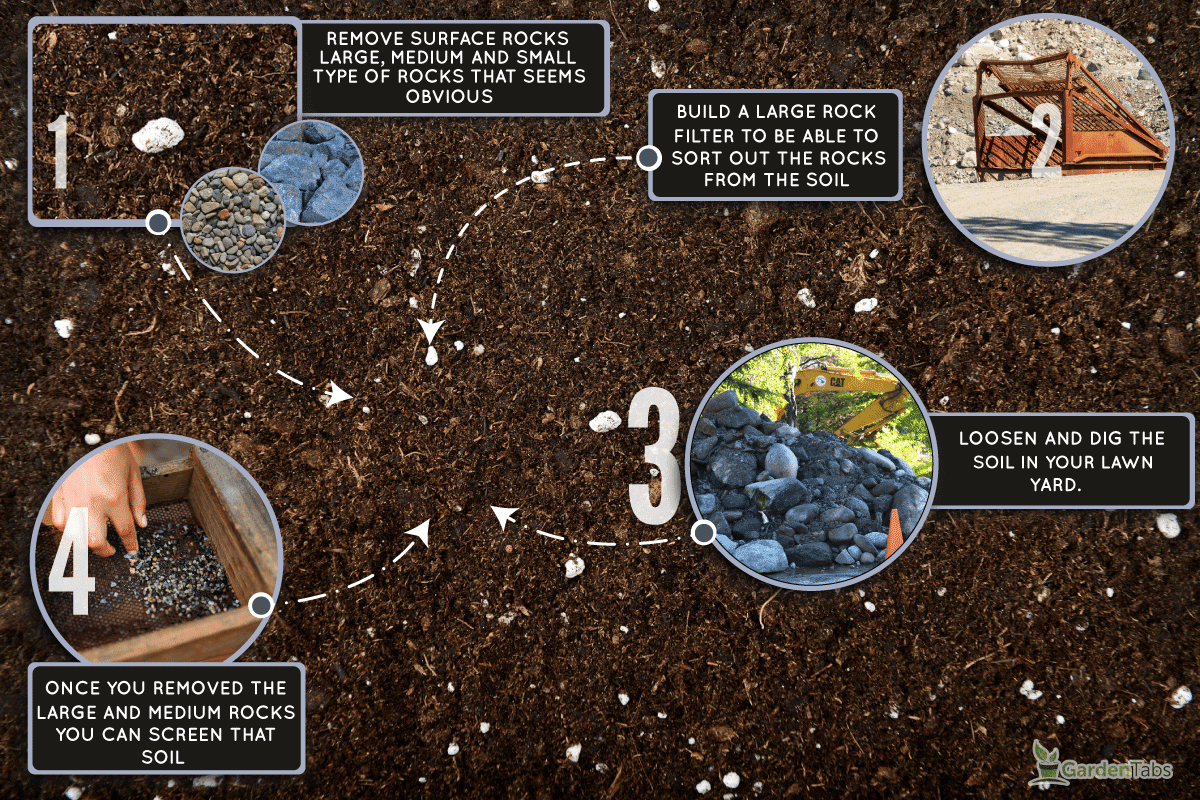
- Remove surface rocks
- Acquire rock screen
- Loosen and dig soil
- Screen soil as you go
Keep reading the rest of this post for details on each of the above steps. All in all, we'll cover how to remove rocks of about 1/4 inch and larger and up to about two feet deep. To conclude, we'll answer a few related questions and provide a useful additional reading list.
How To Remove Rocks From Your Yard Soil
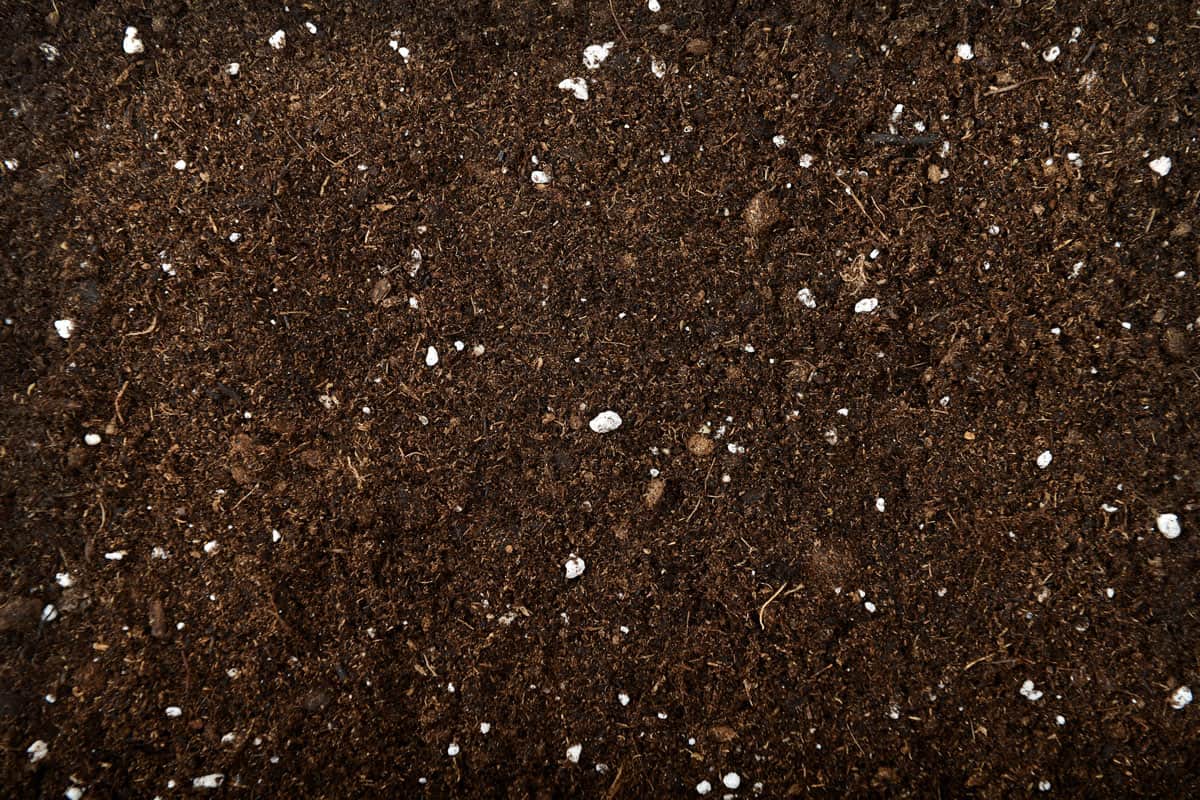
As mentioned above, there is no easy way to remove rocks from yard soil. While the process described here does include a few tricks and is relatively simple, it is still quite labor intensive. If you want fresh, rock-free soil without all the work, consider adding purchased topsoil to the top of your yard during landscaping.
1. Remove Surface Rocks
The first task is freeing and removing the obvious rocks that sit on top of or are partially buried in your soil. When doing this, remove all the large rocks, then the smaller rocks, and finally the gravel-sized rocks.
If mowing and other surface issues are your only concern, you can stop the rock removal process after this first surface step.
Large Rocks
For the large rocks, you may need a digging bar to first pry them loose from the soil. When working the rocks free and when moving them, take care to not hurt your back. It is much better to rent equipment or hire helpers than to cause personal injury.

Click here for a digging bar from Amazon.
Once the rock is free, consider using a tractor, hand cart, or other tools to help actually move the rock. Alternatively, if the rock is too large, it can be featured in your landscaping and simply avoided during mowing and gardening.
Medium Rocks
For the medium rocks, pick them up with gloved hands or a shovel and put them in a wheelbarrow or bucket. This process is time consuming but not overly difficult.
As you perform this task, be sure that you have a plan for where you want to put the rocks. This can include either disposing of the rocks or using them in landscaping applications (which we'll cover further at the end of this post).
For example, if you are making a pile in the corner of your yard or property, a wheelbarrow might be just the ticket. However, if you are putting the rocks in the bed of a truck to haul them elsewhere, using buckets may actually be the easier option.
Small Rocks
While it is possible to remove small rocks by hand, this process is very tedious. Instead, consider using a leaf rake to gather them into piles. Then, use a flat shovel or even a snow shovel to scoop them into your transport method of choice.
Alternatively, and for lawn applications, mechanical dethatchers are advertised as able to scoop up small rocks during their normal function.

Click here for a dethatcher from Amazon.
2. Acquire Rock Screen
Before moving on to the next step, it is wise to have a rock screen on hand. You can buy these products at local lawn and garden stores or online.
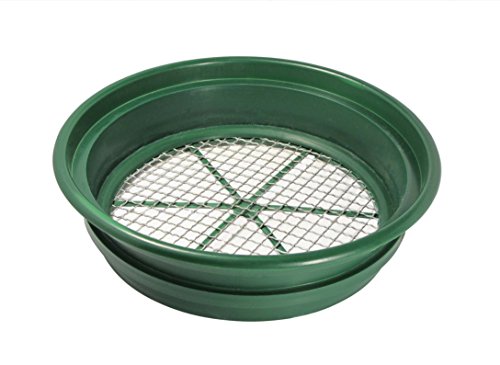
Click here for a rock screen from Amazon.
Alternatively, you may want to build a larger screen using two-by-four lumber, screws, staples, and hardware cloth.
First, make a box that will allow you to securely attach the hardware cloth. Then, attach the cloth using industrial staples or screws. For added strength, you can attach short cross braces to the top corners of your screen.

Click here for a hardware cloth from Amazon.
Remember, you will want to be able to lift and shake the screen, so keep this in mind when sizing your homemade rock screen.
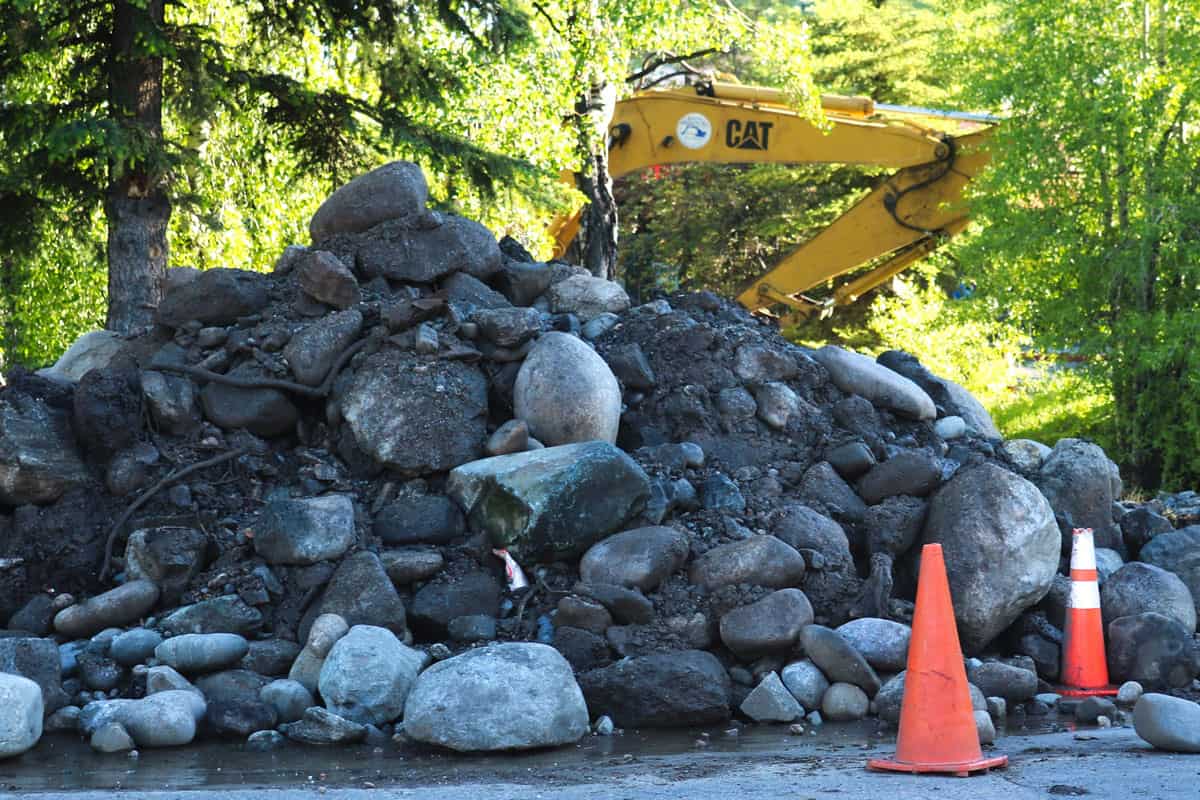
3. Loosen And Dig Soil
Now comes the real work of this project. As you loosen and dig your soil, consider how deep you want your rock-free topsoil to be.
The first eight inches is considered topsoil and holds most of the fertility of the ground. However, if you have nutrient-poor soil, you may consider removing the rocks to an even deeper level.

Click here for a rototiller from Amazon.
Now use a hand shovel, pick, rock bar, rototiller, back-hoe, front-end-loader, or another method to loosen and dig the soil. When performing this work, be sure to match your chosen method to the overall size of your yard.
For large yards, consider renting the more expensive heavy equipment. If you have a small yard, the hand tool methods may be feasible. For medium-sized yards or gardens, renting or buying a rototiller may be just the ticket.
Both while you are digging and/or immediately after, remove the large and medium-sized rocks using the basic methods described in the first section of these directions. In fact, you will need to remove all of these rocks before you can effectively screen the remaining rocks away as described below.
4. Screen Soil As You Go
Once you remove the medium and large rocks from a section of your soil, you can screen that soil. For the most efficient process, screen the soil directly above where it will remain.
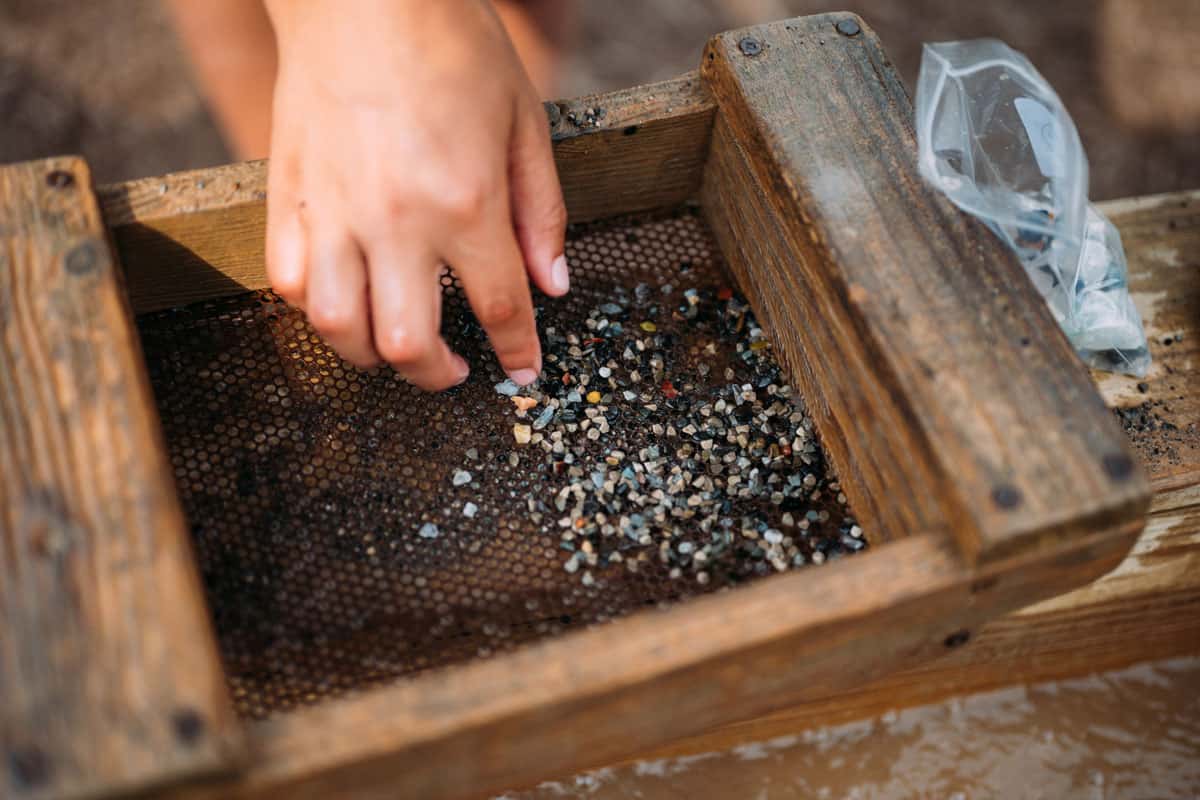
First, fill the screen to a comfortable level. Then lift the screen and shake it until the dirt sifts through and all you have left are rocks. Dump those rocks into your wheelbarrow or receptacle of choice.
If your soil is clay-heavy, it may stick together and make sifting difficult. In this case, break the soil up with a digging implement before attempting to sift.
Other times, it may be wise to let your turned soil dry out a bit to remove water content before sifting. This will help the dirt to unclump and will make the sifting a lighter process.
Additional Questions
In the following subsections, we'll answer several questions that are related to the topic of this post.
Should You Remove Rocks From Soil?
Whether or not you choose to remove rocks from your soil depends on your soil's eventual use. Generally, really rocky soil is much less fertile and makes growing gardens and other landscape features very difficult.
However, a certain amount of smaller rocks in your soil will actually help with drainage and make your yard healthier. Therefore, only remove larger rocks and rocks if you have an excess in quantity.
There are almost as many ways to use excess rocks as there are landscapes. In fact, since the process described above sorts the rocks by size, the rocks of your yard are that much more useful after all your hard work.
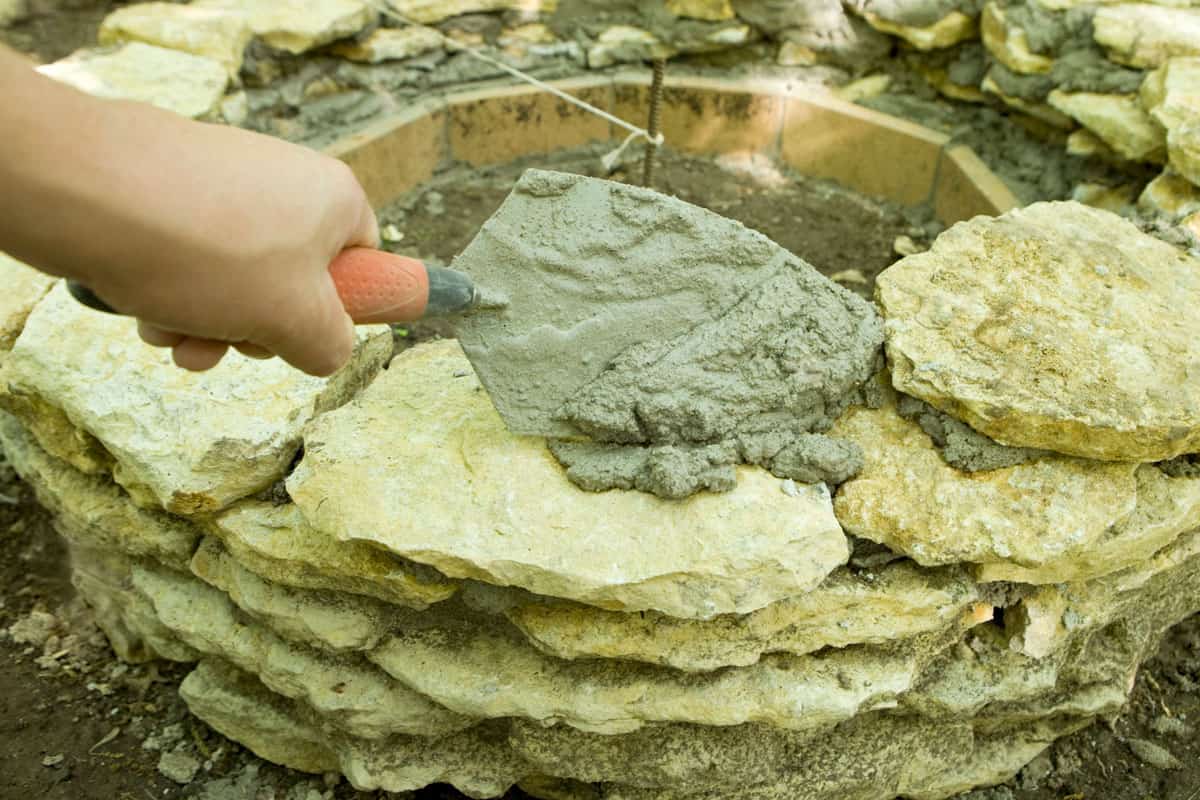
With large rocks, consider using them as centerpieces of your landscaping. Alternatively, you can use them to accent corners or even as places to set pots or other yard art. For slightly smaller large rocks, consider using them to make a firepit or accent wall.
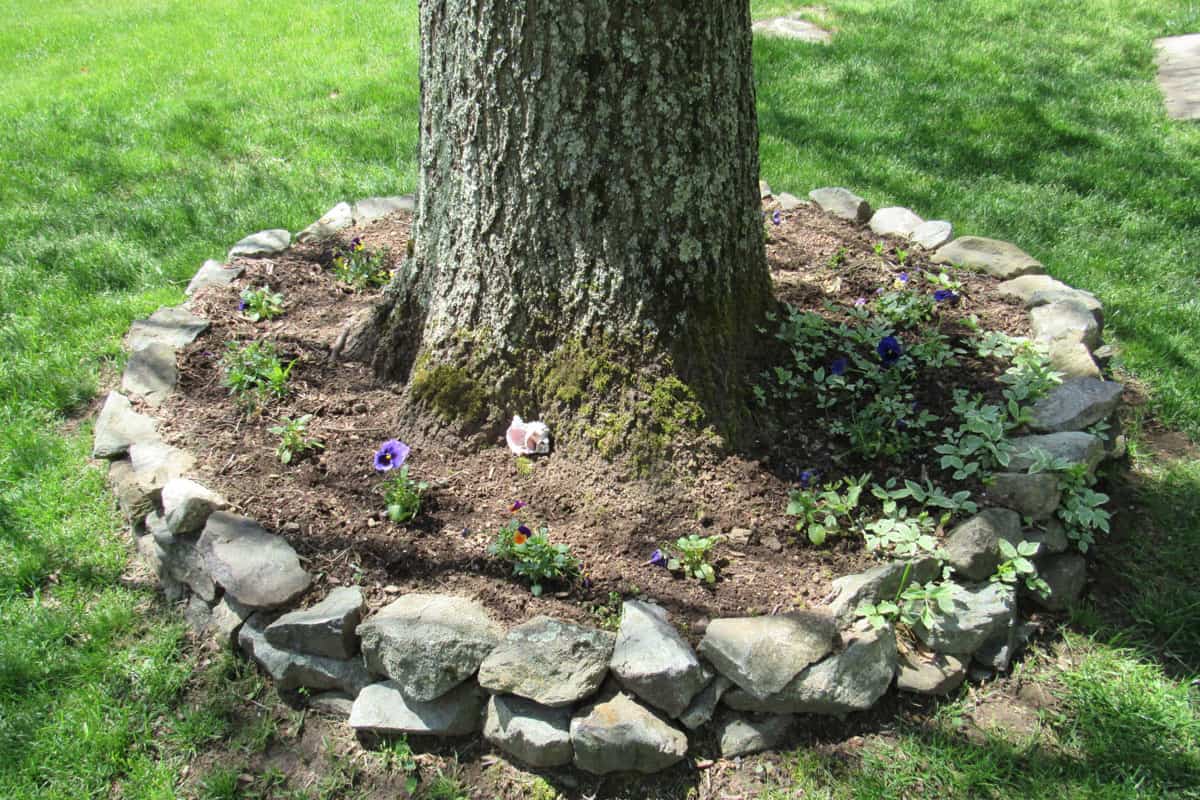
Medium rocks make great borders for gardens or paths. Other times, you can use them to accent water features or ring larger landscape plants and trees. Sometimes, medium rocks can be carefully arranged to make great stepping stones or paths.
For the smallest rocks, you can use them to line the bottom of pots or as gravel for paths and driveways.
Read this great article to learn more about landscaping specifically with moss rocks: 22 Ideas For Landscaping With Moss Rocks [Inspirational Picture List]
In Closing
In this post, we answered the question of how to remove rocks from your yard. We included directions for all types of rocks and both surface rocks and buried rocks. To conclude, we answered a few related questions. Good luck!
To learn more about landscaping and gardening, consider reading these other articles:
How Far Apart Should Garden Stepping Stones Be?
Lawn Sweeper Vs Dethatcher Vs Bagger – Which Is Right For You