Living in the desert can be good because of the abundant amount of sunshine. However, it can also be more challenging to grow plants in the notoriously dry and difficult ground. For those living in the desert, you may wonder how to amend the soil so that you can grow in it. We've done the research and can tell you how to fix desert soil.
Follow the below steps to prepare your desert soil for planting:
- Water soil deeply. Then, allow it to dry slightly before tilling the soil.
- Test the soil.
- Till the soil to a depth between four and eight inches.
- Add four to six inches of compost or mulch, and mix.
- Test to determine if other nutrients should be added.
- Add an irrigation system to help keep the soil moist.
- Flatten the area, and add plants.
While it can be time-consuming, you can fix your desert soil to grow plants more successfully if you prepare it first. Keep reading to learn more about how to amend this type of soil, protect plants from heat, and more!
How To Prepare Desert Soil
When planning a garden for the desert, you should decide if you want to garden in a raised bed or directly in the ground. Whichever method, you should still prepare the ground first. Preparing the soil will give your plants more room to grow if planted in a raised bed.
1. Water The Soil
If your soil is especially dry, you should water it deeply. Moist soil is much easier to work with, and it is less likely to damage the dirt. Unfortunately, soil can be ground up into fine powders if you wait until it's dry.
So, water to a depth of six inches. Then, allow the soil to dry out slightly. You'll know your soil is good to work with once it stops sticking to your shovel.
2. Test The Soil
Before tilling, you should mark the area and call your local 811 office. Most states can have workers out in 48 hours to mark any underground lines. If there are lines where you plan on putting your garden, you should consider changing its location.
Another thing you should do is take a soil sampling and test it. Testing before tilling can help you get more accurate results. In addition, this will give you an idea of what nutrients you'll need to add to the soil.
Click here to see this soil test kit on Amazon.
3. Till The Soil
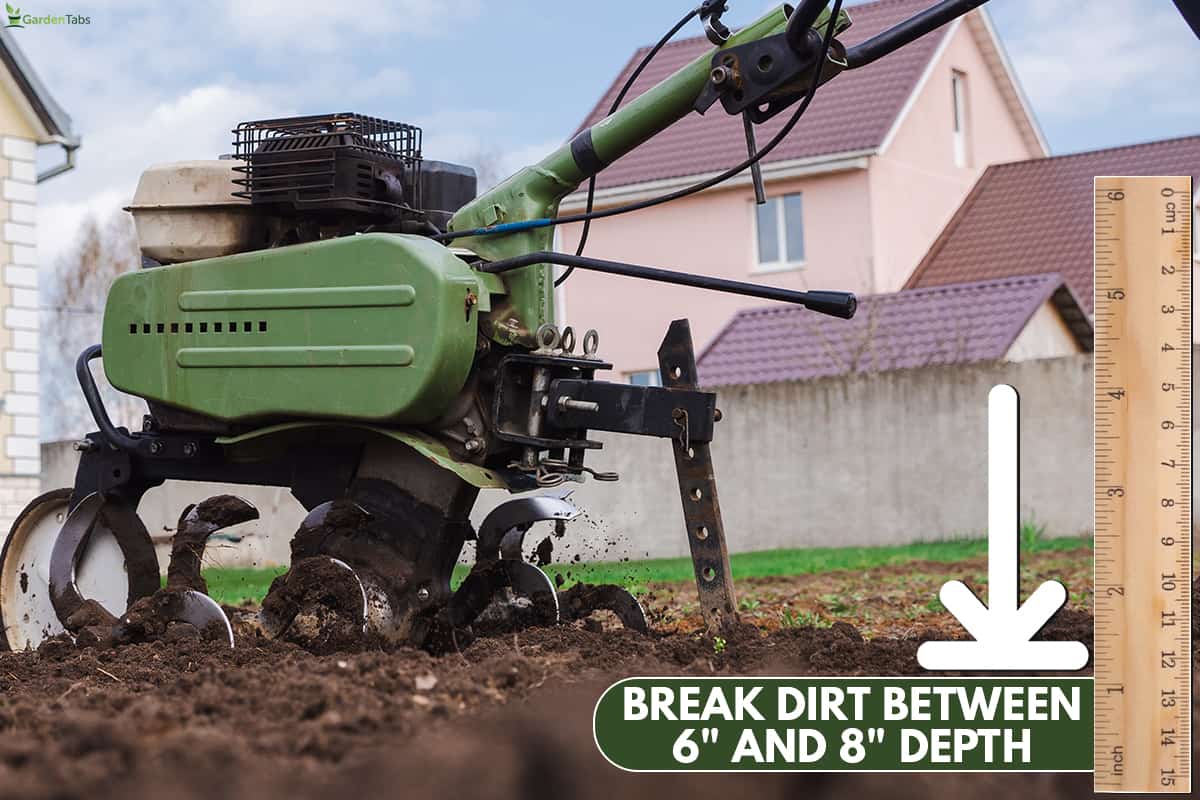
Once your soil is at a good moisture level and your utility check is done, you can begin to till. Use a shovel or rototiller to break up the dirt to a depth between six and eight inches.
When using a rototiller, you should work in rows going in one direction. Once you've tilled the entire area, go back and till it again, this time making rows perpendicular to your first set.
As you're working, you should remove any rocks and weeds. You can get rid of any leaves or leave them alone. Leaves are great forms of nutrients for plants and soil. However, they are typically more beneficial if you compost them first.
Click here to see this rototiller on Amazon.
Check out Can You Rototill Wet Soil? [When Is The Best Time To Till?] for more advice!
4. Add Compost Or Mulch
Spread a layer of compost over the area you just tilled. Make sure there are between three and six inches of it.
If you took a soil test, you can use additional amendments. However, you can also wait until after your compost begins to break down.
Use a shovel or rototiller to incorporate the materials together. For new beds, you should mix the compost into all of the soil you tilled. When reapplying compost in the future, you'll only need to mix it in by a few inches.
Click here to see this organic compost on Amazon.
How else can you add compost to the soil? Read Does Compost Go On Top Of Soil? for more information!
5. Mix Additional Amendments
Allow the compost to break down over a few weeks. Then, test your soil again to determine if any other amendments should be made.
If necessary, add them and mix them into the soil. Be sure to water well after incorporating, and be sure to rake the area smooth again.
6. Install An Irrigation System
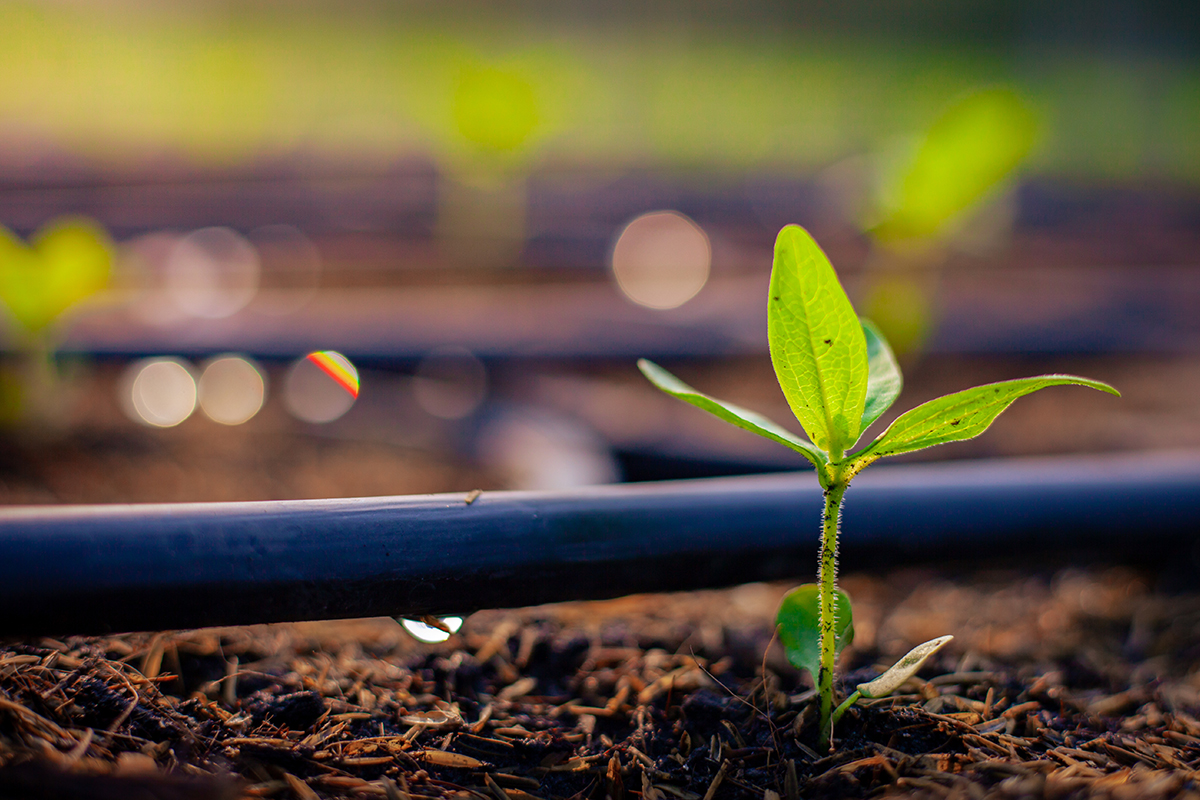
Since desert heat can quickly dry out the soil, you should consider installing a drip irrigation system to help keep moisture present.
Plan out how you want your irrigation system to look. Then, decide how the pipes will deliver water. Some methods of delivery include a drip emitter, pre-installed emitter lines, and porous pipes.
Unless you're using pre-installed emitters, you'll need to plan how far apart to space them. You'll need to change the spacing depending on the type of soil you have. Typically, sandy soil needs emitters spaced 11 inches apart, clay should be spaced 20 inches apart, and loamy soils need 17 inches of spacing.
Assemble and lay out your new system. Then, connect it to a water source. Make sure that you have a filter and backflow preventer installed.
In addition, you may want to use a controller. Depending on the garden's needs, these will automatically turn your system on or off.
Secure the irrigation lines to the ground. If you're using an underground system, bury it and gently cover it with soil again. Then, test the system to ensure it works correctly.
Click here to see this drip irrigation kit on Amazon.
7. Plant And Mulch
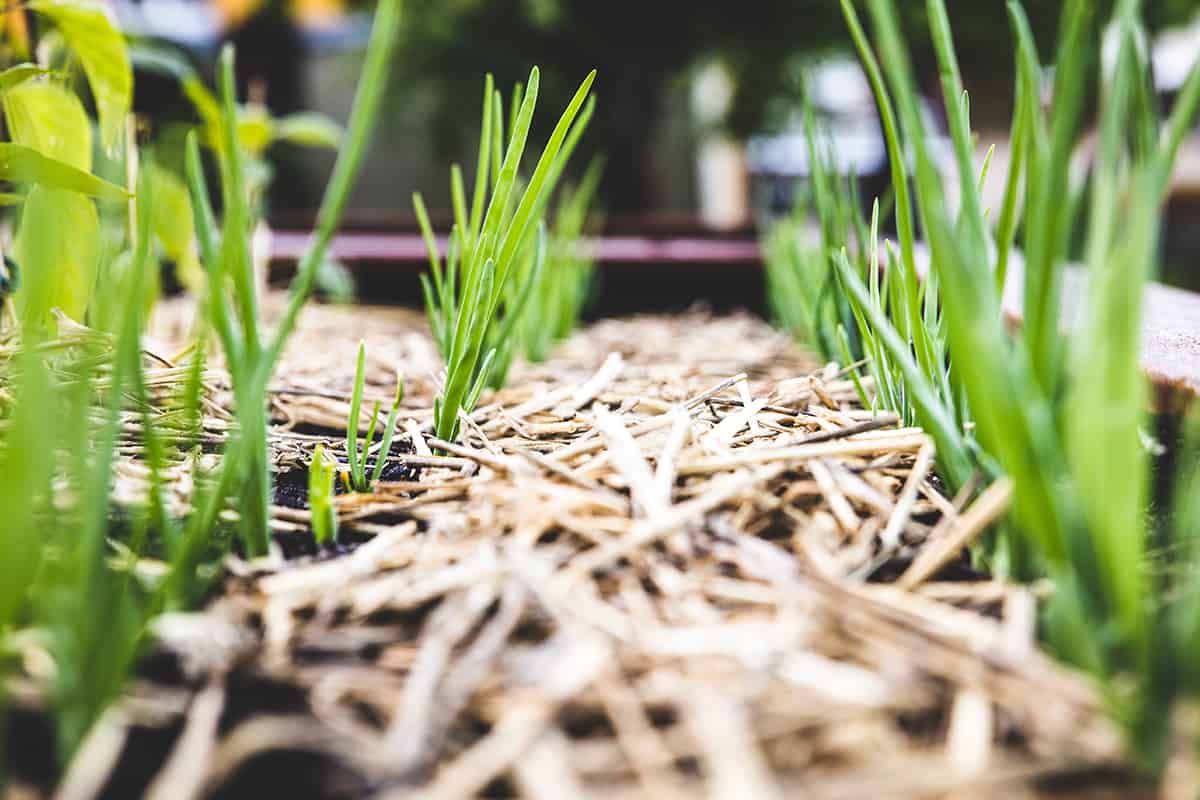
Now your soil is ready for planting. Dig holes large enough for your plants to go in. Try to keep them close to the irrigation systems. This will help ensure that they have a steady supply of water.
After the plants are in the ground, add a layer of mulch around them. Create even layers that are between three and four inches thick. Adjust the thickness depending on the type of mulch you use.
You should also avoid piling mulch directly by the plants, shrubs, and trees. You should always try to keep at least three inches of space. Some trees may need at least 18 inches of space between them and mulch layers.
You can also plant seeds directly into the soil. In these instances, you should put a light layer of straw or leaf mulch over the sown seeds. You can switch to heavier mulch at a later growth stage.
Click here to see this natural straw on Amazon.
What Plants Can You Grow In The Desert?
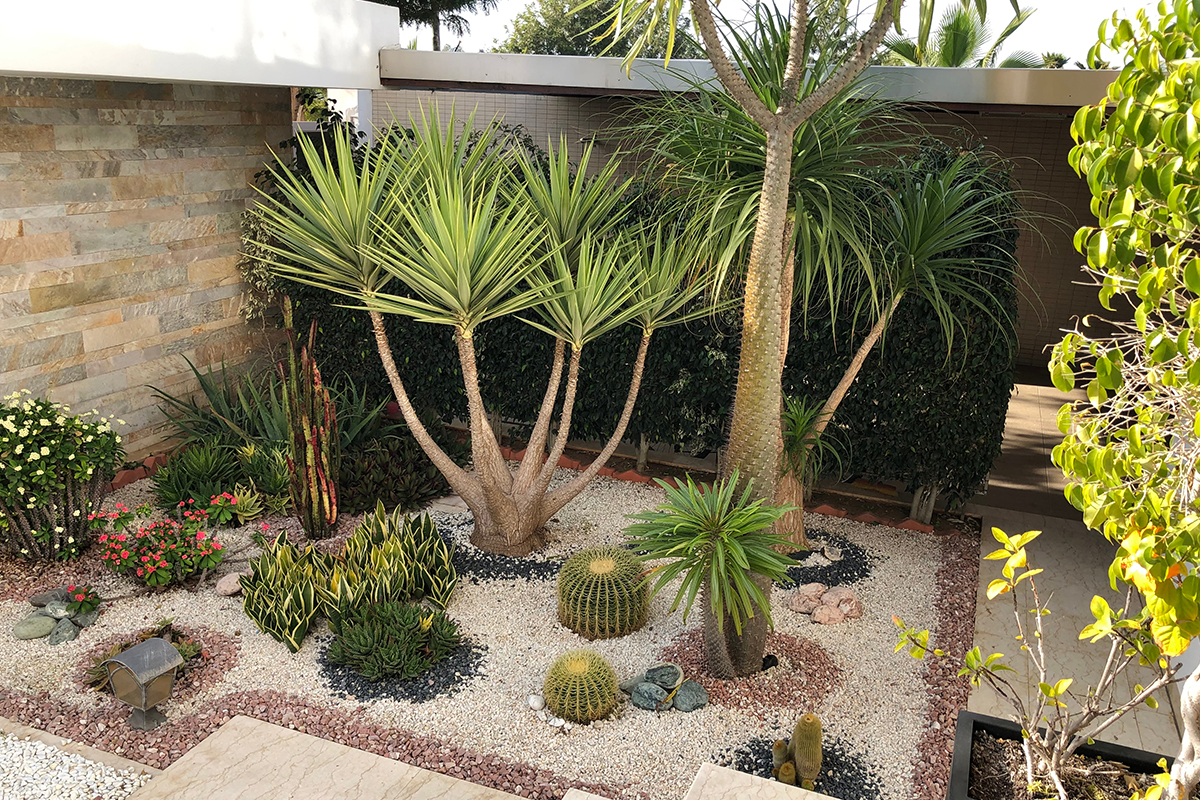
Most plants can be adapted to grow in the desert, especially if you protect them from the afternoon sun and keep the soil moist. Be sure to determine the heat tolerance of a plant before deciding if it will work for your garden. You can also try one of the plants below.
The evening primrose (Oenothera biennis) can be an aggressive spreader. Once they are established, they are incredibly drought and heat tolerant. The flowers appear at night, are lemon-scented, and attract pollinators.
Blackbrush (Coleogyne ramosissima) is a shrub native to the desert. It can be used as a ground cover or grown as a bush. This plant produces yellow flowers from April until July. It is fairly drought-tolerant. However, it will go dormant and drop its leaves if it is over-stressed by lack of water.
Another excellent option is the prickly pear cactus (Opuntia). Prickly pears are large cacti that can grow up to 23 feet tall. They produce showy cup or funnel-shaped flowers followed by edible fruits.
If you're interested in growing vegetables, try growing corn. These crops can briefly withstand high temperatures of up to 112 degrees Fahrenheit.
As long as your soil remains consistently moist, you can also plant cucumber (Cucumis sativus). However, these plants tend to do better when temperatures range between 75 and 85 degrees Fahrenheit.
How To Protect Plants From Heat?
The best way to protect your plants from harsh conditions is with mulch. For areas with high temperatures, you should be using light-colored mulch, like straw, to help reflect the sunlight.
It's also important to water in the morning. This will provide your plants with ample water during the hottest parts of the day. Depending on the heat levels, you may also need to water in the evening.
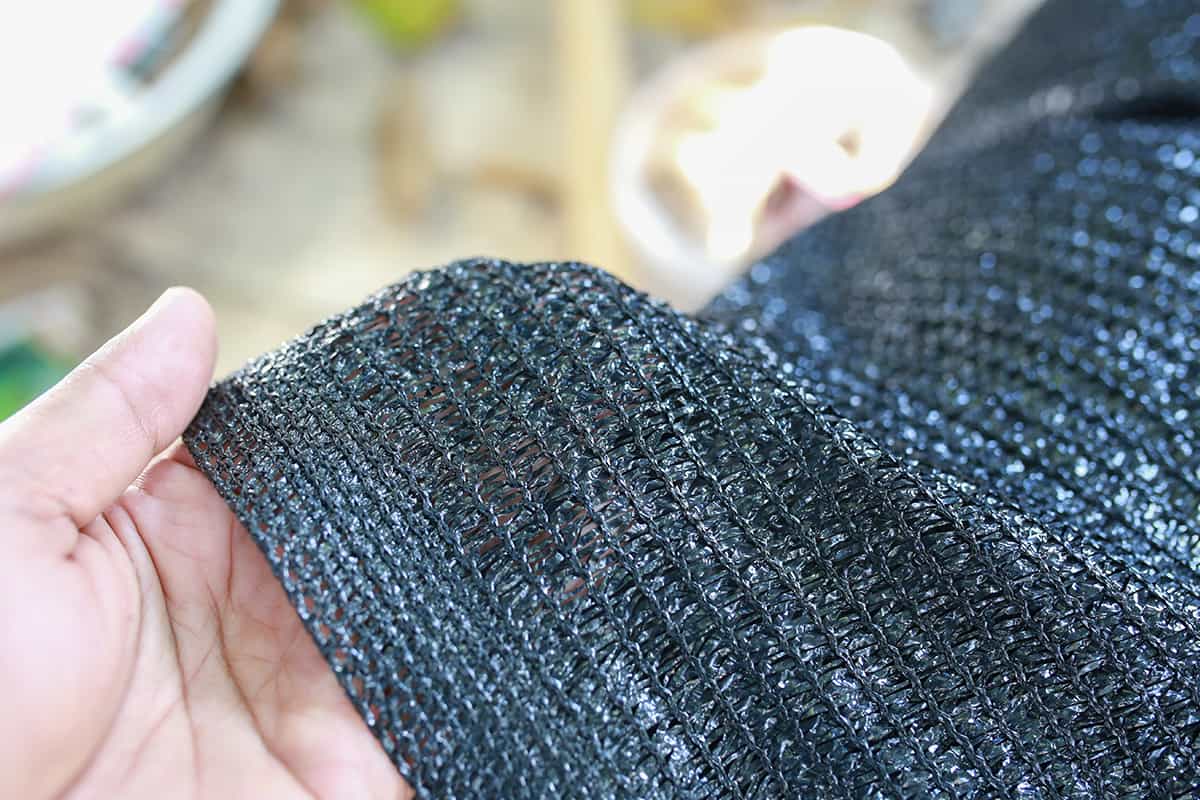
Finally, consider using shade cloths or row covers. These products will help filter out some of the sunlight that would hit your plants.
Take a look at this shade cover on Amazon.
To Summarize
Desert soils can be dry and difficult to work with. However, with a little bit of time and effort, you can fix the soil to help you grow more things. Be sure to break up the soil and incorporate enough nutrients to feed your new garden.


