
Would you like to know how to map out an existing irrigation system? Well, we have researched this topic and have answers for you. It is essential to understand how to map out an existing irrigation system if you want it to be easy to repair throughout its life.
To map out an existing irrigation system, turn on each station one at a time and write down what turns on. If some stations don't turn on, you may need to repair your irrigation system before fully mapping it out.
In this article, we will learn how to map an existing irrigation system. We will also learn the answers to other related questions, such as how do you repair an irrigation system and how often should I use my irrigation system? Keep reading to learn more.
How To Map Out An Existing Irrigation System
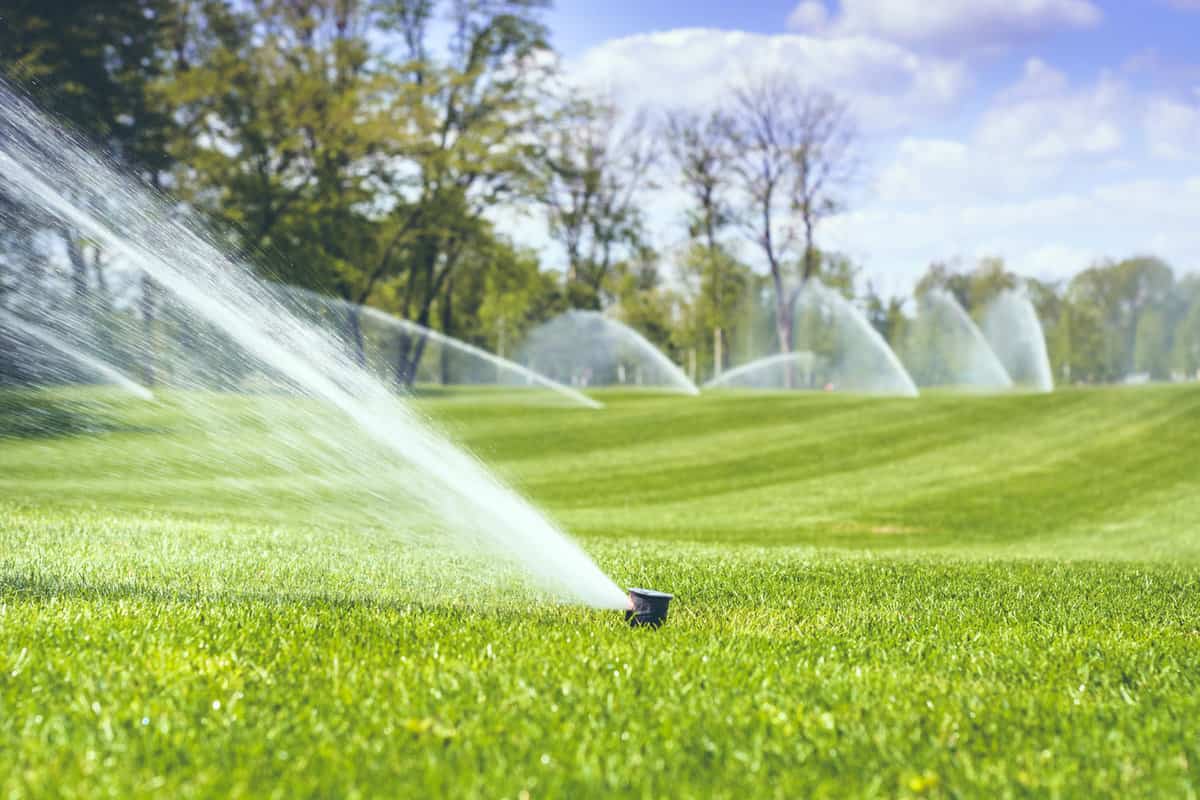
Irrigation systems deliver water to all the areas on your property that require it. Since your property likely doesn't have enough pressure to water all areas at once, irrigation systems break the job into small parts.
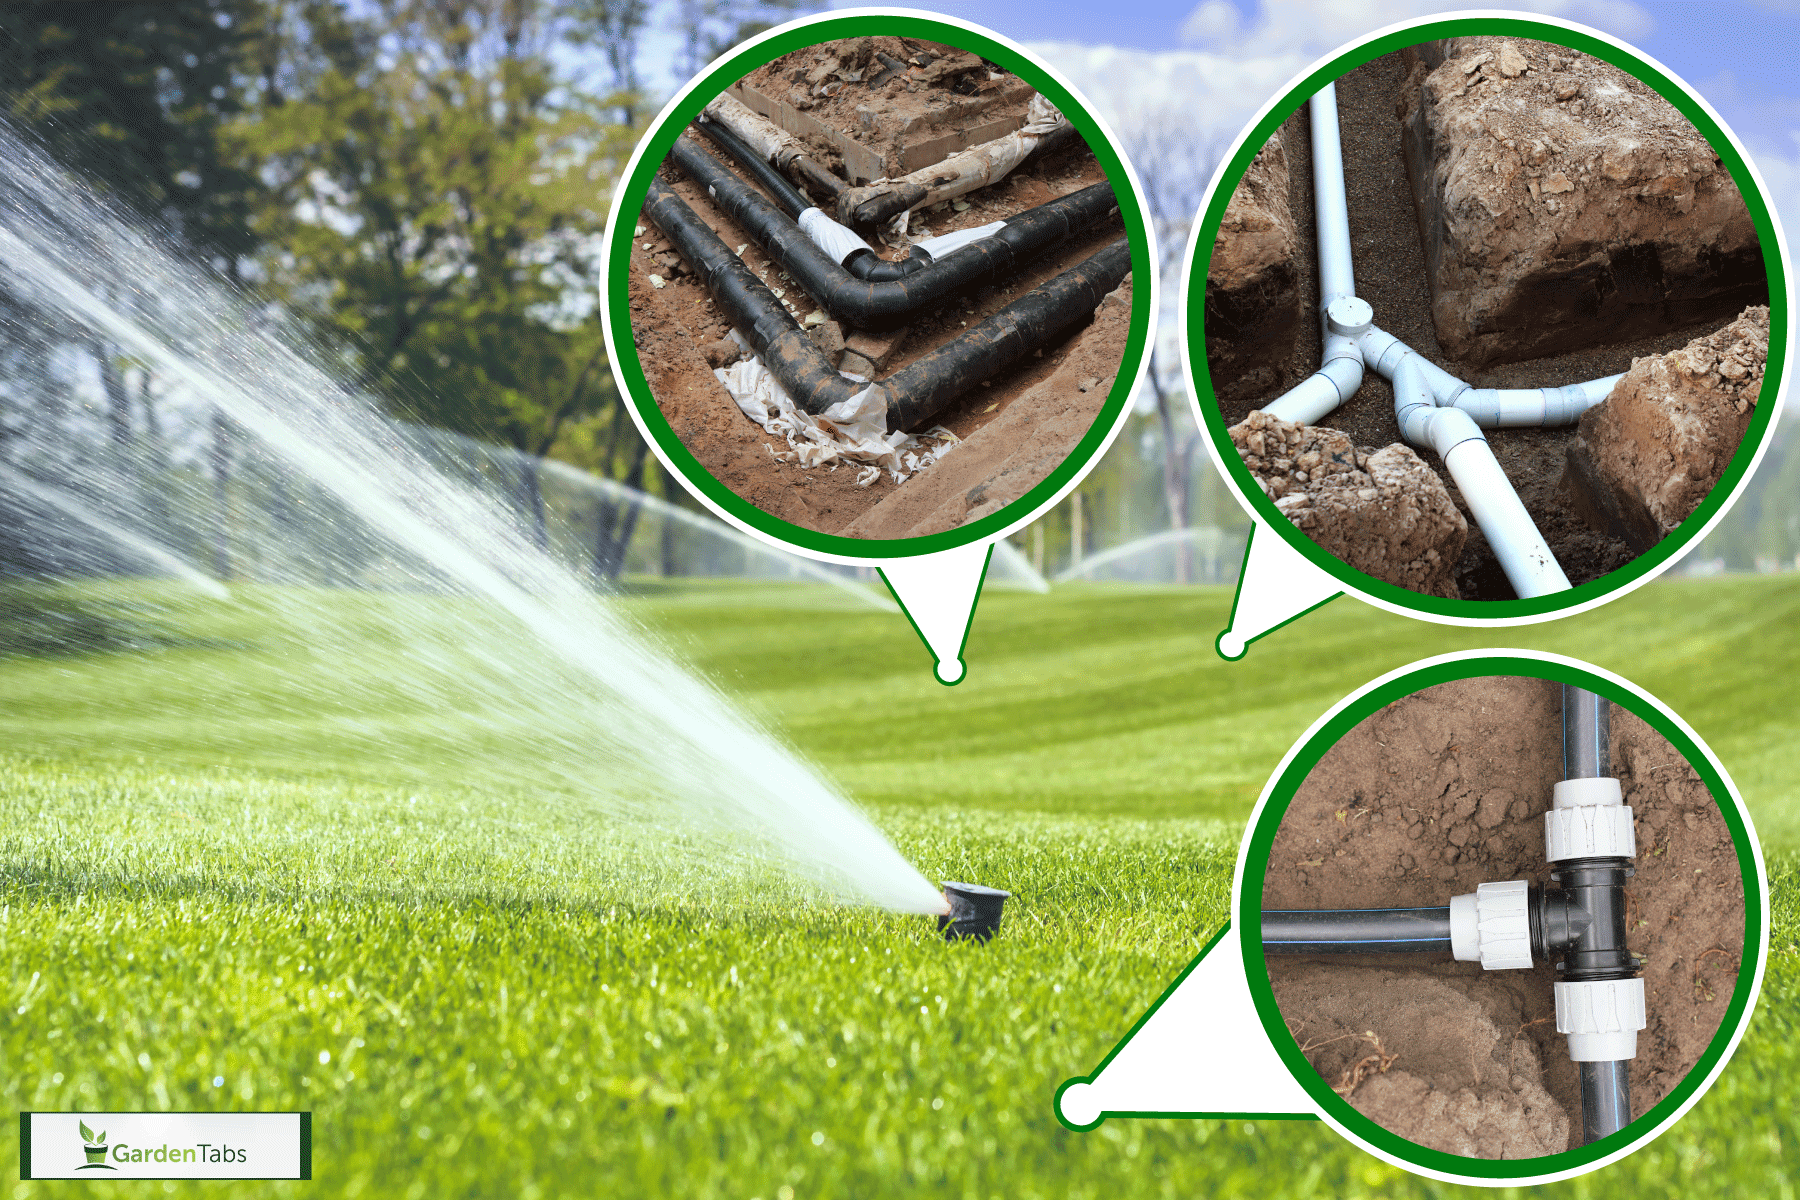
Since Irrigation systems have to be made of smaller sections, they utilize manifolds that use several valves to send water to one section of the irrigation system at a time. These sections of the irrigation system are called zones.
To map out an existing irrigation system, you need to turn each zone on, one at a time, and write down what turns on.
Turning On A Zone
Irrigation systems usually have a timer box that sets zones to different stations and turns them on at specific times. You can use this timer box to turn on the stations one at a time. If your irrigation system doesn't have a timer box, you can use a bleeder screw to open the valves manually.
Using The Timer Box
To use a timer box to turn on a zone, find a button called Manual/Start. Different brands of timer boxes may use slightly different terminology, but it should be close to Manual/Start.
Press the button, and then the timer box should say that station one is selected. You can use the arrow buttons on the timer box to select what station you want to turn on and for how long. Once you have the station you wish to select, press the Manual/Start button again to turn on the zone.
A timer box may have more stations than zones. You can check which stations have a sprinkler wire to a zone in the timer box, usually by removing a panel.
Wires will be attached to different ports that correspond to the stations. The station's ports that have wires have corresponding zones.
Using The Bleeder Screws
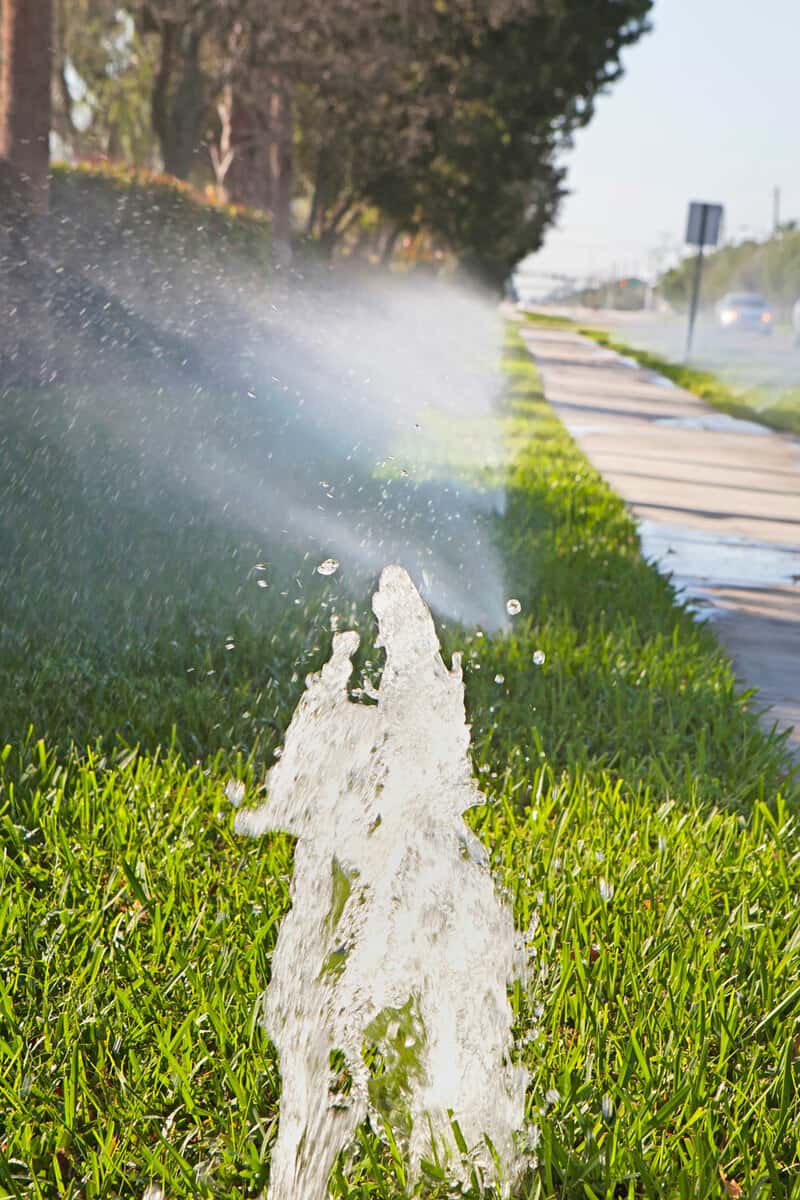
To use a bleeder screw to open the valves manually, find the valves and locate a small little screw sticking up on top. The screw is often off-centered on the valve. Turn it counterclockwise until you hear the valve open and water flowing.
You don't have to remove the bleeder screw entirely to open the valve. Only twist the bleeder screw until you hear the valve open, as bleeder screws can be difficult to screw back when they come out.
If you don't hear or see any water dripping from the screw, the water to the valve is off. Before you can check the zone, you will need to restore water to the valve.
There is also a large screw in the center, but that screw turns the valve's flow up and down, so it shouldn't be adjusted unless required.
Once you have found a way to turn on the first zone, you can begin with the next step.
Writing Down What Turns On
Begin walking around the area where water is turned on in your yard and writing down how many sprinklers there are and their locations. It can be helpful to create a rough map of your property and draw where the sprinklers are. As long as the information about where each sprinkler is located is conserved, you can use whichever method works best for you.
If the zone you turned on uses drip tubing, inspect how well the water flows. Be sure to write down where the drip line is and whether there were any blocked drip emitters.
Turning Off A Zone
After mapping the first zone, be sure to turn it off before turning on the next zone. Let's look at how to turn off a zone for both timer boxes and bleeder screws.
Timer Box
There is an off button on most timer boxes that will end the current running program and turn off the zone. Pressing the off button is the fastest way to turn off a zone with a timer box.
Bleeder Screw
To turn off a zone with a bleeder screw, twist the screw clockwise until you hear the valve shutoff. Don't twist the bleeder screw too tight as it is plastic and could easily strip.
Old valves may take a few seconds to shut closed and make a loud clicking noise. If your valve won't turn off, it has failed and will need to be replaced, and repairing the valve will be required before mapping can continue.
Repeat
Once you have mapped all of zone one and turned it back off, repeat these same steps with the other zones. Once you have mapped every zone, you will have finished mapping your irrigation system. Be sure to keep the map or list of sprinklers and drip hose locations in a safe place, as it will make it much easier to make repairs to your irrigation system in the future.
How Do You Repair An Irrigation System?
Part of owning an irrigation system is making regular repairs. Several common problems often need to be repaired, including a broken valve, pipe, or sprinkler head.
Always turn off the water to your irrigation system before repairing it. Trying to fix an irrigation system while it's on is essentially impossible.
Let's look at each of these problems, from most expensive to least expensive to repair, and how to repair them.
Repairing A Broken Valve
One of the most expensive parts of an irrigation system to need to repair is a broken valve. Often when a valve fails, all of the valves in the manifold will need to be replaced. You are best off to replace them all, as the other valves in the manifold will likely fail soon.
Also, repairing a broken valve is usually impossible without removing the other valves. Some manifold configurations make replacing valves easy, but most you encounter don't utilize this improved design.

The manifold is comprised of a live water pipe that connects the valves. After each valve, the lines run off in different directions toward their zones.
- First, ensure that the pipe that leads to the valves and away from them is cleared of dirt. If any dirt gets into the irrigation system, it will clog the sprinklers.
- Next, cut the pipes with pipe cutters on the live water pipe leading to each zone pipe's manifold. Pull out and remove the manifold. Make sure to clear any loose dirt up before reassembling the new manifold.
- Now begin gluing pipe fittings together so that the live water pipe branches up for each zone. Then glue pipes fittings together so each zone pipe aligns and points up.
- Glue elbows to the end of each of your new valves, ensuring that each valve with its elbows is as long as the distance between the live water pipe's up branches and the zone pipes up elbows. Be sure to check the distances more than once before gluing.
- Glue them onto the manifold once you have the valves with elbows the right length and glued together. This manifold design will allow you to remove and replace a single valve in future repairs.
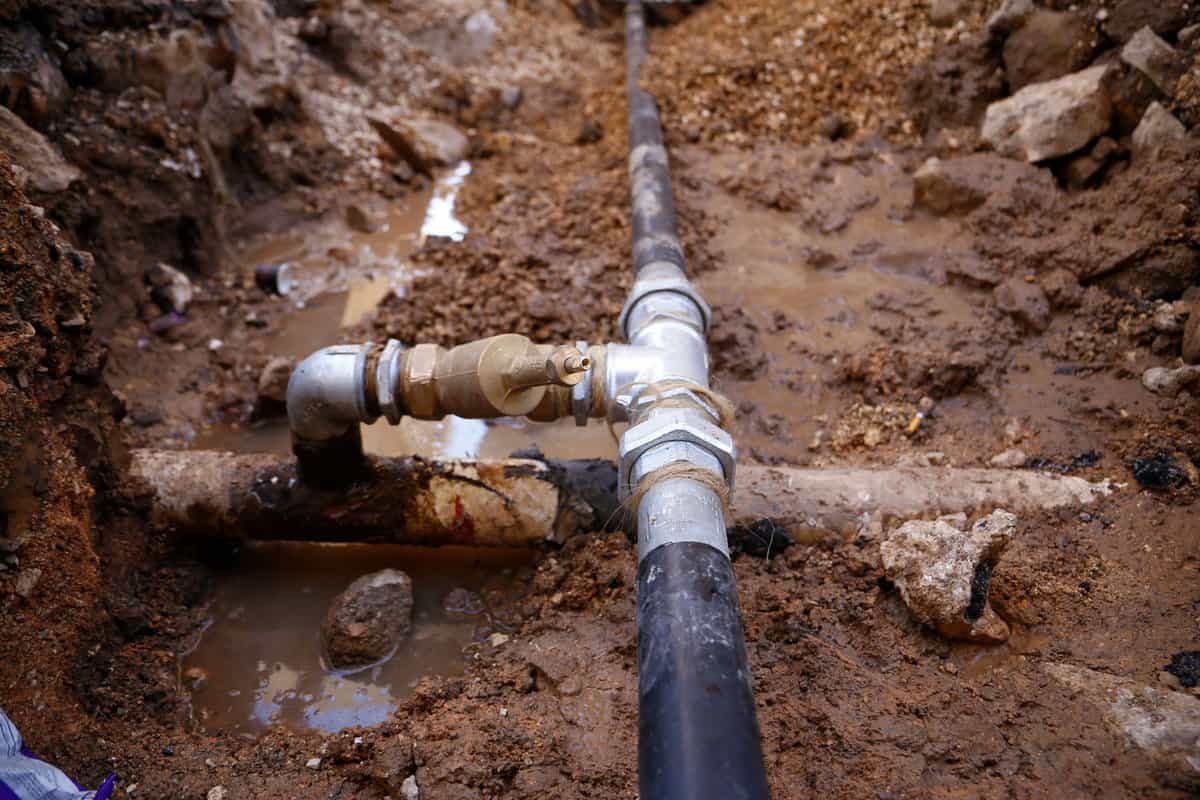
Repairing A Cracked Pipe
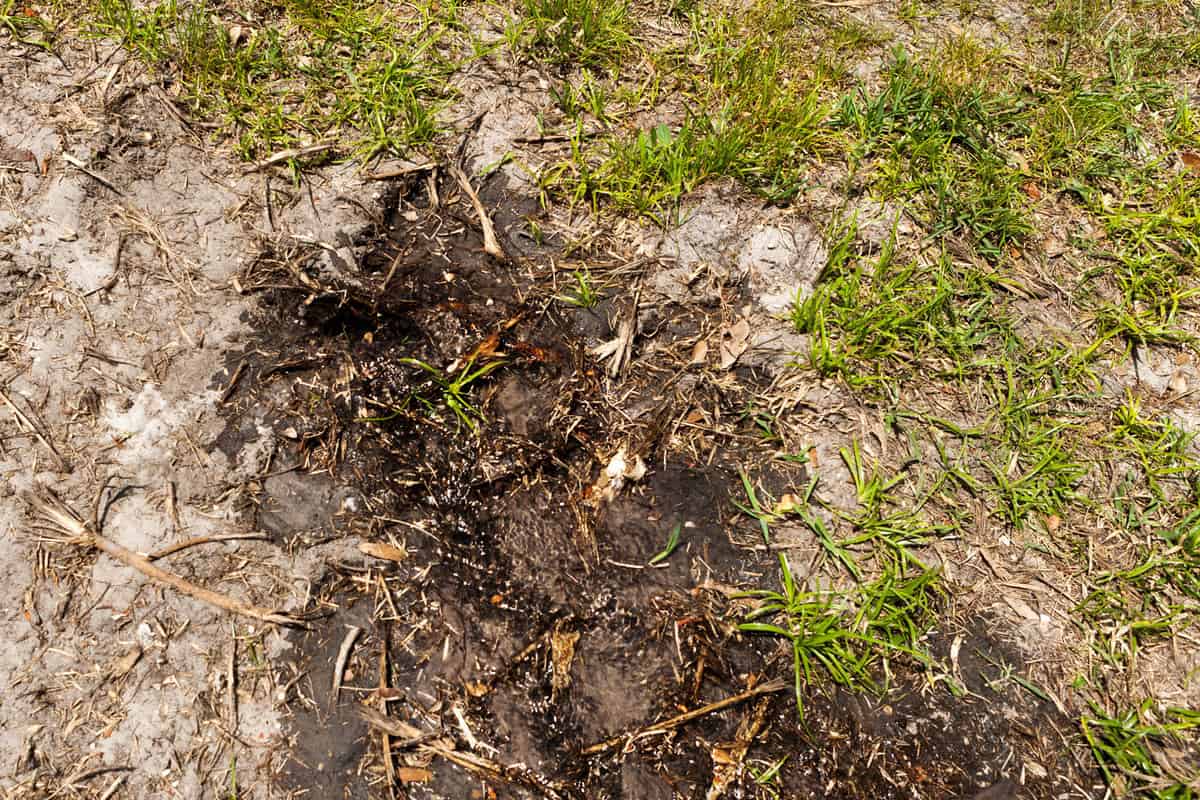
To repair a cracked pipe, dig away the ground at least six inches below and on each side of the broken pipe. Take a pipe cutter and cut out the damaged pipe piece.
Now, take a slip fix and glue it to the end of a piece of pipe so that the slip fix and pipe are roughly as long as the piece of pipe you removed. Now glue the pipe end of the slip fix pipe to one side of the exposed line using a coupling.
Once the glue is dry, you can glue the other side of the pipe and pull the slip fix into place. Allow the glue to dry for ten minutes before turning on the water.
Repairing A Broken Sprinkler Head
Fixing a broken sprinkler head is easy and cheap. Dig up the dirt around the broken sprinkler head. Be sure to save the patch of sod around the sprinkler so you can replace it when finished.
Once you have exposed where the sprinkler attaches to the irrigation system with a riser, ensure all the dirt is brushed away, and begin twisting off the broken sprinkler head.
Once you have removed the broken sprinkler head, you can twist a new sprinkler head onto the riser. Then you fill the hole with the dirt you removed and replace the cap of sod. It can help the sod stress less if you water it after replacing the broken sprinkler head.
Final Thoughts
In this article, we learned how to map an irrigation system methodically one zone at a time. We also learned to repair some of the most common recurring breaks in irrigation systems.
Always turn off the water to your irrigation system before repairing it.
We hope you enjoyed this article. If you want to learn more, check out some of these other posts.